

Many of us have a decorative picture hanging in the kitchen, in the corridor or in the room, which seems to have no artistic value, and you could throw it away, but not at all. Indeed, for some, most often inexplicable reason, it is expensive and there is no desire to part with it.
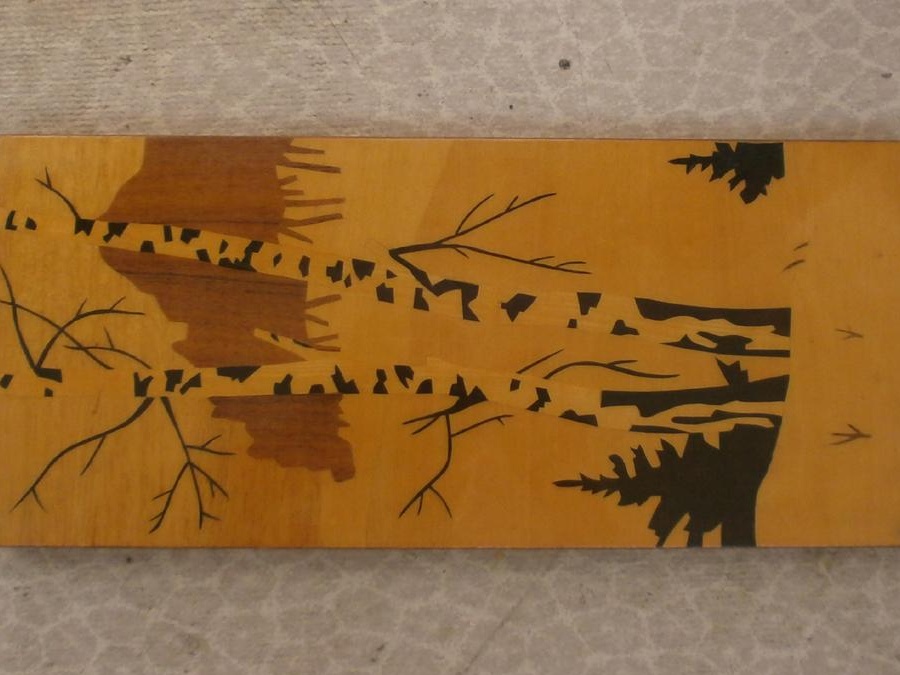
But what if you give her a "second life"? What if a useless picture is made the door of a key keeper, a small locker for small items, or a box that closes the electricity meter? That’s exactly what I decided to do, and “turn” the picture dear to my mother into a first-aid kit, which most of us have in our house.
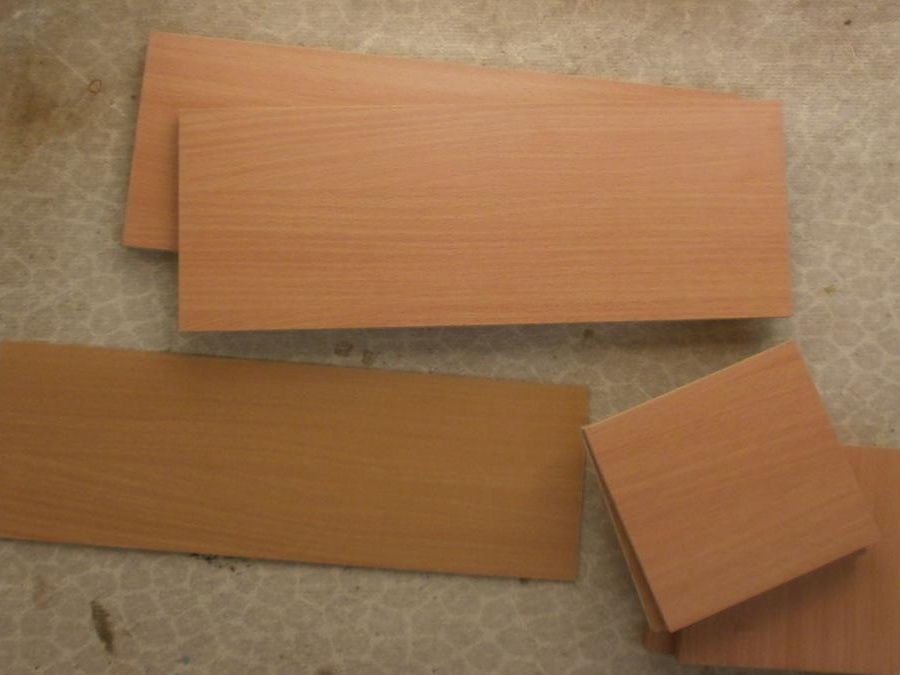
To do this, I ordered cutting and pasting of chipboard parts with an edge. This was not the only subject. of furniture from it, therefore the sheet "left" entirely. You can order items (especially since the sizes for all will be different) from scraps, which always remain in large quantities at the sawmills, thereby saving a lot of money. And they also have sheets of chipboard,

and hardboard for the back walls.

In total, six elements were obtained from particleboard - from hardboard.
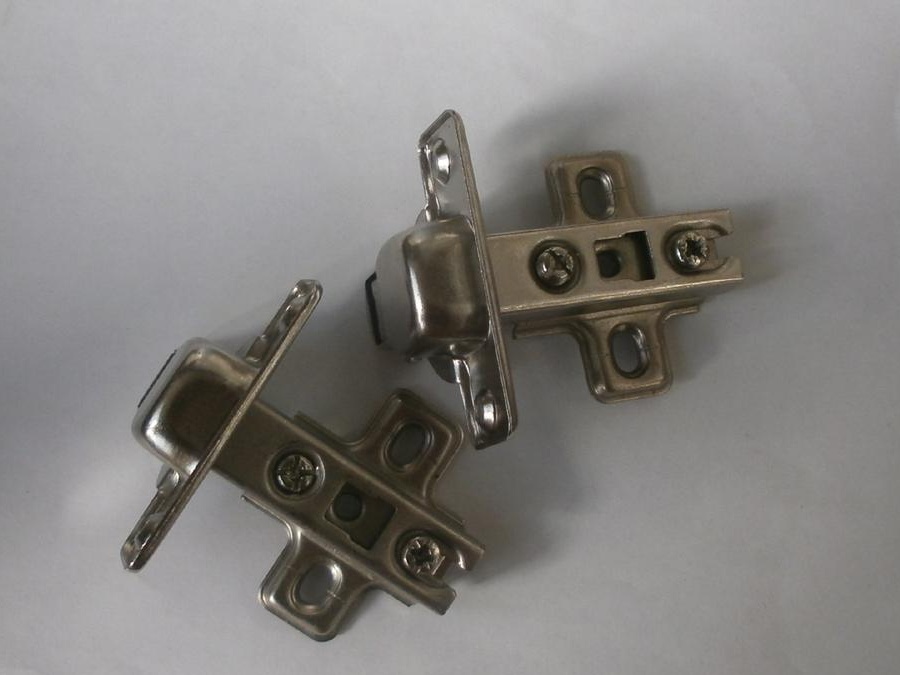
Where you will order a cut, buy two furniture hinges,
twelve confirmations (or as they are also called Eurobolt),
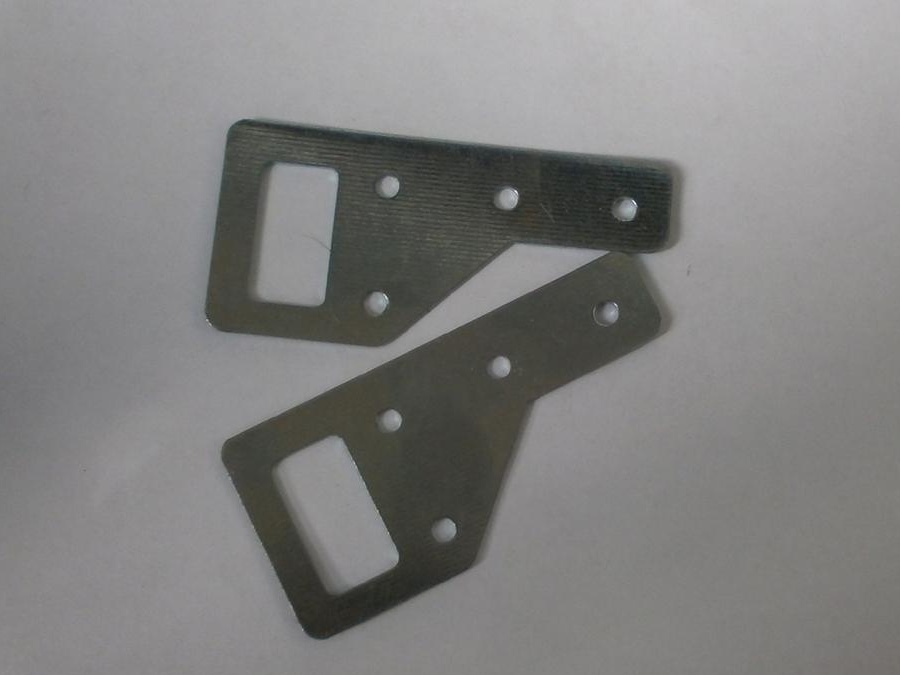
two furniture canopies,
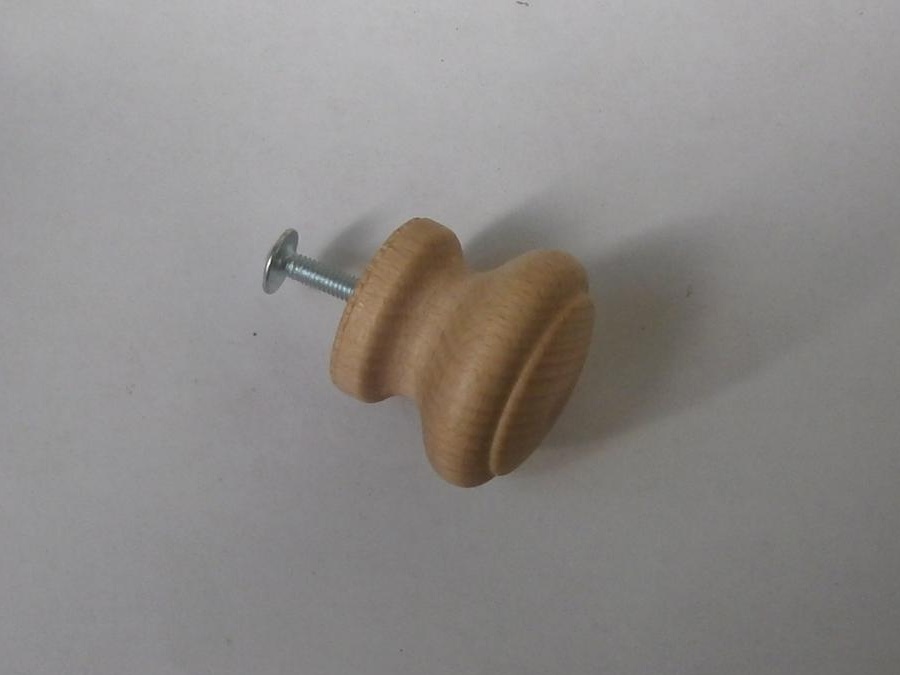
pen,
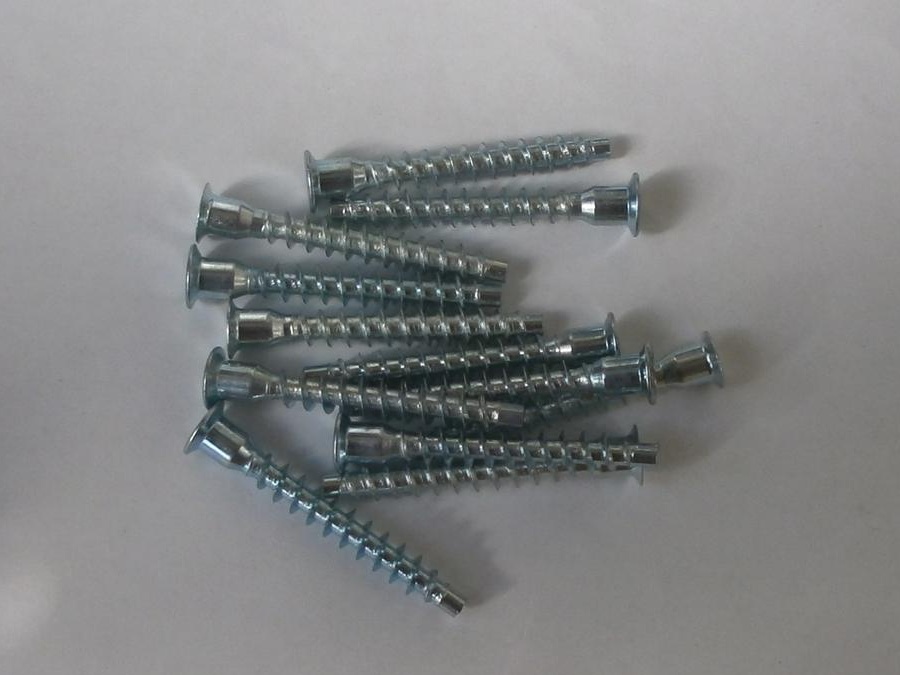
eight long screws
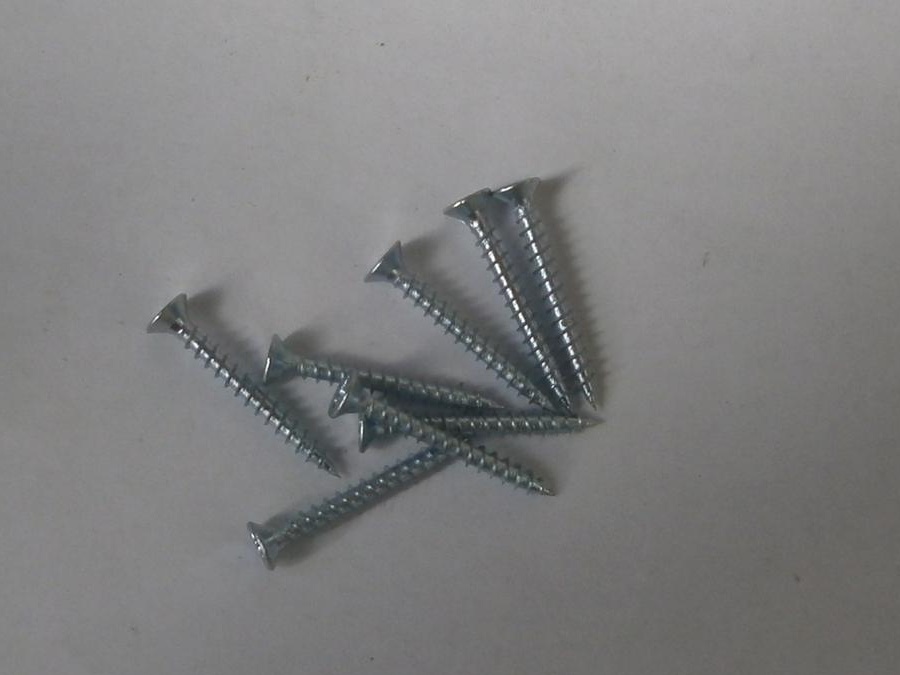
and ten short ones.
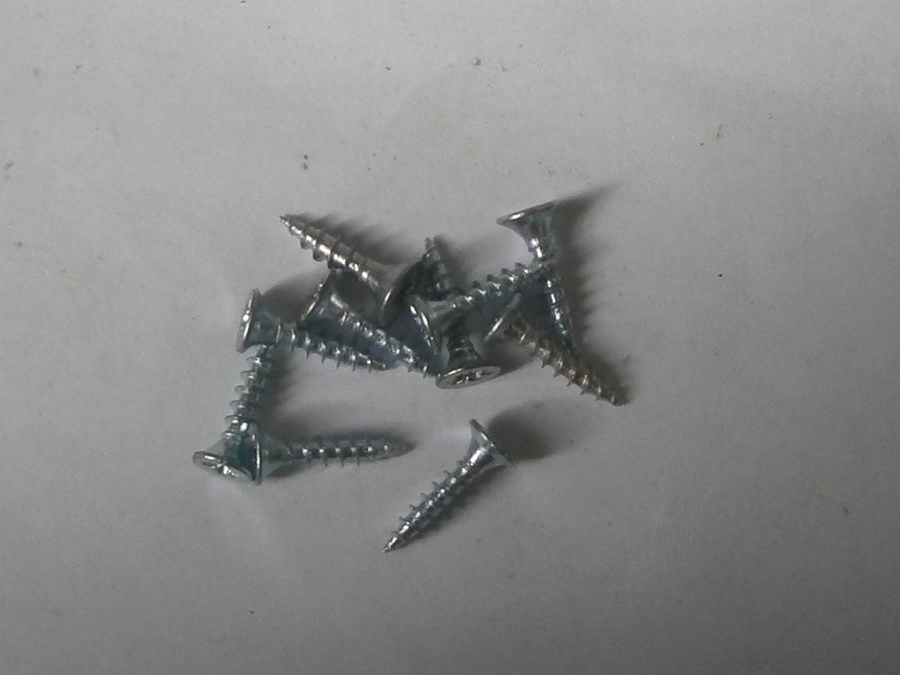
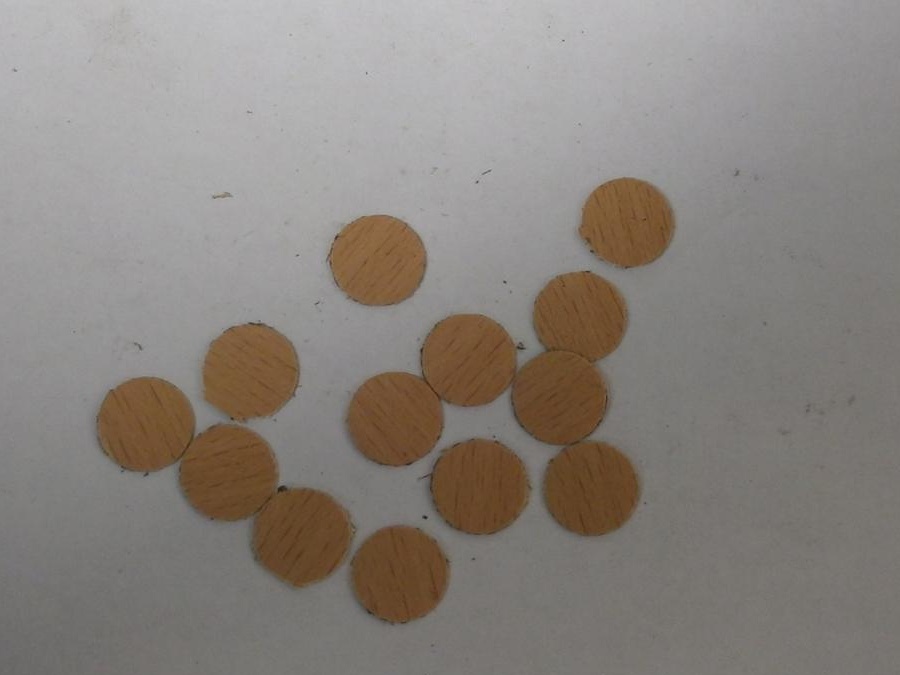
And do not forget to buy twelve (according to the number of confirmations) self-adhesive circles or decorative caps. Or you can simply chop them with a notch of 13 from a suitable edge.
I was not attached to the shape of the handles on other furniture, so I chose a small wooden one, but not painted with varnish. Therefore, he took the one he was and covered the pen with it in advance.

In the "bins" I found a confirmation drill,
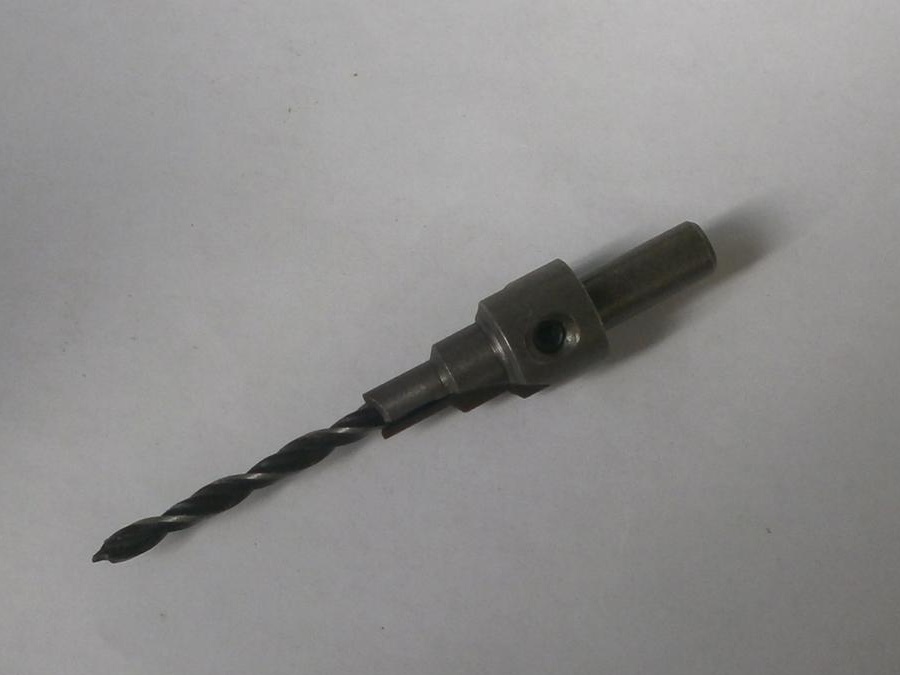
and drill-mill for loops.

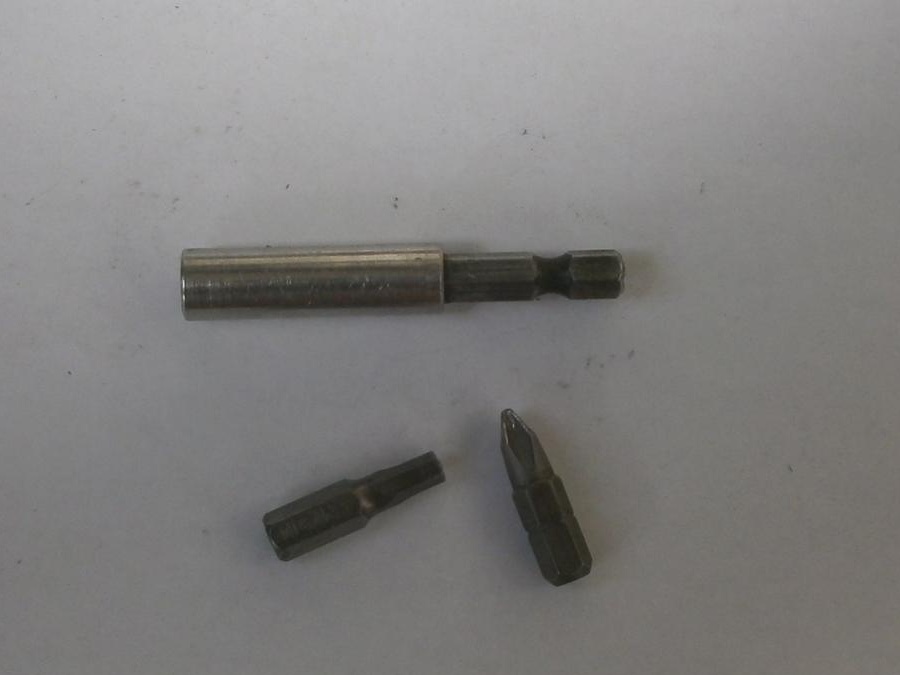
To drill and twist everything I will be a cordless drill,
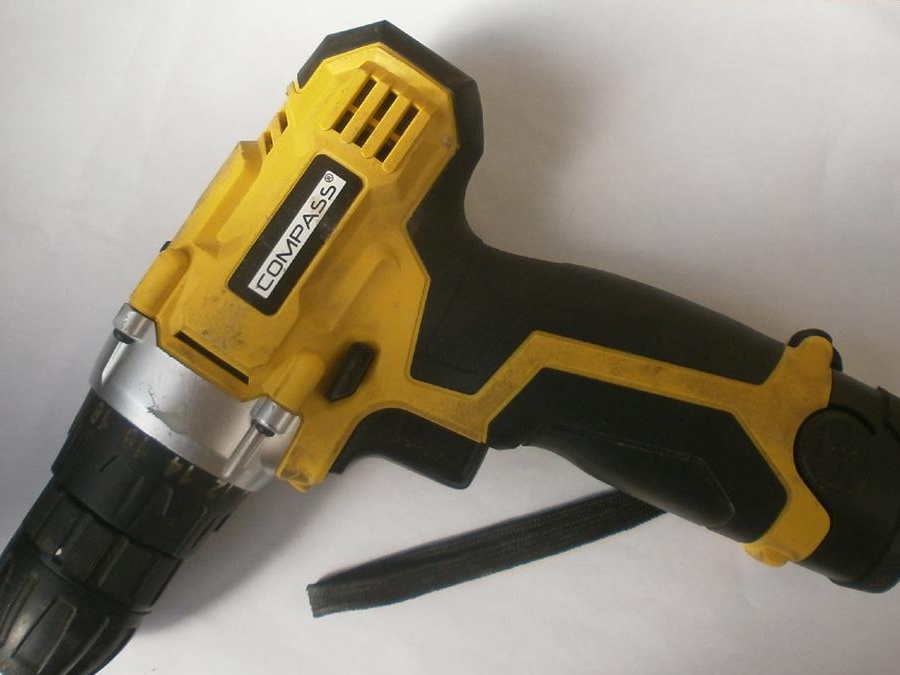
which requires the hex and cross bits, as well as a magnetic extension cord for quick change.
In addition, you need an awl,
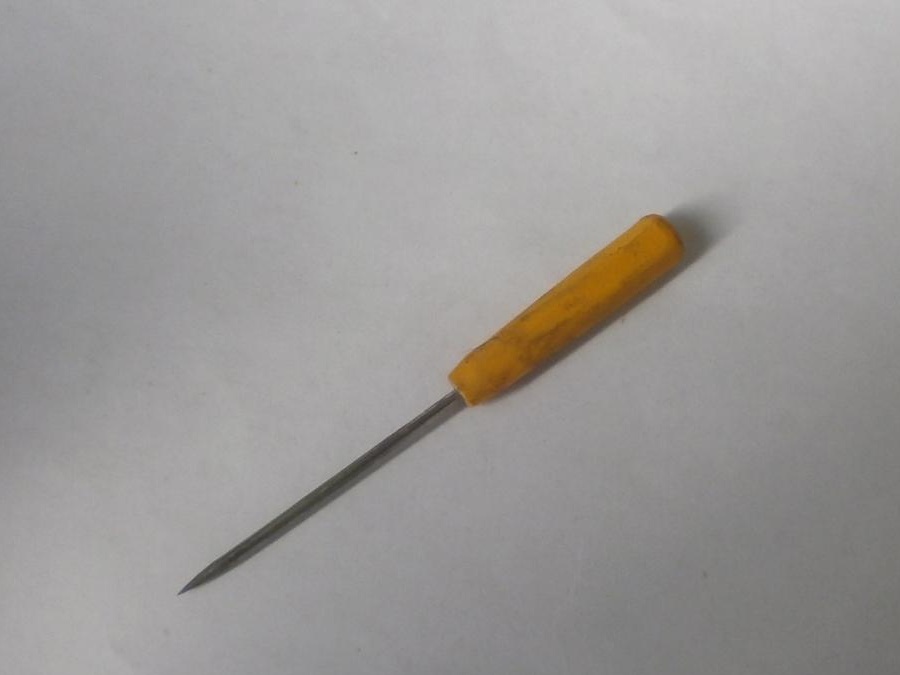
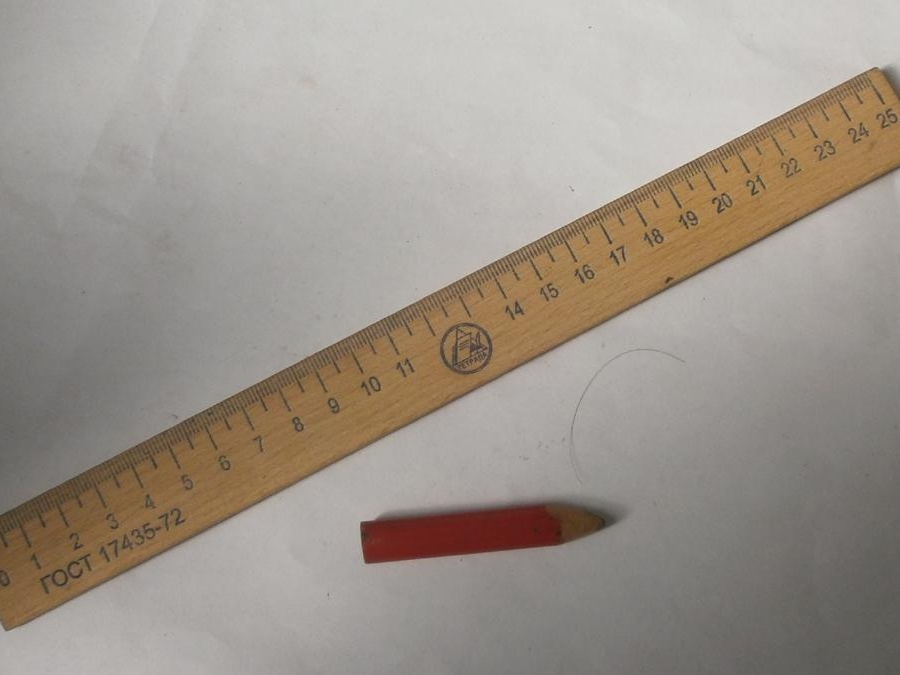
a pencil and a ruler for marking,
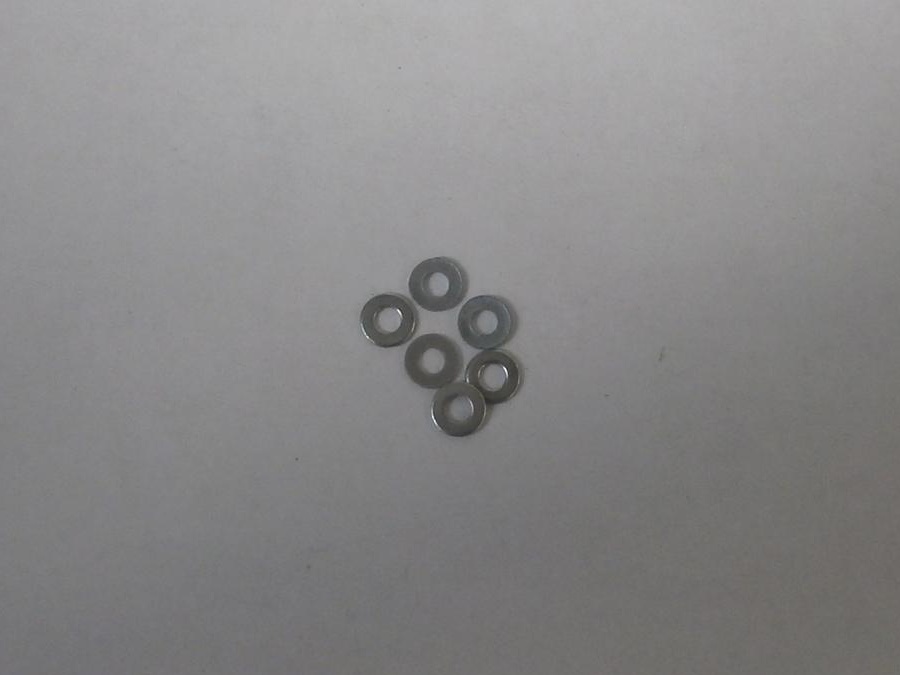
six washers M3,
and thin furniture nails. That's all, we begin to "create."

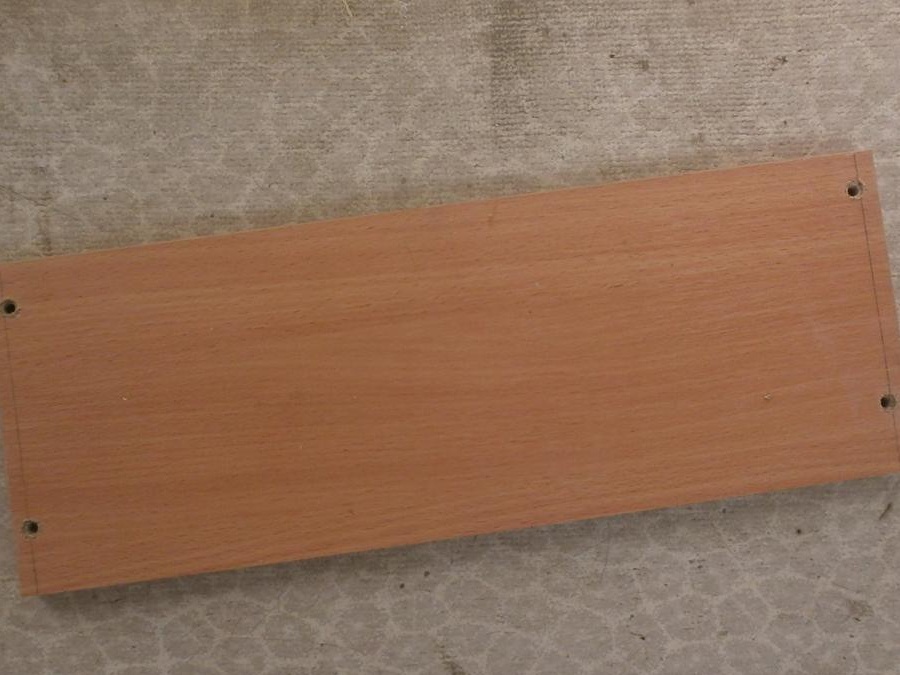
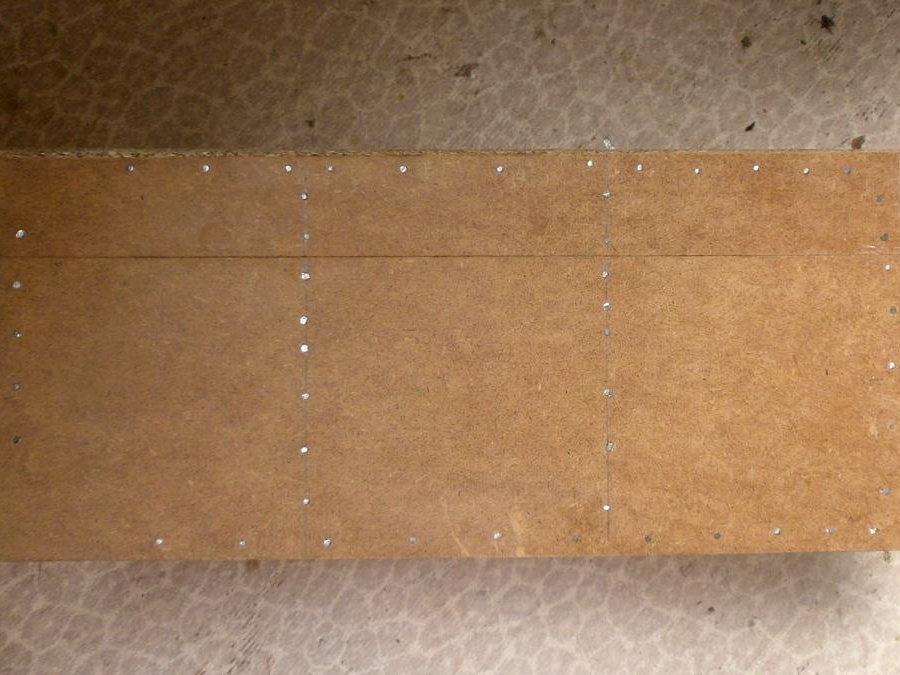
We mark the holes (30 mm from the rear edge, so that then the screws of the awnings and 20 mm from the front part do not rest in them), and drill them.
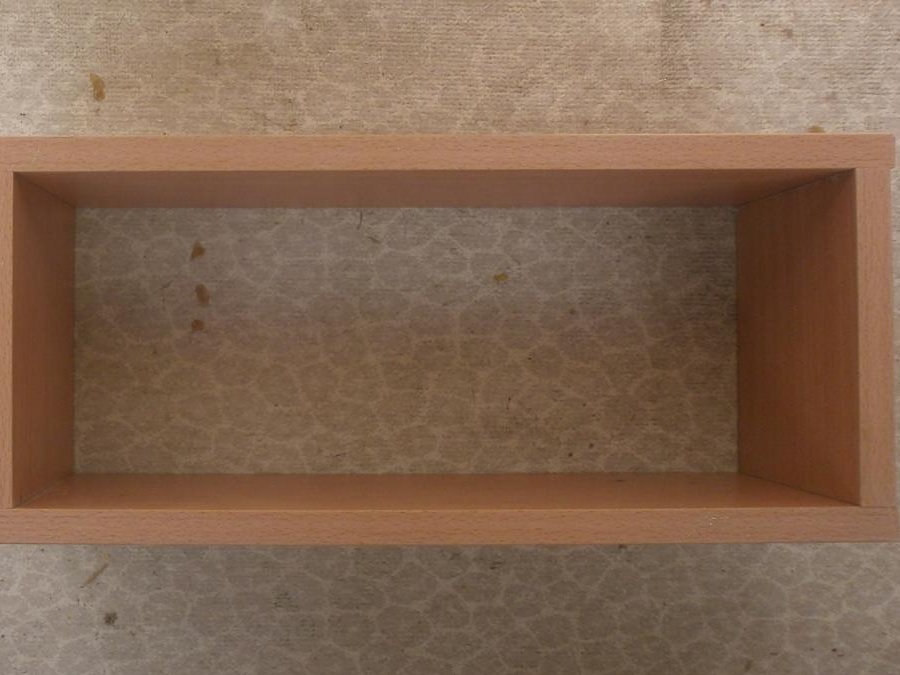
We drill out both parts to the end with a confirmation drill and screw them down. We repeat this from three sides. The box is ready.
We also fix the intermediate shelves,
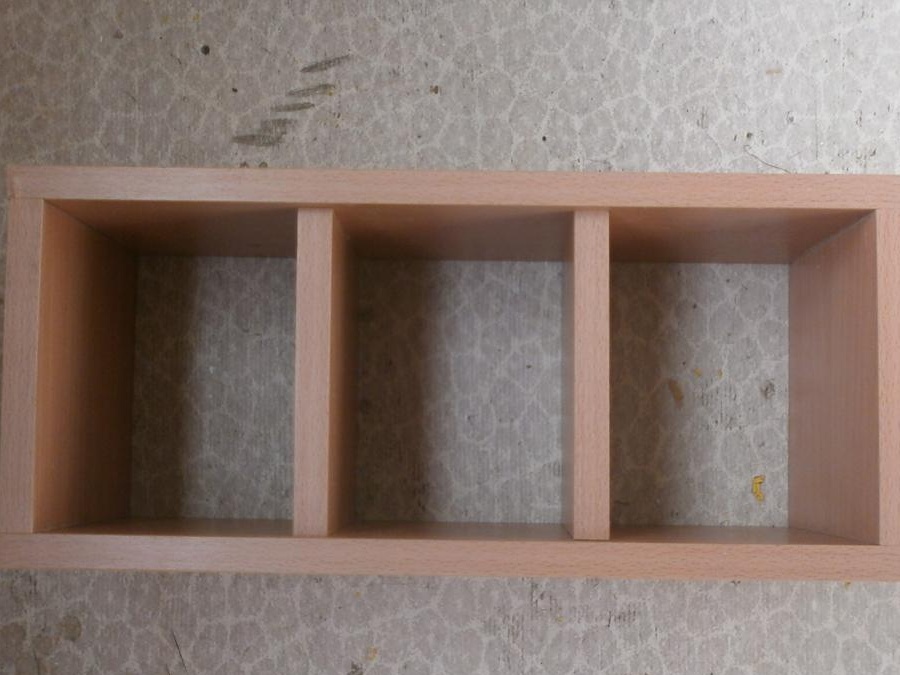
but already one confirm on each side.
Now with nailing, we nail the back wall. Moreover, both along the contour and to the intermediate shelves, so that they do not rotate.
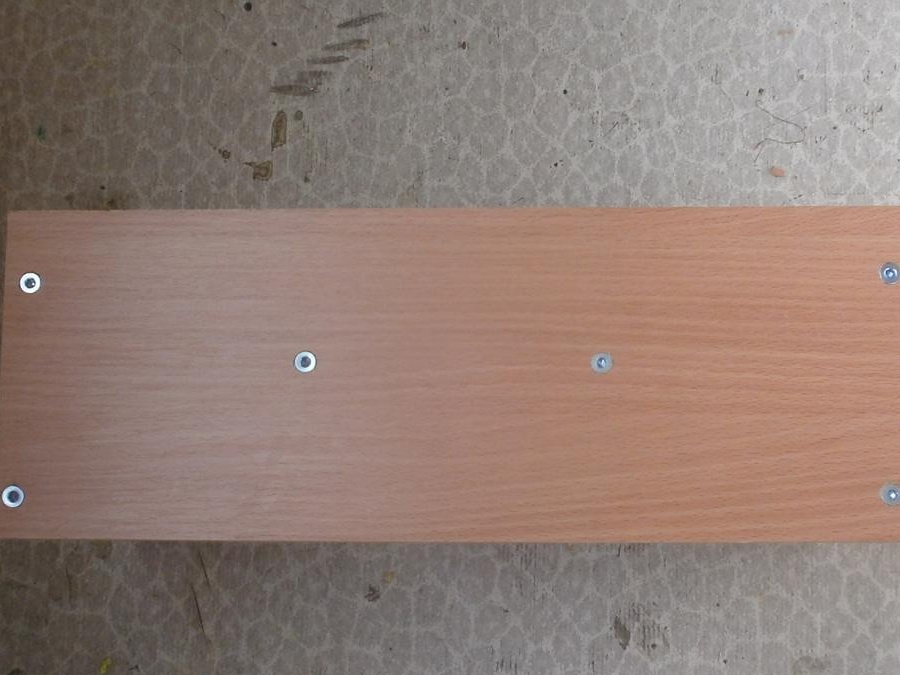
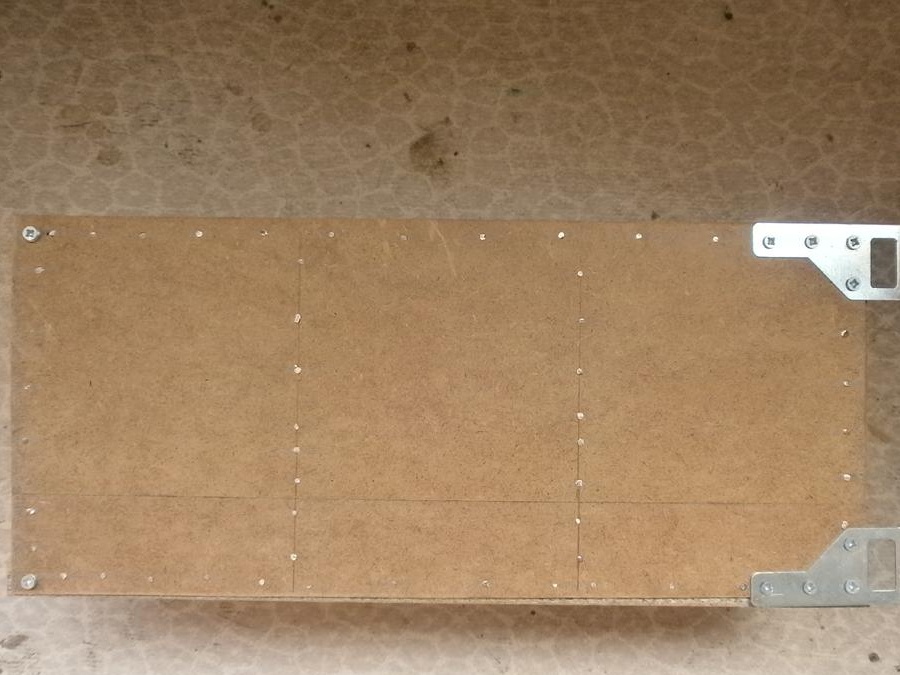
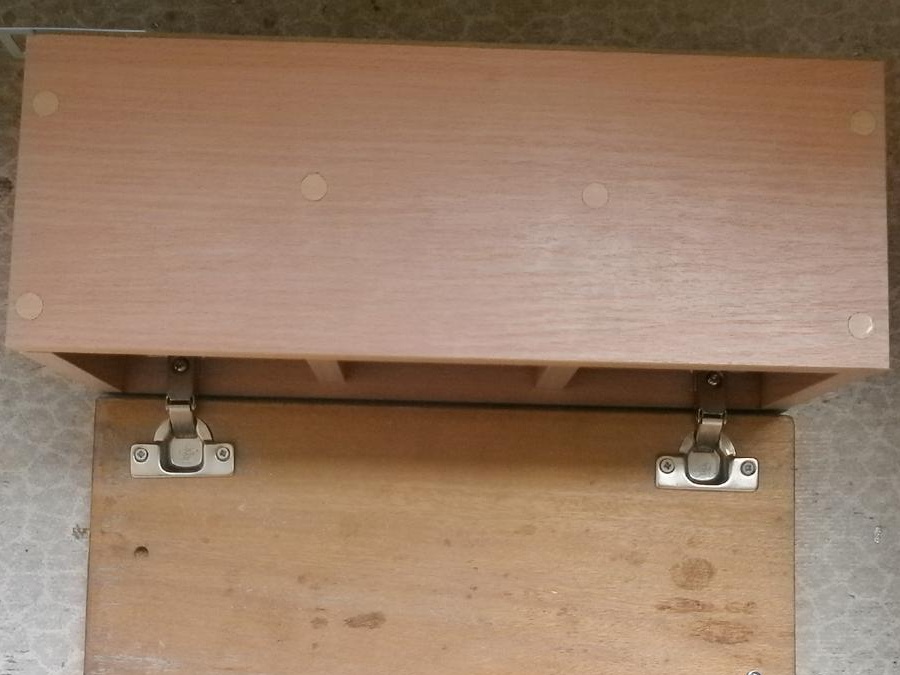
We fasten the canopies, and so that the shelf hangs horizontally, without leaning forward, from the bottom we fasten the stop of a short screw and three washers put on it. Now seal the confirmation heads with decorative caps.
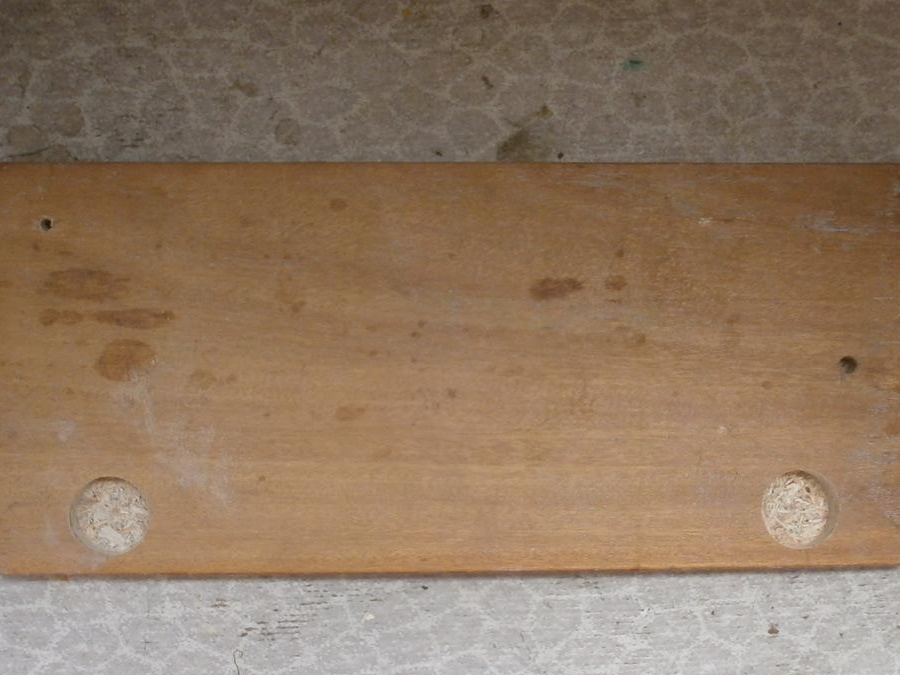
Everything, the main box of the first-aid kit is ready, now we take up its main part - the door. We drill one hole right through for the handle (ideally, the diameter of the hole is also a confirmable drill), and two holes for loops.
We fasten them with four screws,
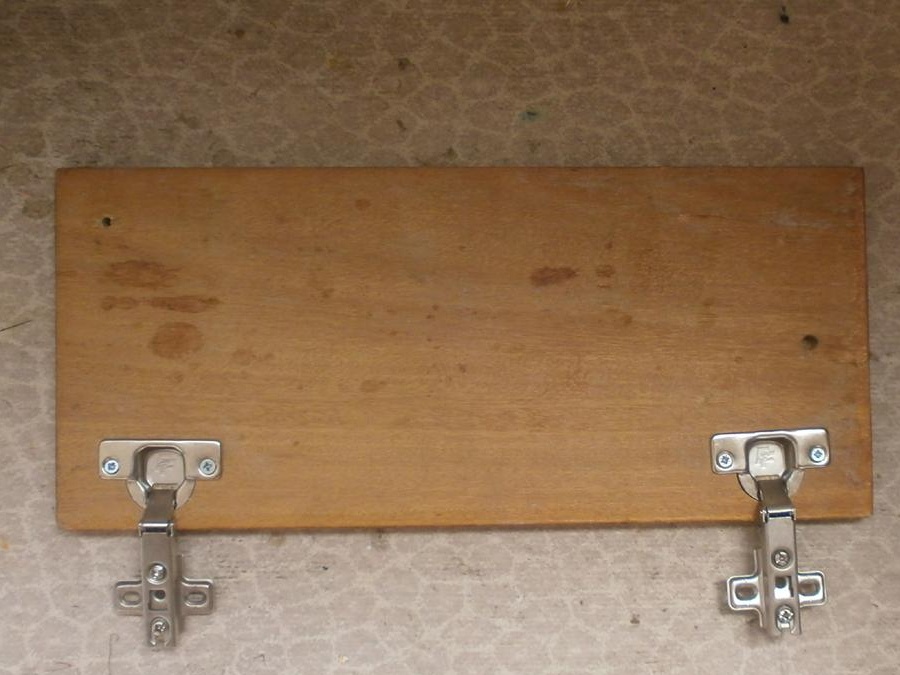
fasten the counterpart loop in place to the box of the first-aid kit,
and screw the handle.
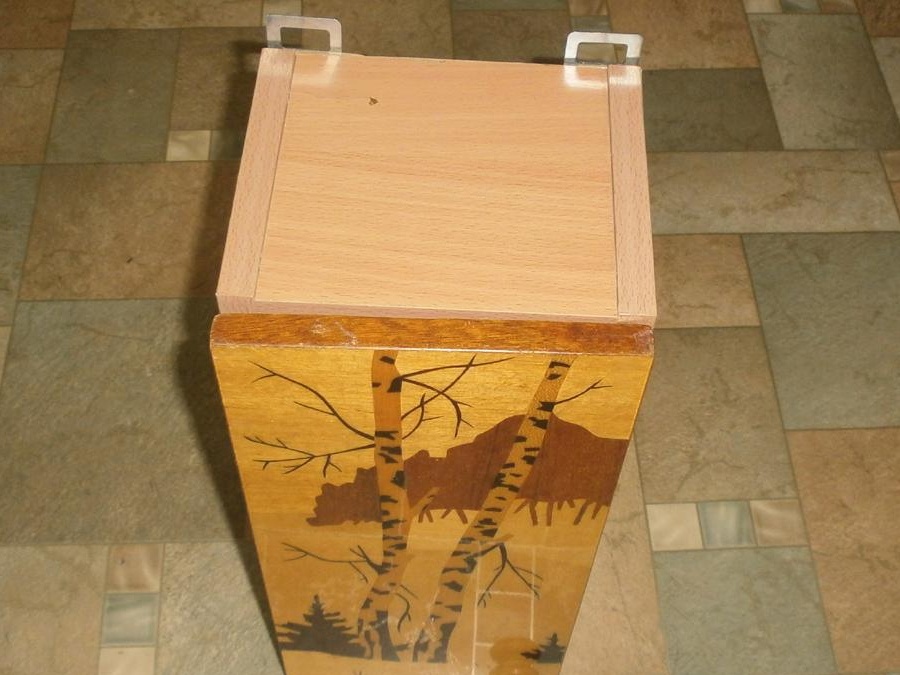
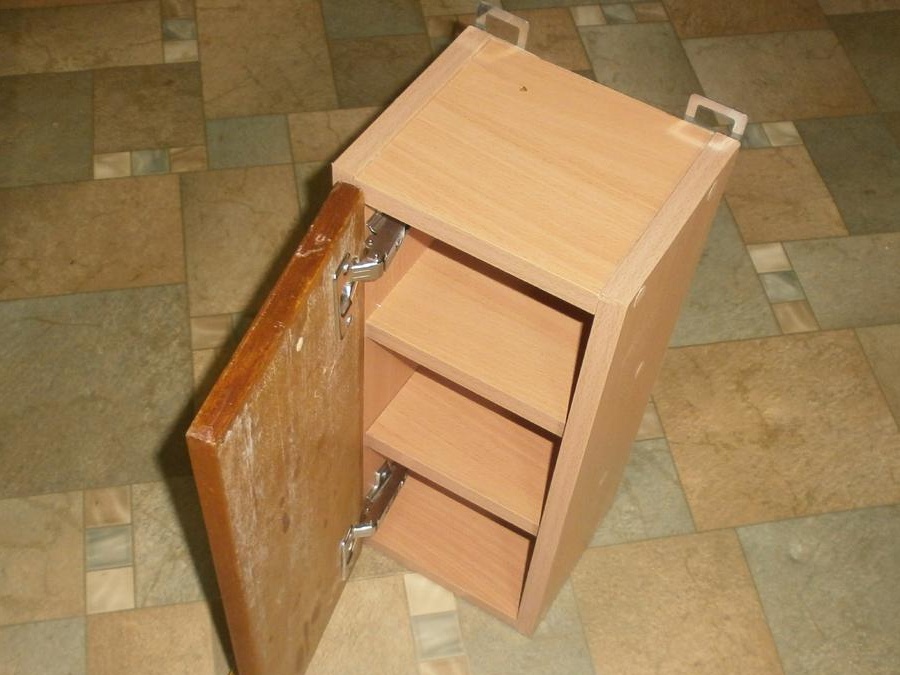
The original first-aid kit is ready, it remains only to hang it. And where and how - decide for yourself.
So everything is quite realistic to do on your own, and in just an hour or so. That is how much my 11-year-old son spent under my strict guidance.