

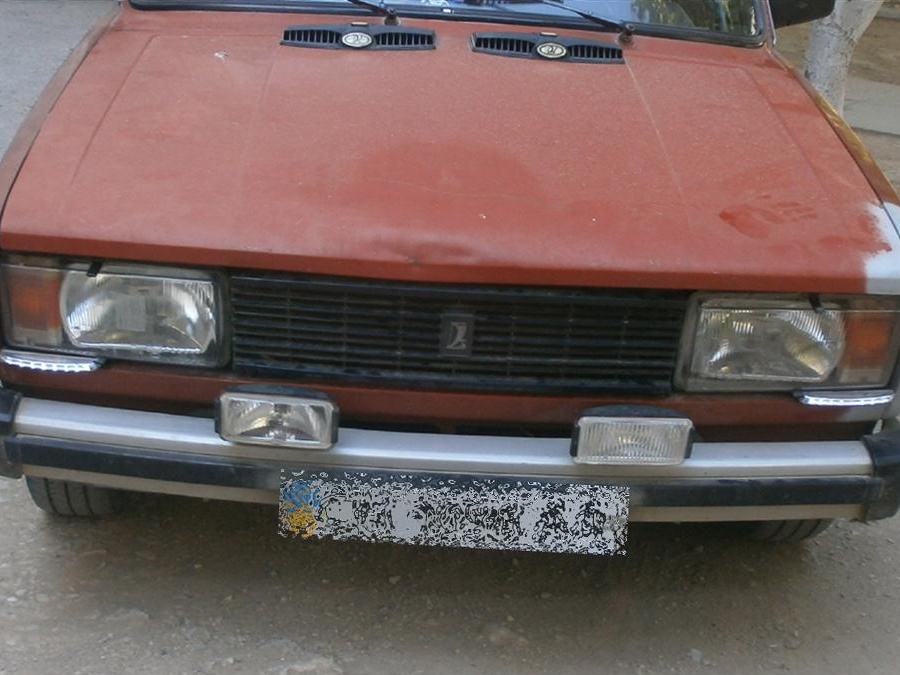
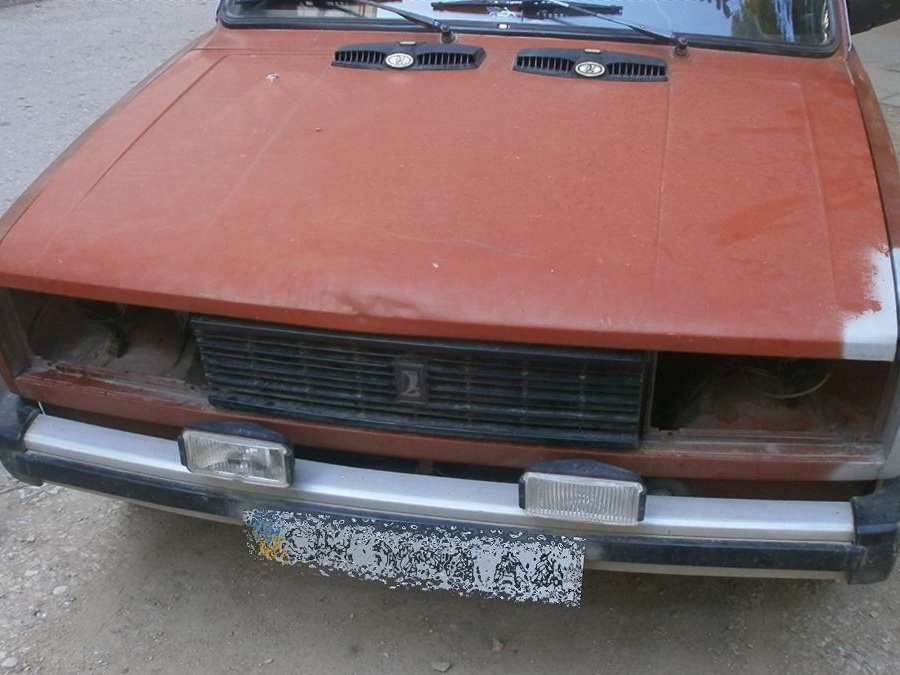
I have been operating the “old woman” VAZ 2105 for many years, and it never let me down, and I always drove home myself. Therefore, I try to treat her the same way as she does to me. But the years of age of the car take their toll, and it does not withstand the competition with younger "rivals" in any way.
But the situation where, due to my own forgetfulness, I did not turn off the headlights, and in the morning they found a discharged "zero" battery, it happened to me more than once. And one fine day, after unobtrusive communication with the inspector of the road service, he suggested a simple solution: put the Daytime Running Lights on the car, or DRL for short.
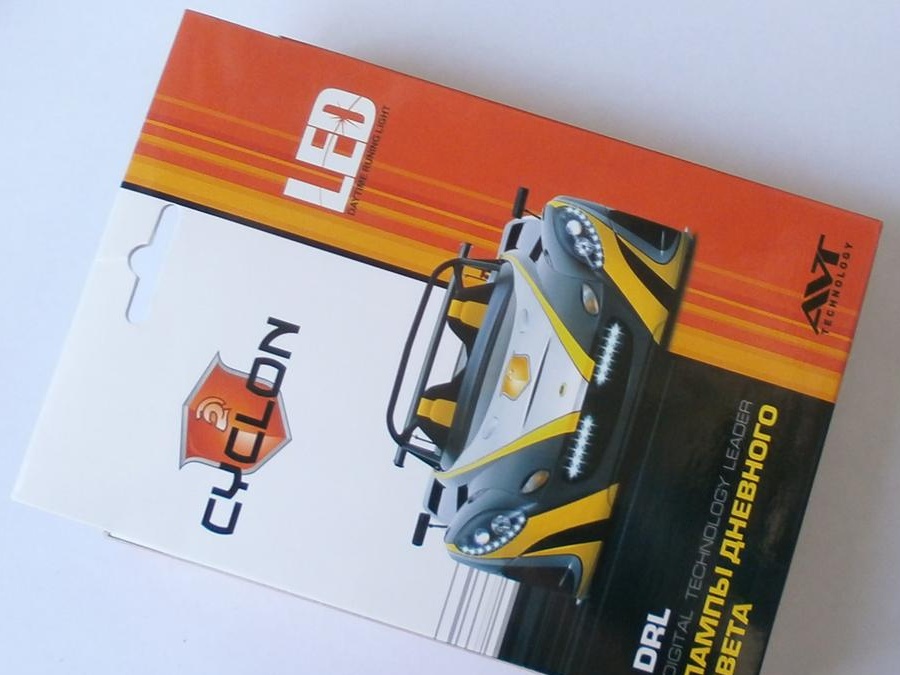
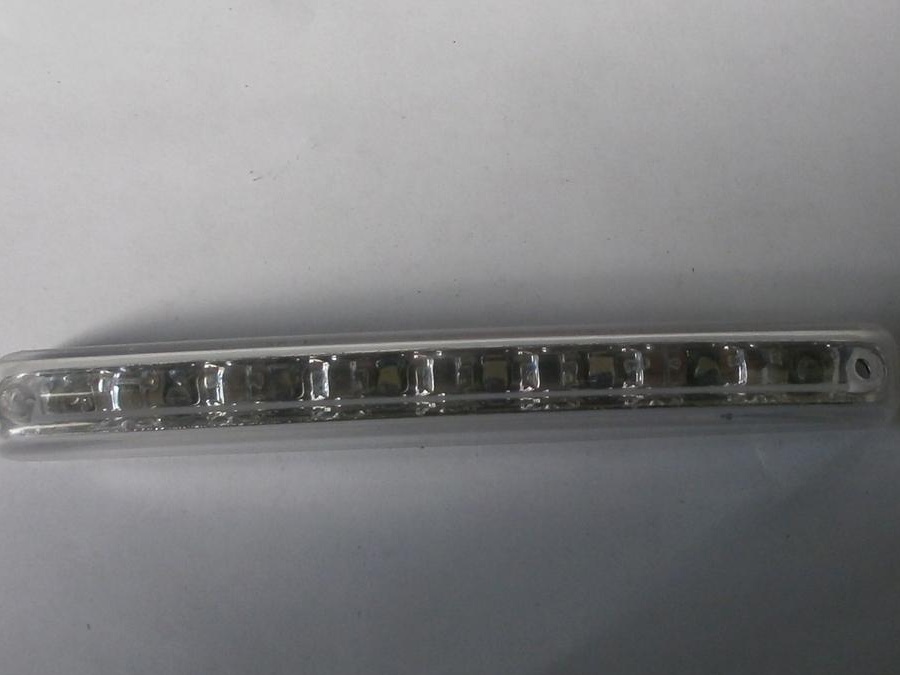
No sooner said than done, and the next day I went to the nearest car market. Just want to warn against the purchase of universal DRLs (not for a specific model) via the Internet or mail: you still need to try them on, like it or not, and in size not all sellers will give accurate information. Therefore, I settled on simple DRLs from the "Chinese brothers" for only $ 11.
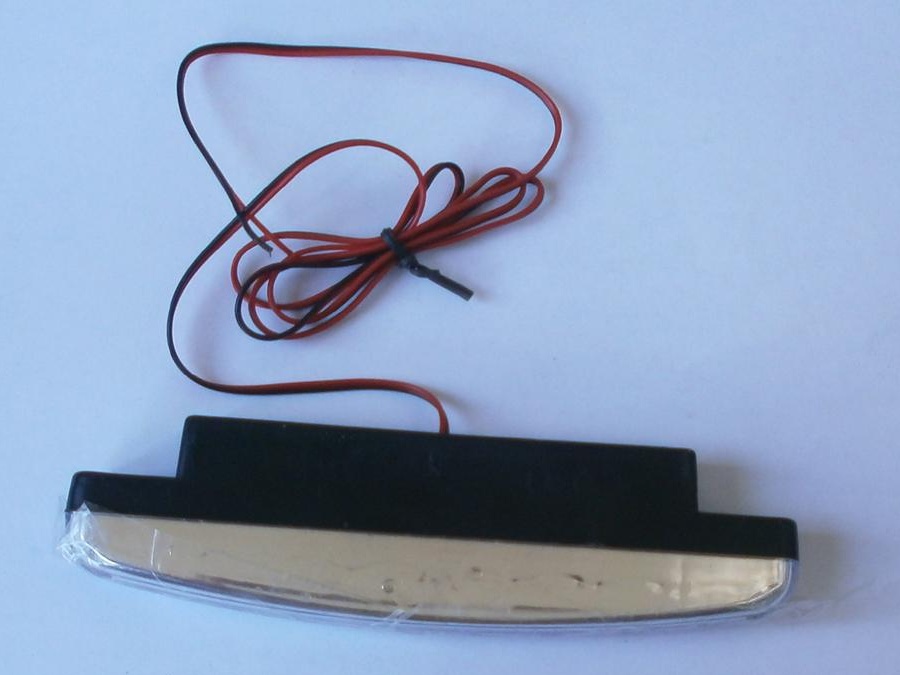
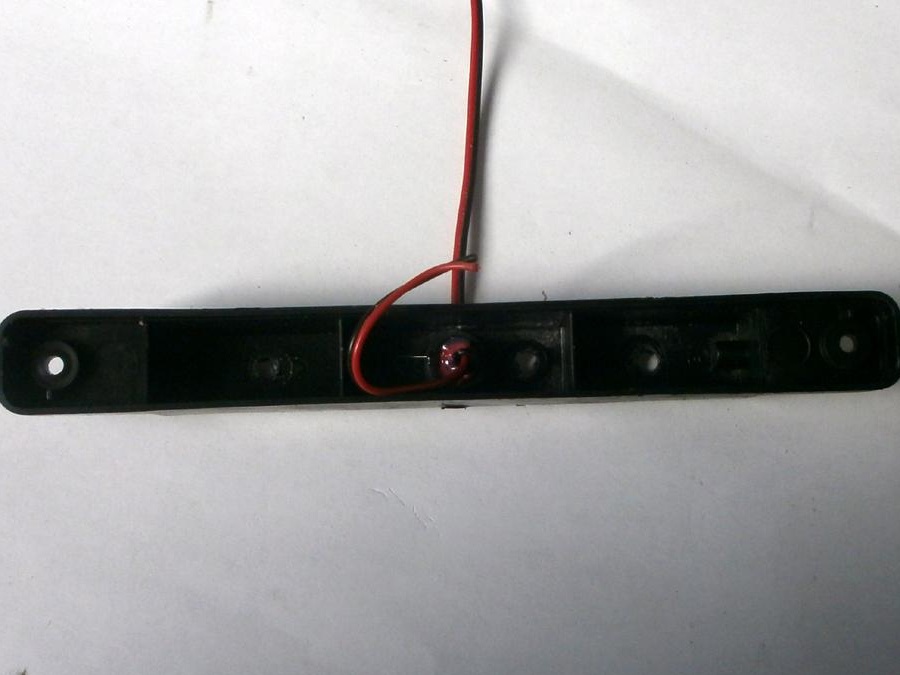
In the box
in addition to the very thin diode lights in the amount of two pieces,
there were two simple brackets,
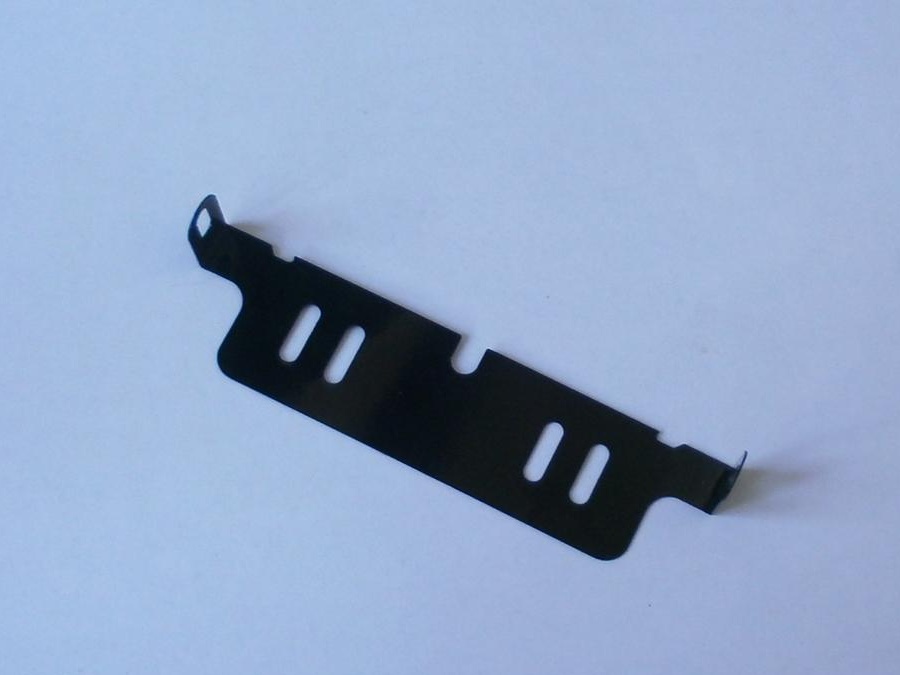
and eight screws: four more for fixing the brackets themselves to the car body or bumper, and four smaller ones for attaching the lights directly to the brackets.
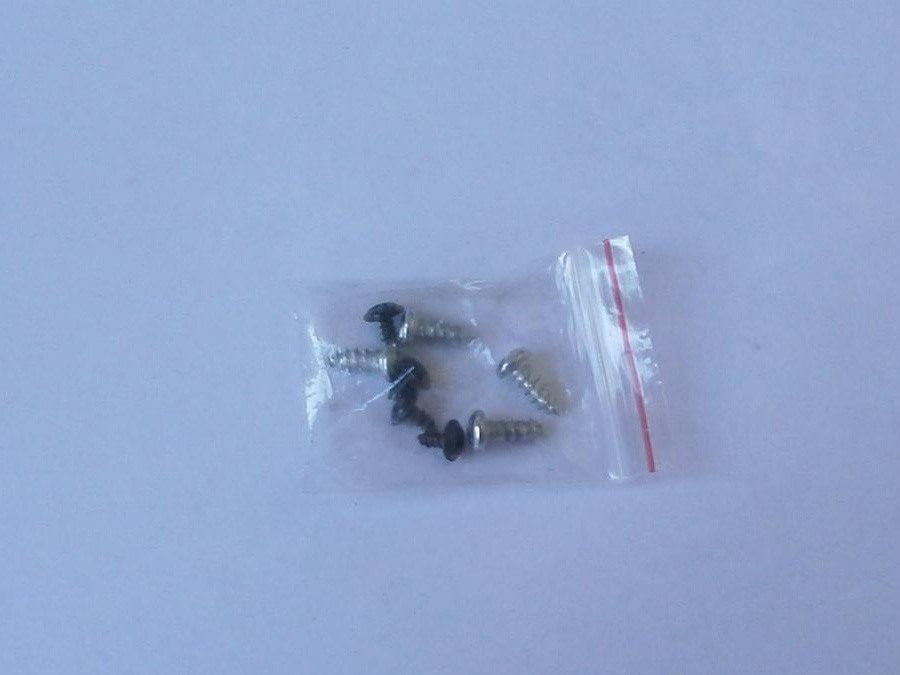
However, further practice has shown that we will not need either brackets or these "dead" screws.
At first I tried to put in niches, but I could not then put the main headlights in place,
and on top I just didn’t like it myself.
Fortunately, it got dark rather early (or I was busy with them for so long), and having decided that “the morning is wiser than the evening”, I went home. And the popular proverb turned out to be right and I dreamed about how it would put daytime running lights on my VAZ 2105. For reference: this entire article can also be successfully applied to the VAZ 2107, in terms of headlights and the wiring we need, they are absolutely identical.
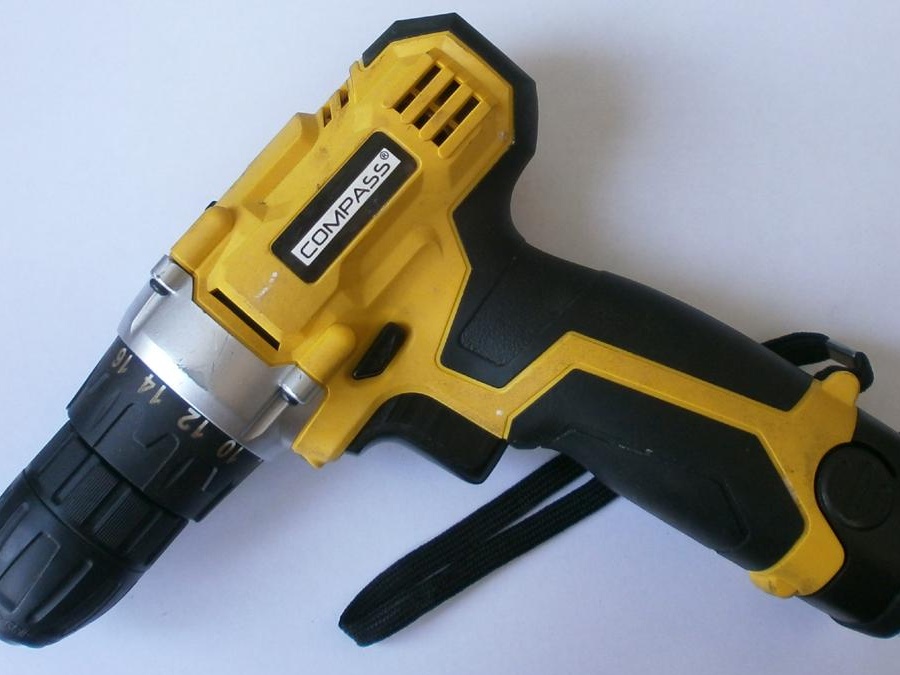
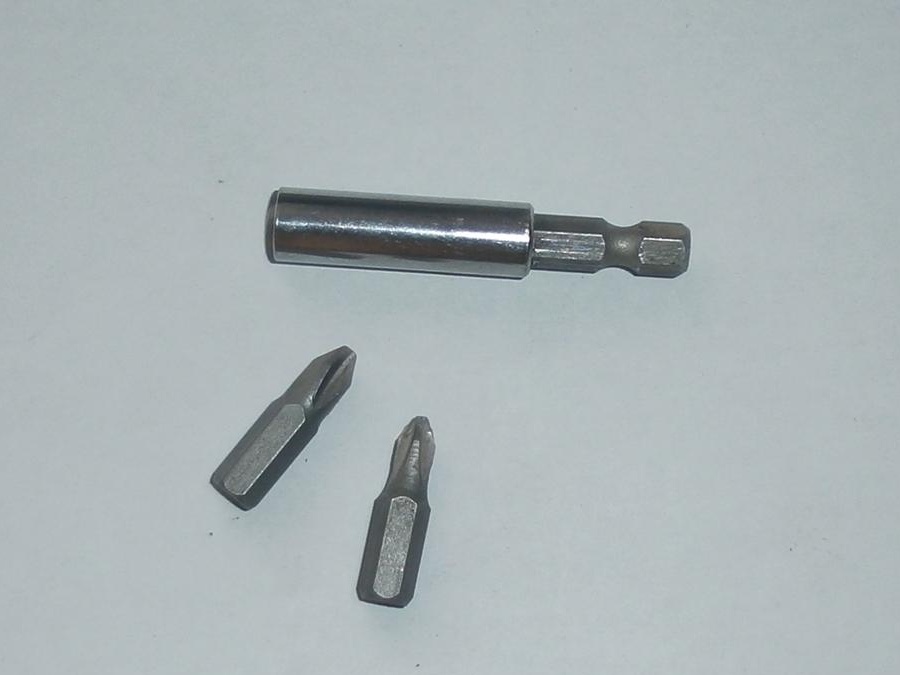
For installation, you will need a screwdriver that will perform the functions of an autonomous drill,
extension cord and two cross bits for it,
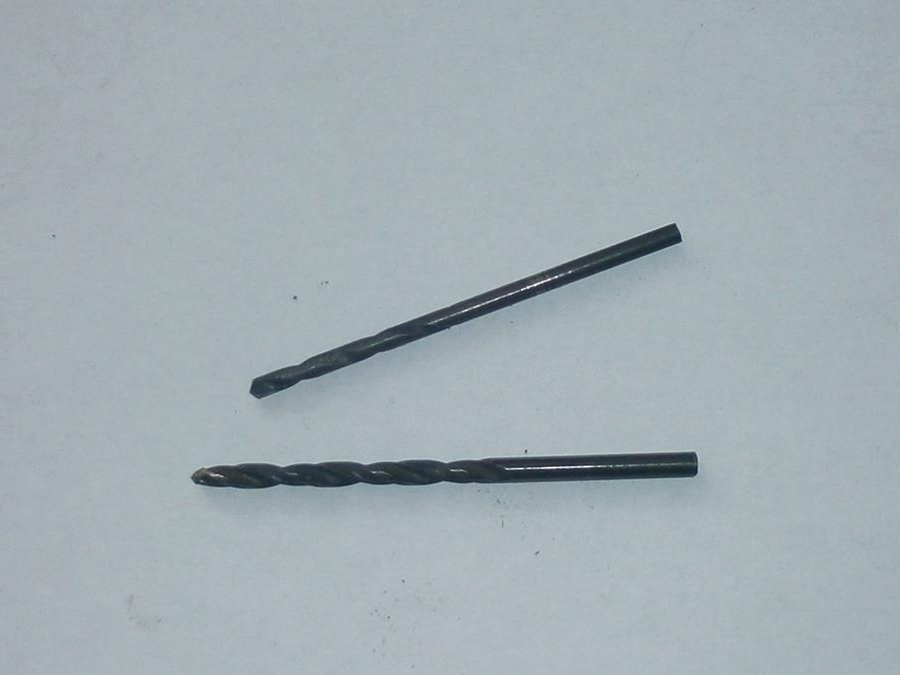
drills for 3 and 4 mm,
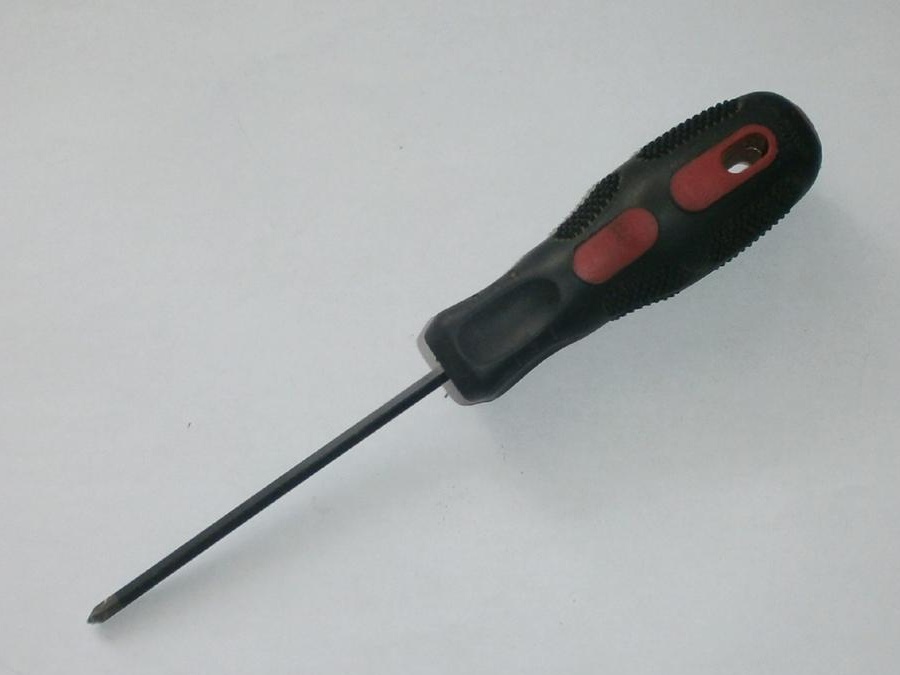
crosshead screwdriver;
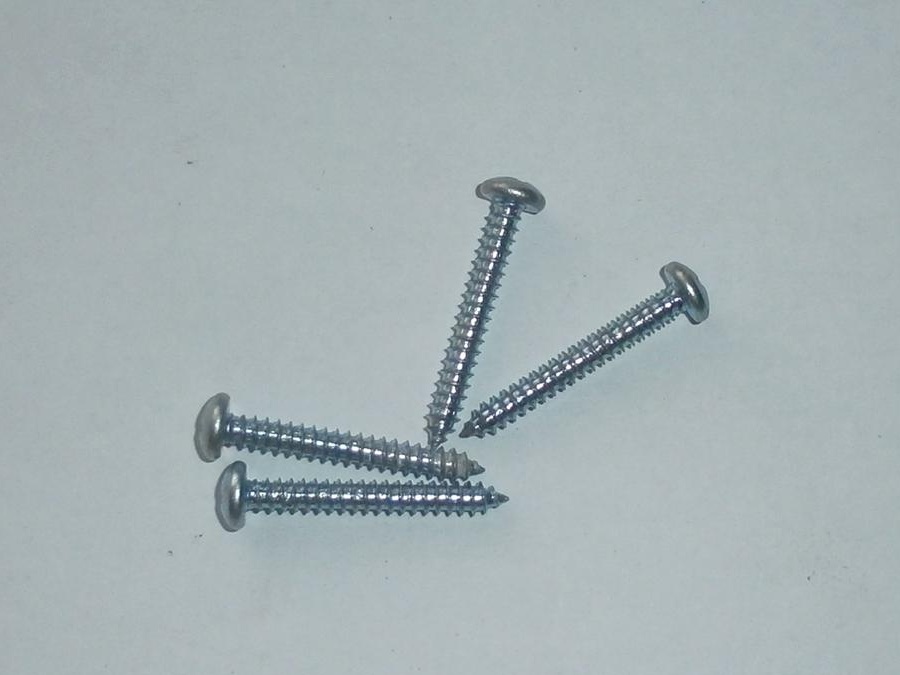
four shorter screws to secure the rear of the DRL to the main headlamp,

and four thin and long, so that the light bulb with glass is fixed to the body.
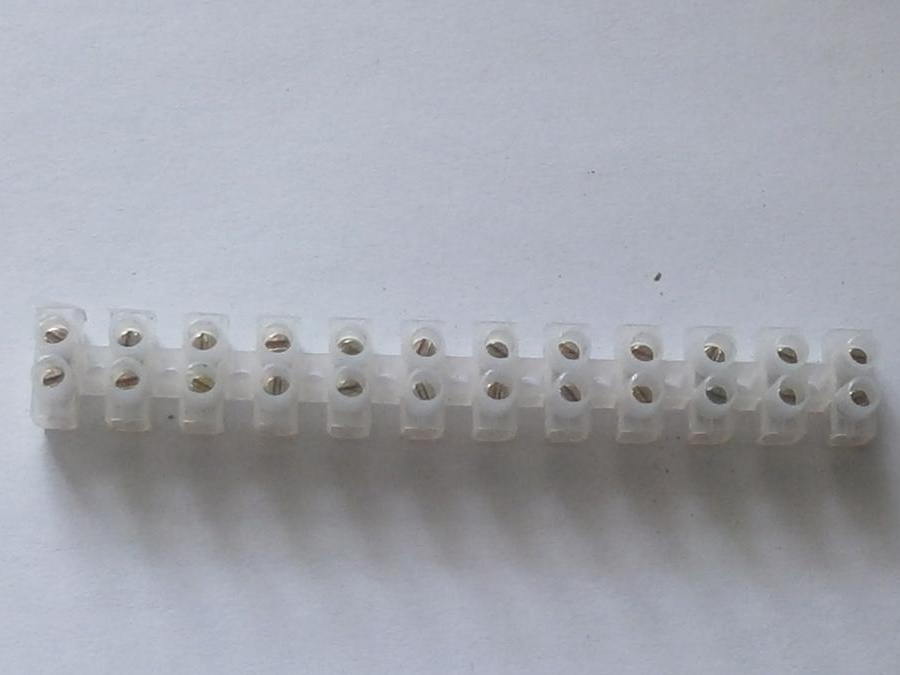
In addition, we need a mounting block, more precisely, only two segments from it,
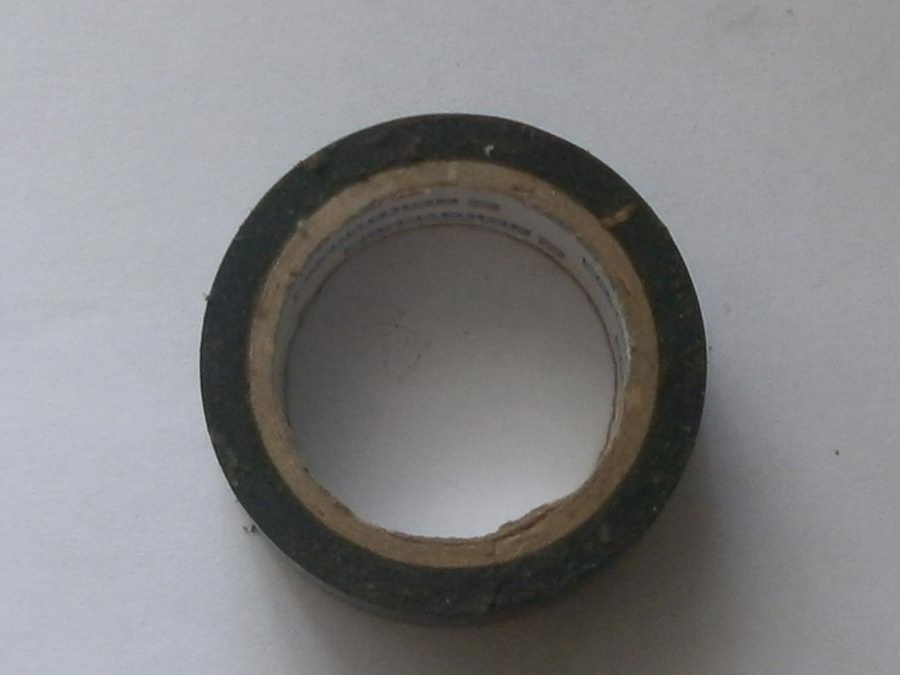
electrical tape (where without it),
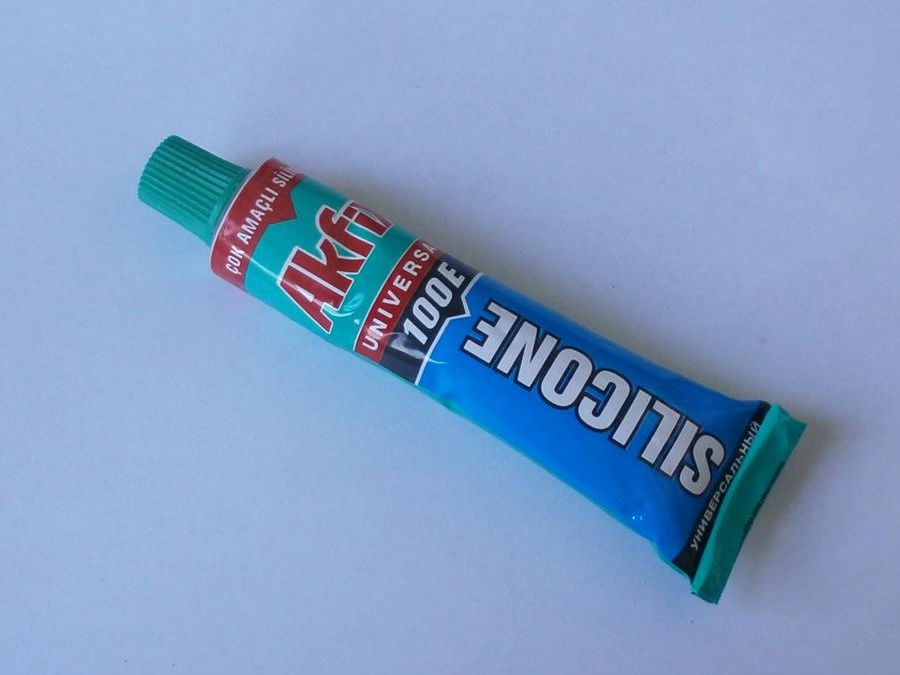
transparent silicone sealant,
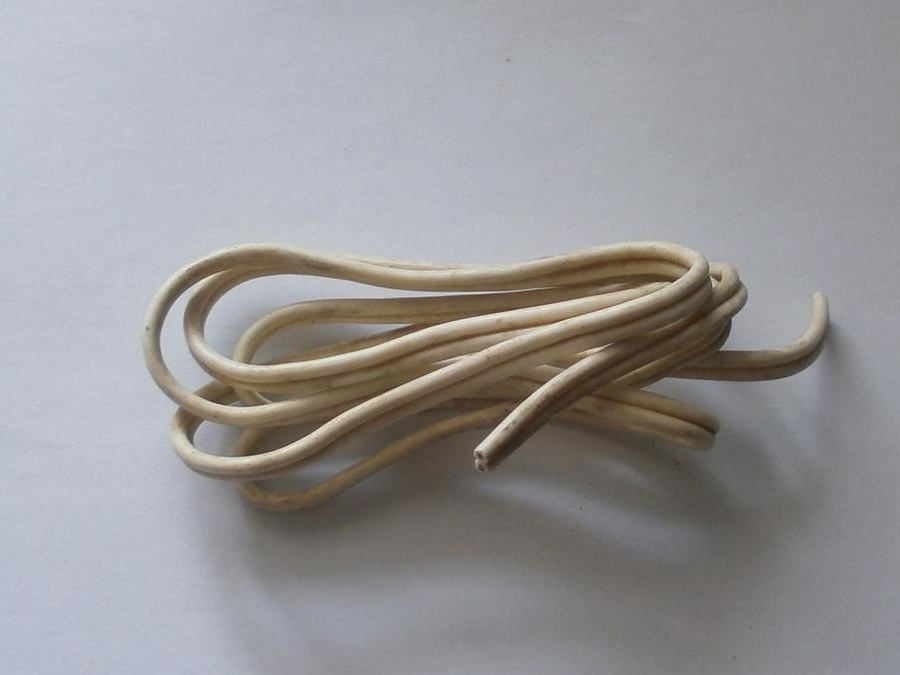
meter (or even less) piece of two-wire wire,
plastic clamps to lay everything neatly,
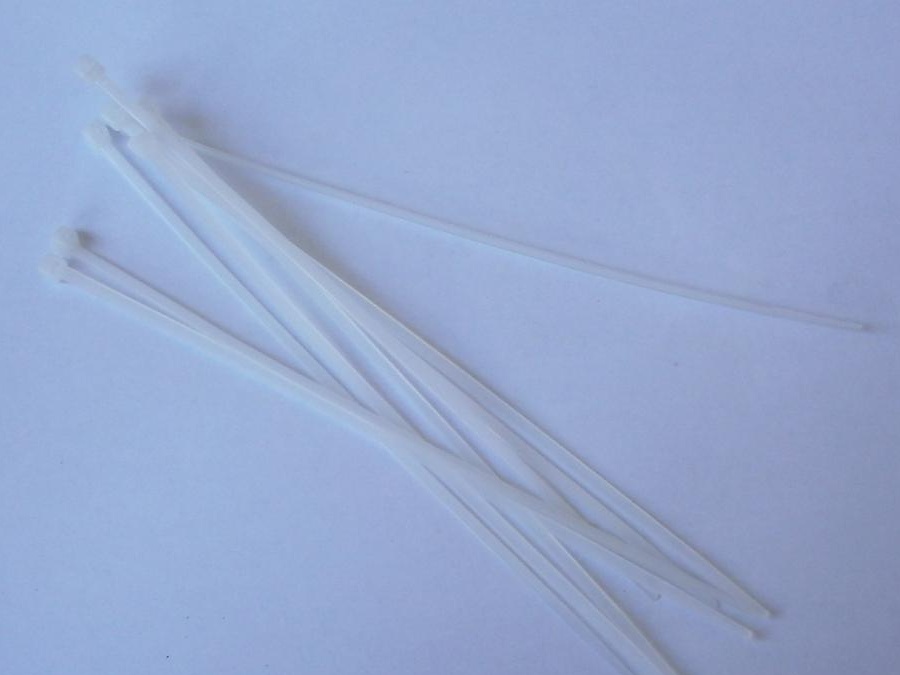
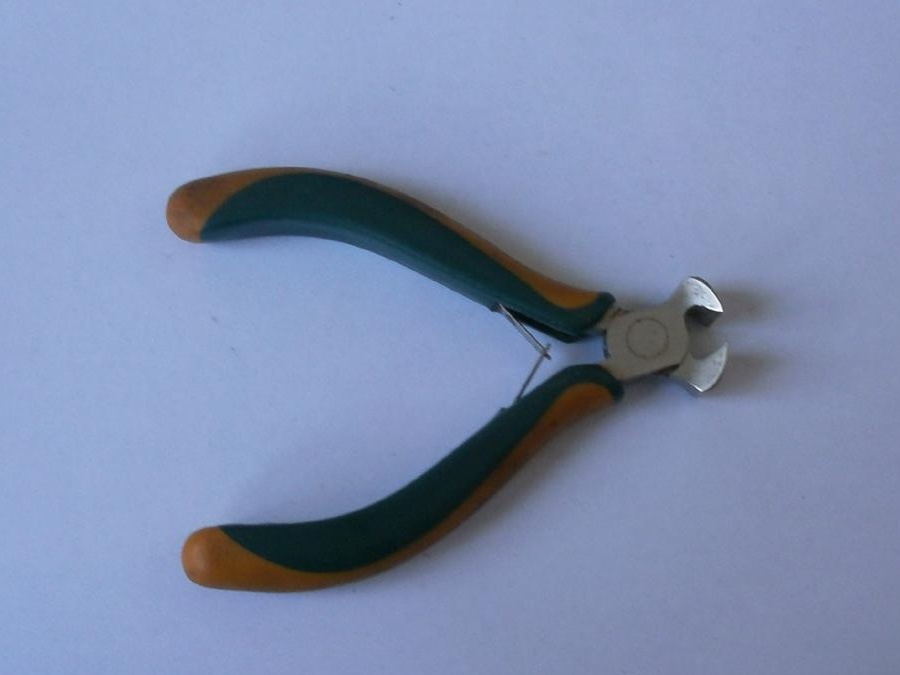
and nippers to bite off the extra ponytails.
Everything, we begin to create.
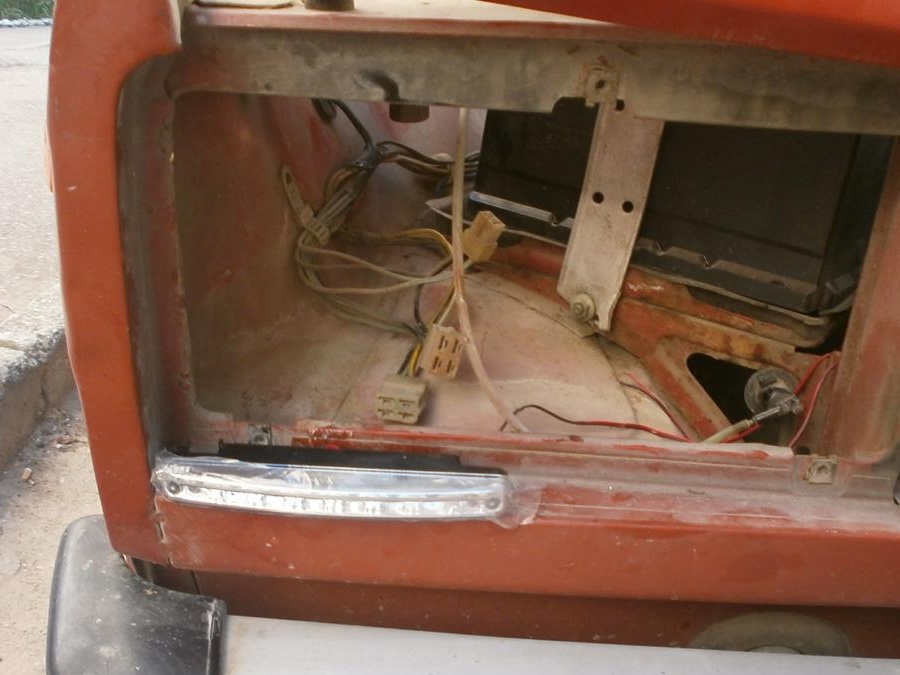
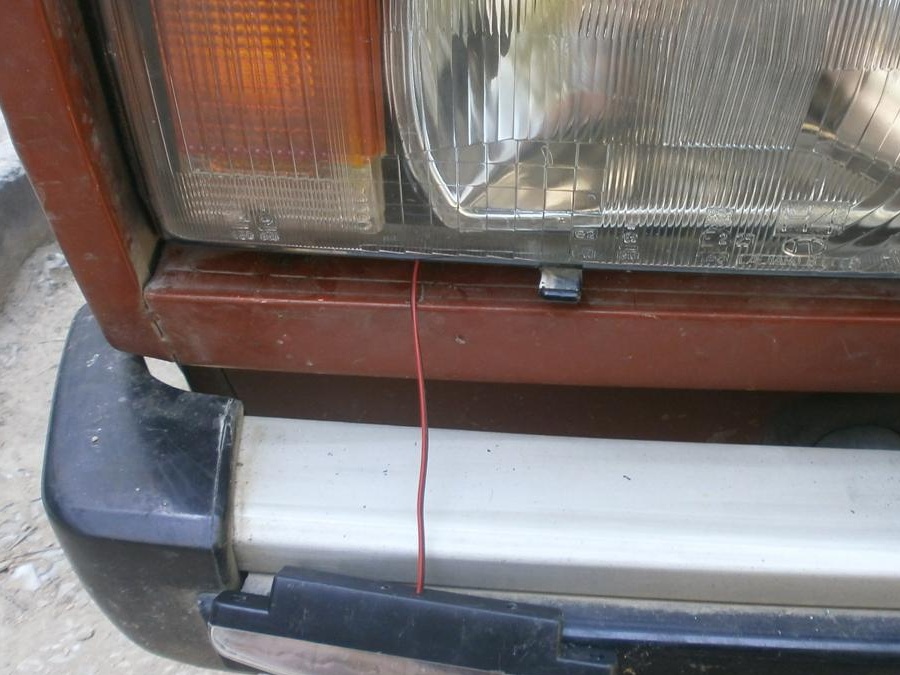
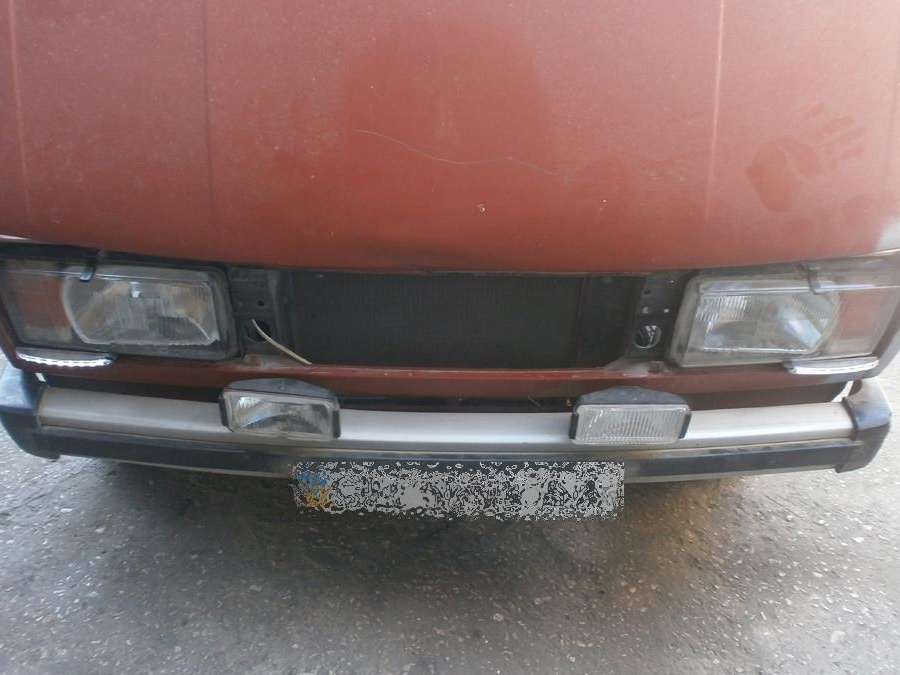
We remove both headlamps,
and drill four at the bottom to drill a hole through.

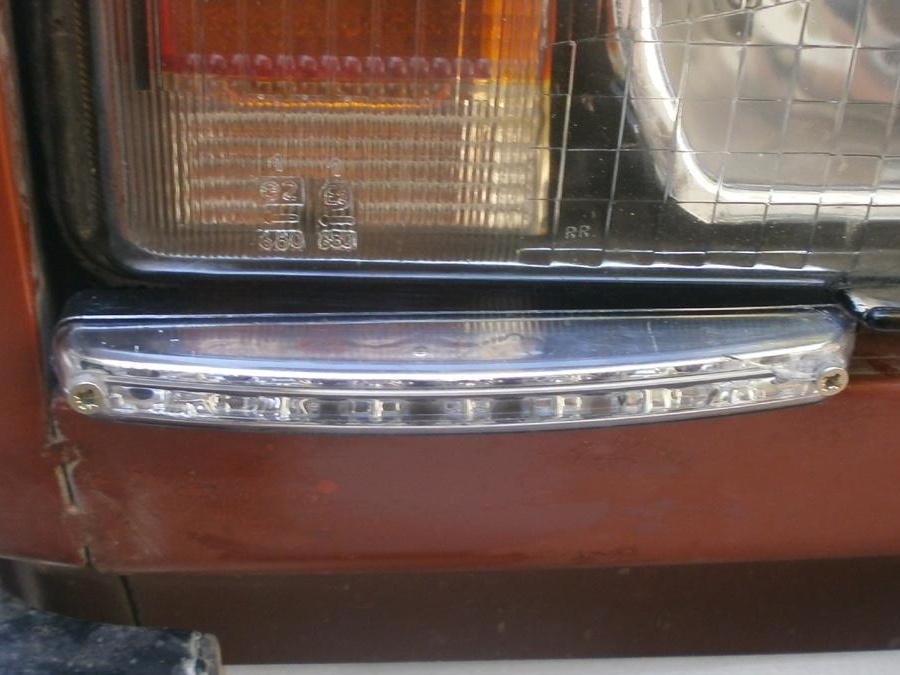
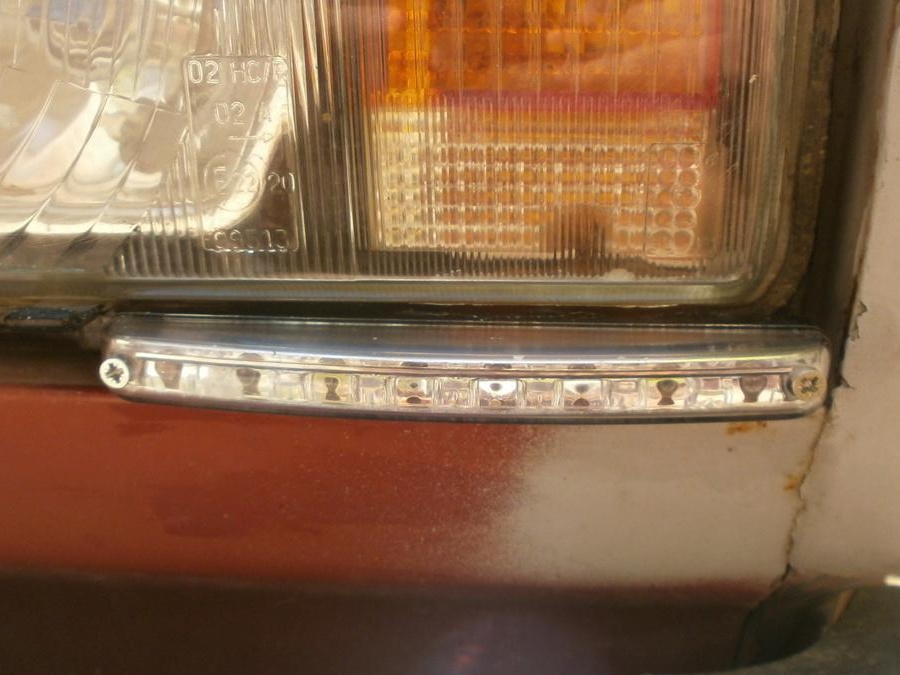
Now the neatest part, since the outer glass of these DRLs is not glass at all, but rather fragile and sticky transparent plastic. Therefore, with a drill, first, at three, at the smallest turns of the drill, we drill a through hole. And then with a drill of four, we carefully and carefully increase it to this diameter.
In the back, on the contrary, there are already holes for thin screws, so we don’t do anything with it.
Pass the wire through the prepared hole and put the headlamp in place.
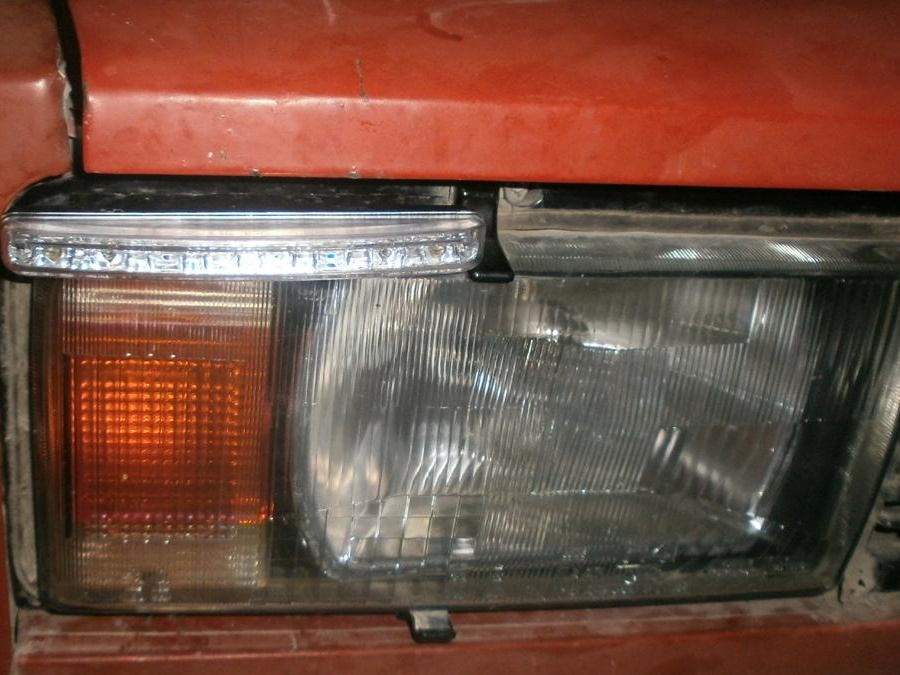
We fasten the back cover of the DRL directly to the headlight,
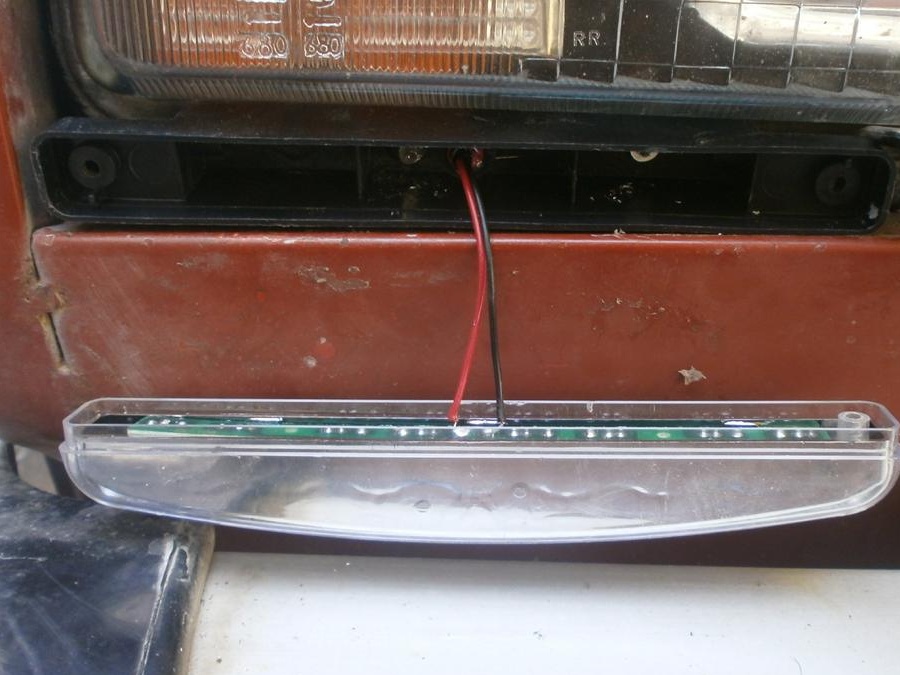
lubricate the contour with transparent silicone,
and after lubricating the screws themselves with the same silicone, SCREWDRIVER, carefully (remember the fragility) we fasten one first,
and then another headlight.
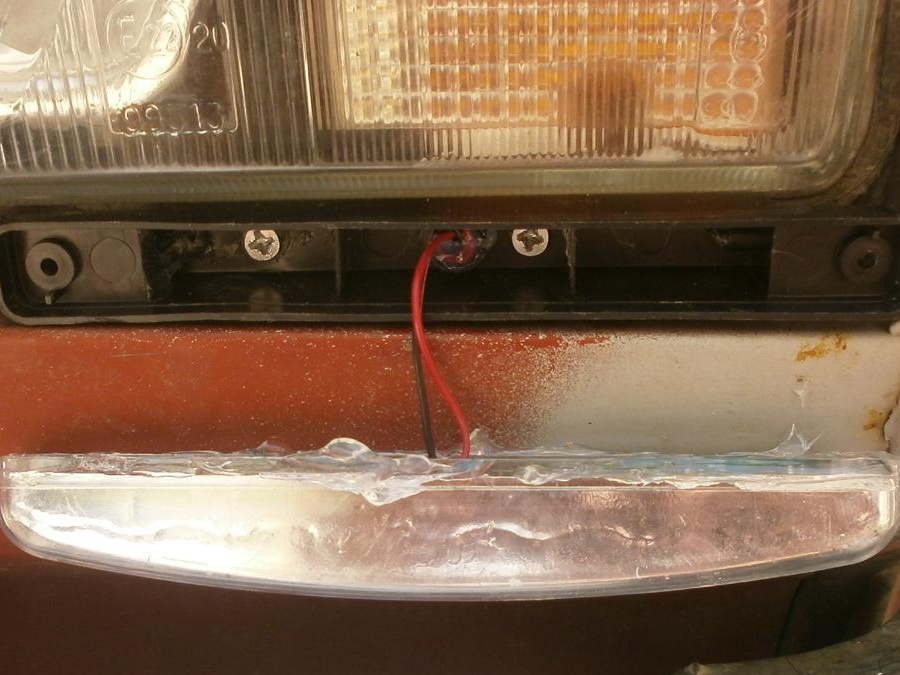
Wipe off any remaining silicone until it is frozen.

Now remove the false radiator grille. It’s easy, four Phillips bolts.
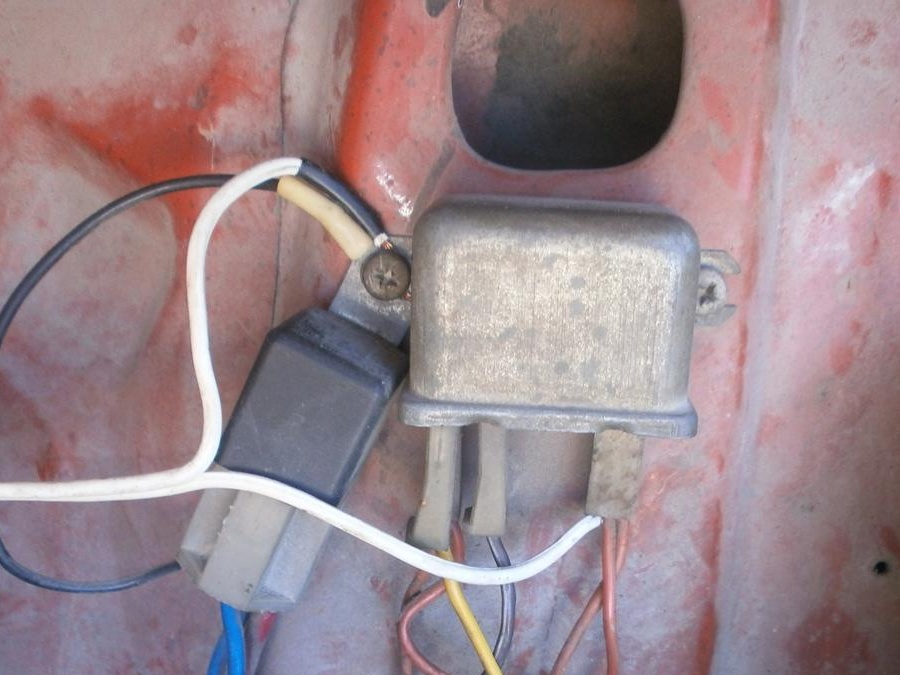
Through the contacts, connect the wires from the bulbs in pairs with the main wire, which we will fix. If the wire is solid, mark the ground (black wire) on the other hand, it will be much easier.
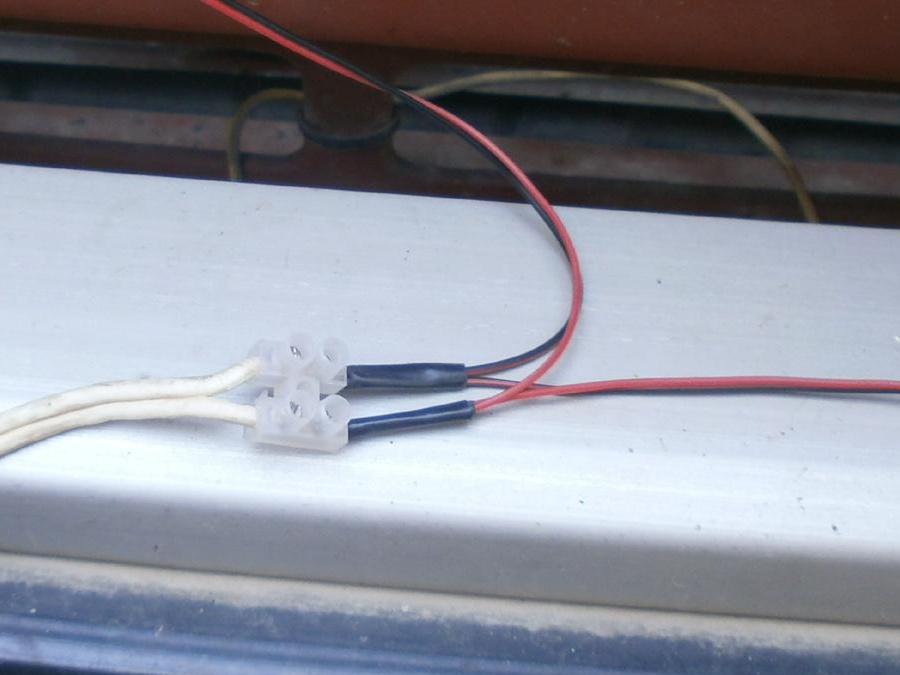
Skip it on the right
and strip the negative contact and screw it to the total mass. And also clean the positive and connect to the relay nearby.
Turn on the ignition. There is light. We screw back the false radiator grille,
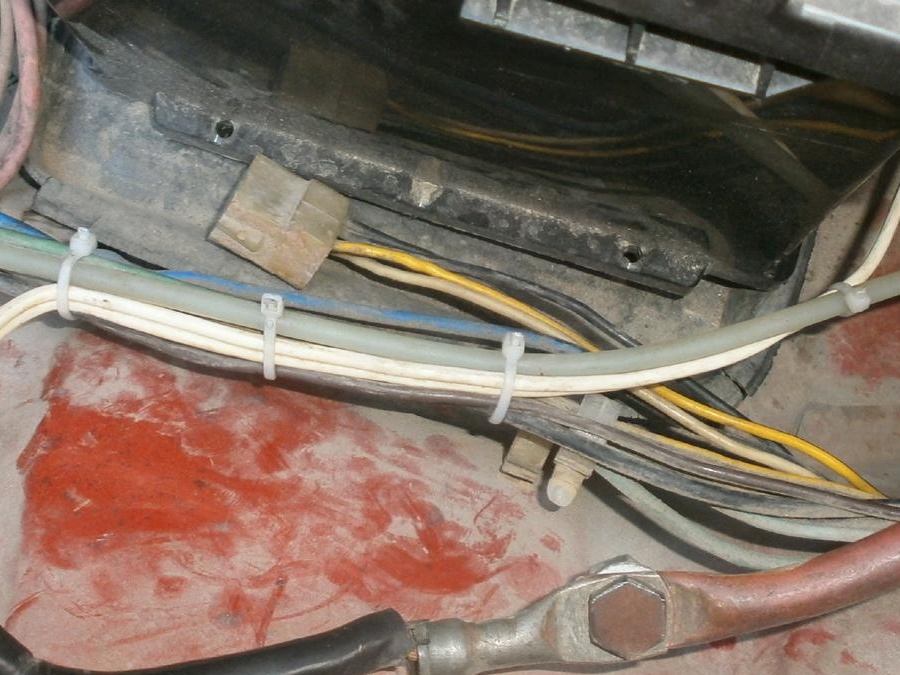
and carefully lay the wire,
That's all, when I turn off the ignition there is no light,

and when you turn it on and while driving it is.
And you yourself see that the full installation and connection of DRL on the VAZ 2105, the question is only 15 ... 20 minutes.