

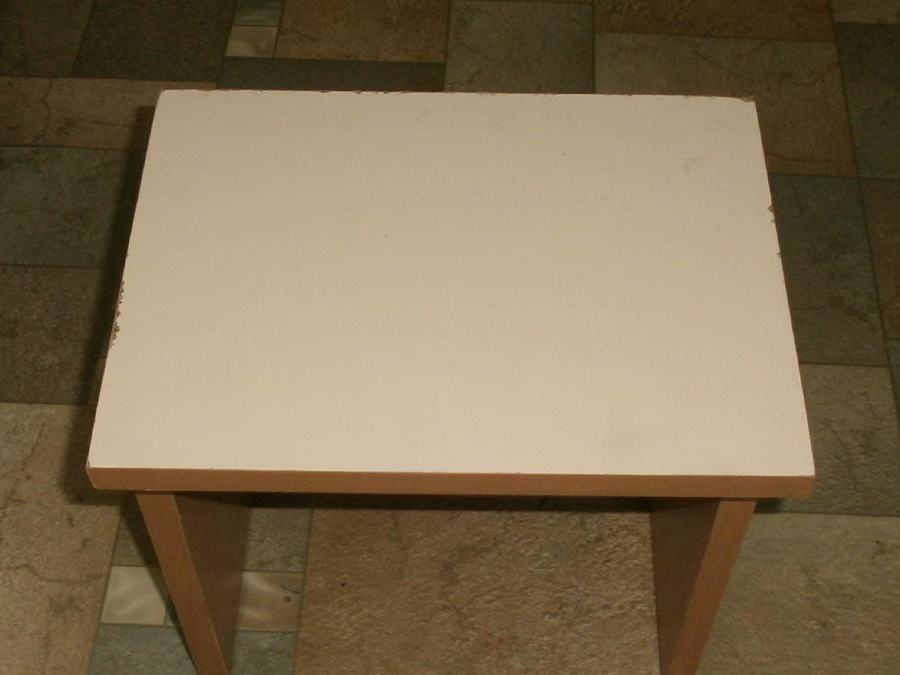
This stool made do it yourself, just from the number of those things that are done in 15 minutes, and then serve for years. Moreover, the master class itself write and read even longer than doing it. Therefore, my son (the boy is 11 years old) decided to make it on his own, however, under my strict guidance. But only as a consultant and photographer.
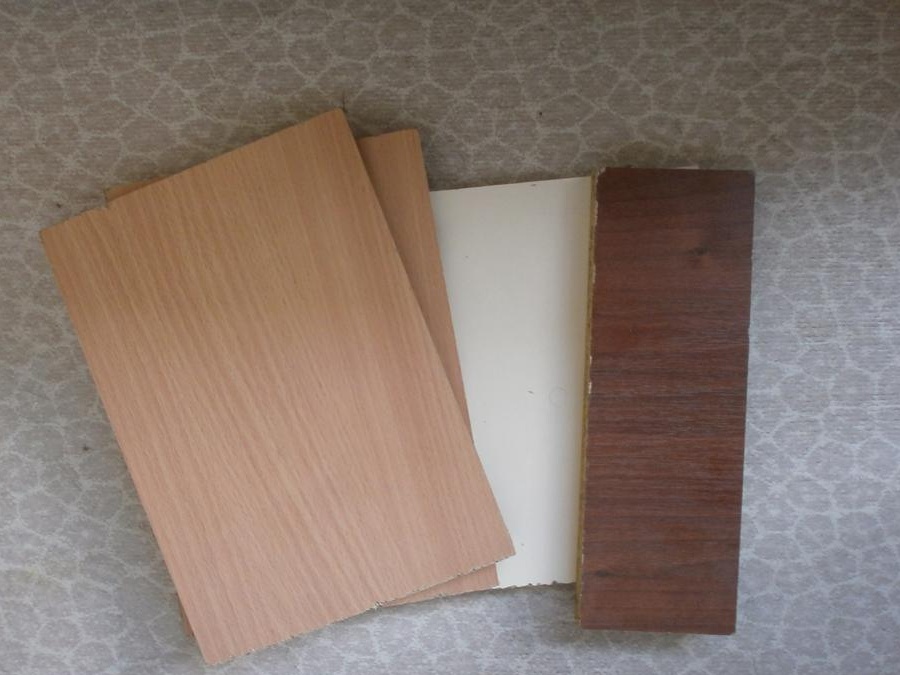
So, a simple stool. For her, we need only four pieces of chipboard:
• Two on legs, 200 by 250 mm;
• One upper part - 250 by 300 mm;
• And one spacer 90 to 200 mm.
I did not buy or order all this. And in the workshops where large sheets are cut, there are many unnecessary scraps left. Here they are, “for thanks”, and I scored plenty, and now they should make a convenient stool made by myself.
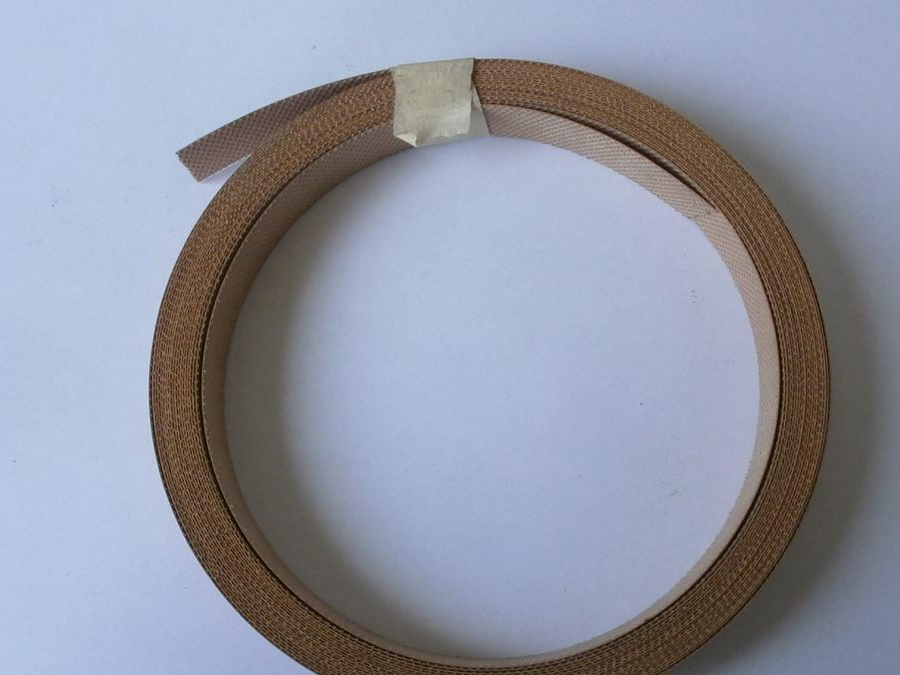
In addition, you will need a simple device for pasting parts with an edge (without it you can, too, just more convenient),
the edge itself
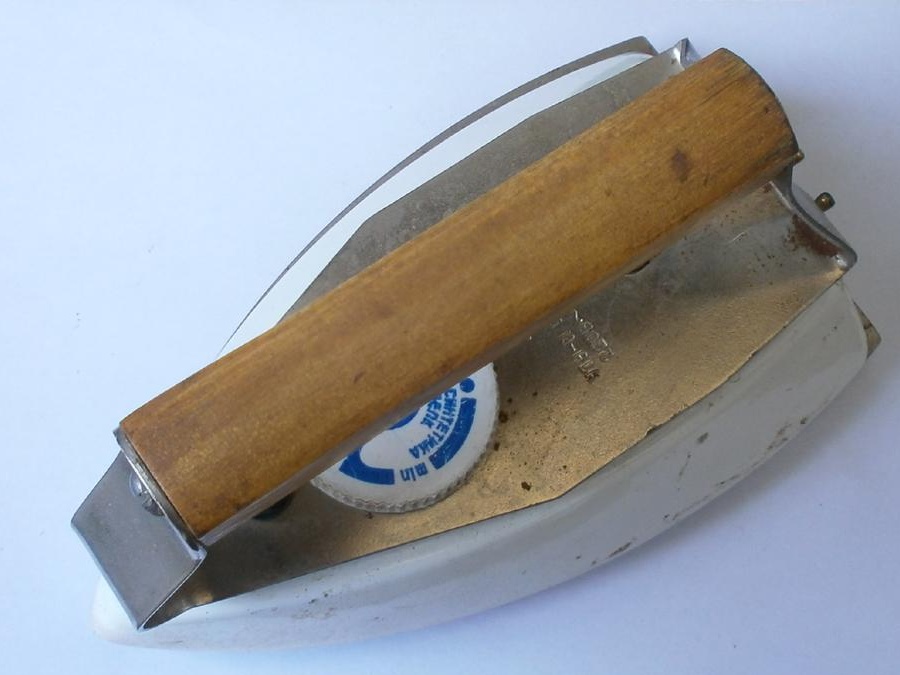
iron,
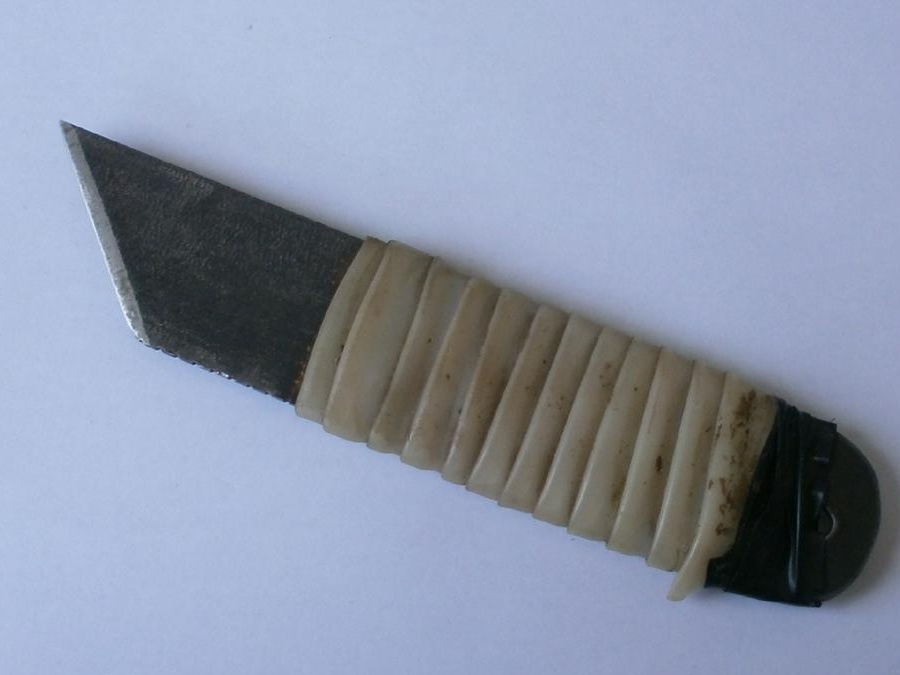
knife,
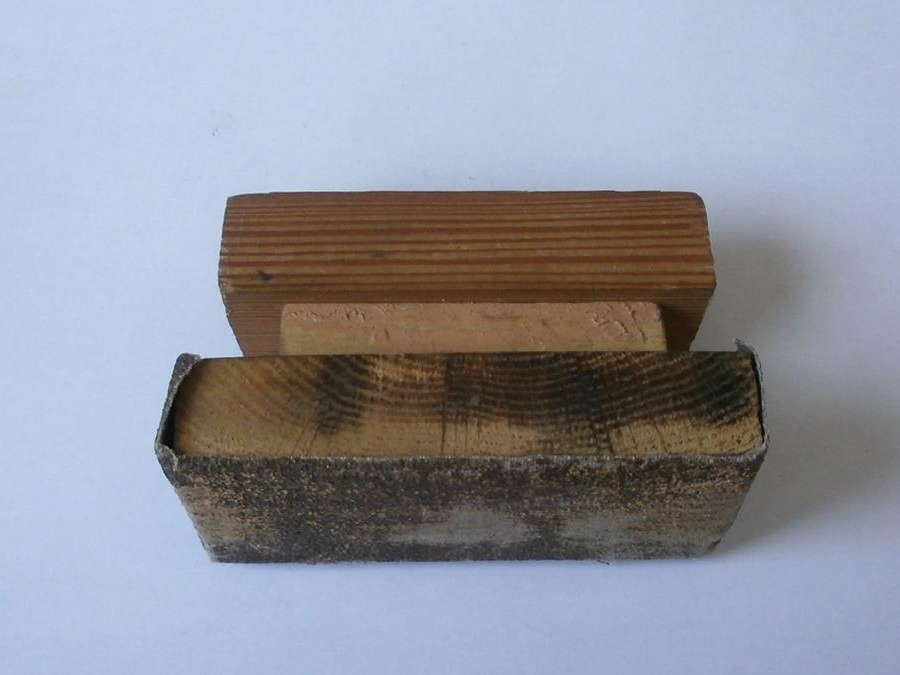
a piece of sandpaper mounted on a block,
hexagon for confirmats,
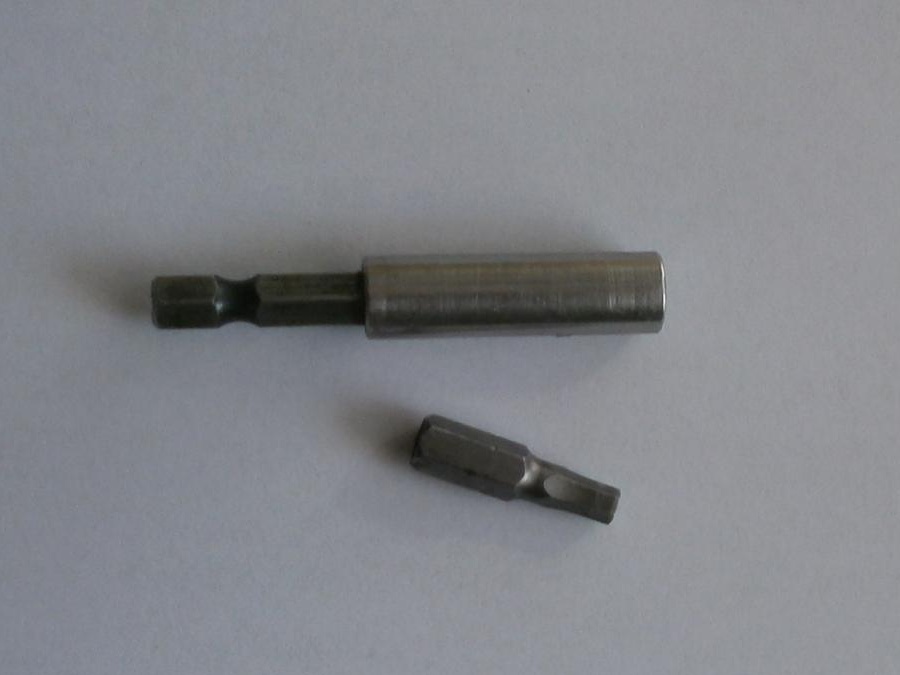
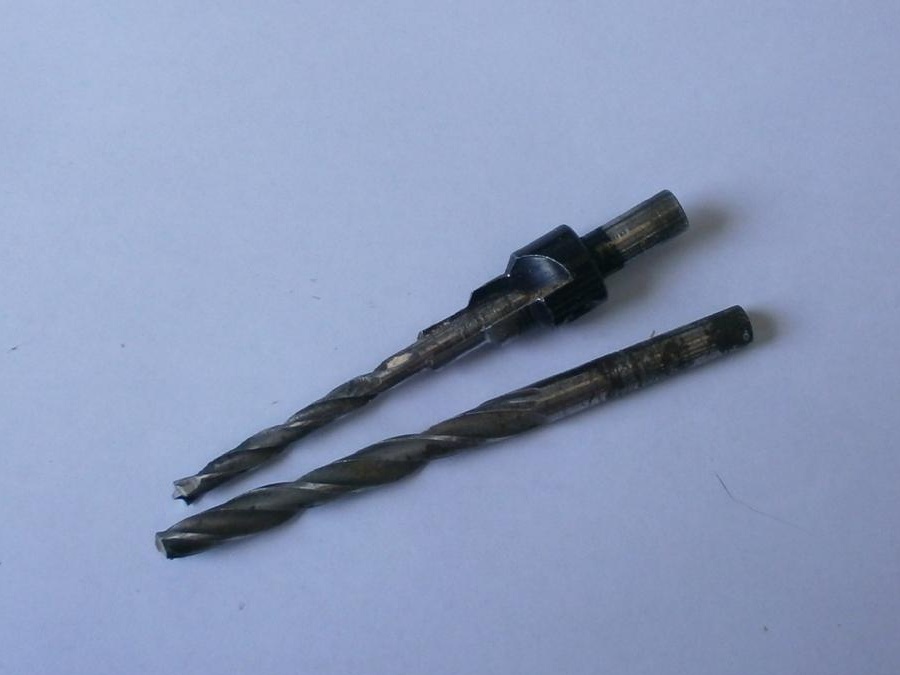
drills (seven millimeters and confirm),
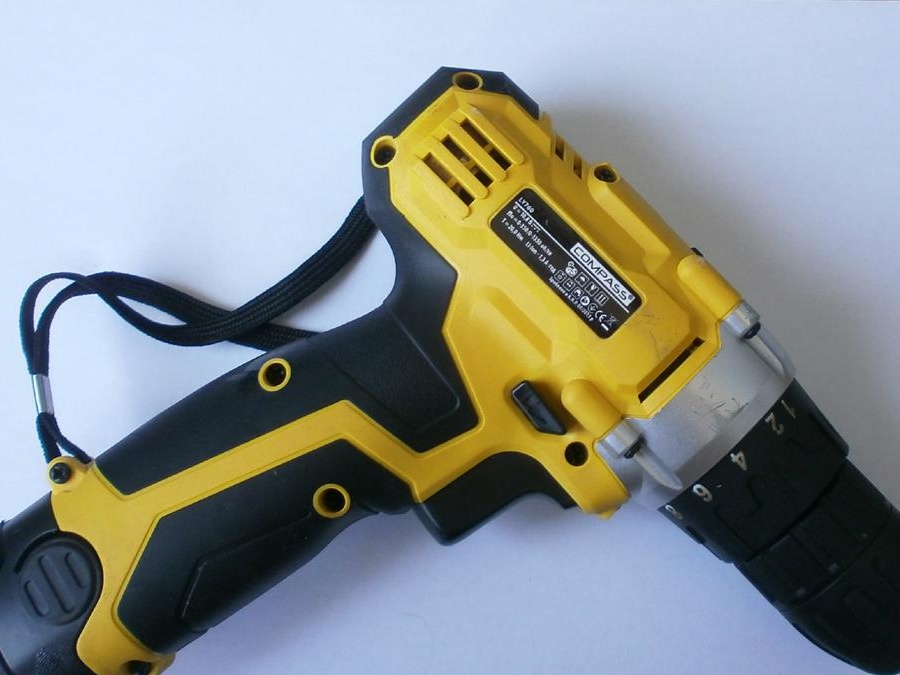
"His Majesty" screwdriver,
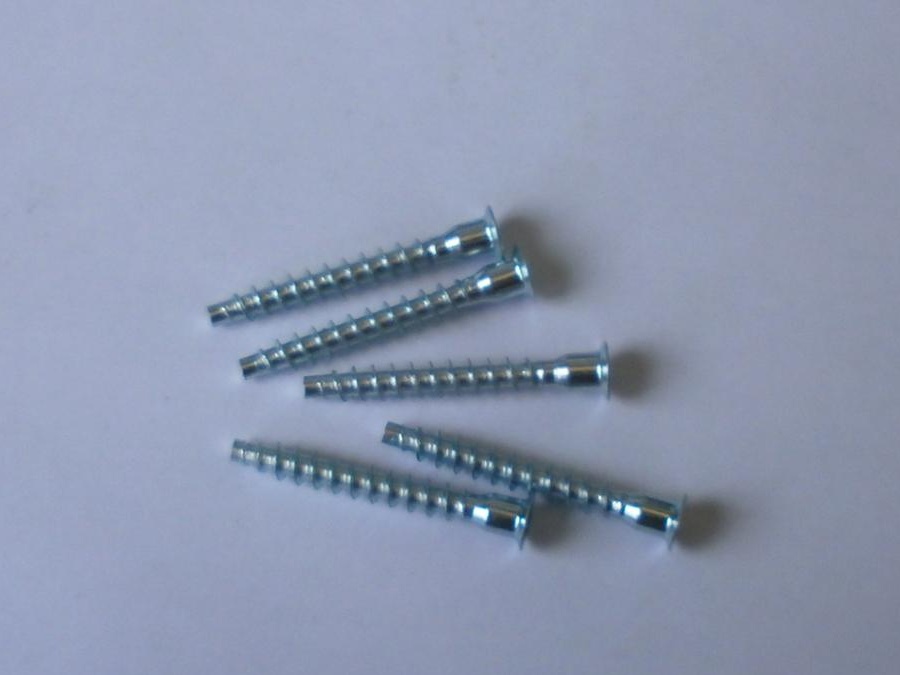
four confirmations
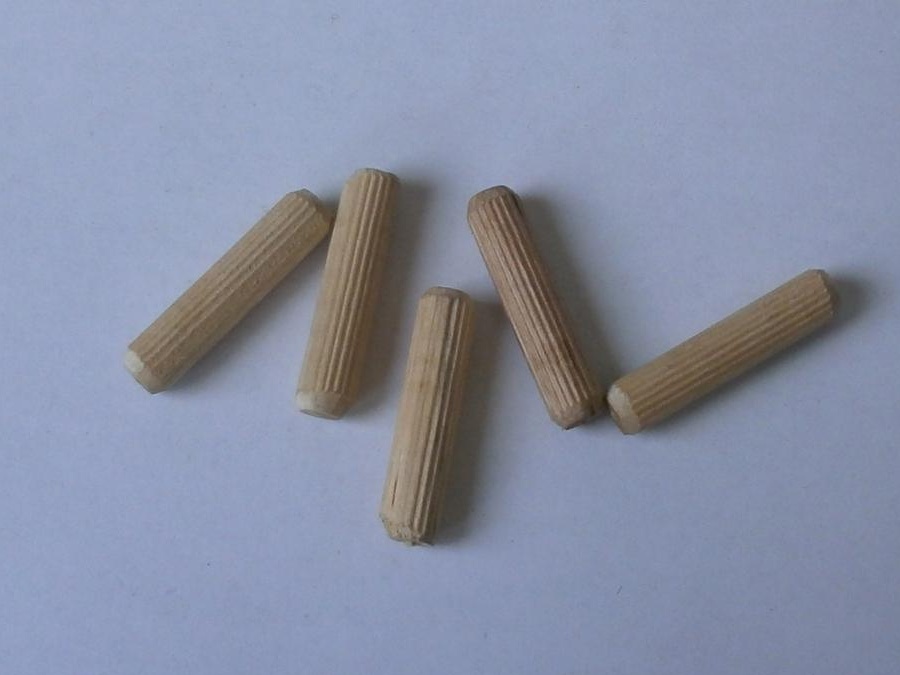
five chopiks,
a small hammer and / or rubber mallet,

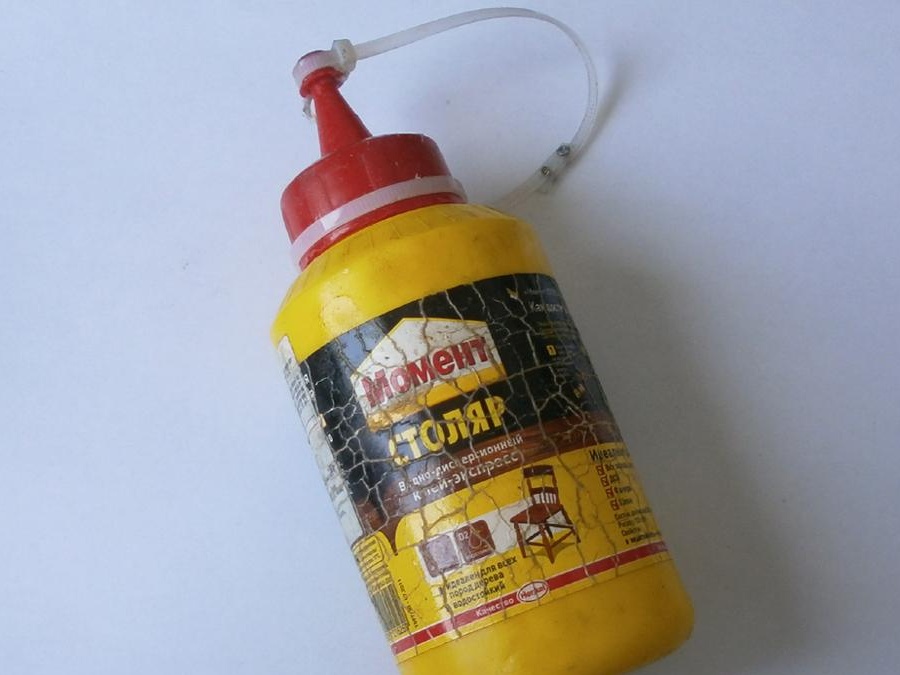
PVA wood glue,
and four legs.
All this I just had at home, and you may have to take a walk to the furniture hardware store. Now we begin to make stools with our own hands.
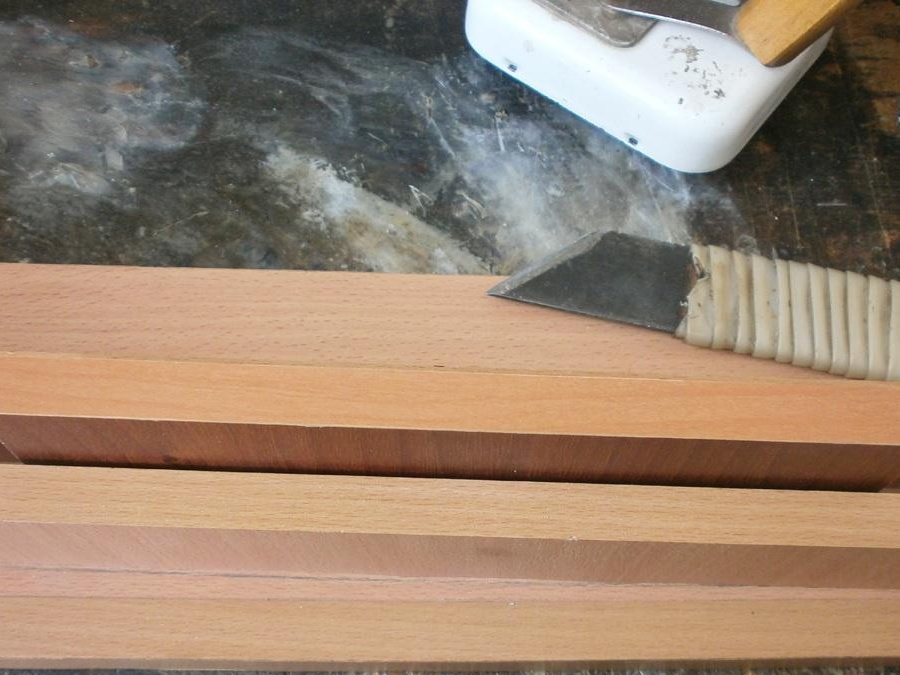
First, glue the workpiece with an edge. It is very simple, so a hot iron will help you. You can use any, even lend a particularly fashionable wife, secretly. Anyway, she won’t notice, and you won’t ruin him. So, glue the edge for our hand-made stool with a hot iron (a few seconds will be enough) and rub the glue base with a rag. The edge is very hot, so do not burn yourself.
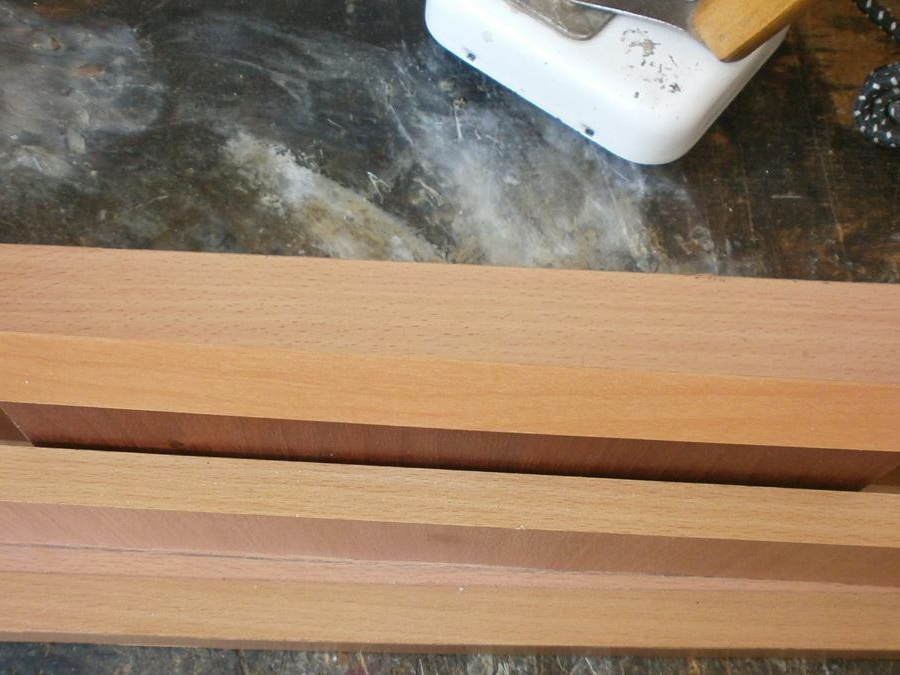
Trim the excess, and paste over parts on the other side. Then, for complacency, walk along the ends with sandpaper.
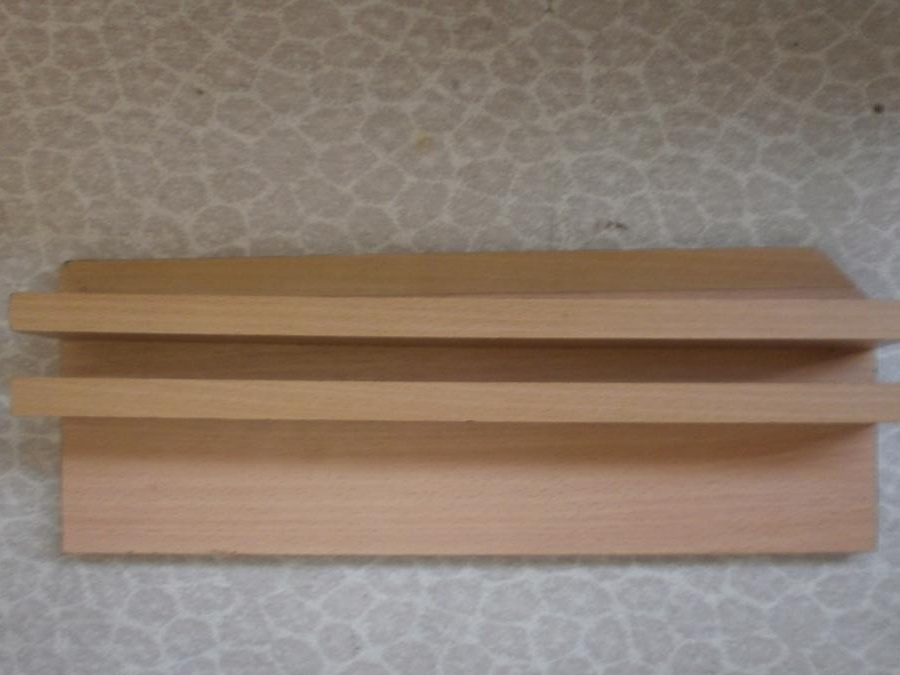
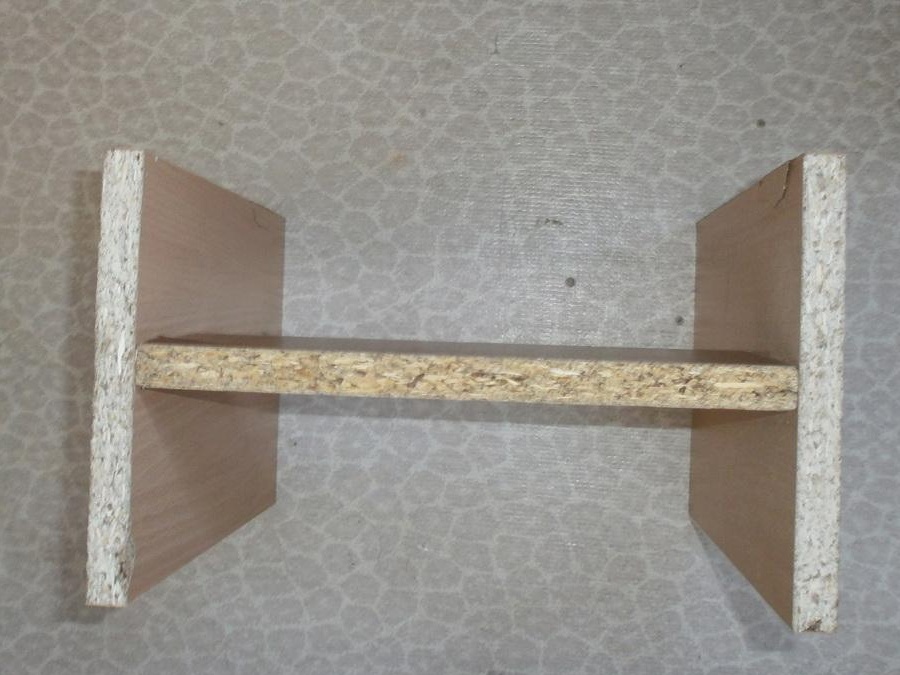
Now, with two confirmations, screw one leg to the transverse bar,

and then another. The basis for our homemade stool is ready.
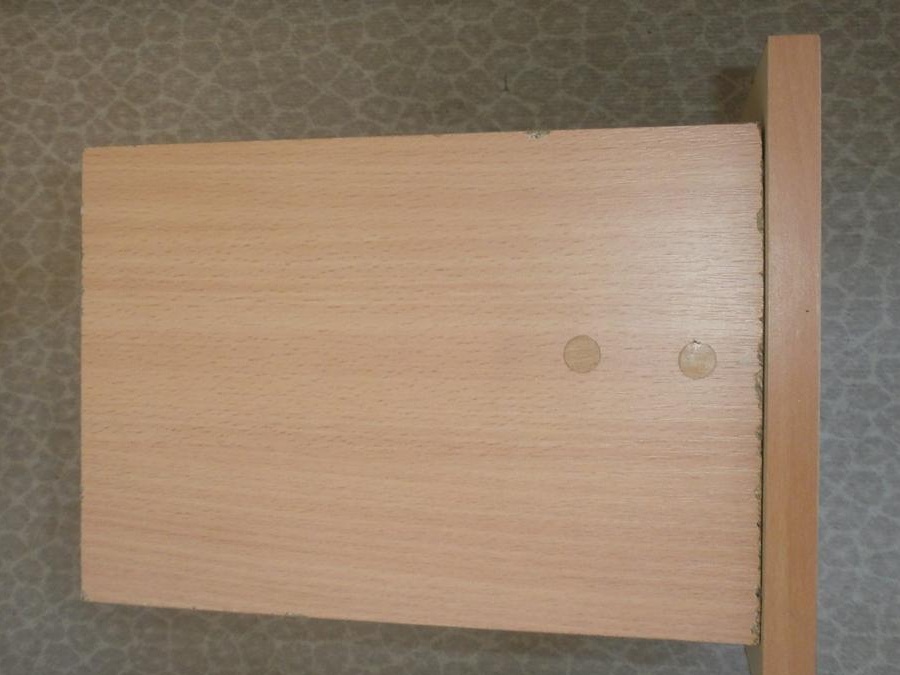
Drill five holes in the lid. Not through and through,
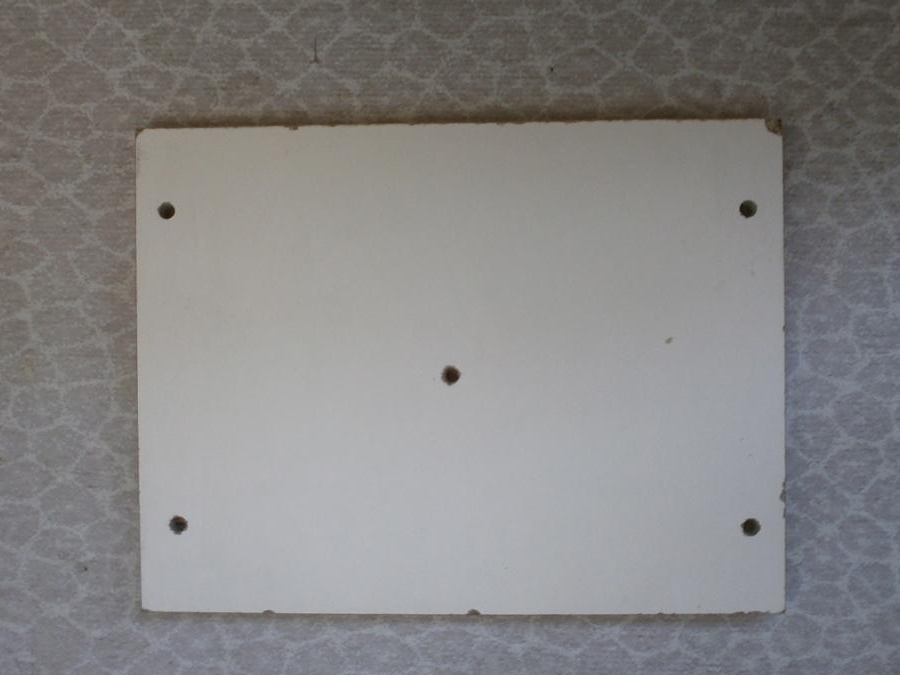
and on the glue hammer dowels.The cover for our simple stool is ready.
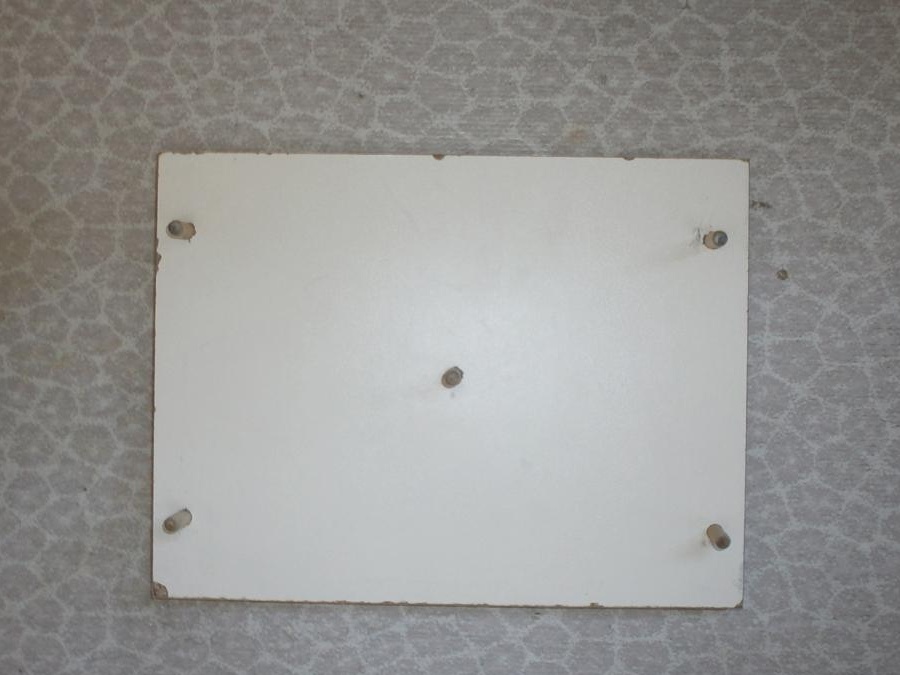
Mark five holes, drill them, fill in glue, and connect both parts into a single whole. The stool was done
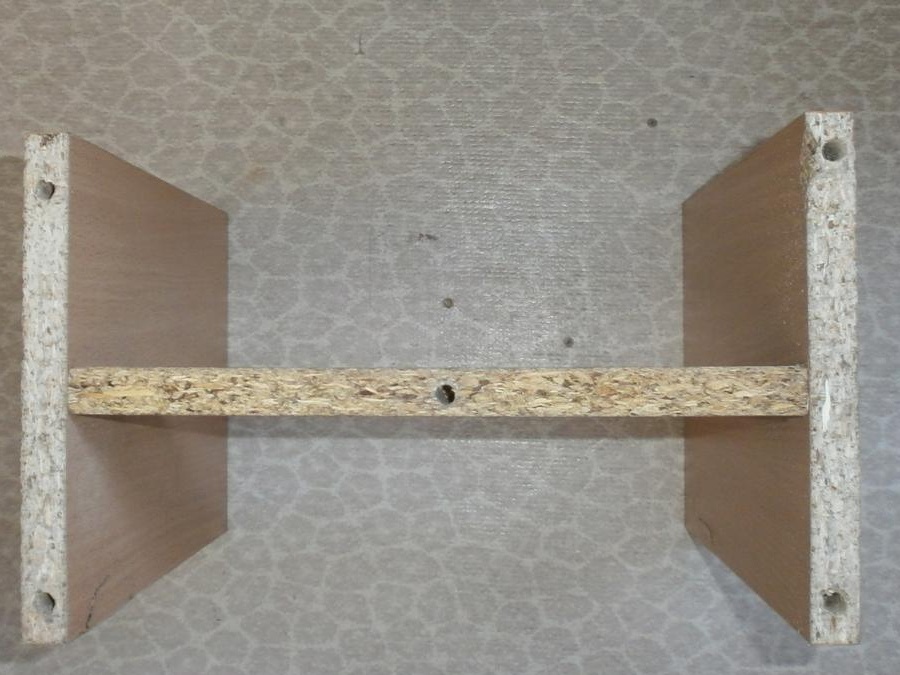
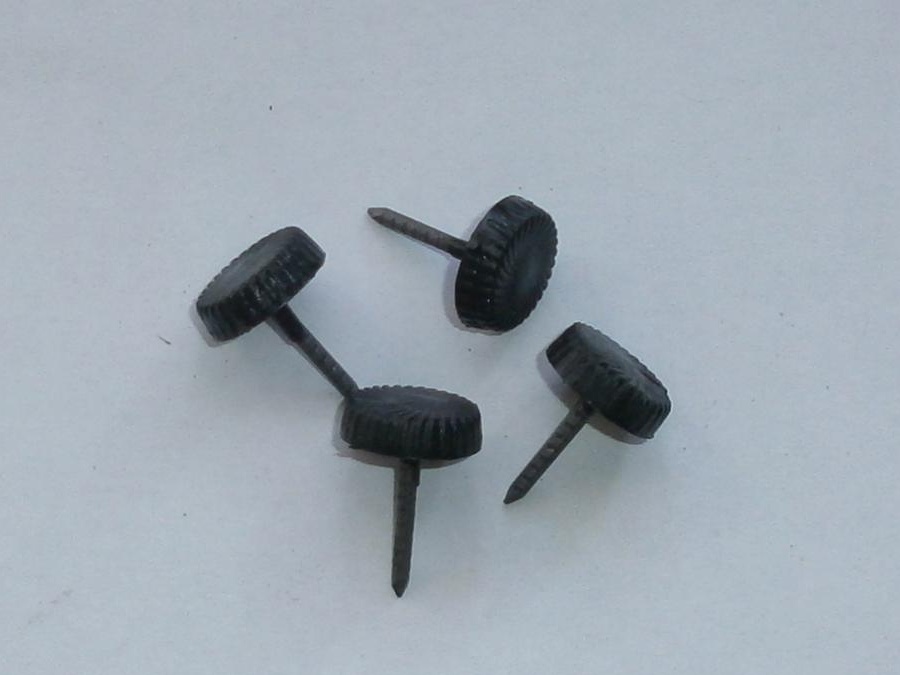
now we glue the confirmation heads with circles to match the color of the chipboard,
and nail the legs.

That's all wisdom, a DIY stool is ready. So for many and 15 minutes there will be many.
True, it remains to wait until the glue has completely dried. But this is not the instruction "how to make a stool yourself", but just a few hours of waiting.