

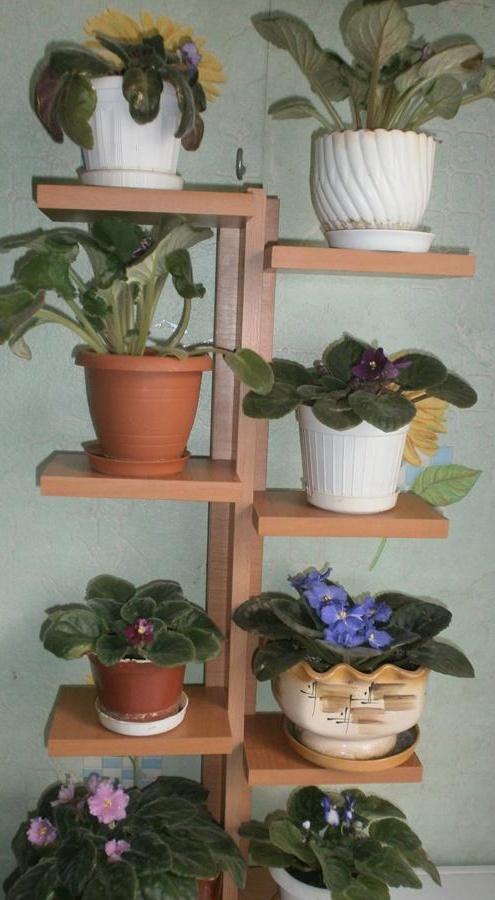
It takes about 30 minutes to make this simple flower stand. And for all creativity you need a minimum of tools and parts, the purchase of which will not be a costly undertaking, this can be done in one place, and much of what is needed is probably just at your place. However, judge for yourself, and today we will make the simplest and most functional stand for eight (maybe more, but then you have to change the sizes) flower pots.
To do this, we need nine parts from a laminated board:
• 100x150 mm - 6 pieces;
• 50x700 mm - 2 pieces;
• 150x300 mm - 1 piece.
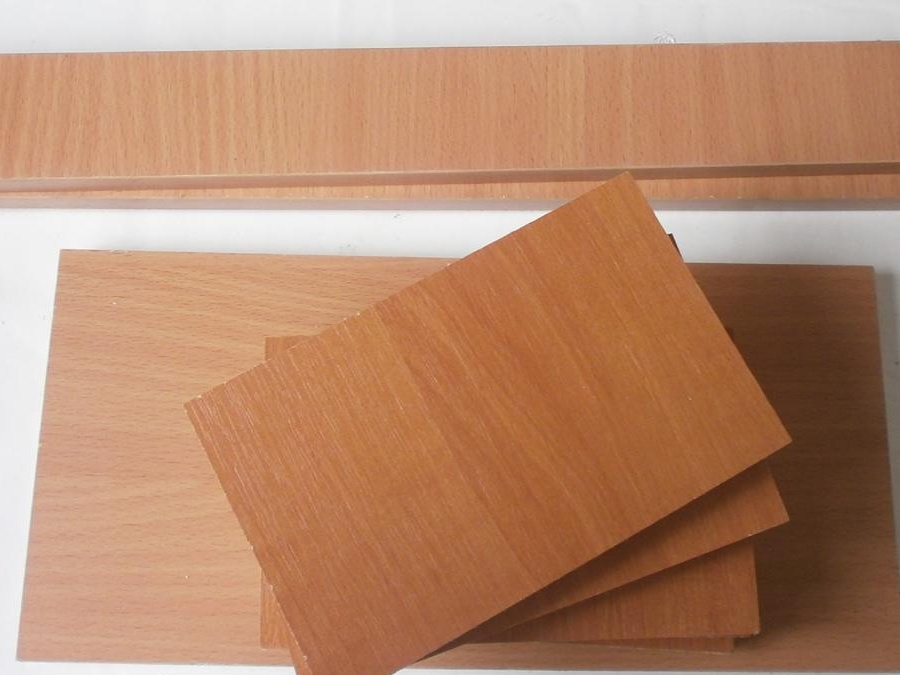
It makes no sense to order a whole sheet of chipboard and cut it (unless you want to put the production of this simple stand on the stream), so in those shops where these plates are sawed, there are always many different residues. And there, "for a small fraction" and in just a few minutes, you will be sawed with these elements in size as much as you wish.
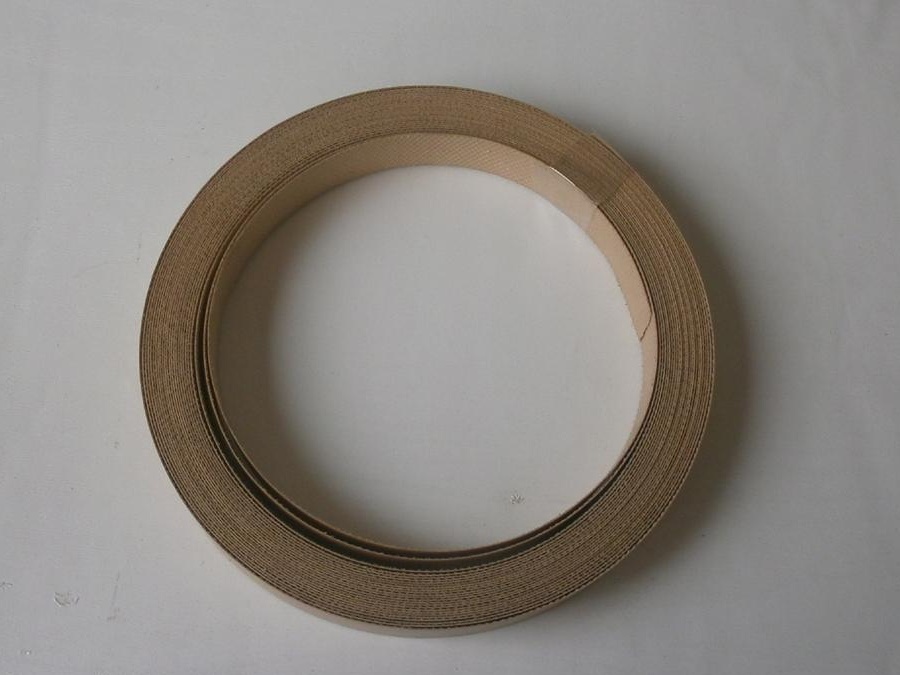
And in order for the flower stand to be not only functional, but also cute, it needs to be glued over with an edge. For all this, 10 linear meters will be enough for you “with your head”, and will remain.
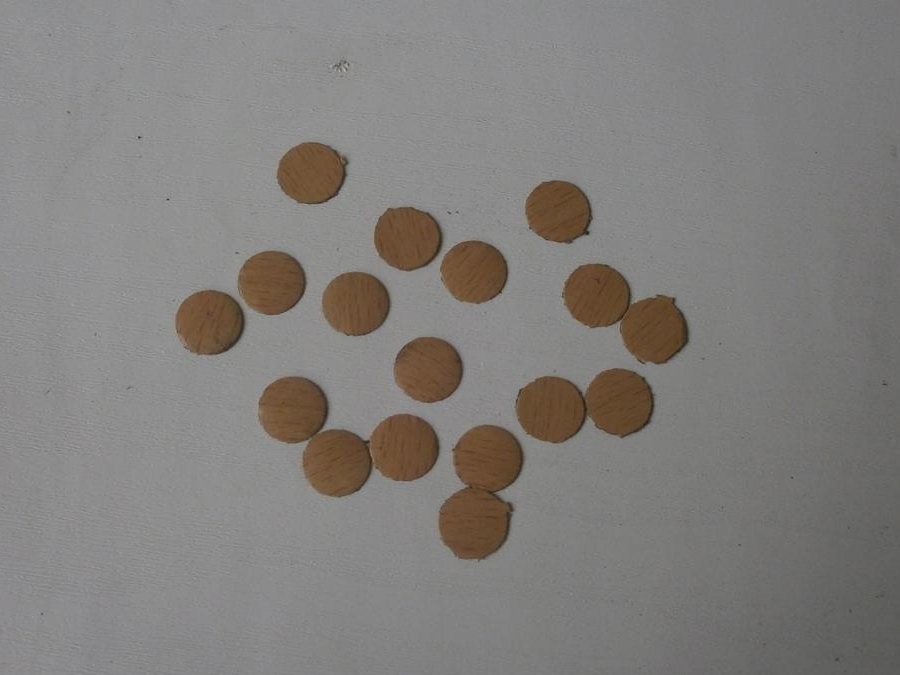
You will also need circles to seal the heads of confirmations. Or you can chop them with a notch from the same edge.
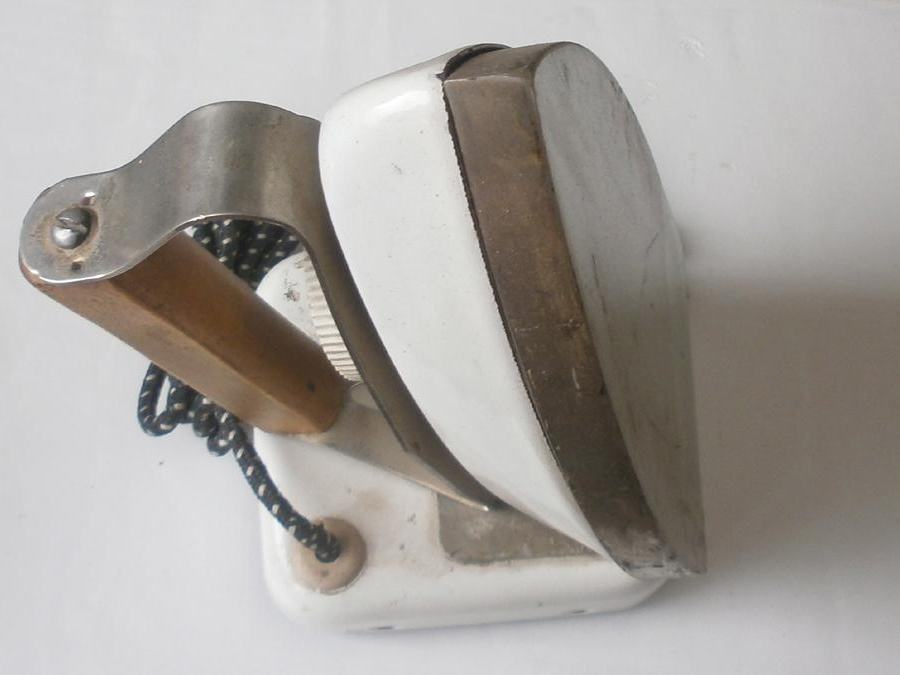
To glue the edge you need an iron,
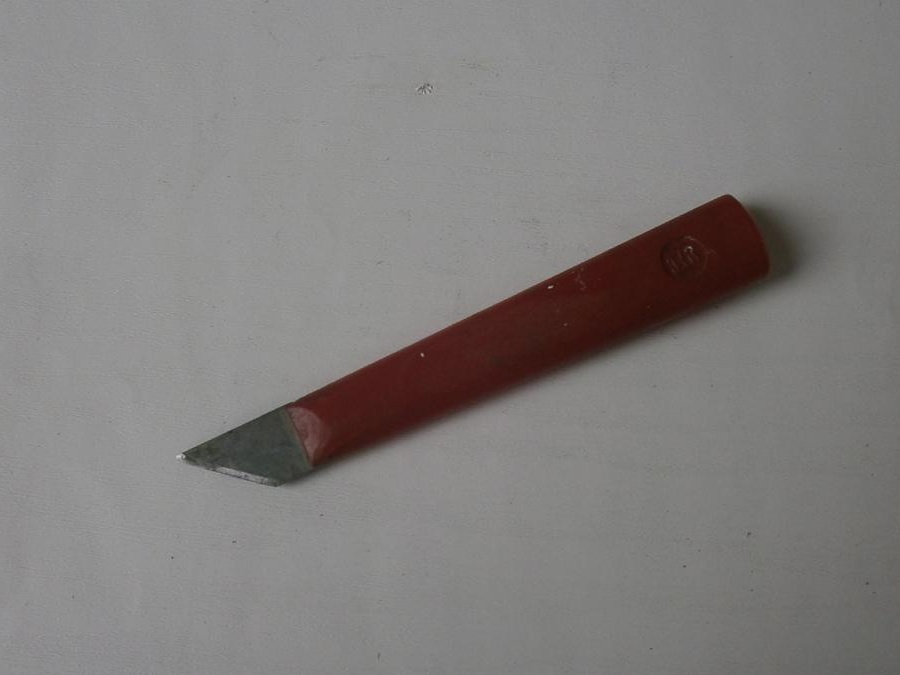
you’ll cut off its excess with a sharp carpentry knife,
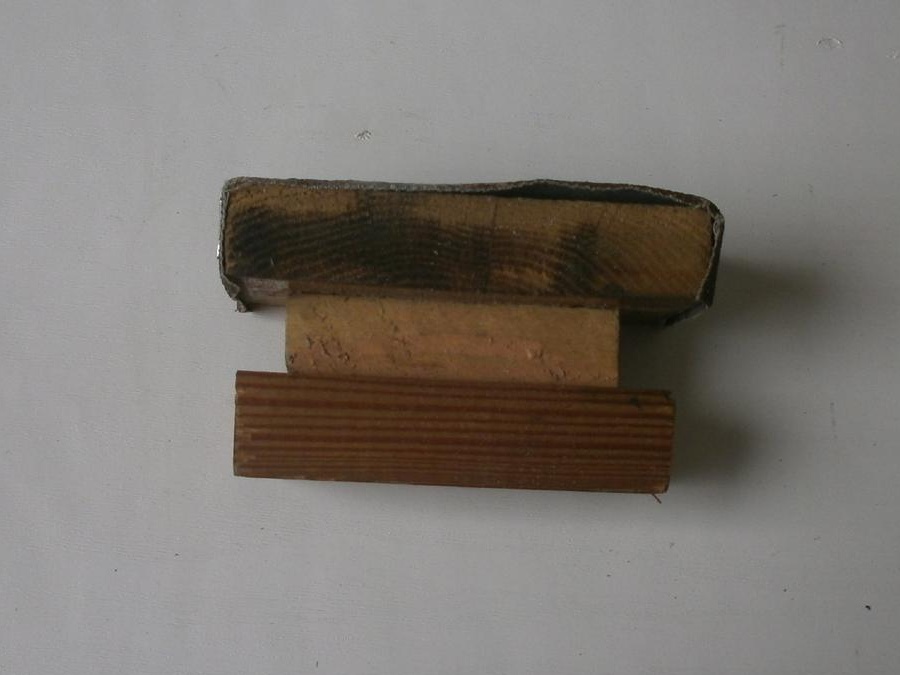
and clean - with emery paper fixed on a bar.
In addition, you will need a screwdriver

with bat
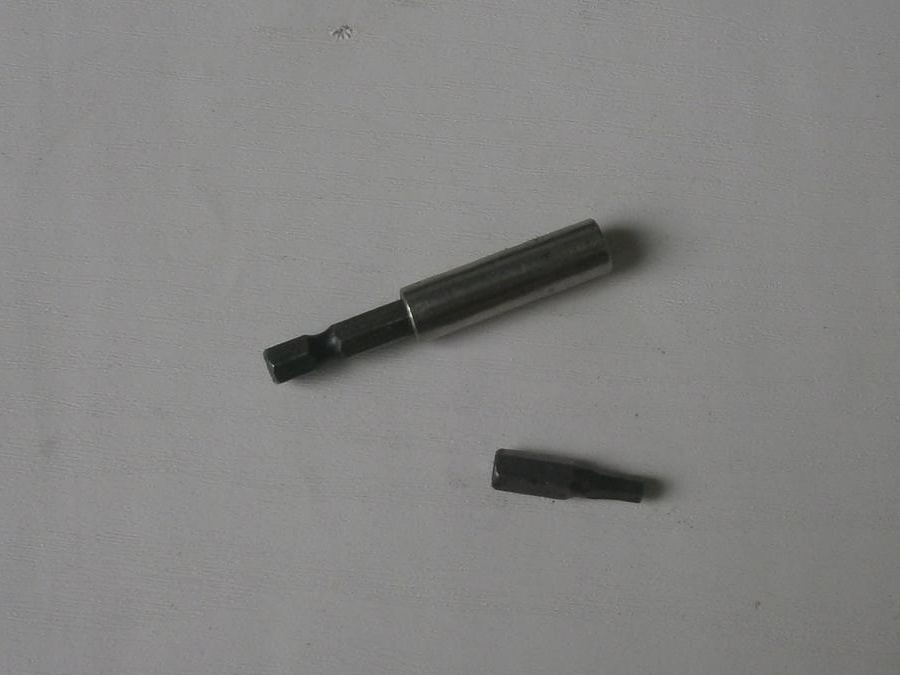
for twisting 18 confirmates,
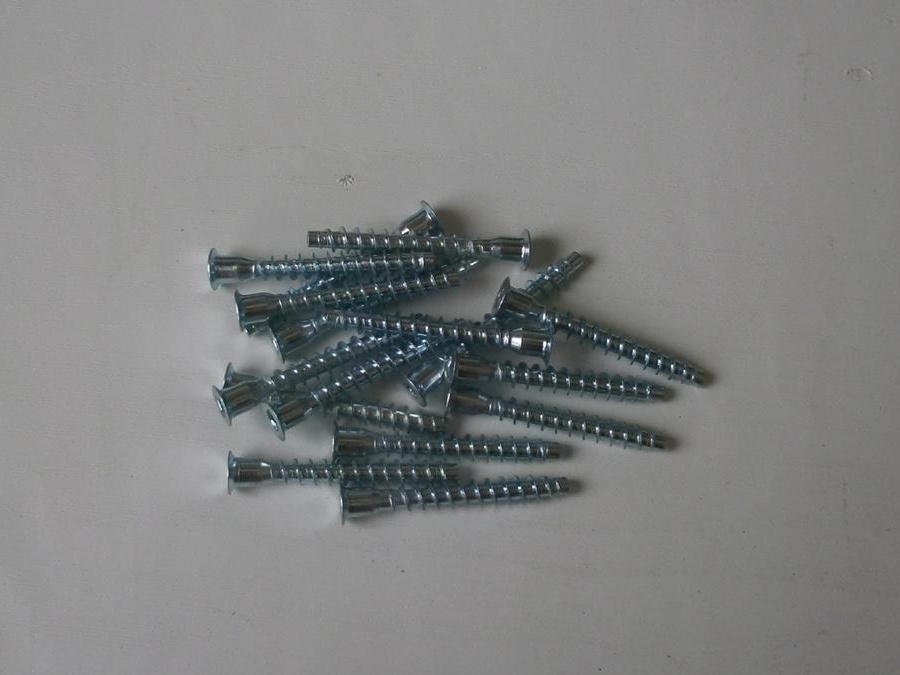
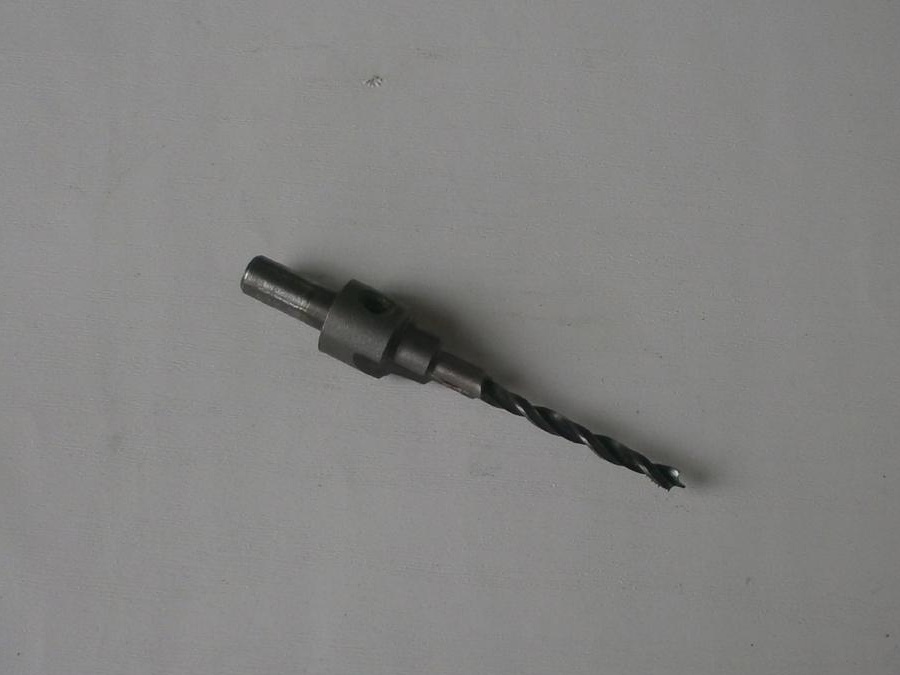
which "part-time" will become a drill for a confirmation drill.
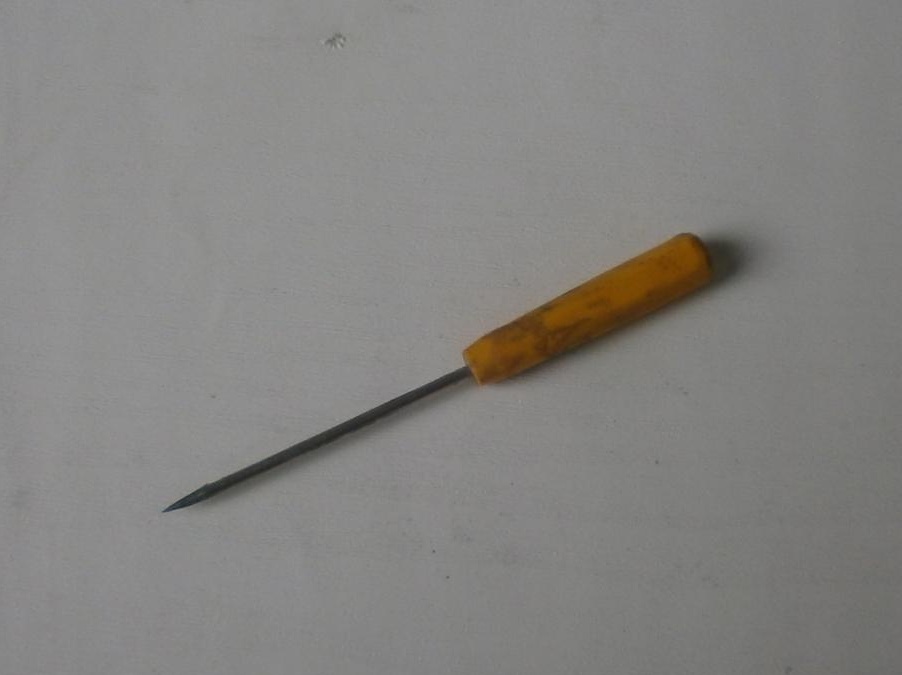
We will pierce the holes with an awl,
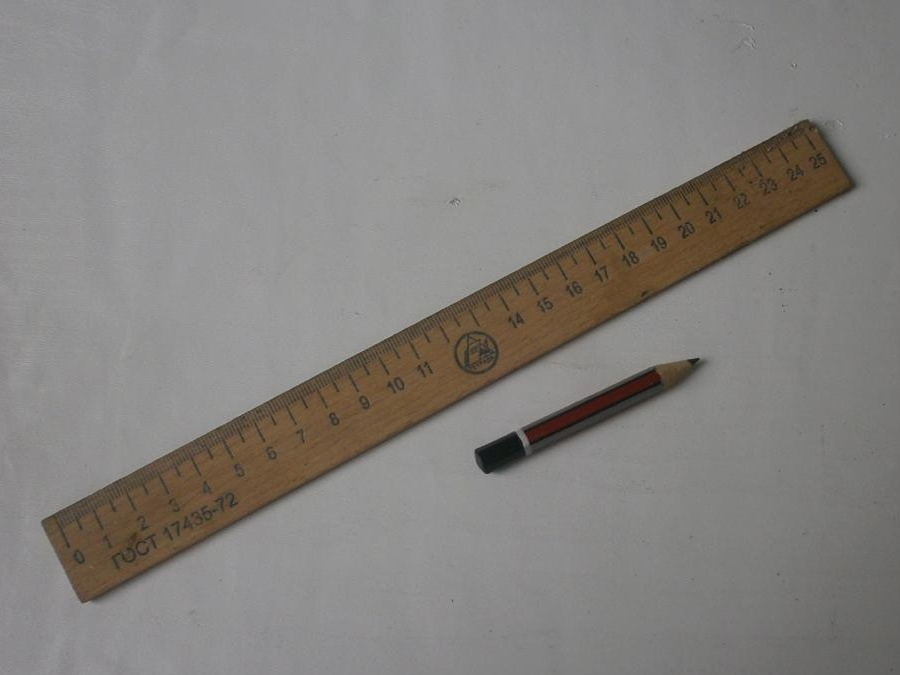
and mark it with a pencil and a ruler.
That's all, now we are starting to assemble the flower stand.
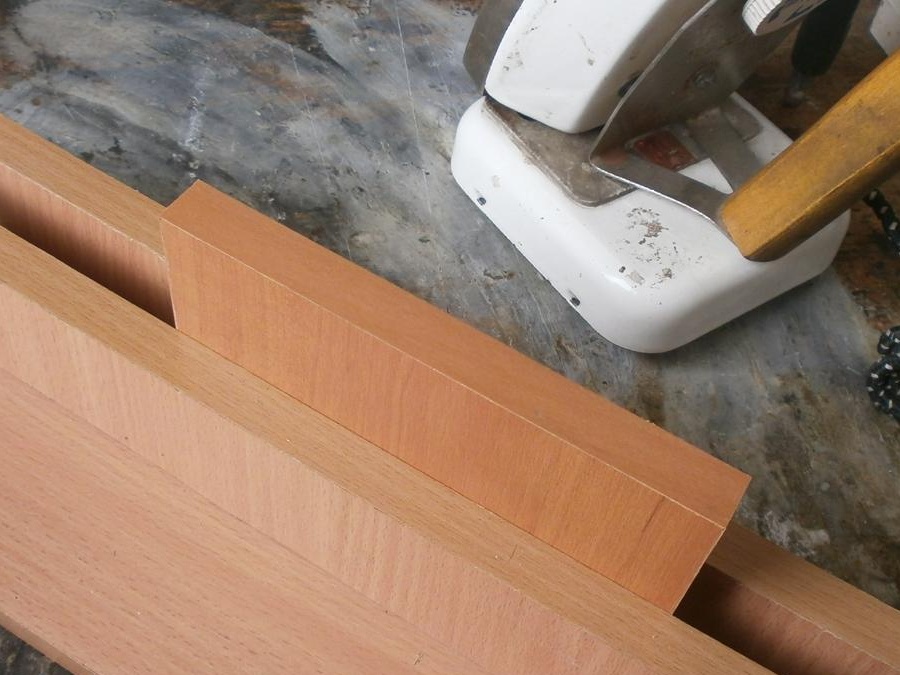
We paste over the details with the edge (in order not to burn ourselves, we rub the adhesive composition of the hot edge with a simple rag),
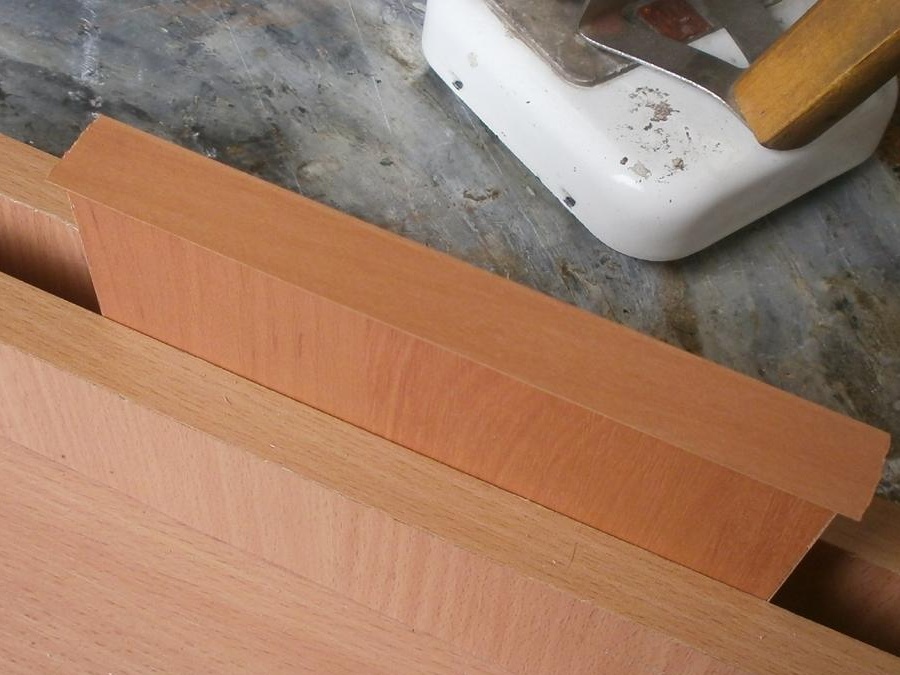
cut off the surplus and clean it.
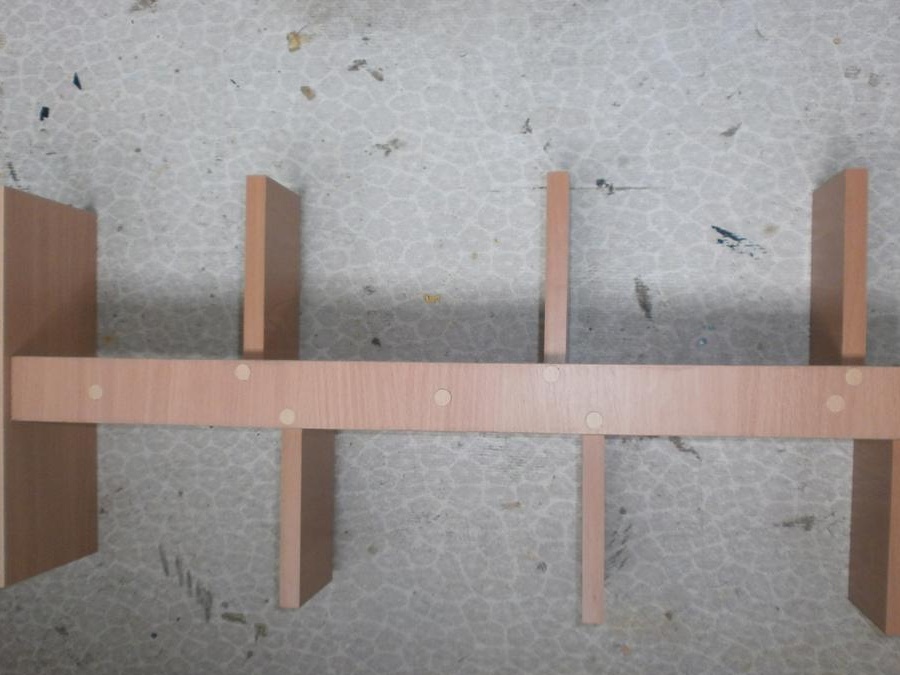
We connect two long parts with three confirmations in the shape of the letter “T”,

and we fasten the cells themselves to it on the side,
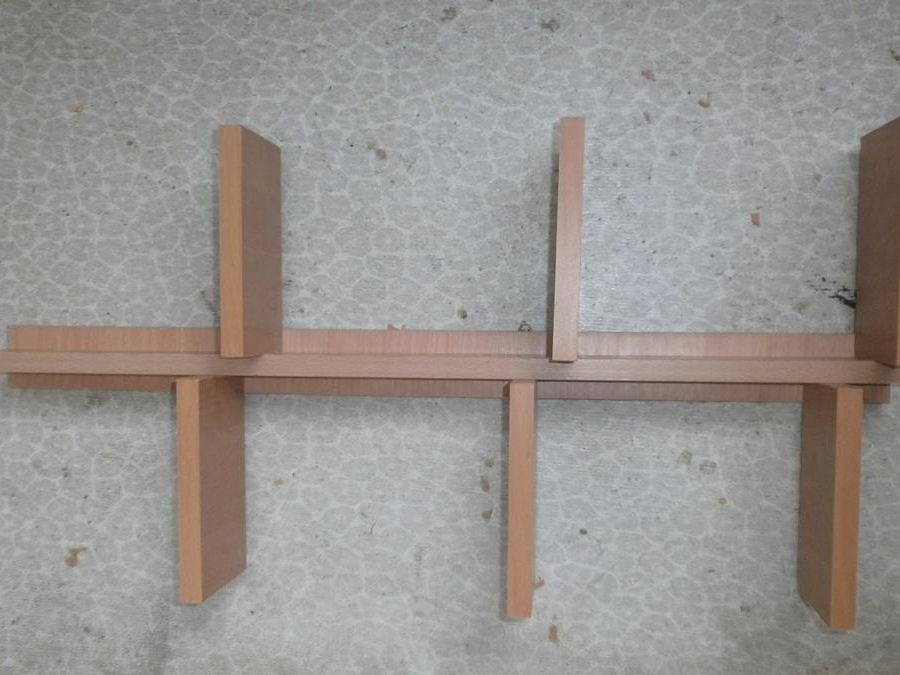
and behind.
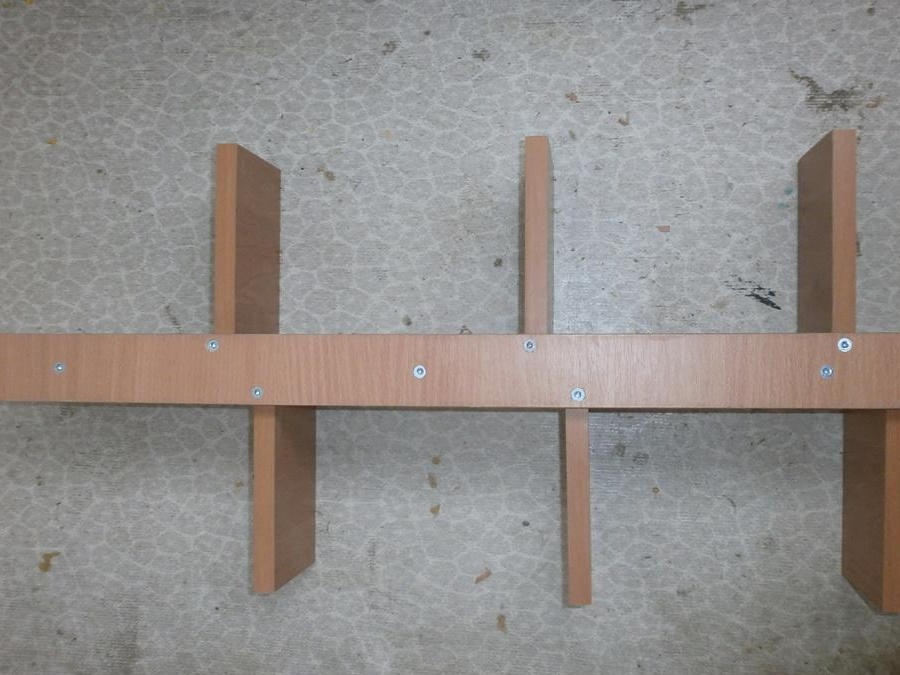
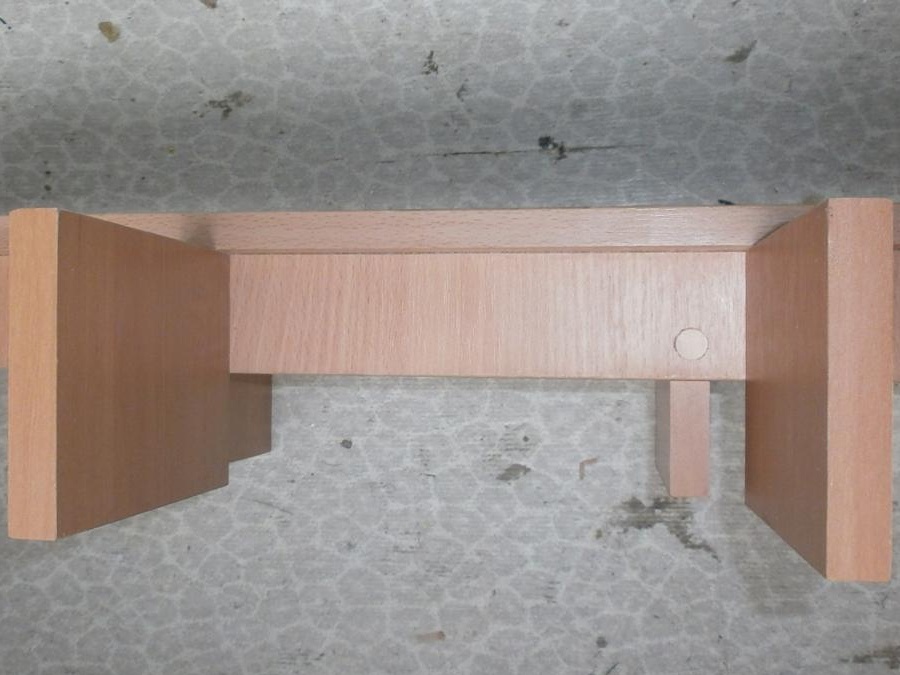
Now we fasten the base from the bottom with three confirmations,

and seal the heads of confirmations with circles in the back,
and on the side.
The flower stand is ready
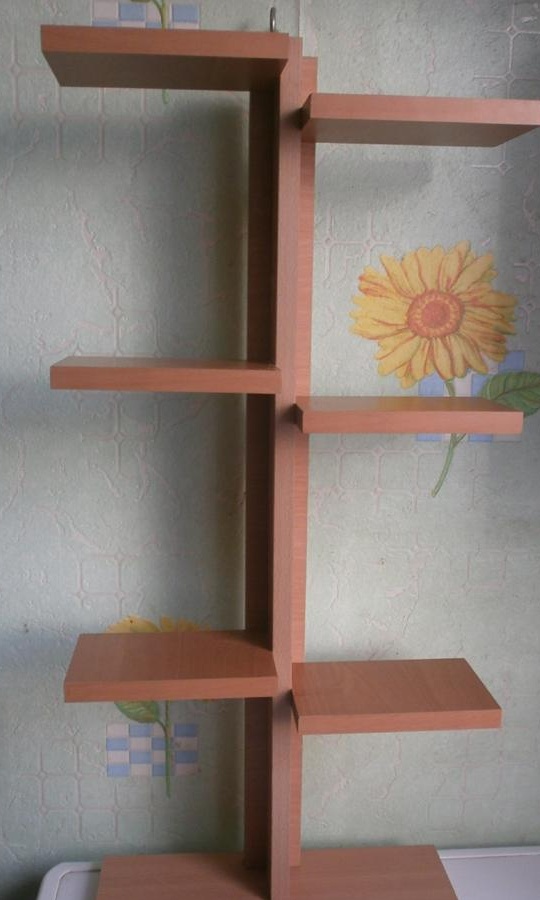
it remains only to place flowers on it.
That's all wisdom.And mind you, you read this article only a little faster than you would just make this flower stand on your own.