

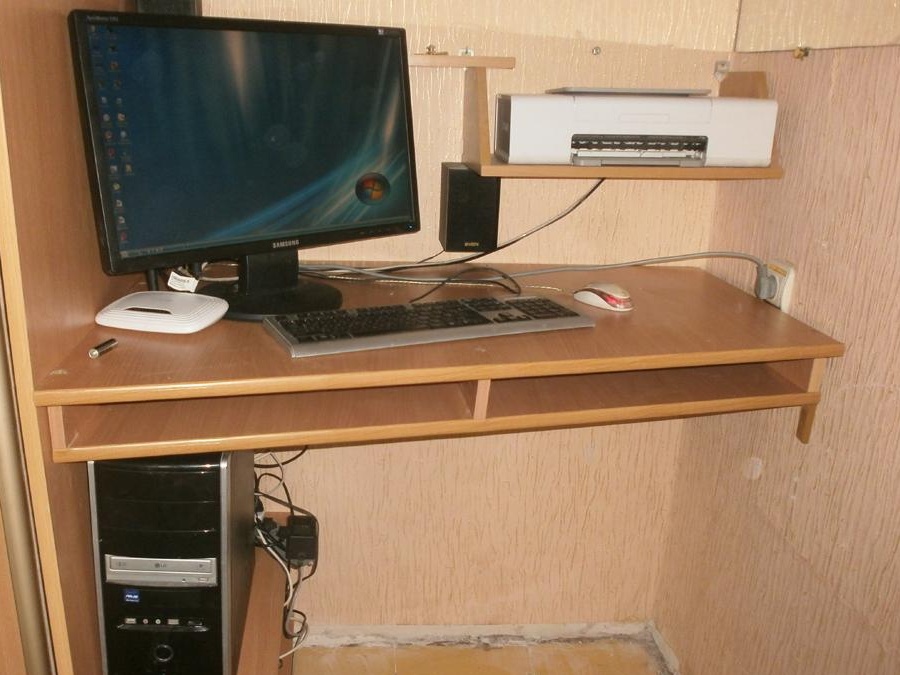
Probably, you had a situation that after a permutation of furniture or buying a new one (in my case, a monumental wardrobe), there is no space left under the table for the computer. The option to replace the stationary system unit, monitor, keyboard and mouse with a compact laptop I did not want at all, so I took up the tools.
First of all, he took out a tape measure and measured out the remaining free space. Moreover, knowing that the walls are far from perfectly smooth, and the angles are clearly not 90 degrees, he measured everything out very meticulously and scrupulously.

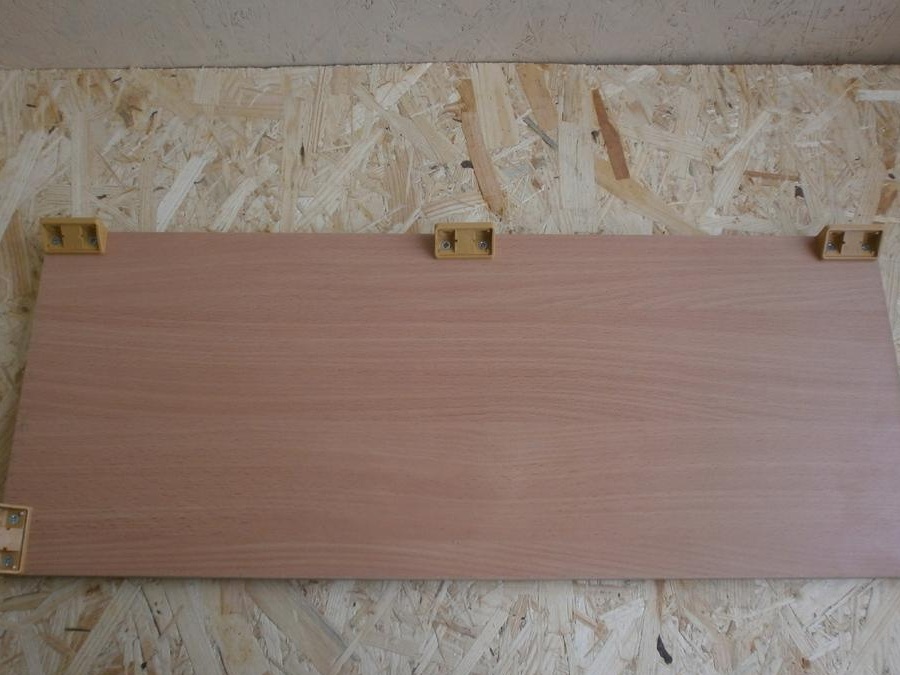
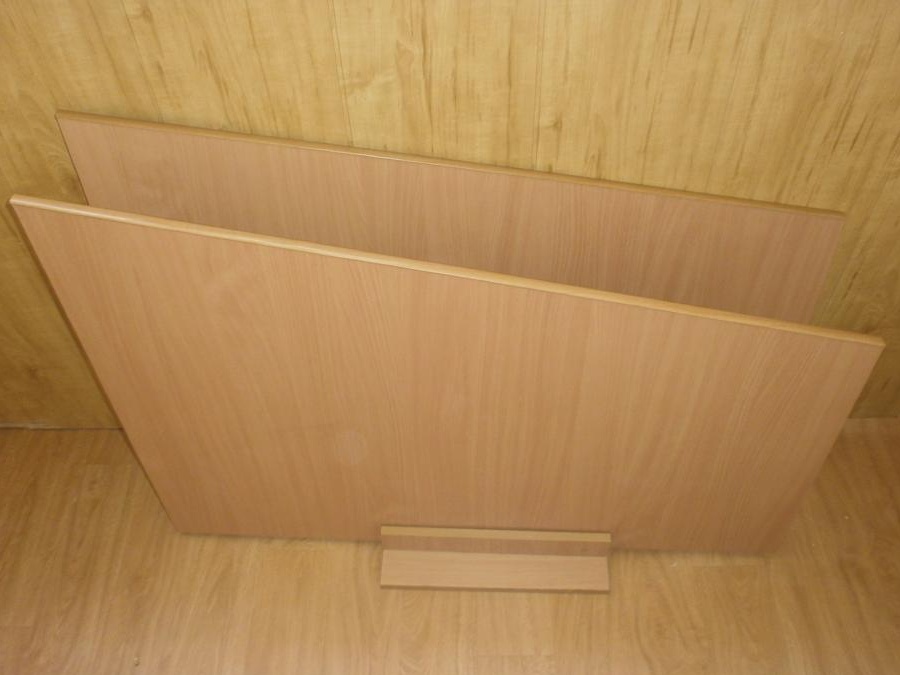
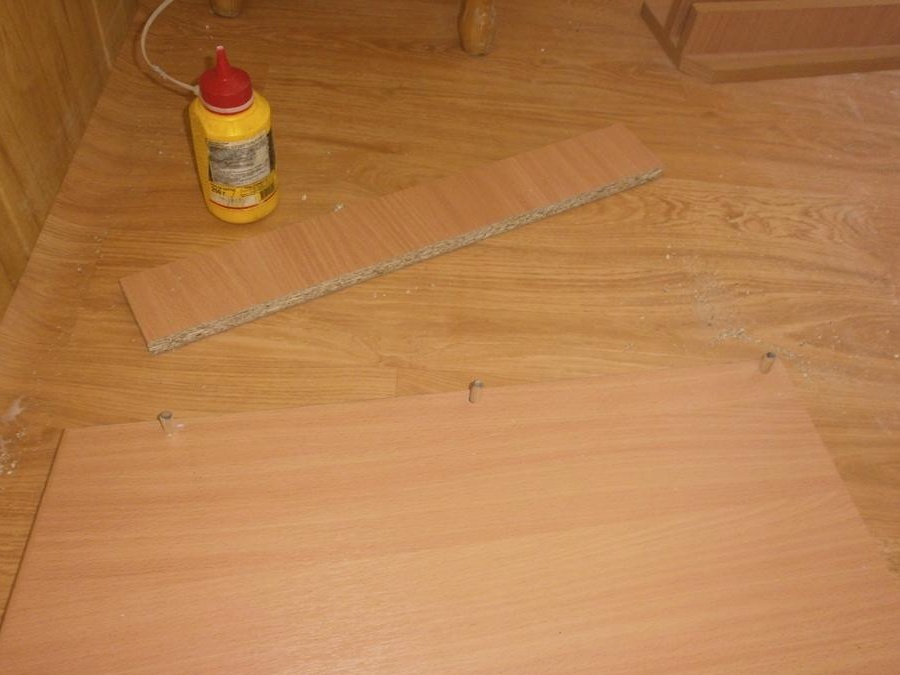
Already relying on external dimensions, I threw a simple cutting chipboard,
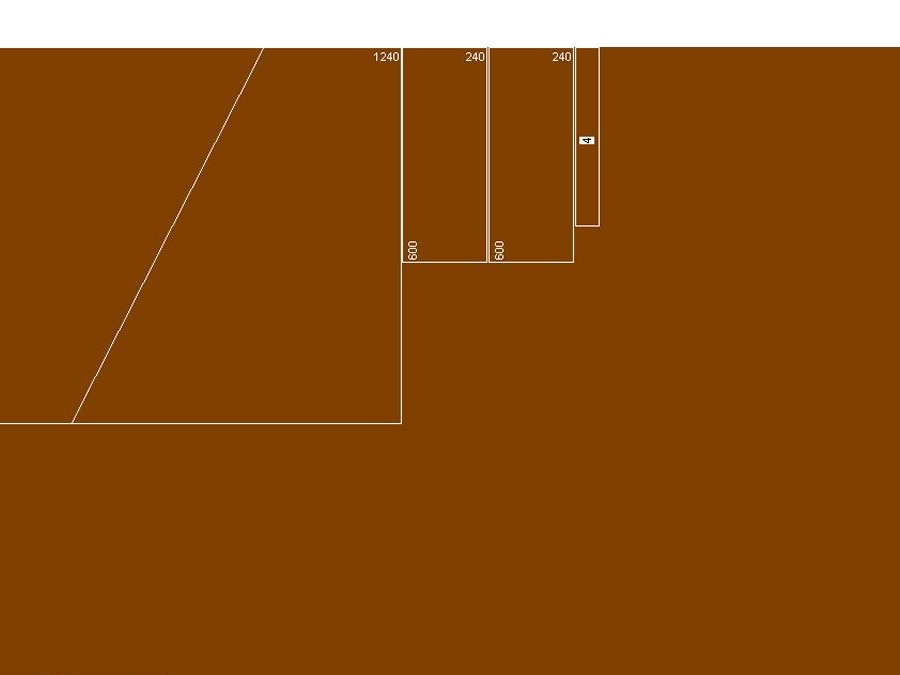
and hardboard for future computer worktops. Since I did several products at once, the sheets I left completely. And you can order it from the remnants, which are in abundance where these sheets dissolve.

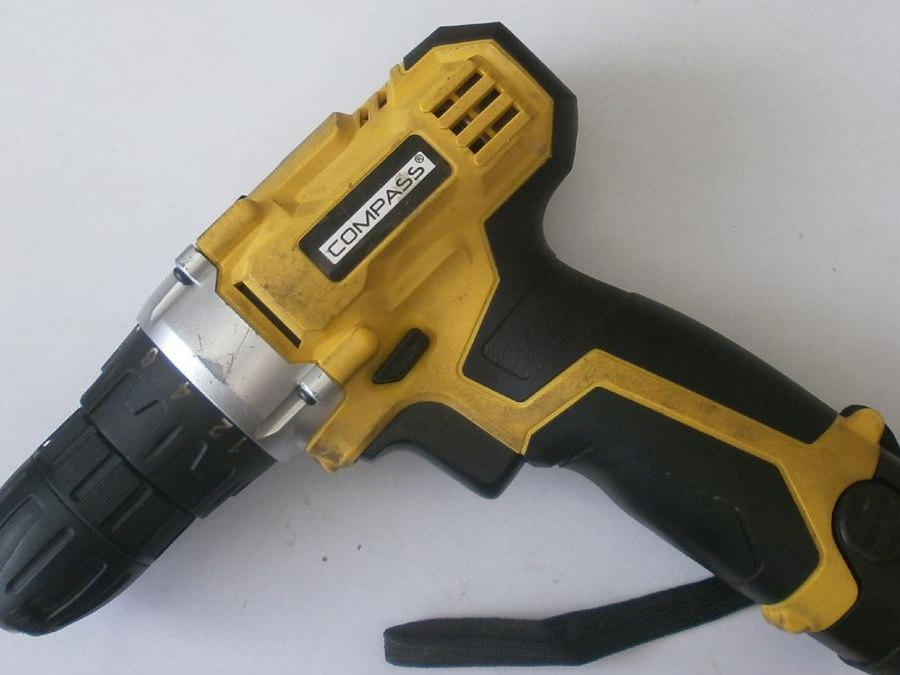
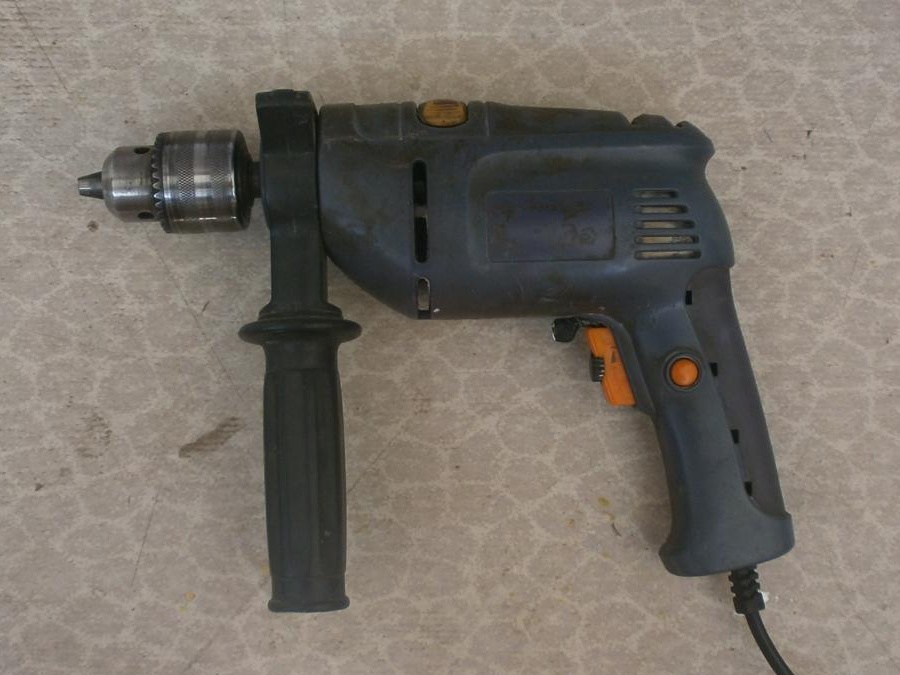
In addition, you will need a drill / driver,
confirmation,
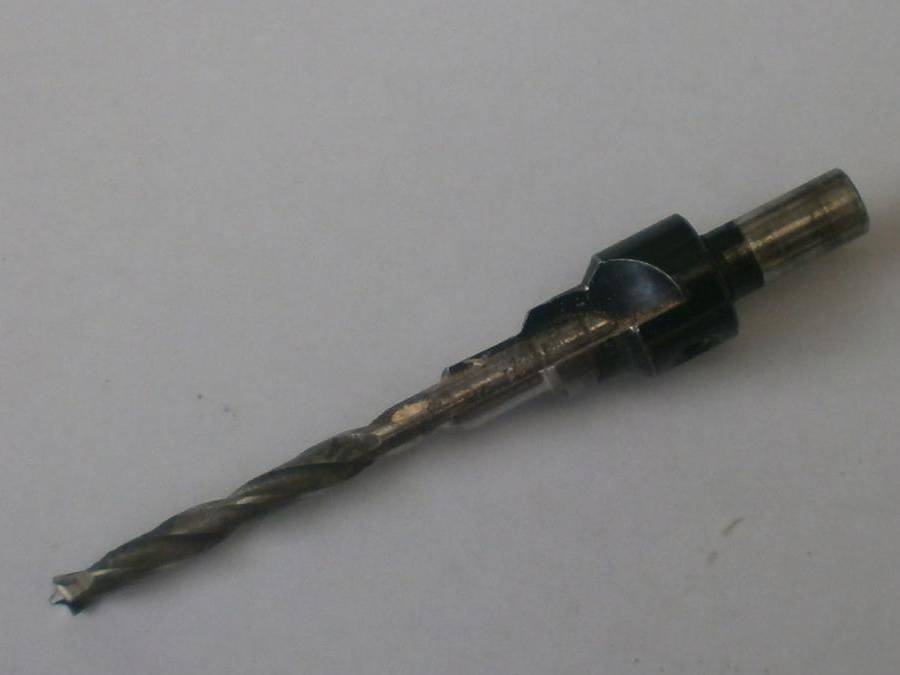
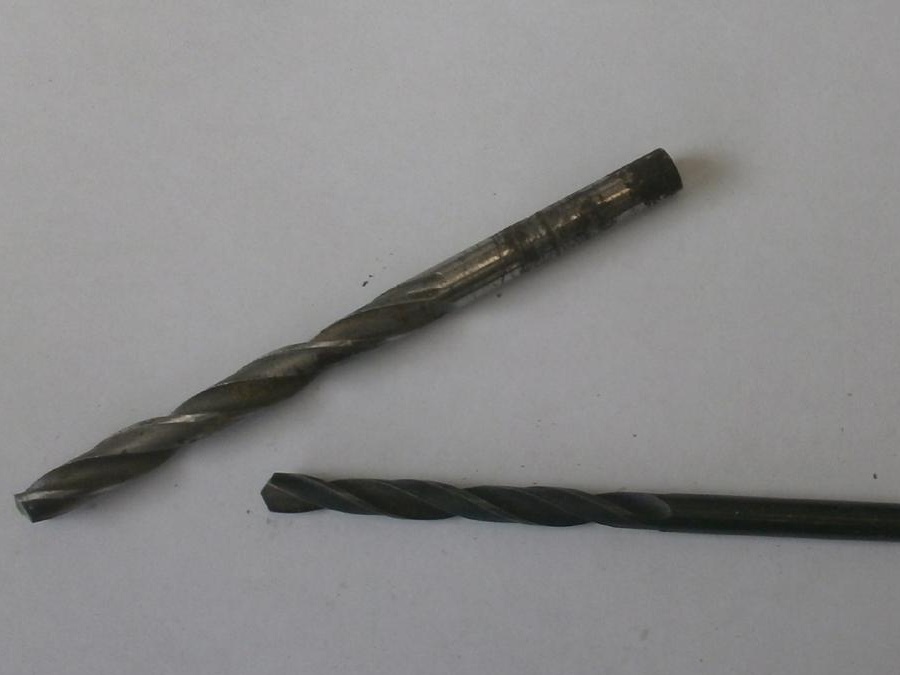
and simple drills, with a diameter of 6 and 8 mm,
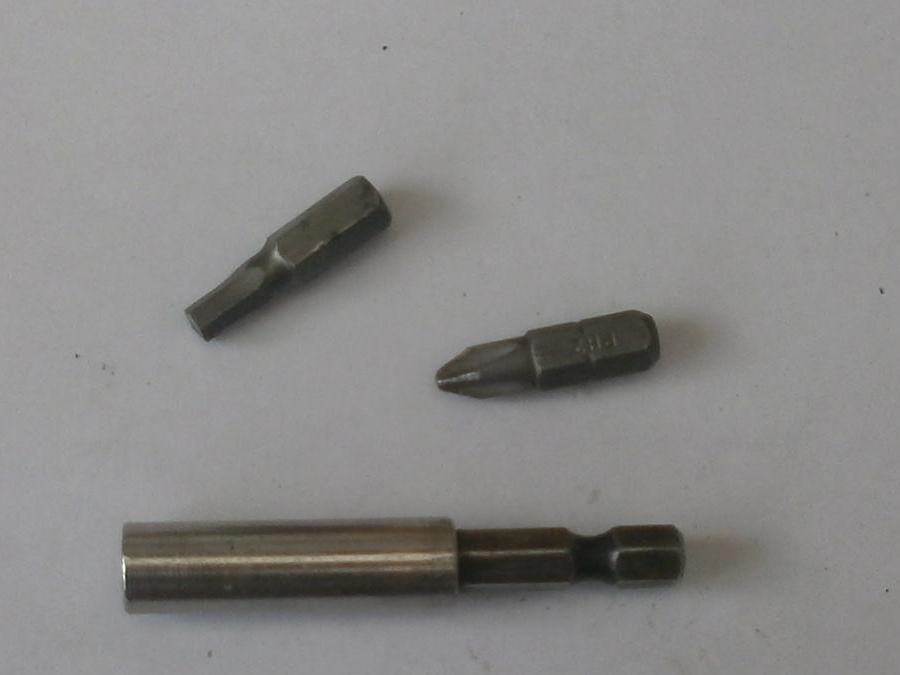
cross and hex bits, magnetic extension cord for them,
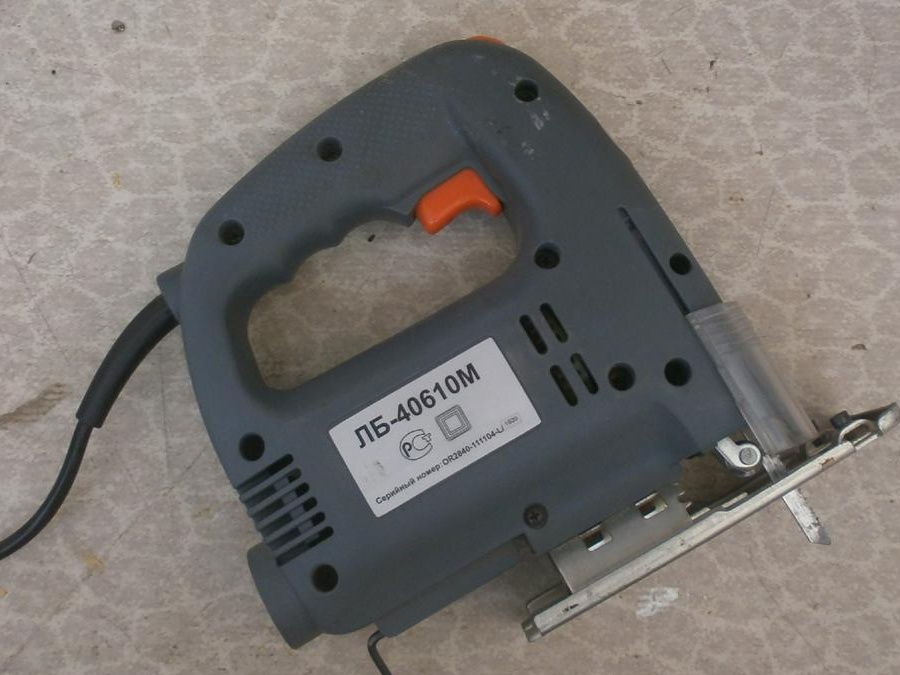
jigsaw with appropriate wood file,
hammer drill,
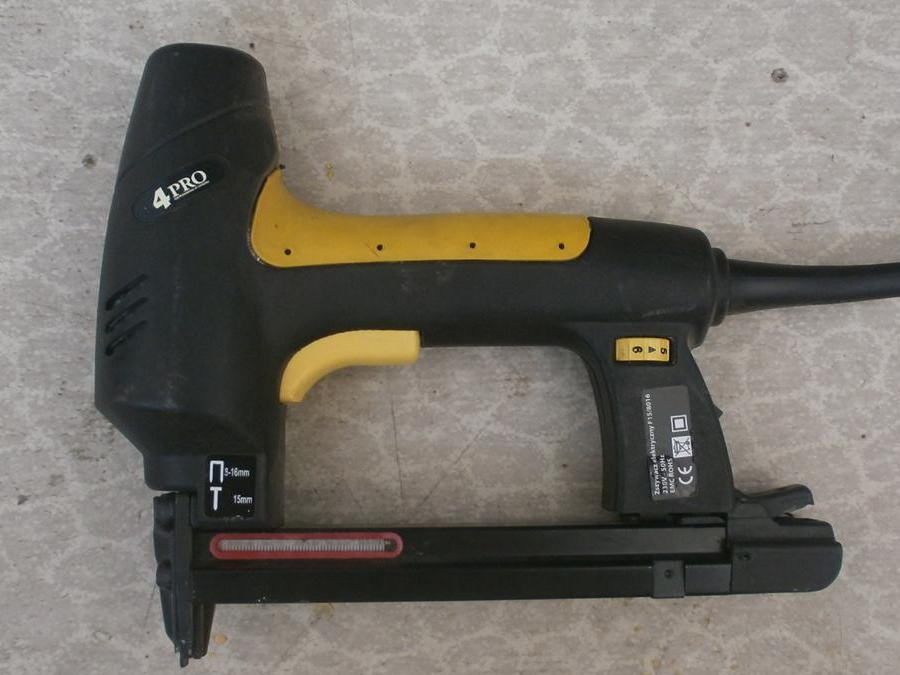
furniture stapler,
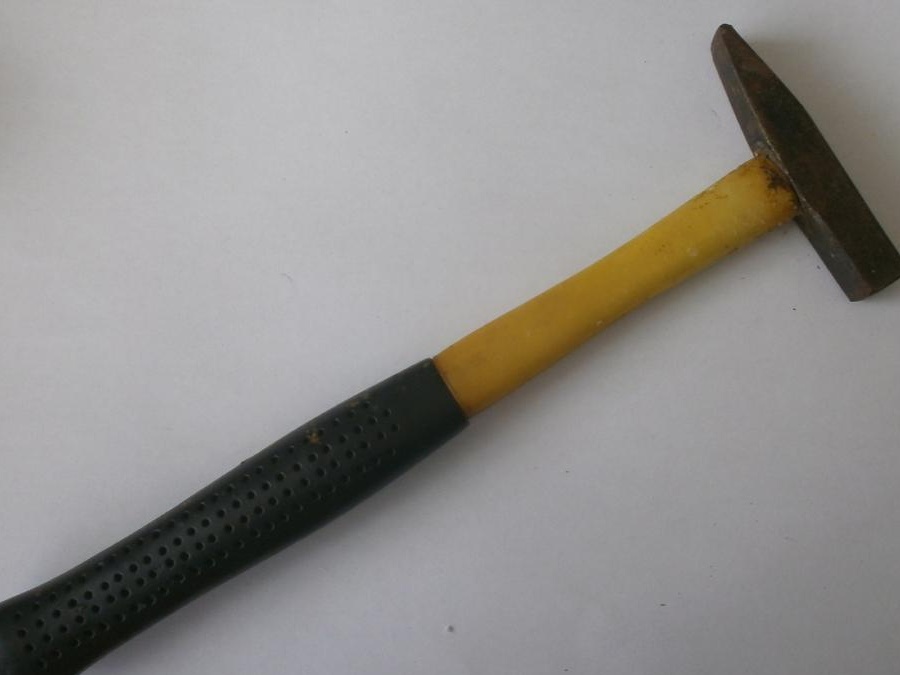
hammer,
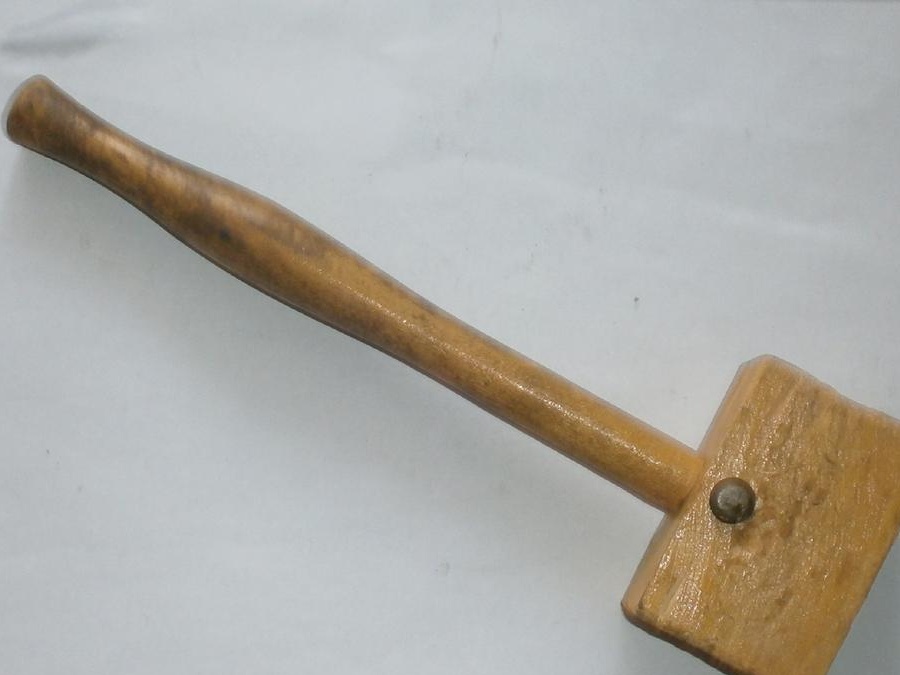
mallet,
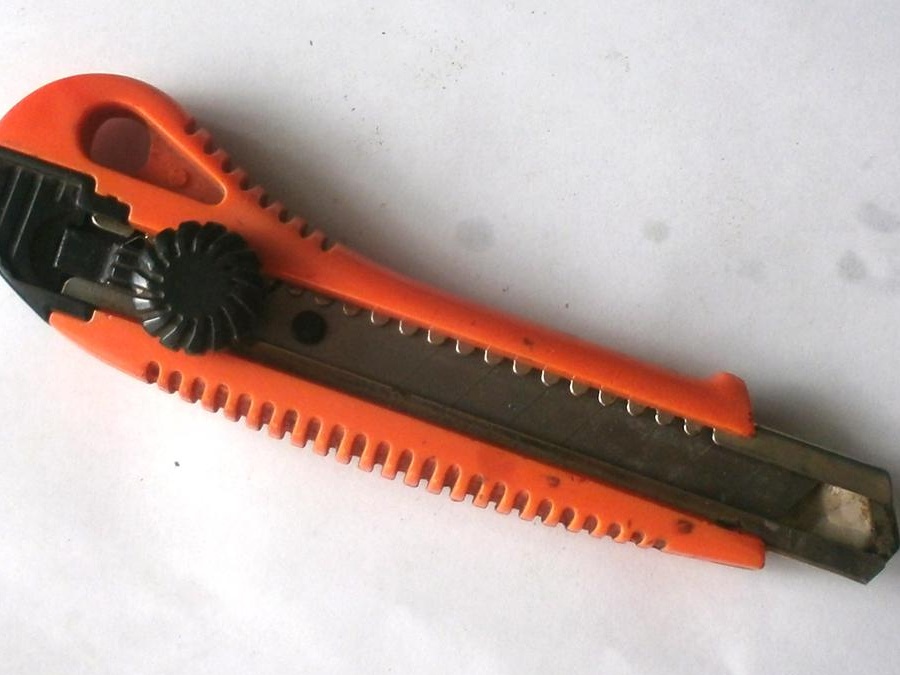
and a sharp knife.
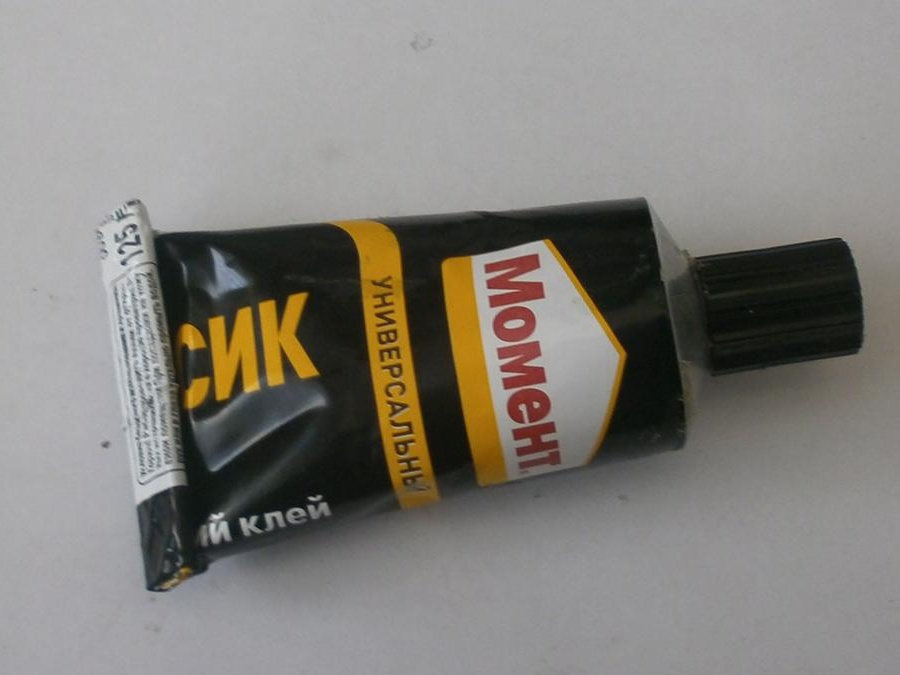
In addition, I needed PVA adhesives,
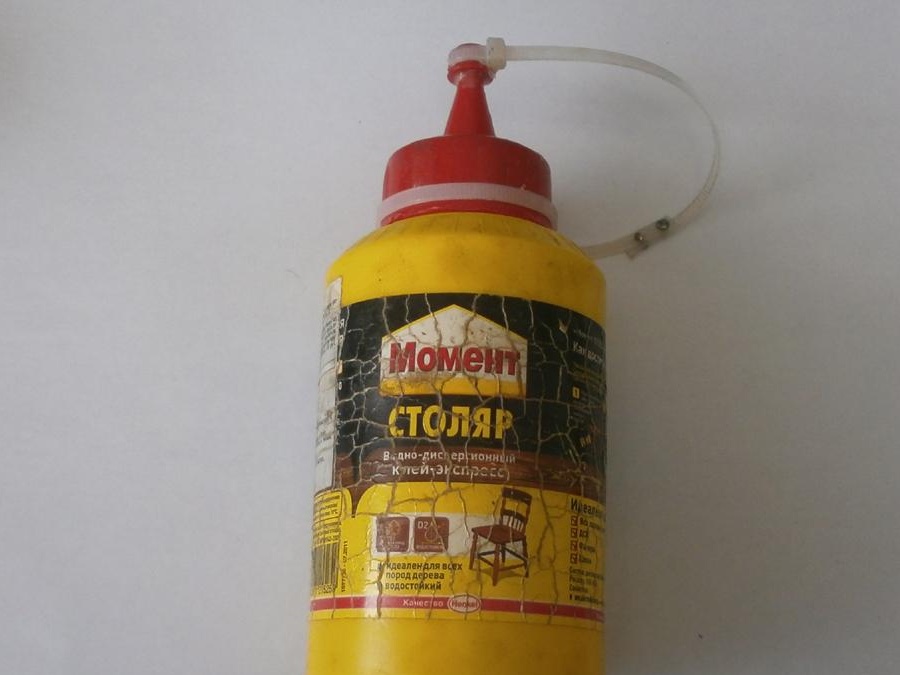
and rubber
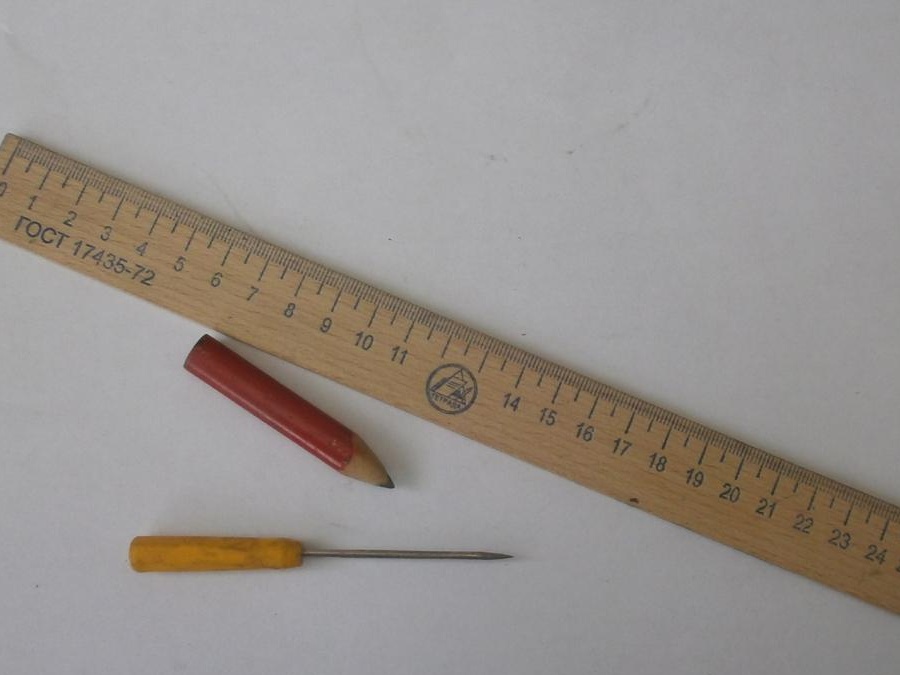
ruler, pencil, awl,
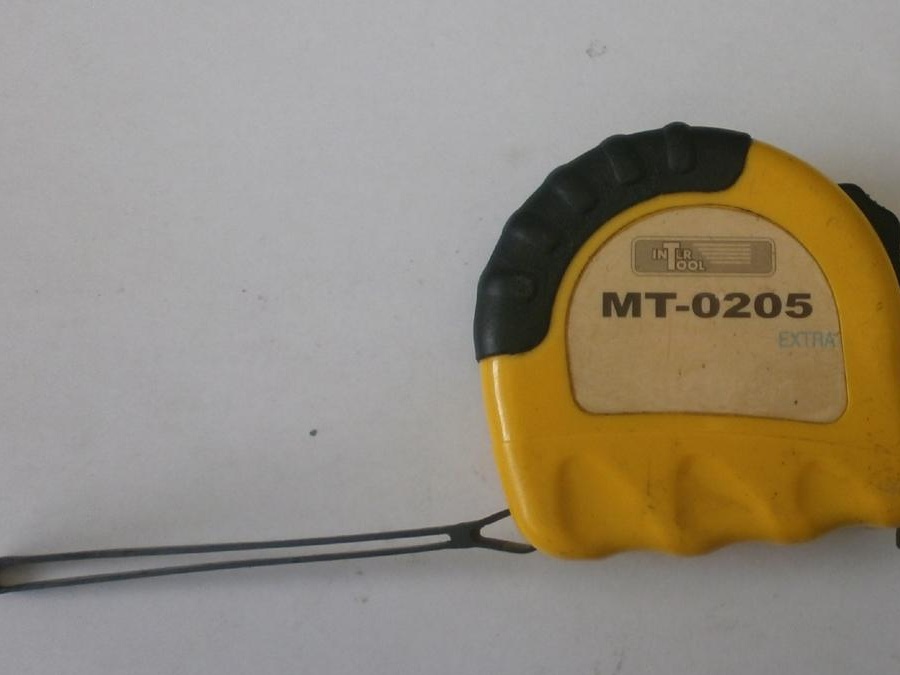
of course roulette
nine confirmations

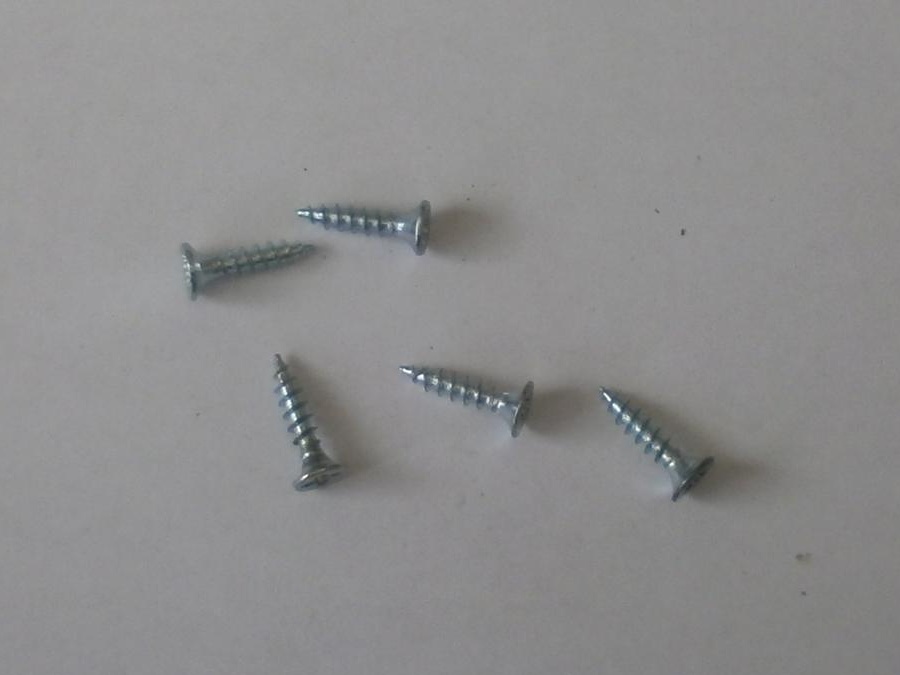
two dozen (with a margin) of short screws,
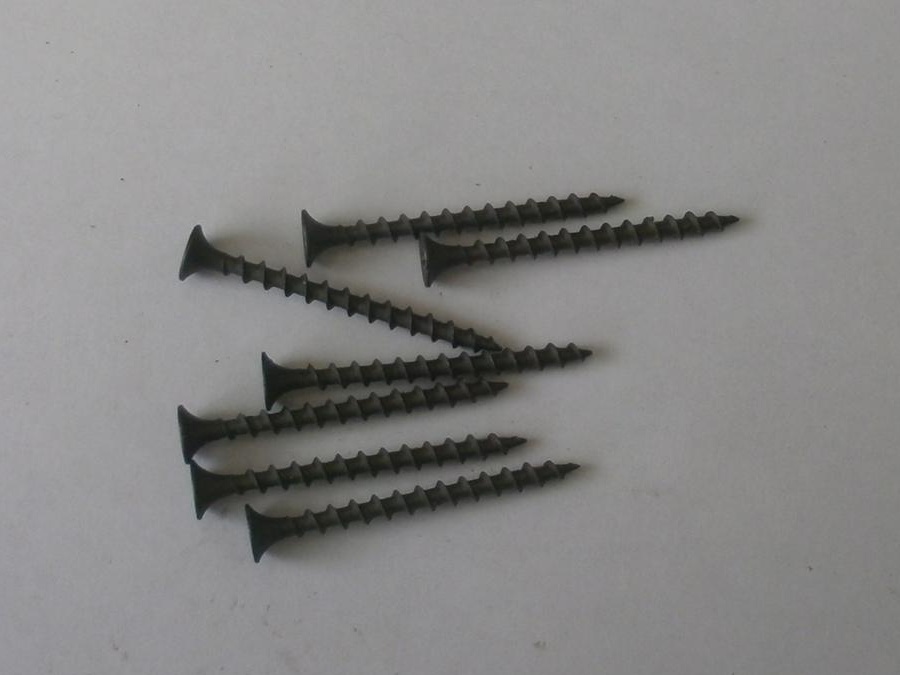
14 long screws
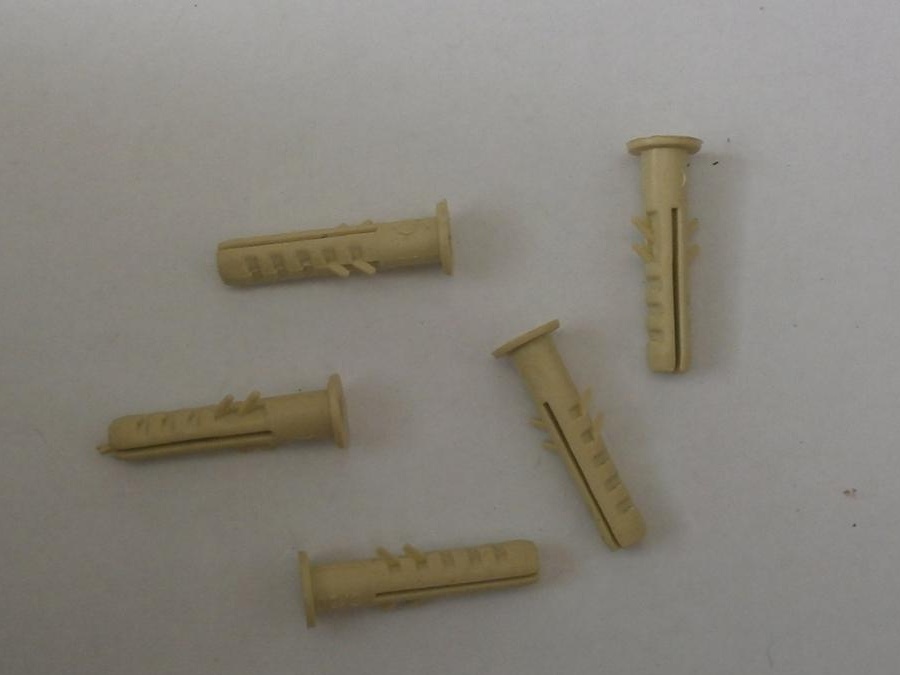
and as many dowels for them.
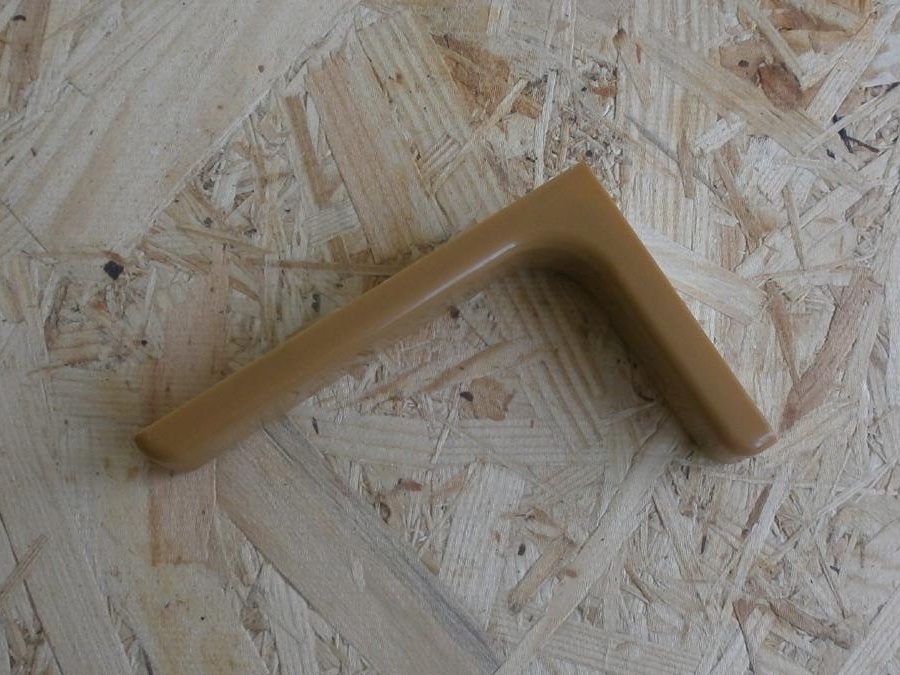
In the same place where I ordered a cut and bought furniture hardware, I took fourteen small plastic corners,
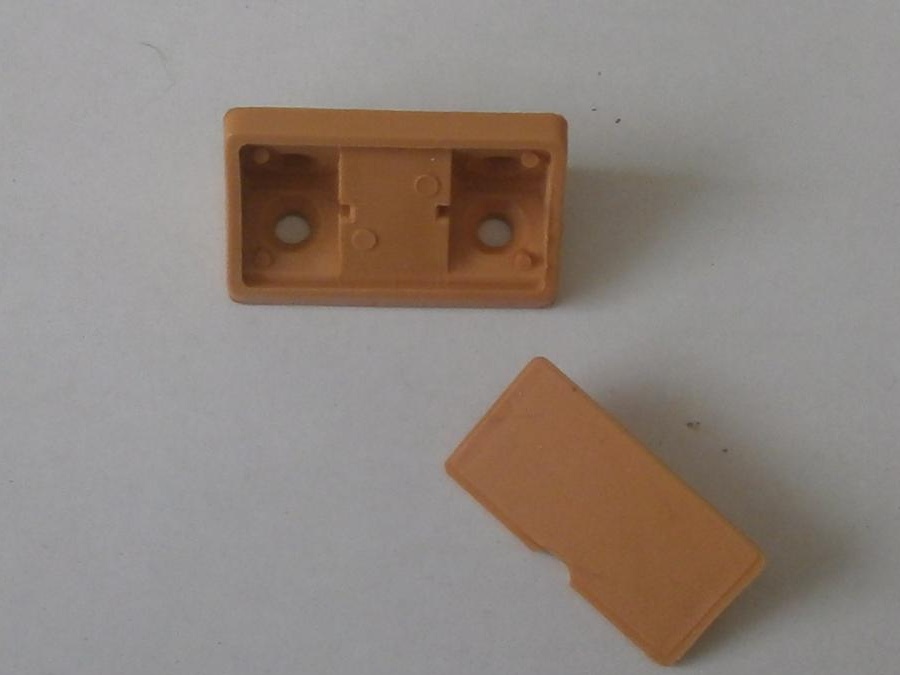
and one bigger, with a steel frame.
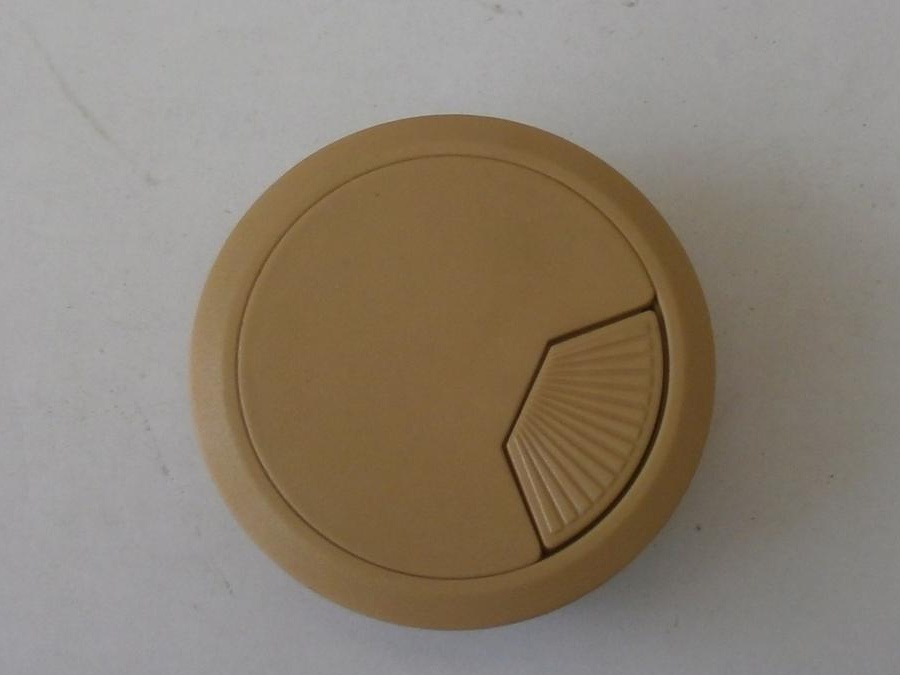
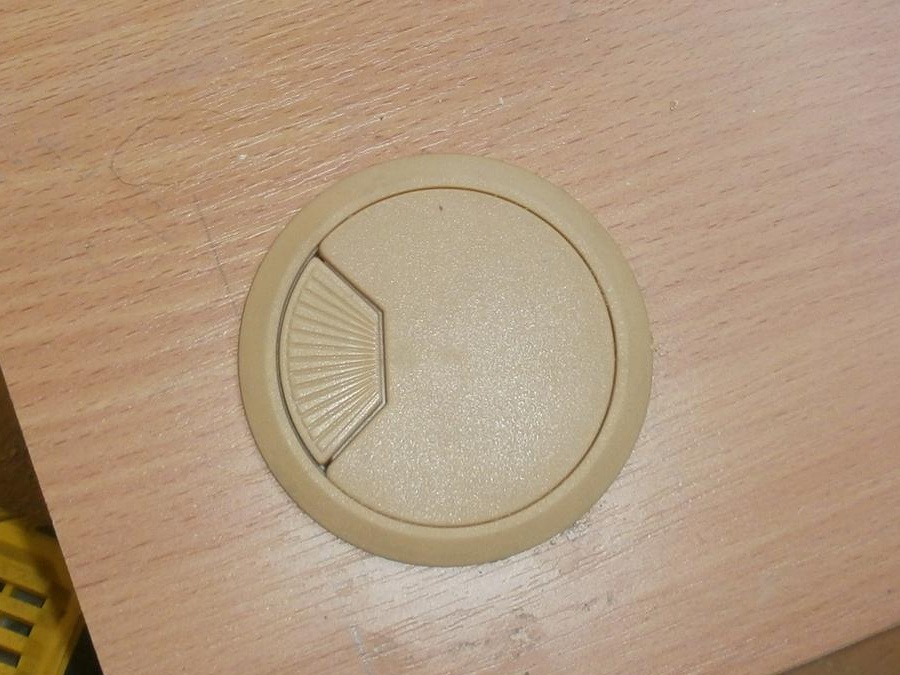
You will also need two decorative caps,
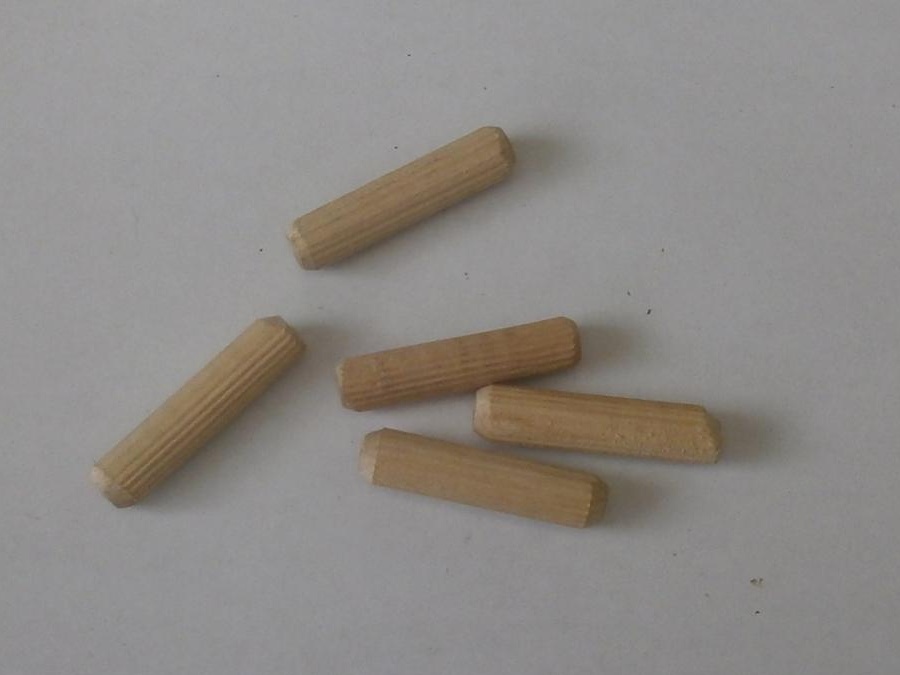
a dozen wooden dowels,
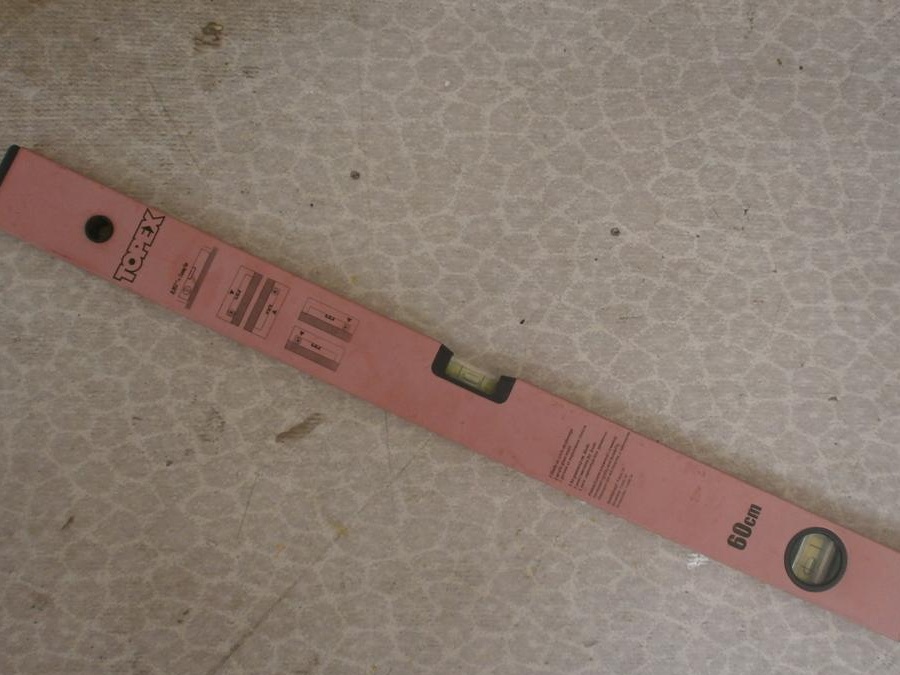
and of course a level to expose everything horizontally.
I ordered overlaying of parts in the same place where they made the cut, so I will omit this part of the work. Two down
and screwed it to the closet and to the wall. Proven by operation: reliable and no skew.
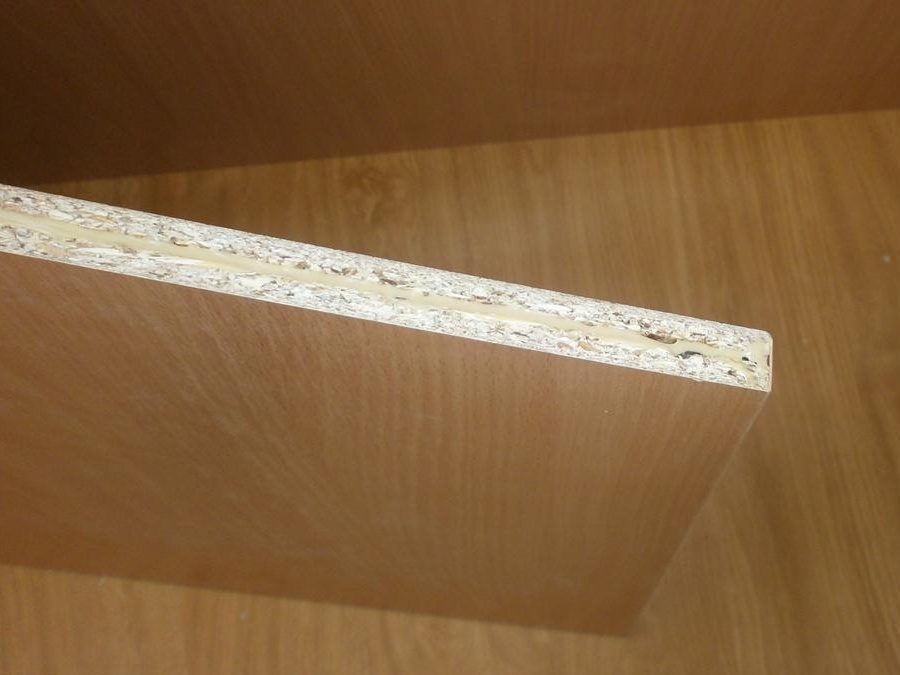
The outer part of the worktop will be in a T-shaped profile, so all the same saw cutters made a special groove for this.
In the profile edge itself,
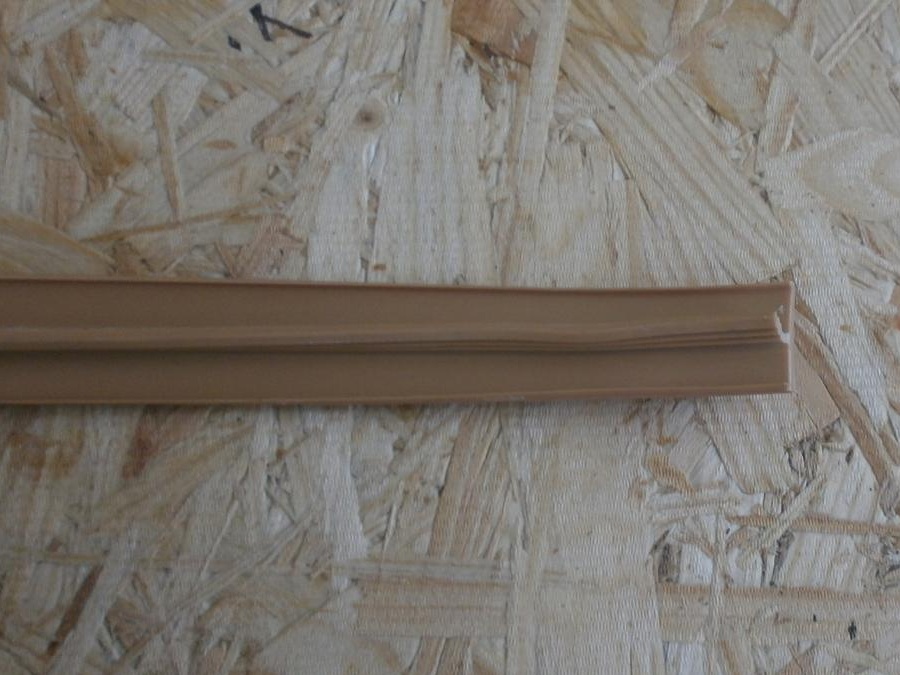
you need to make a small cutout.
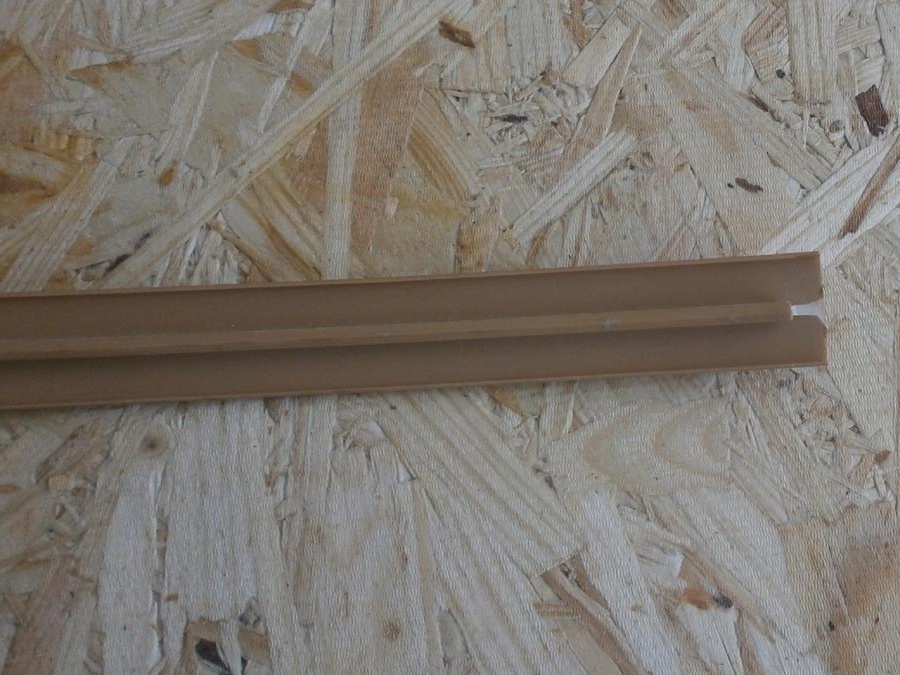
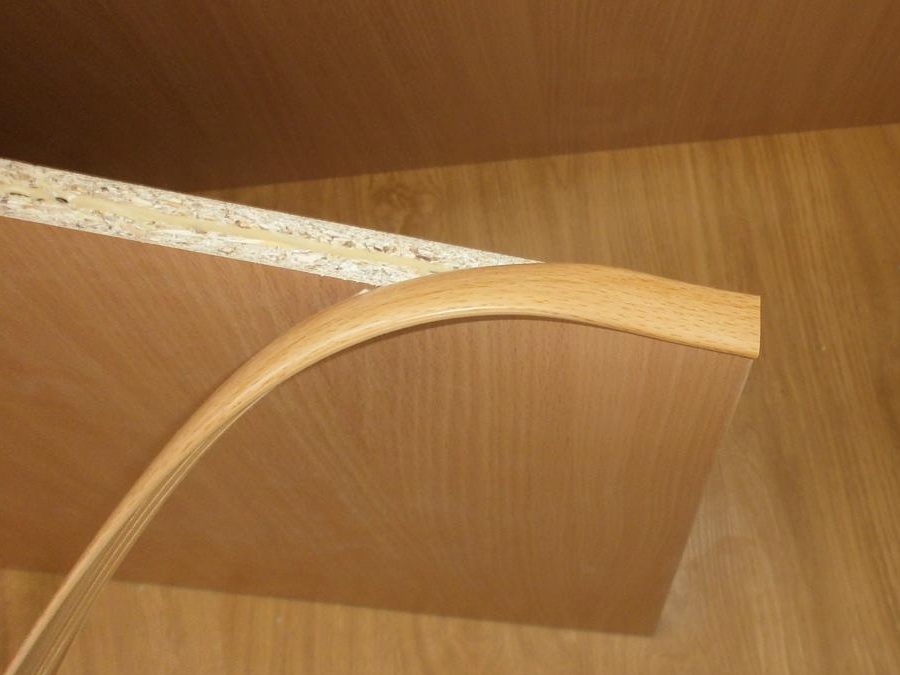
Now pour rubber glue into the groove,
and insert the edge. With gentle taps with a mallet, level it.When you reach the end of the workpiece, repeat the operation with cutting the central groove.
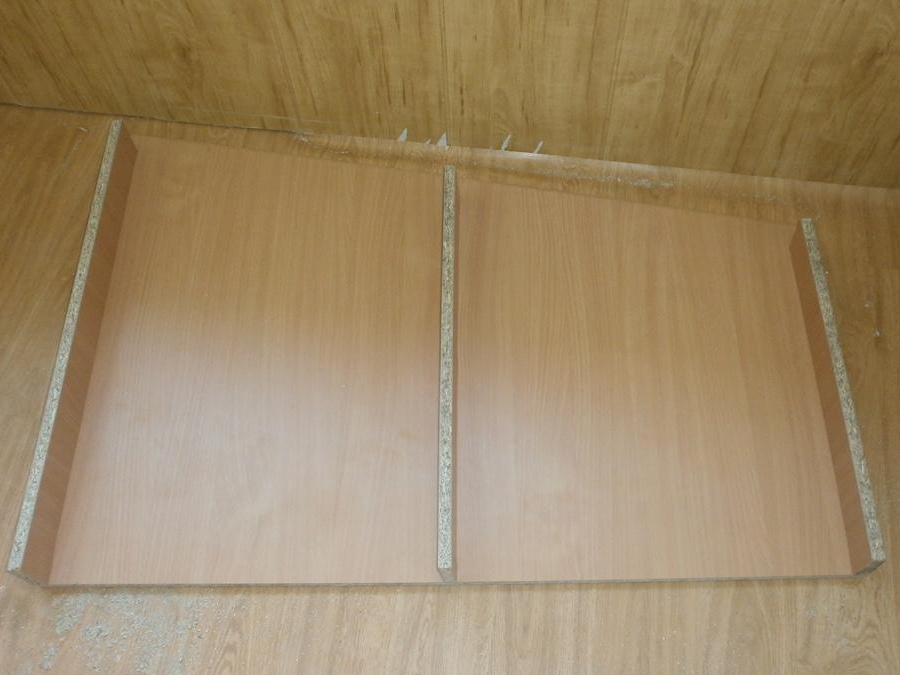
One part is ready. Do the same with the second. By the way, it is intentionally made a couple of centimeters smaller so that it is slightly recessed in the finished structure.
In the upper part we drill holes for dowels. Not through and through, but only two-thirds of the sheet thickness, so you will need a limiter if you are afraid that your hand may flinch.
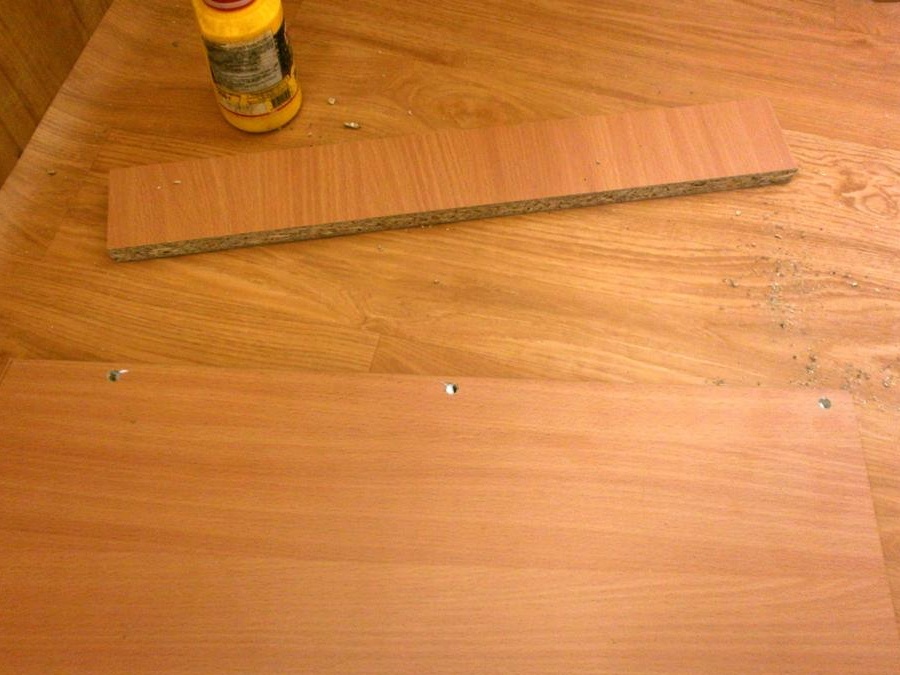
Pour a drop of PVA glue into the holes and hammer in the dowels.
In the crossbars, we also drill holes, we also drop PVA into them and connect them.
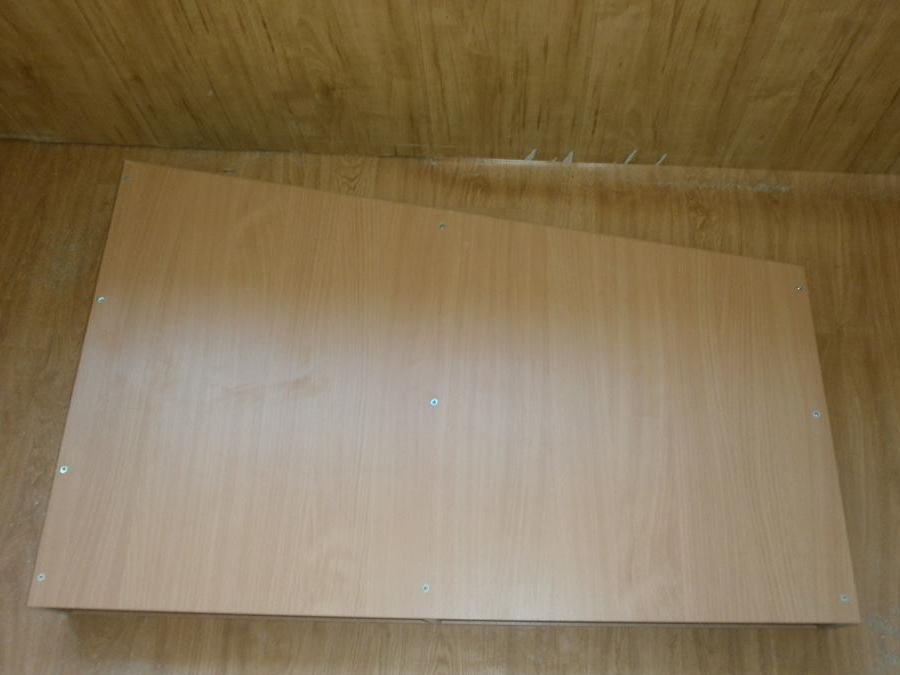
We put the bottom cover on and confirm it already.
Saw a round hole in the upper and lower lids with a jigsaw,
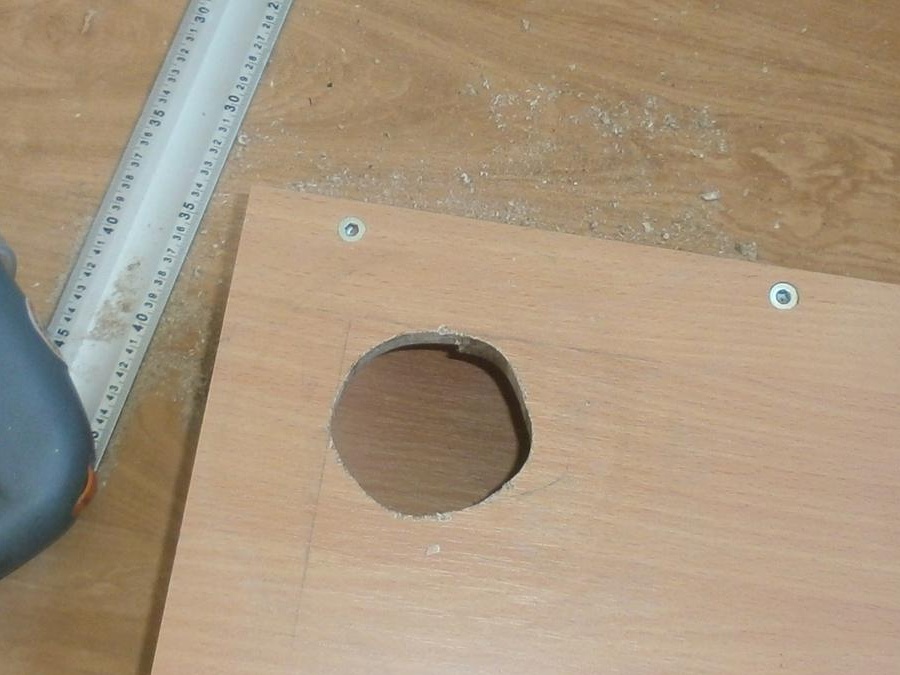
And on the glue we insert the covers, one,
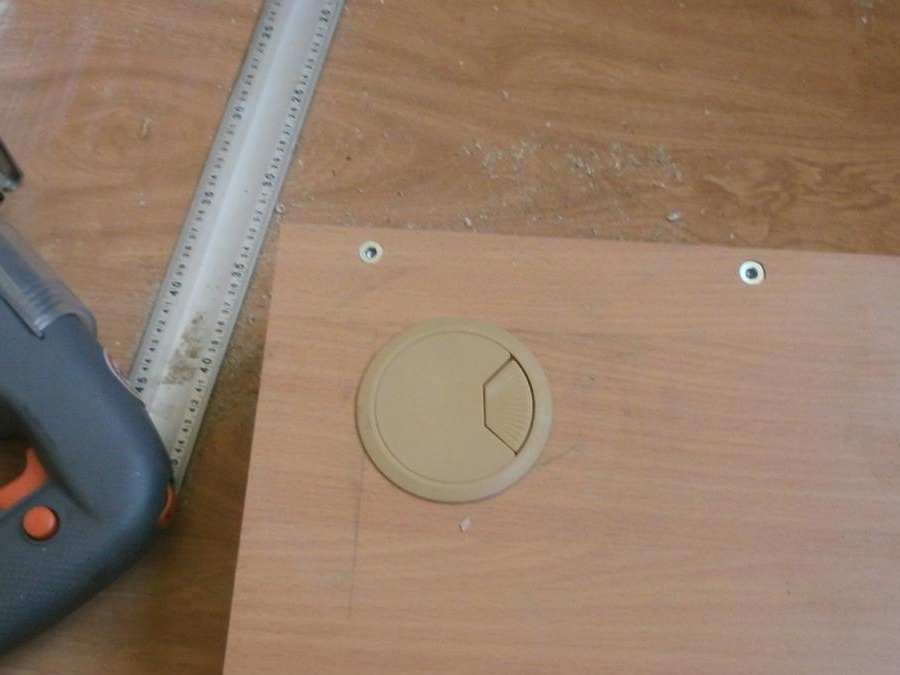
and the second.
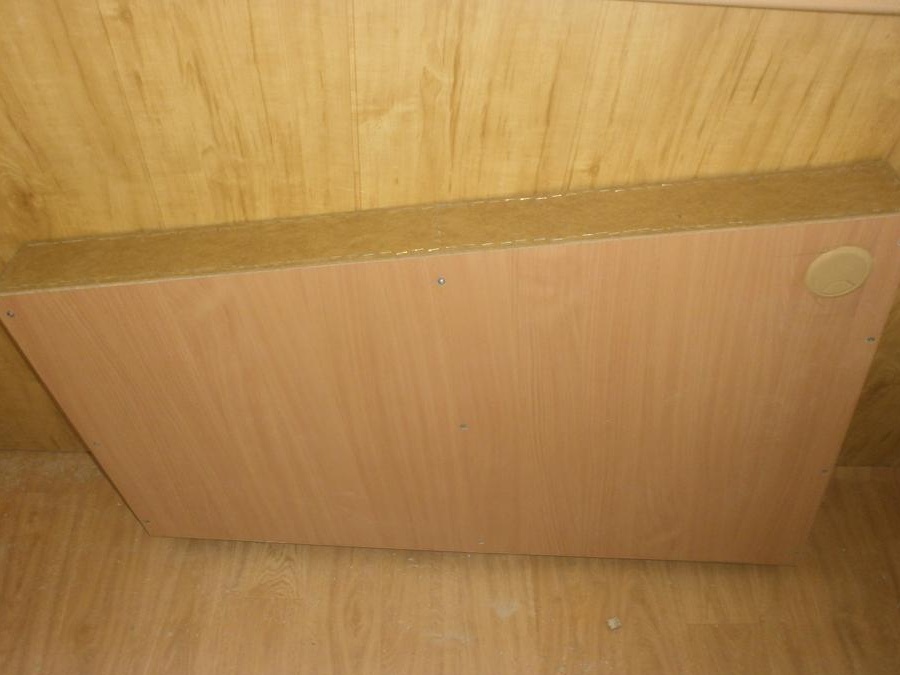
We shoot the back wall of hardboard. The tabletop box is ready.
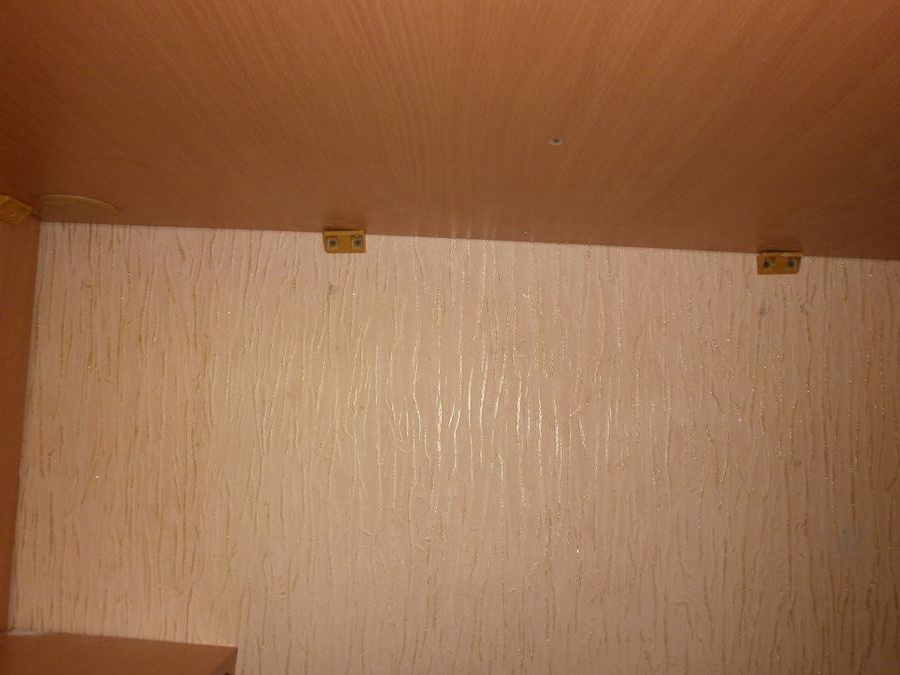
We fasten three corners to the back wall from the bottom, and the same from the left side,
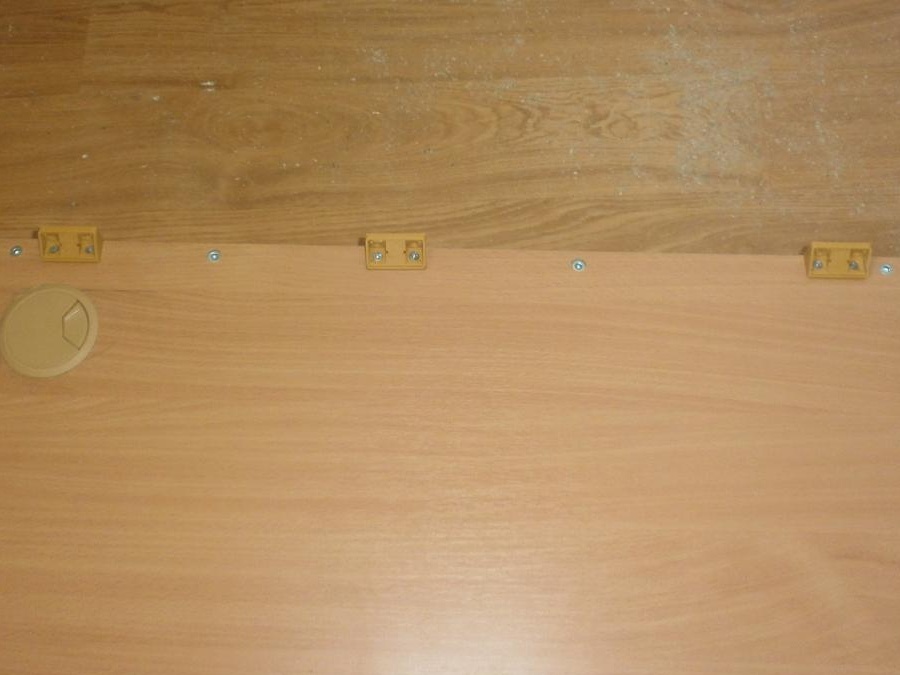
and to the wall, having well measured the height of the system unit, a steel corner.
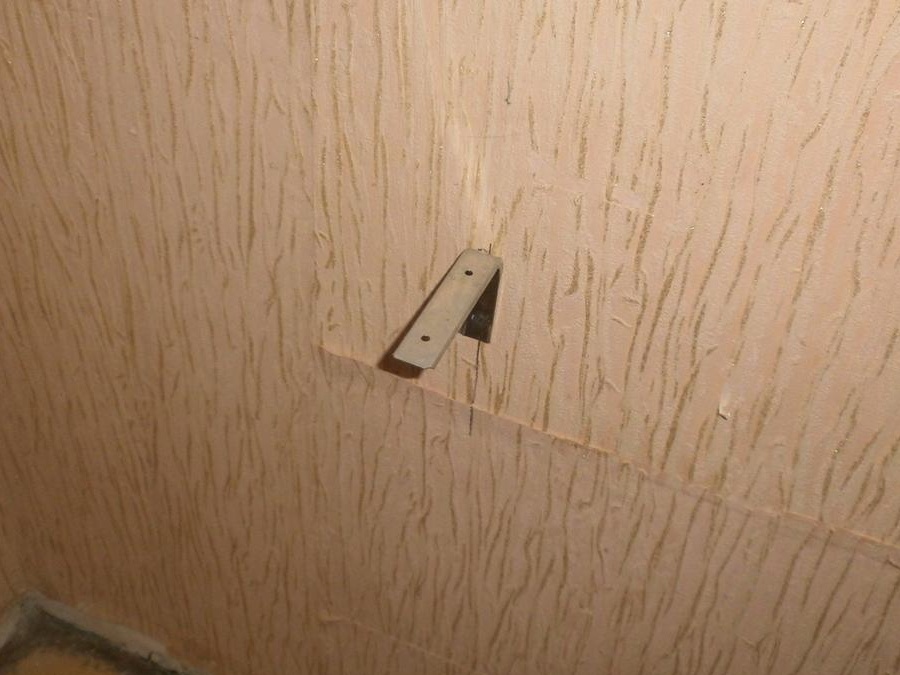
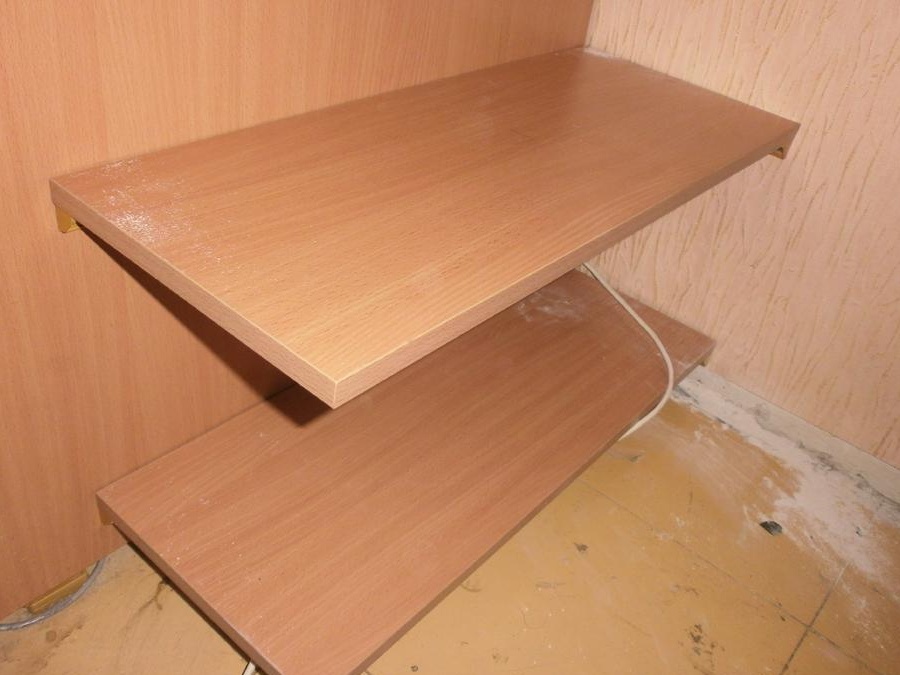
Here you need an assistant who will expose the countertop in level, and you will screw it from the bottom to the cabinet and the wall.
That's all, we insert decorative caps into the corners, pass wires through the holes and connect a computer to them. It remains to lay a carpet under the legs and attach the missing skirting boards.
And as you yourself see, nothing complicated. So everything is quite realistic to do in just a couple of hours.