

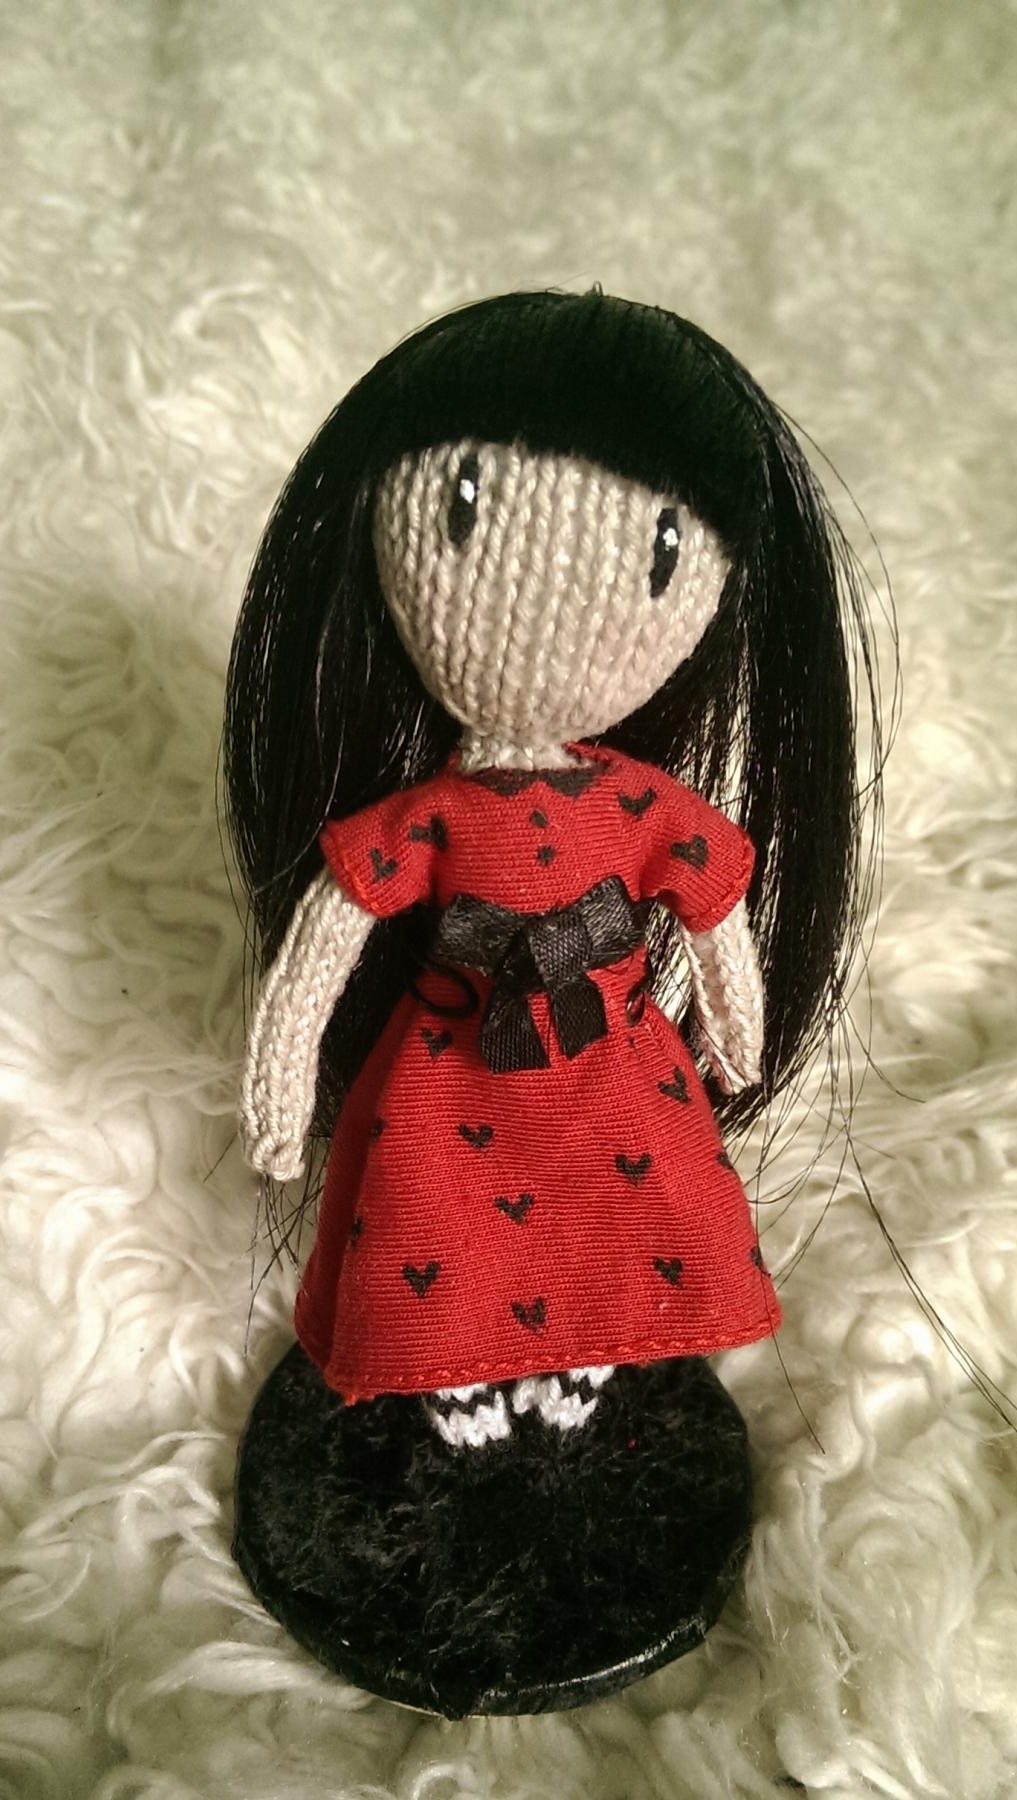
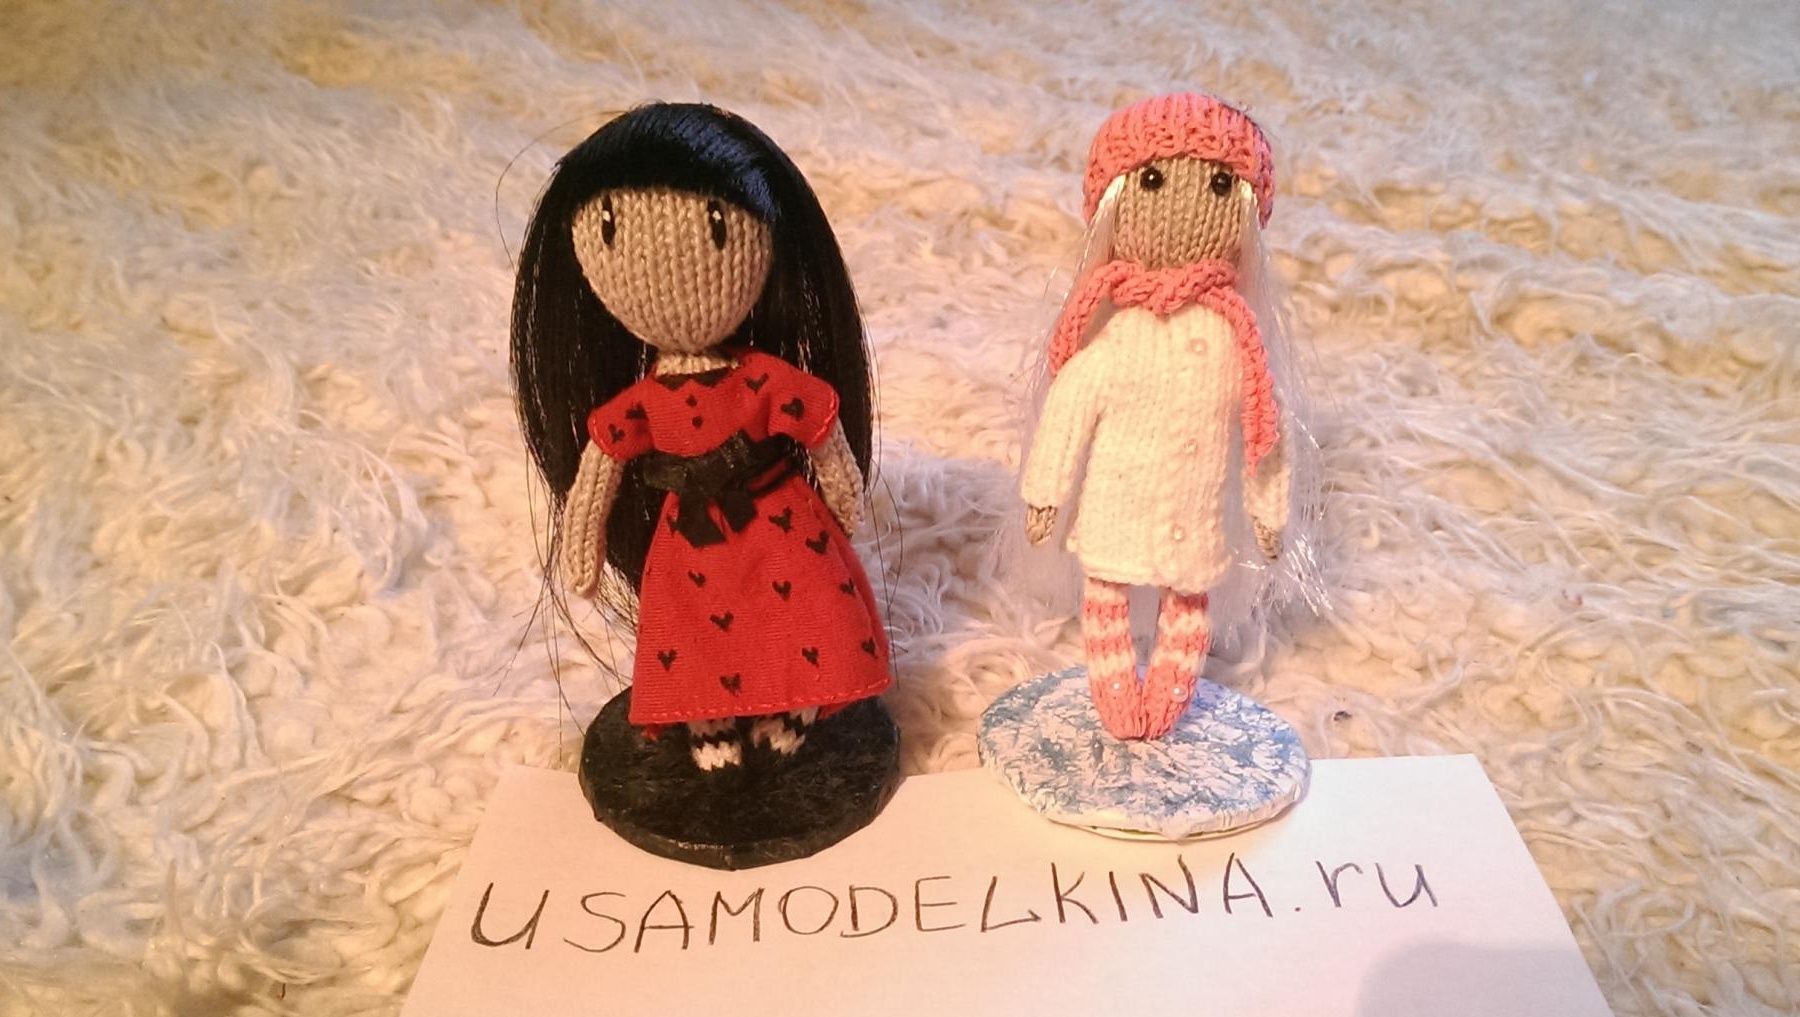
The master class is dedicated to those who manufacture dolls. Stand is an indispensable thing. If you make dolls for yourself and your family, it will allow you to carefully organize the space where the dolls are placed. If you needlewomanselling her dolls, then without a stand it is simply impossible to do (if the doll is not standing on its own)! Often the coasters are made of wood, but not everyone has access to this option. We will consider the easiest way.
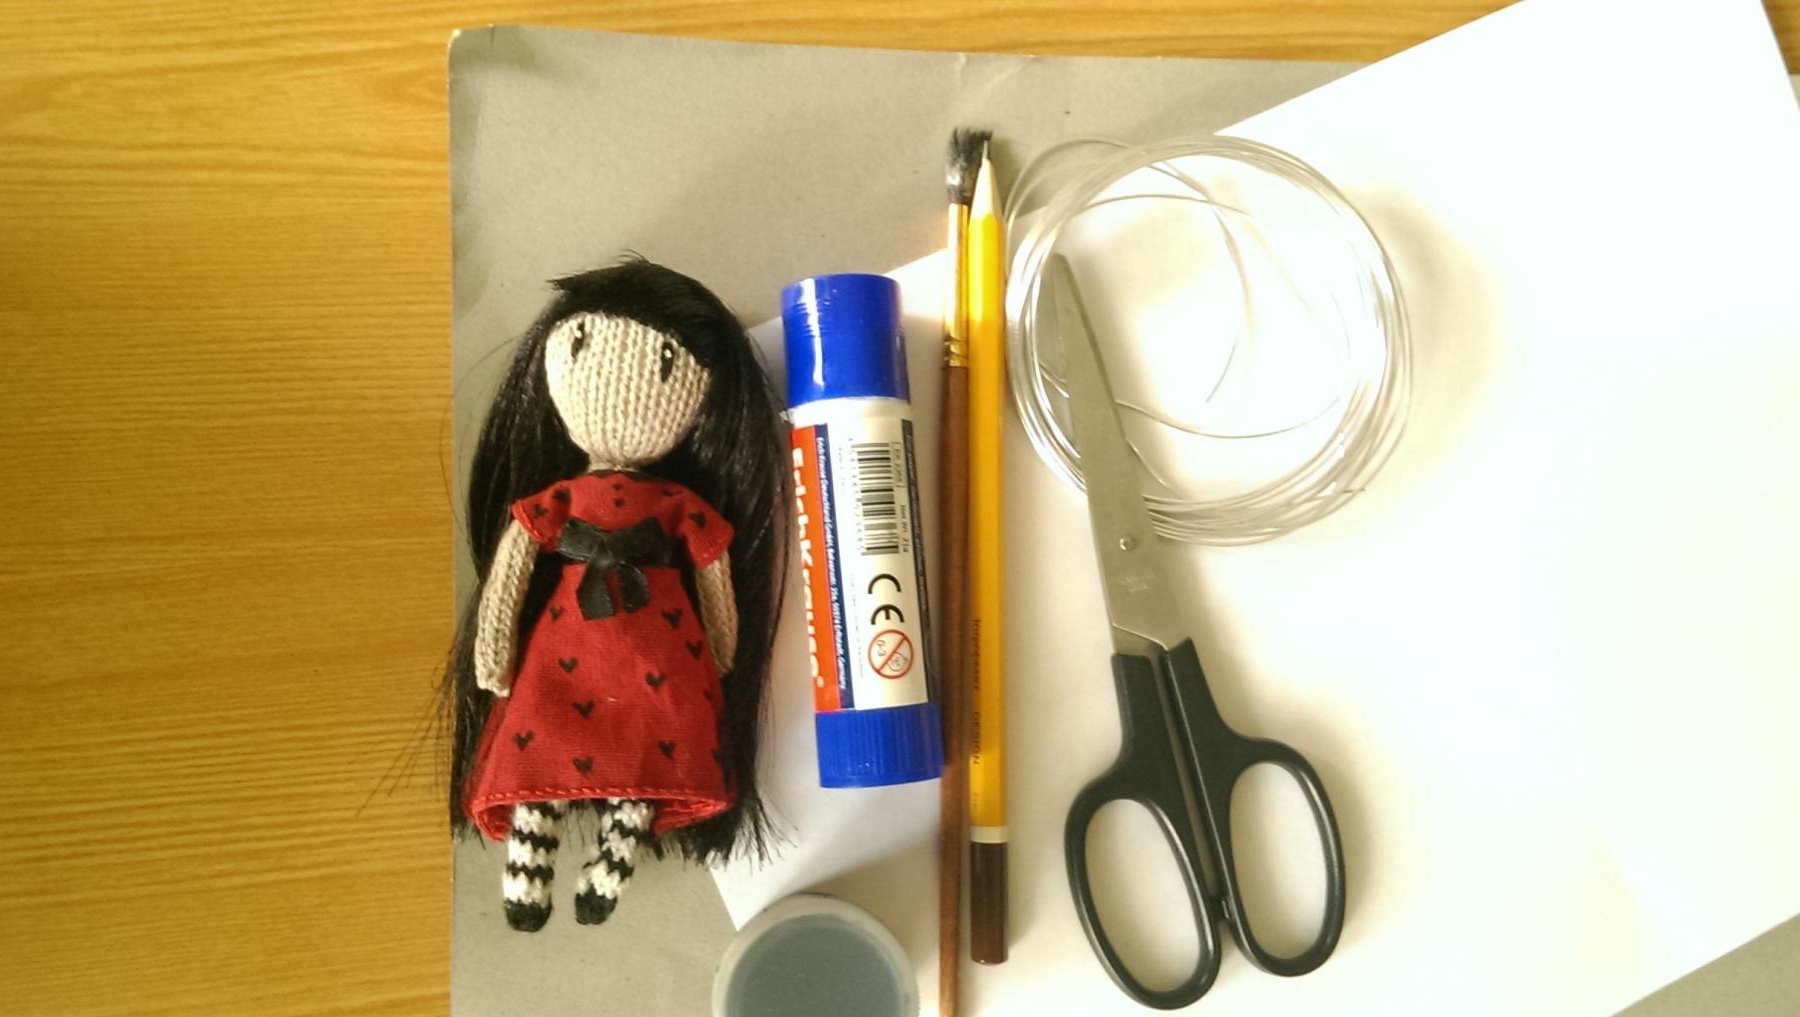
Materials and tools:
- cardboard;
- paper;
- scissors;
- glue stick;
- wire;
- a pencil;
- brush;
- acrylic black paint.
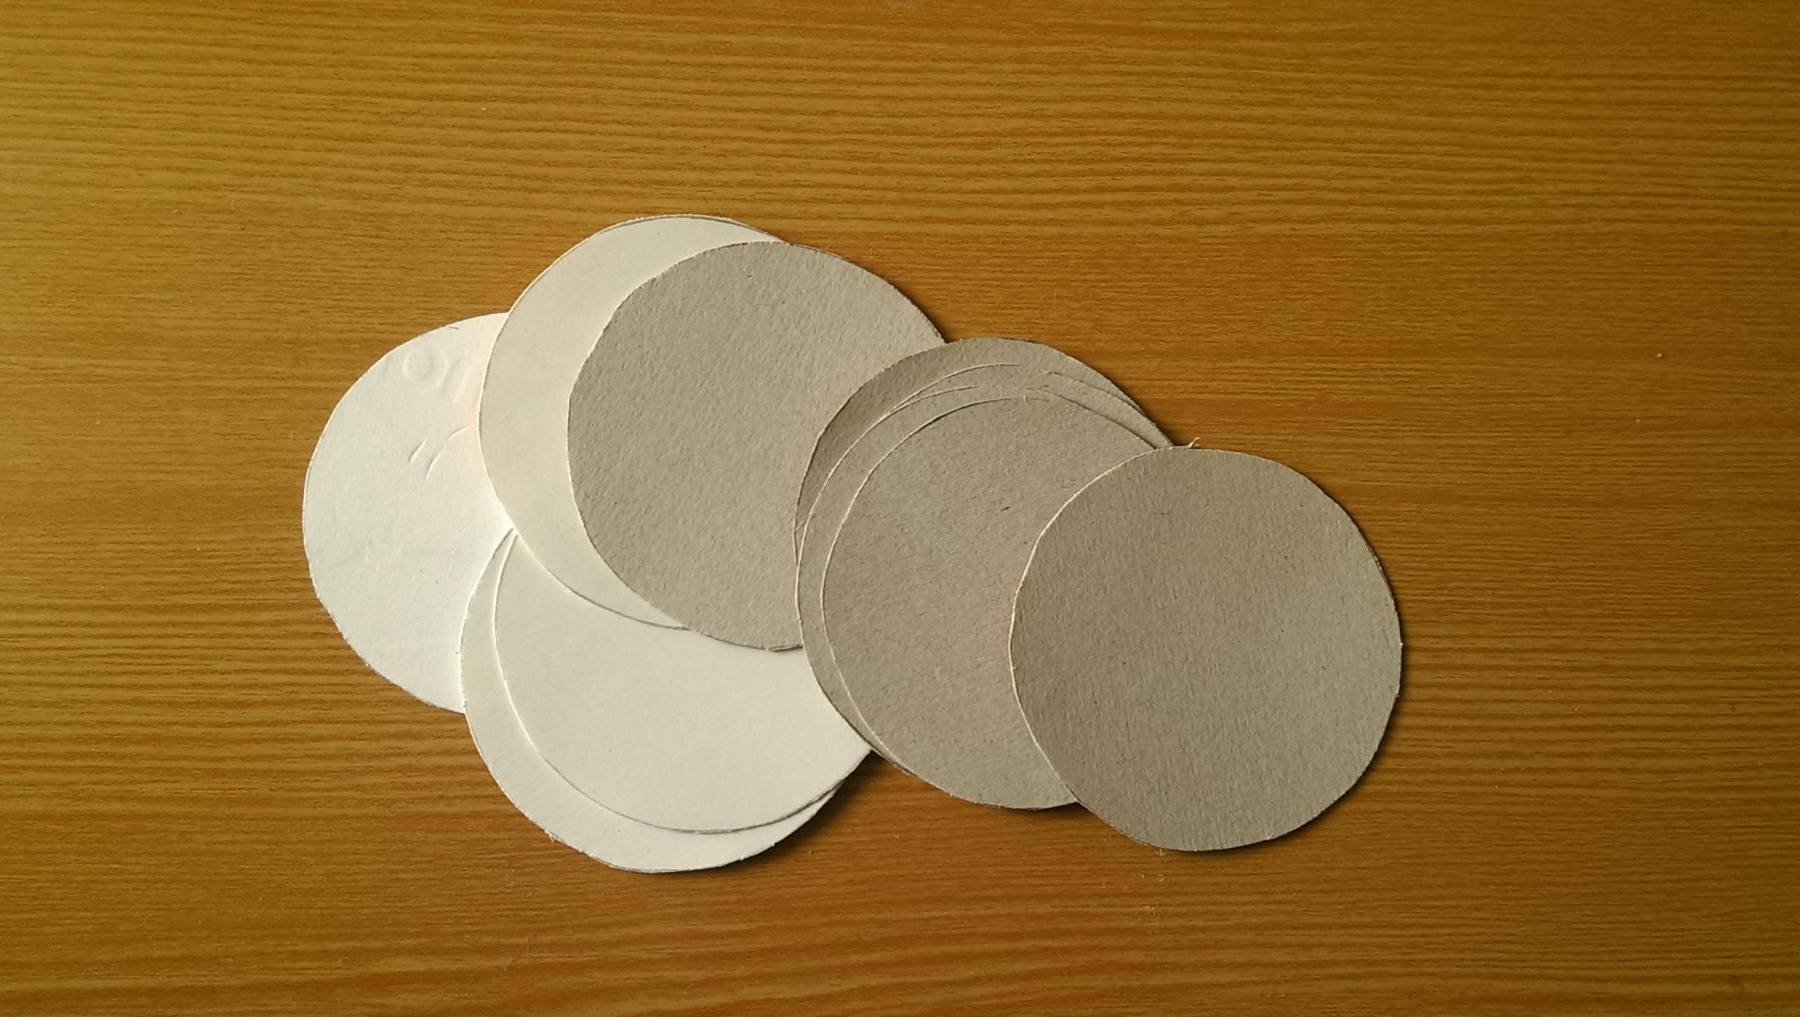
Step 1. Cut 11 circles of the desired diameter from the cardboard. The number of circles depends on how tall the stand will be and on the thickness of the cardboard. I used chocolate and cookie boxes.
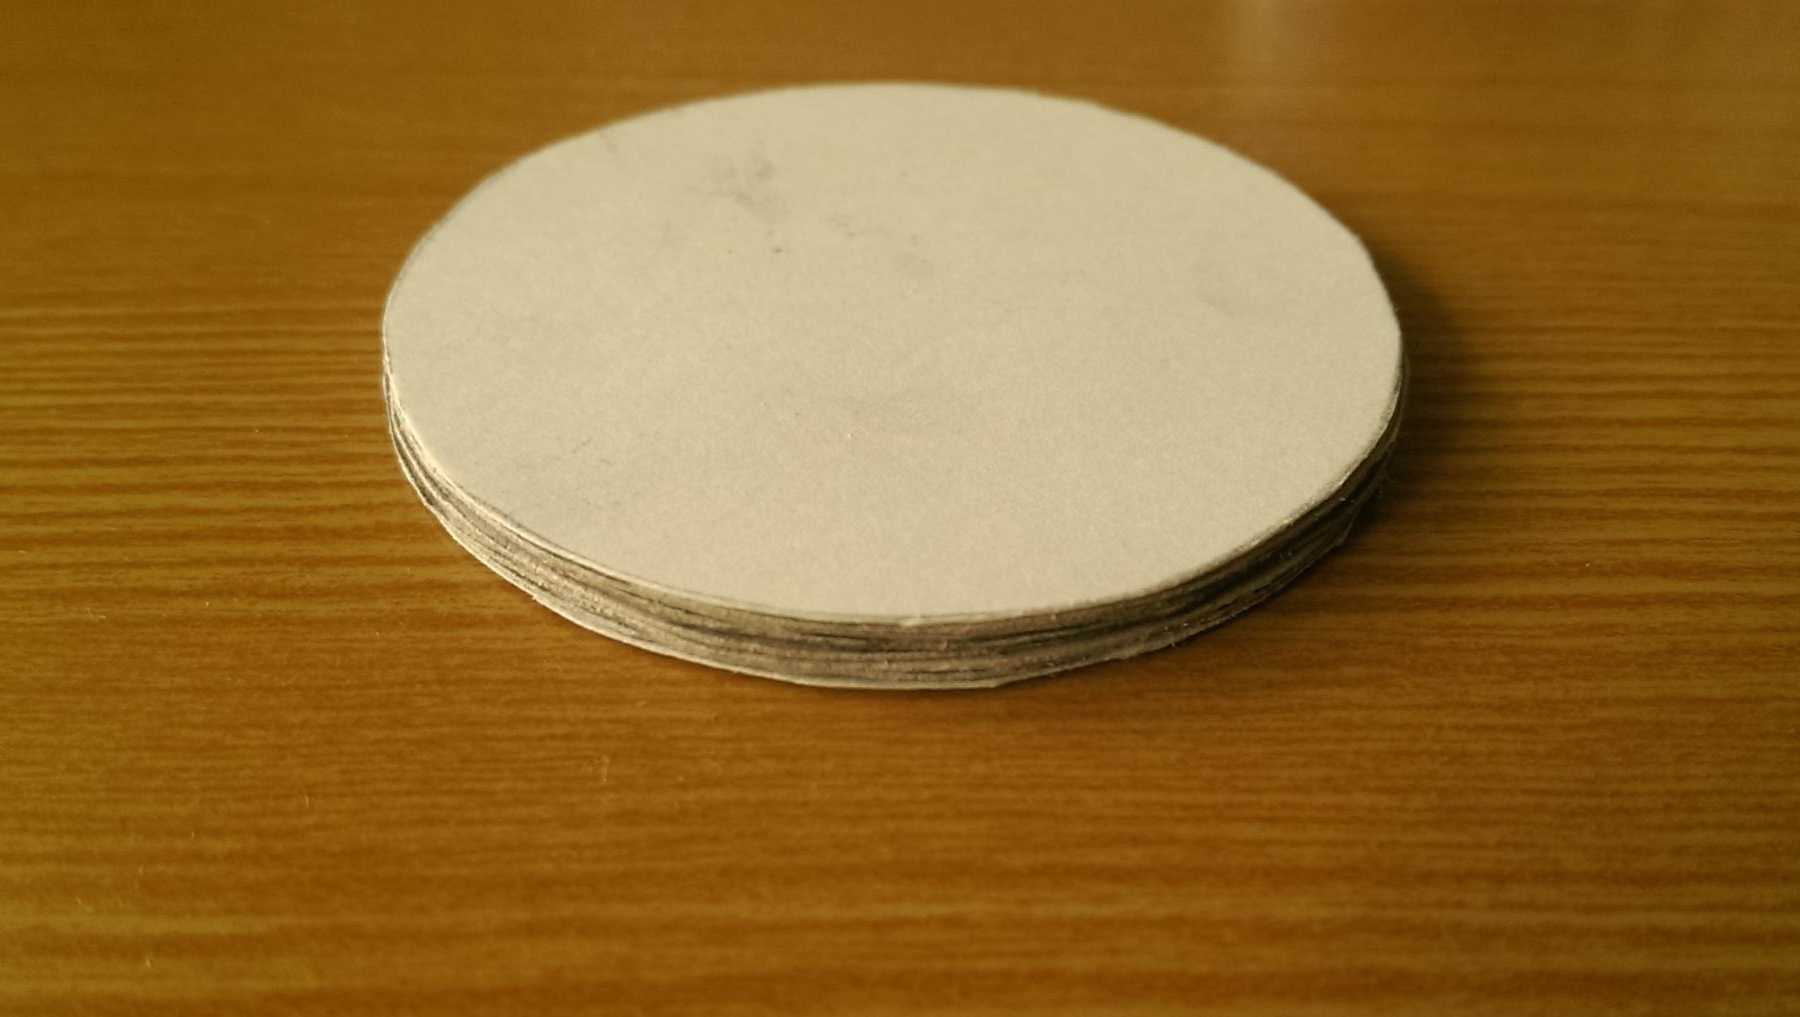
Step 2. We lay aside two circles, the rest (in our case nine) are glued together.
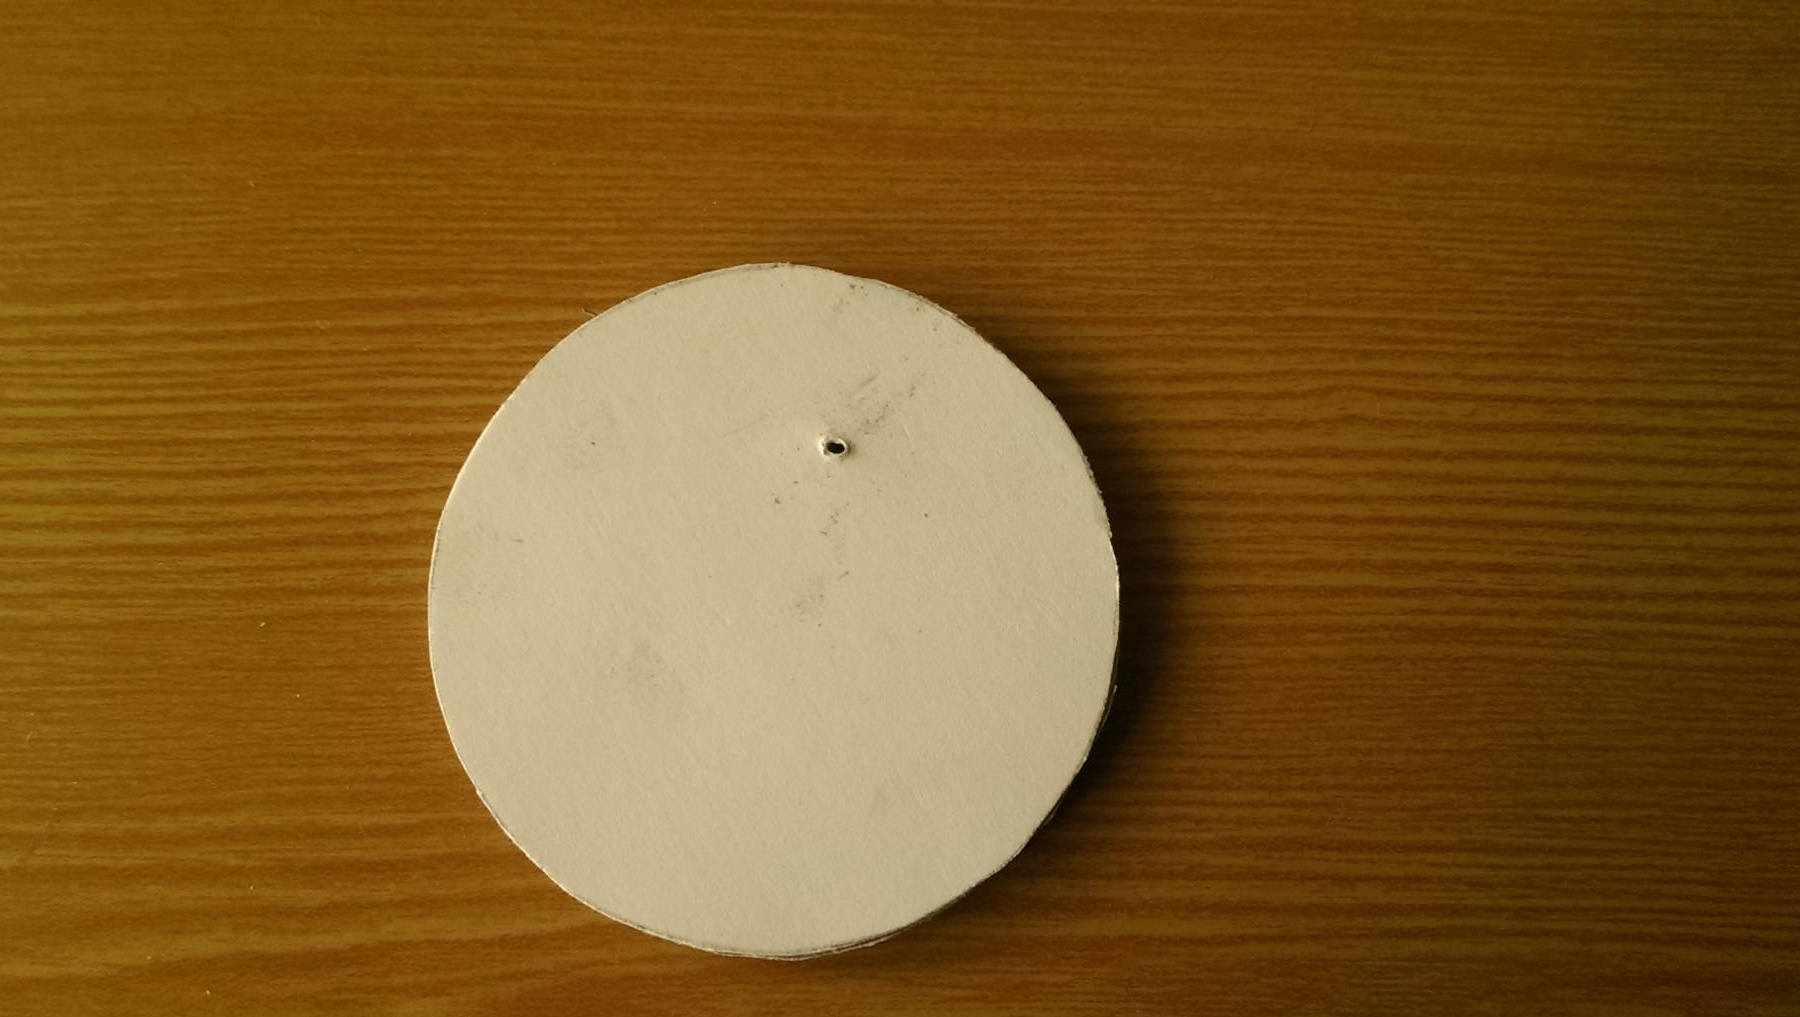
Step 3. Now that the glue has dried, we make a small hole where the holder will be inserted.
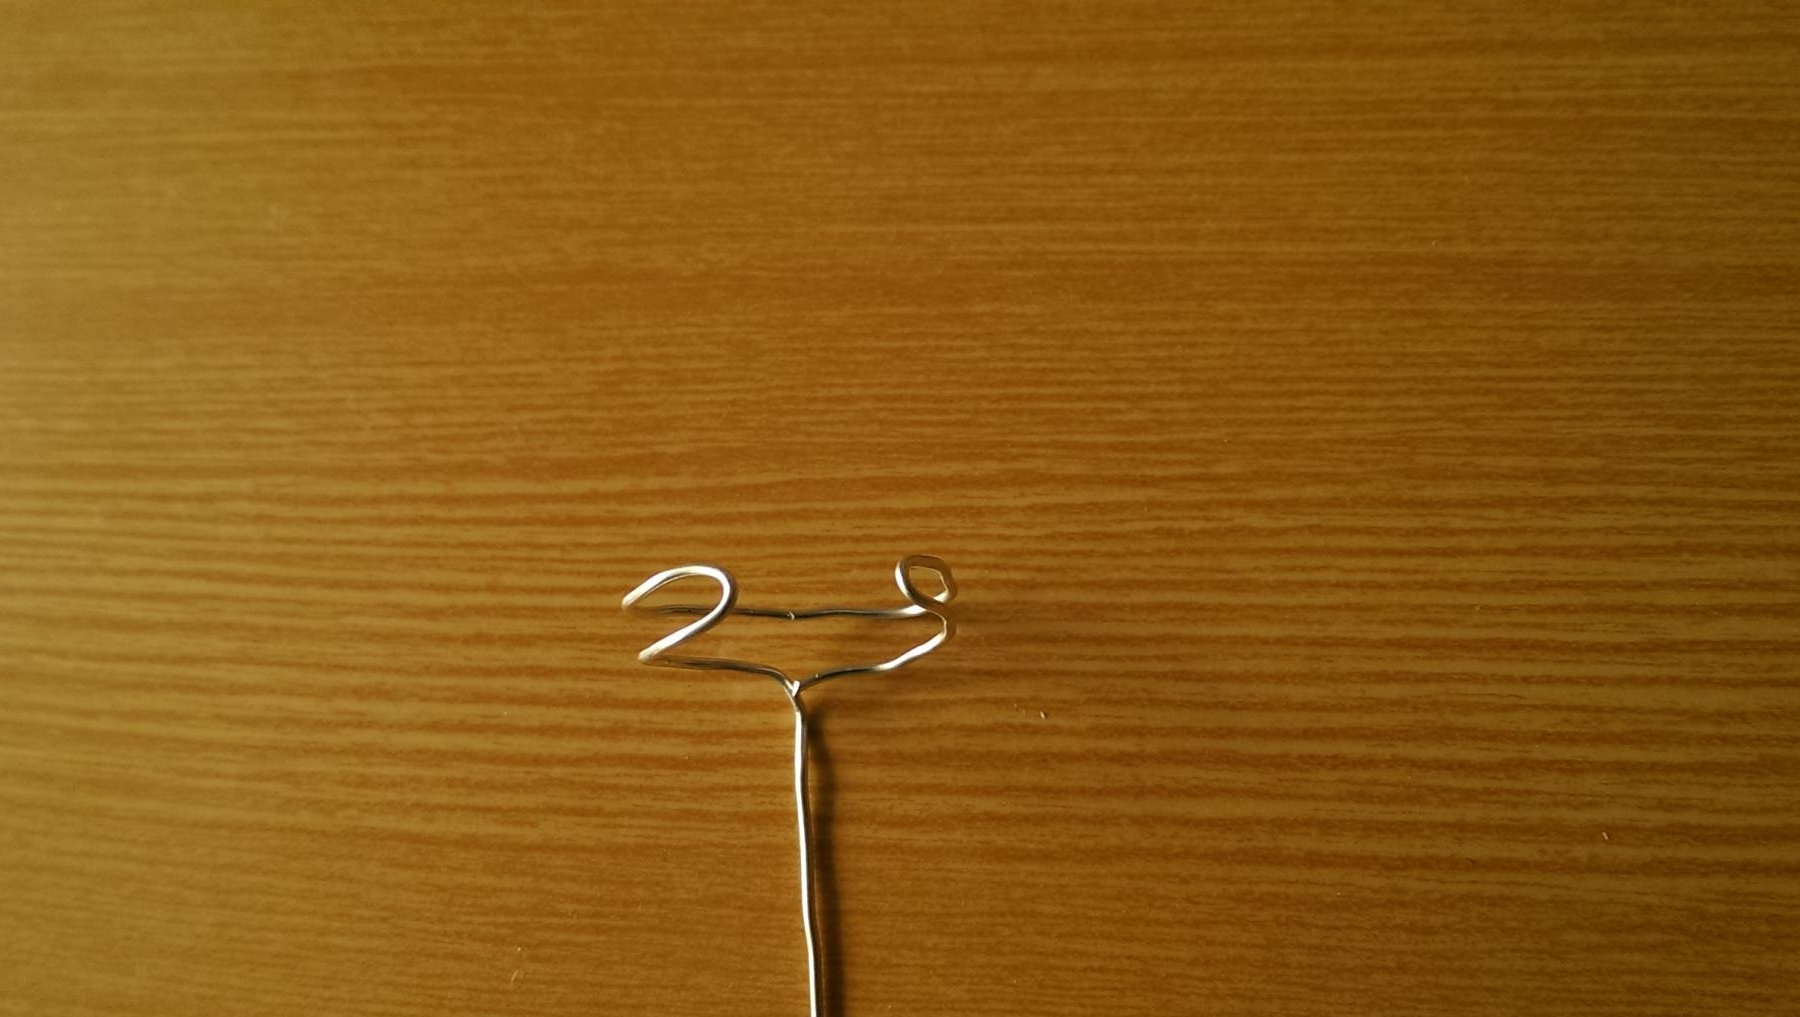
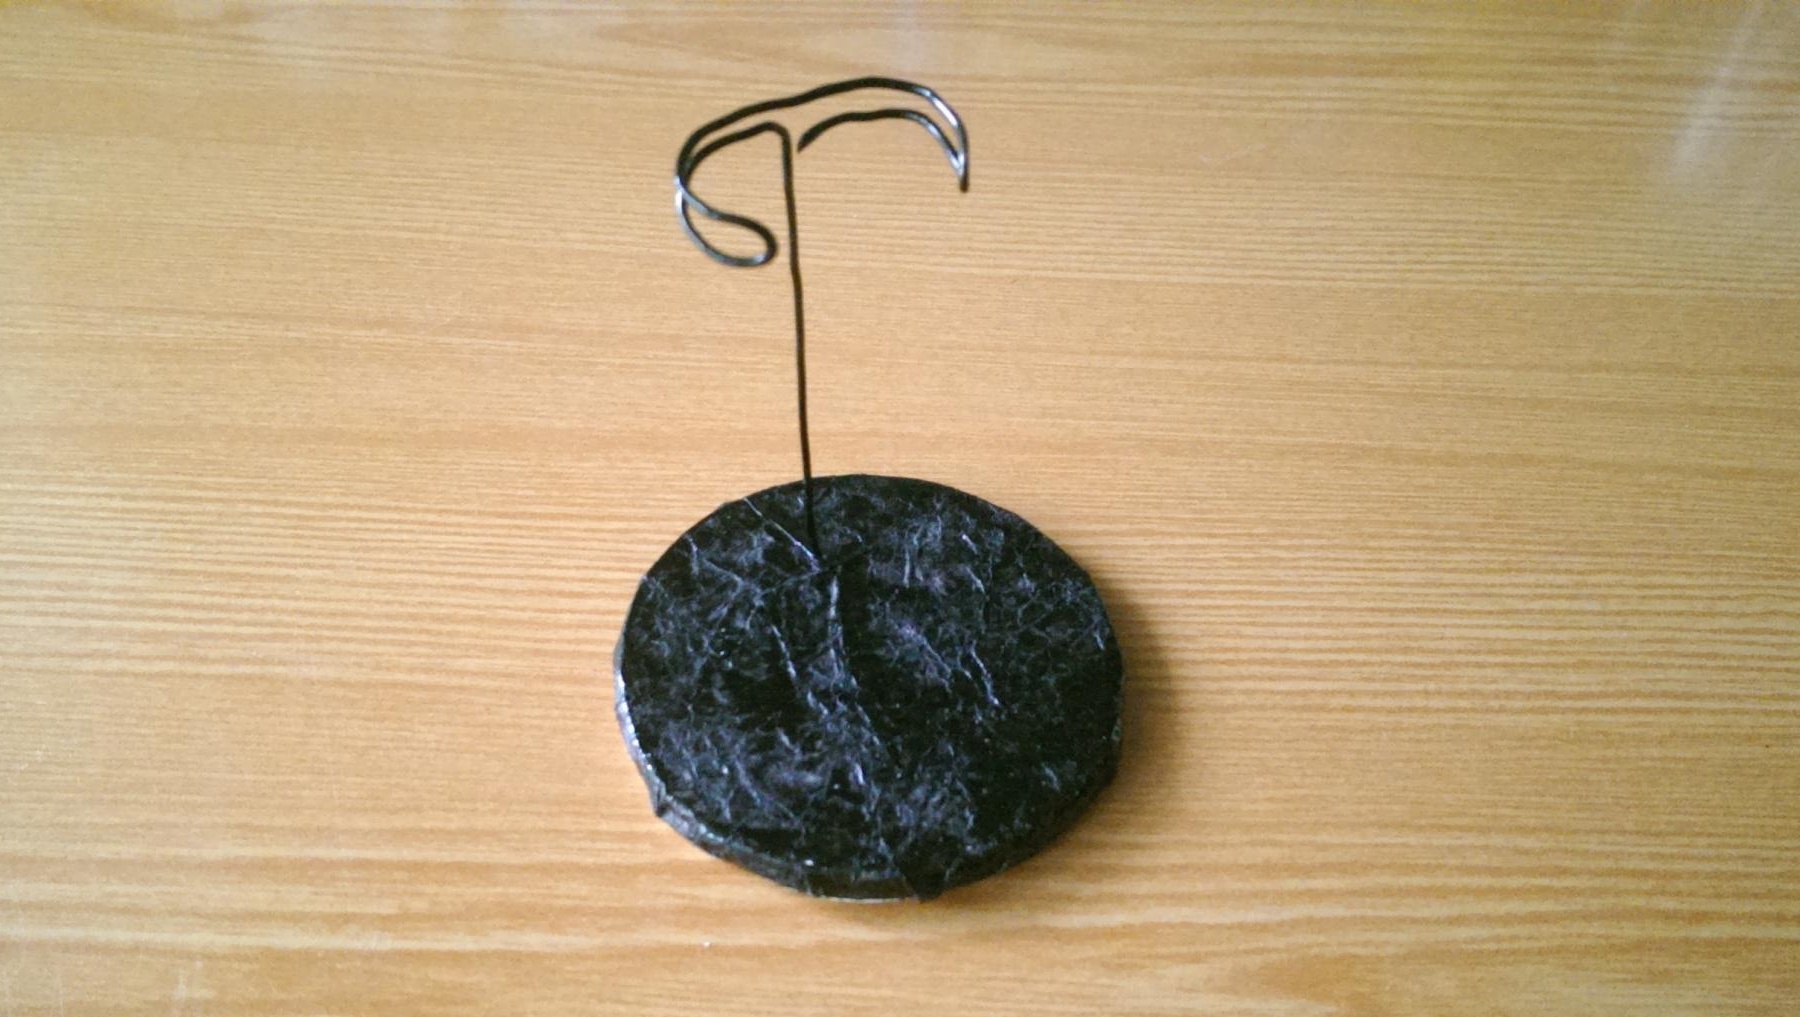
Step 4. We make a holder of wire. Everything is individual here! If the doll is small, like mine, a single thickness of wire is enough. If the doll is large, the wire can be twisted into several folds or braided from a wire (it is elastic enough for this). So, measuring the width of the doll’s waist, we bend the “paws” of the holder. Then measure the desired height.
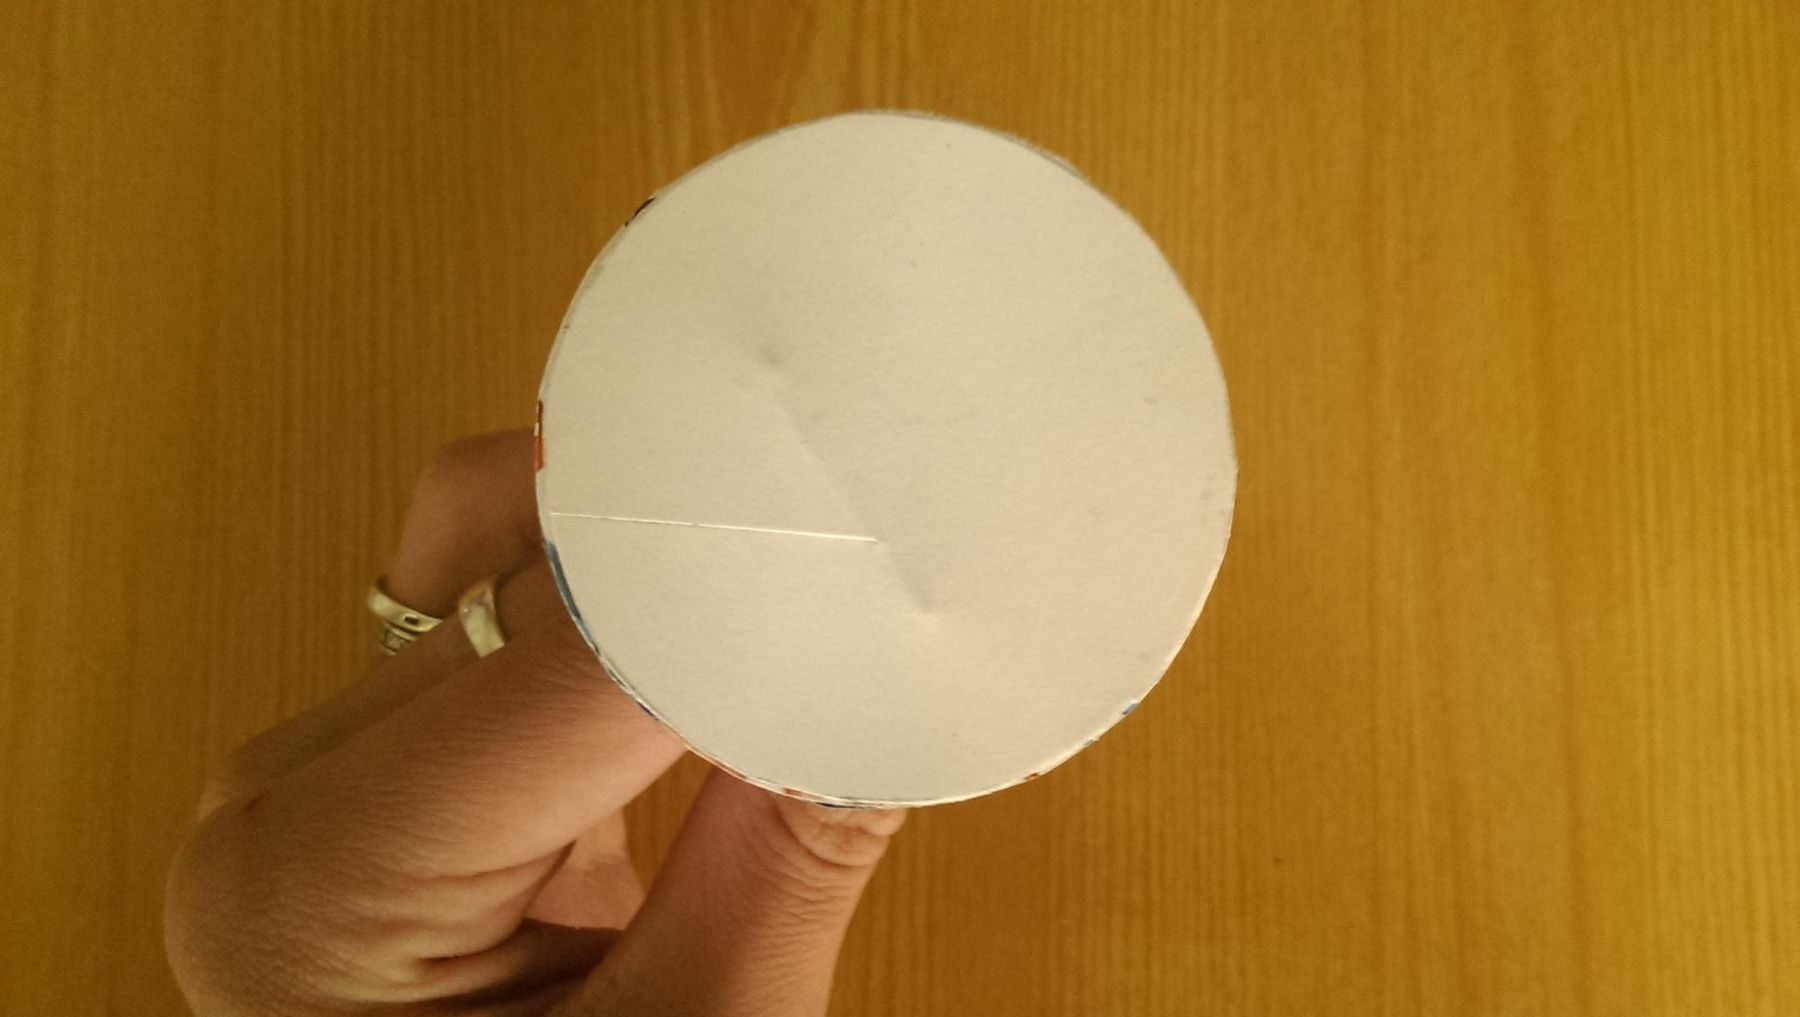
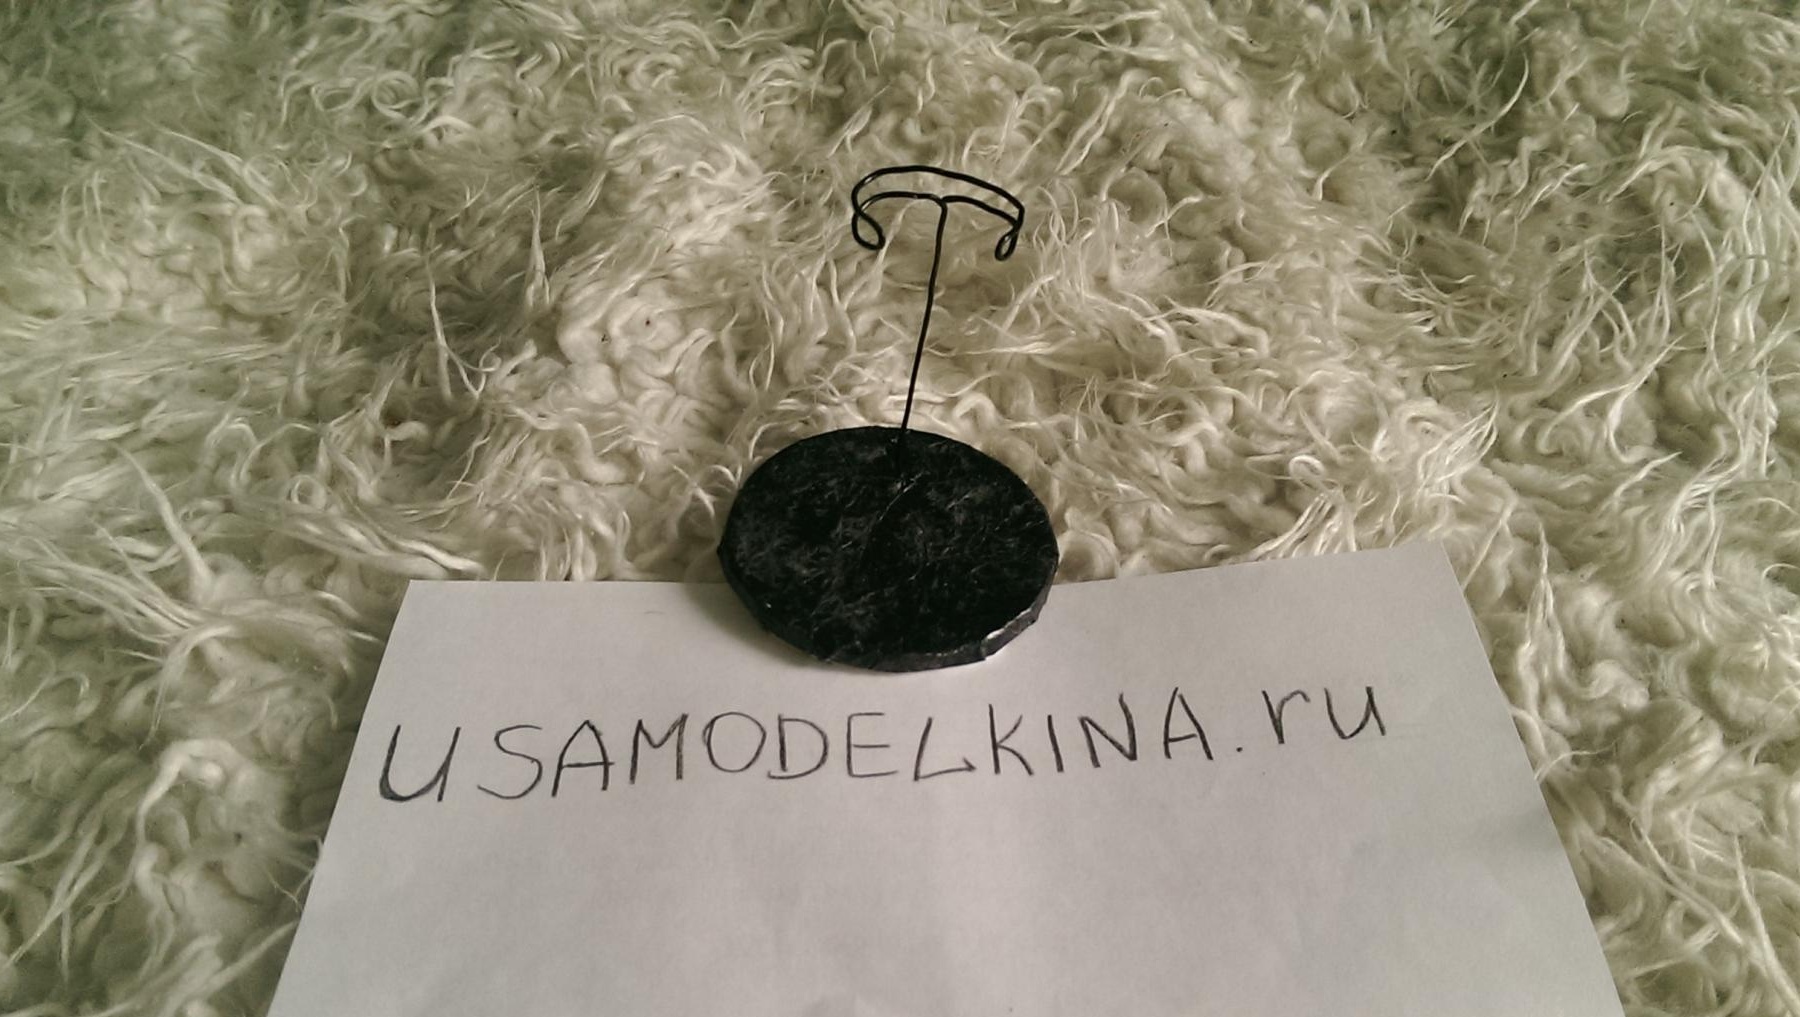
Step 5. Cut off the excess wire, but leave an extra few centimeters on the holder. Now we insert the end of the wire into the hole of the stand and bend these very few extra centimeters from the back. We seal, thereby fixing the holder, one of the two remaining circles.
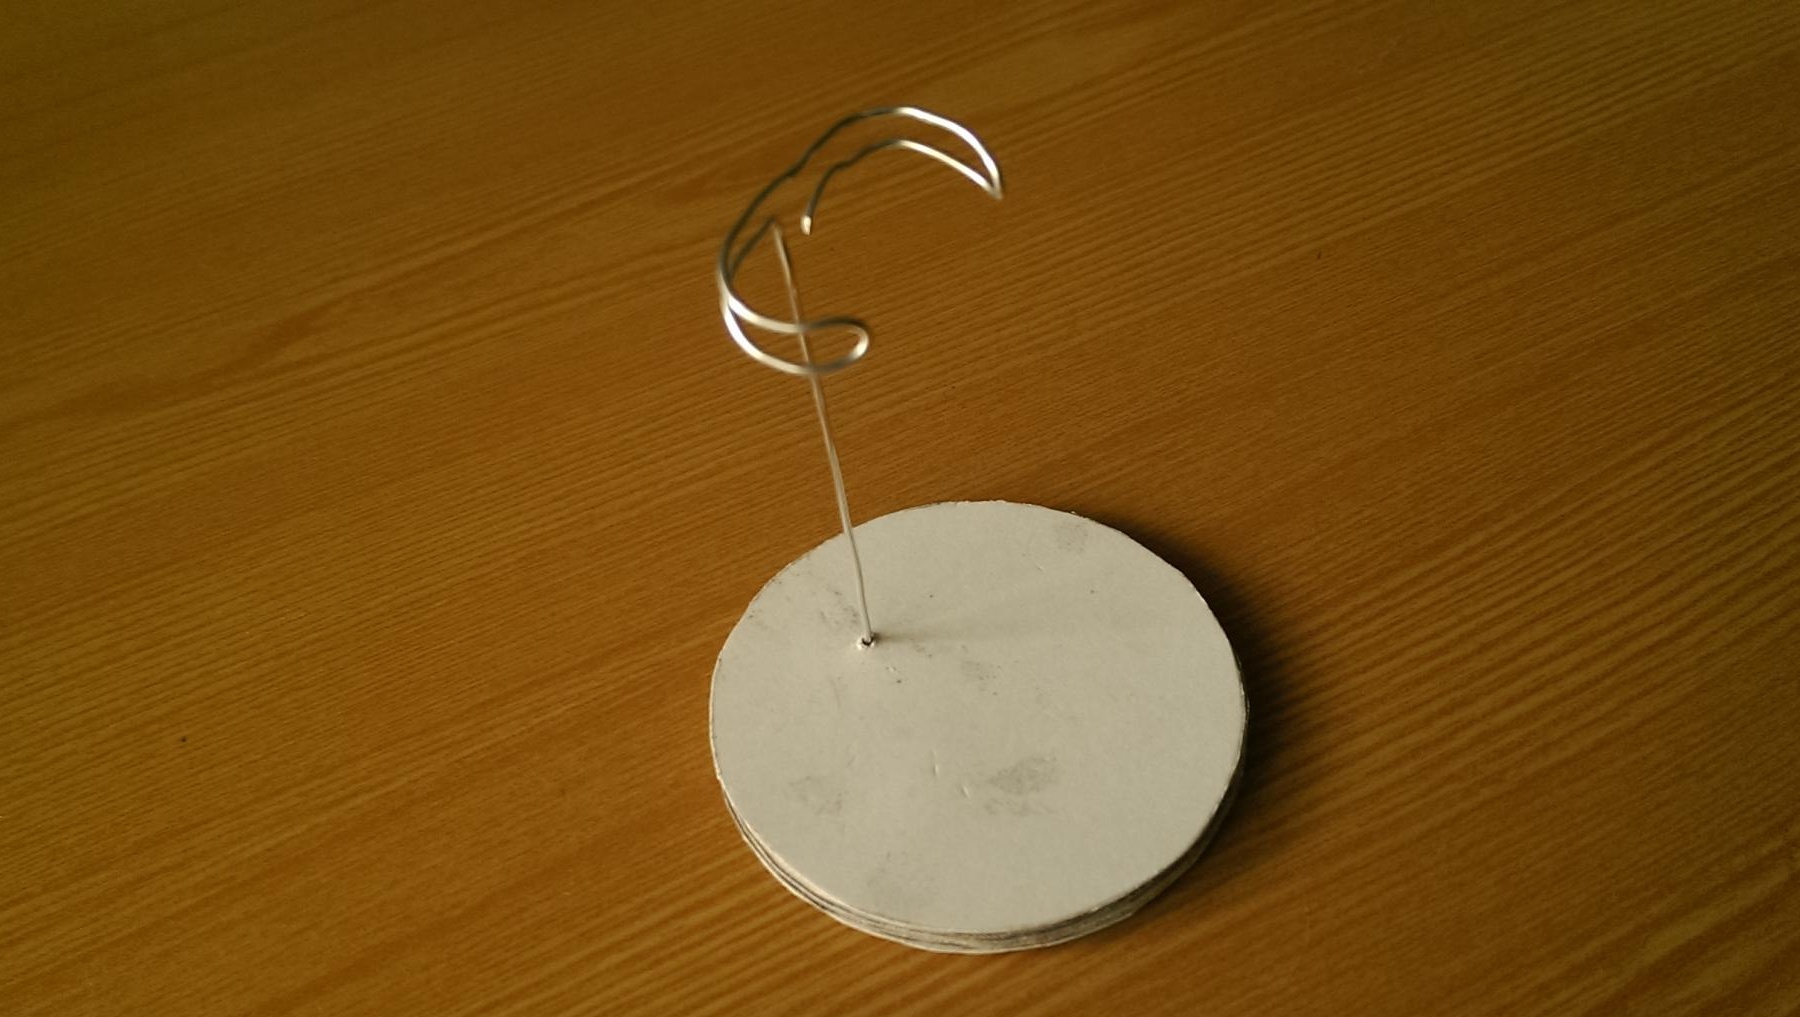
The result was such a blank. Now you need to make it neat and suitable for a specific doll.
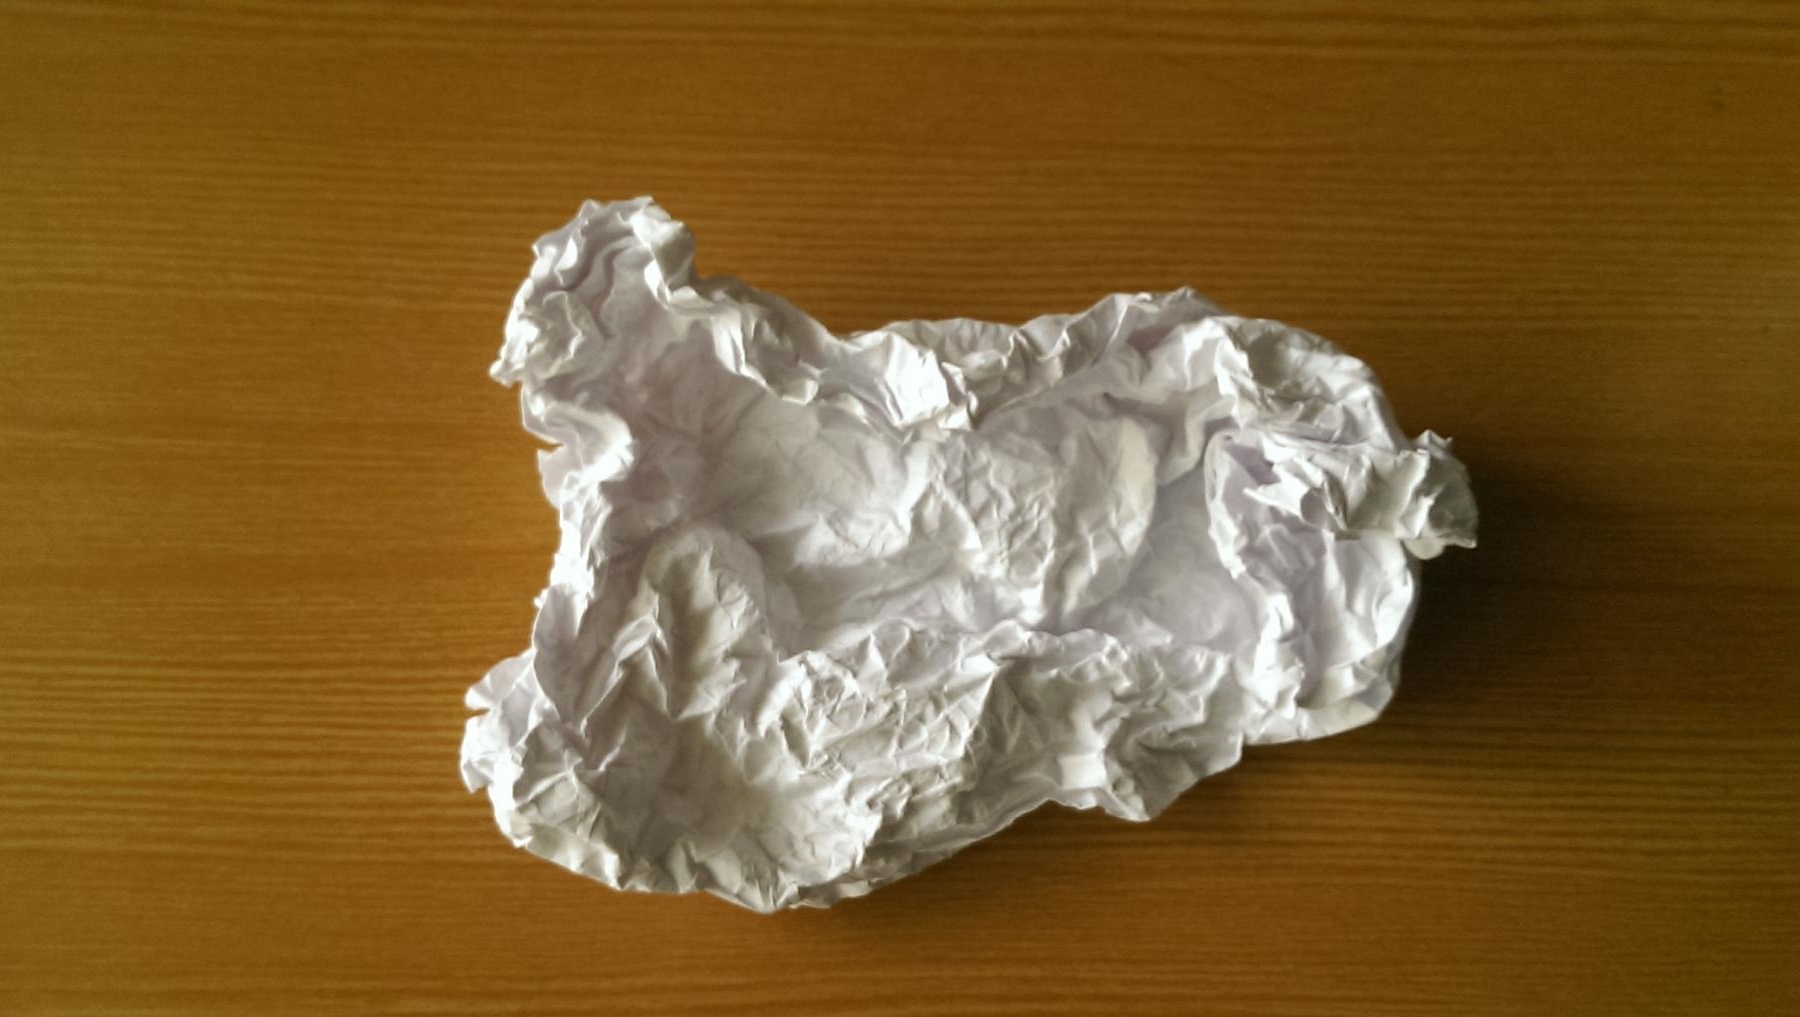
Step 6. We take our sheet of paper and wrinkle as intensively as possible.
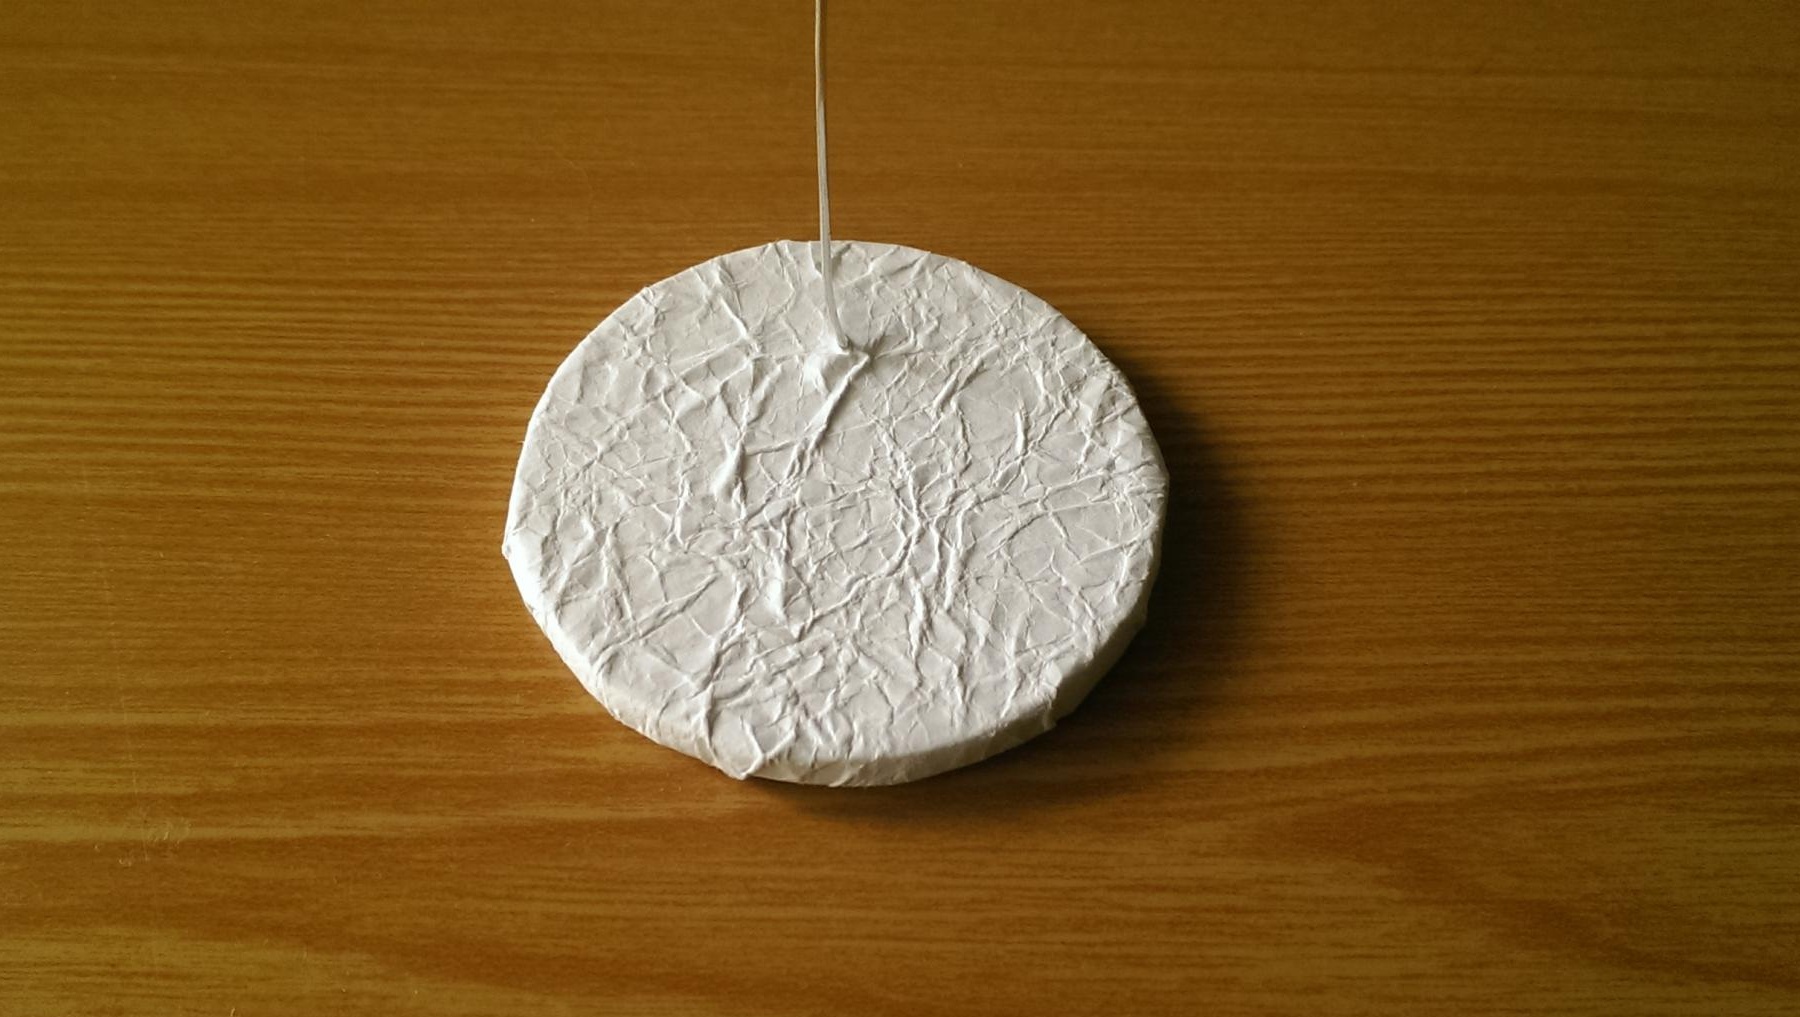
Step 7. We glue the stand over with crumpled paper.
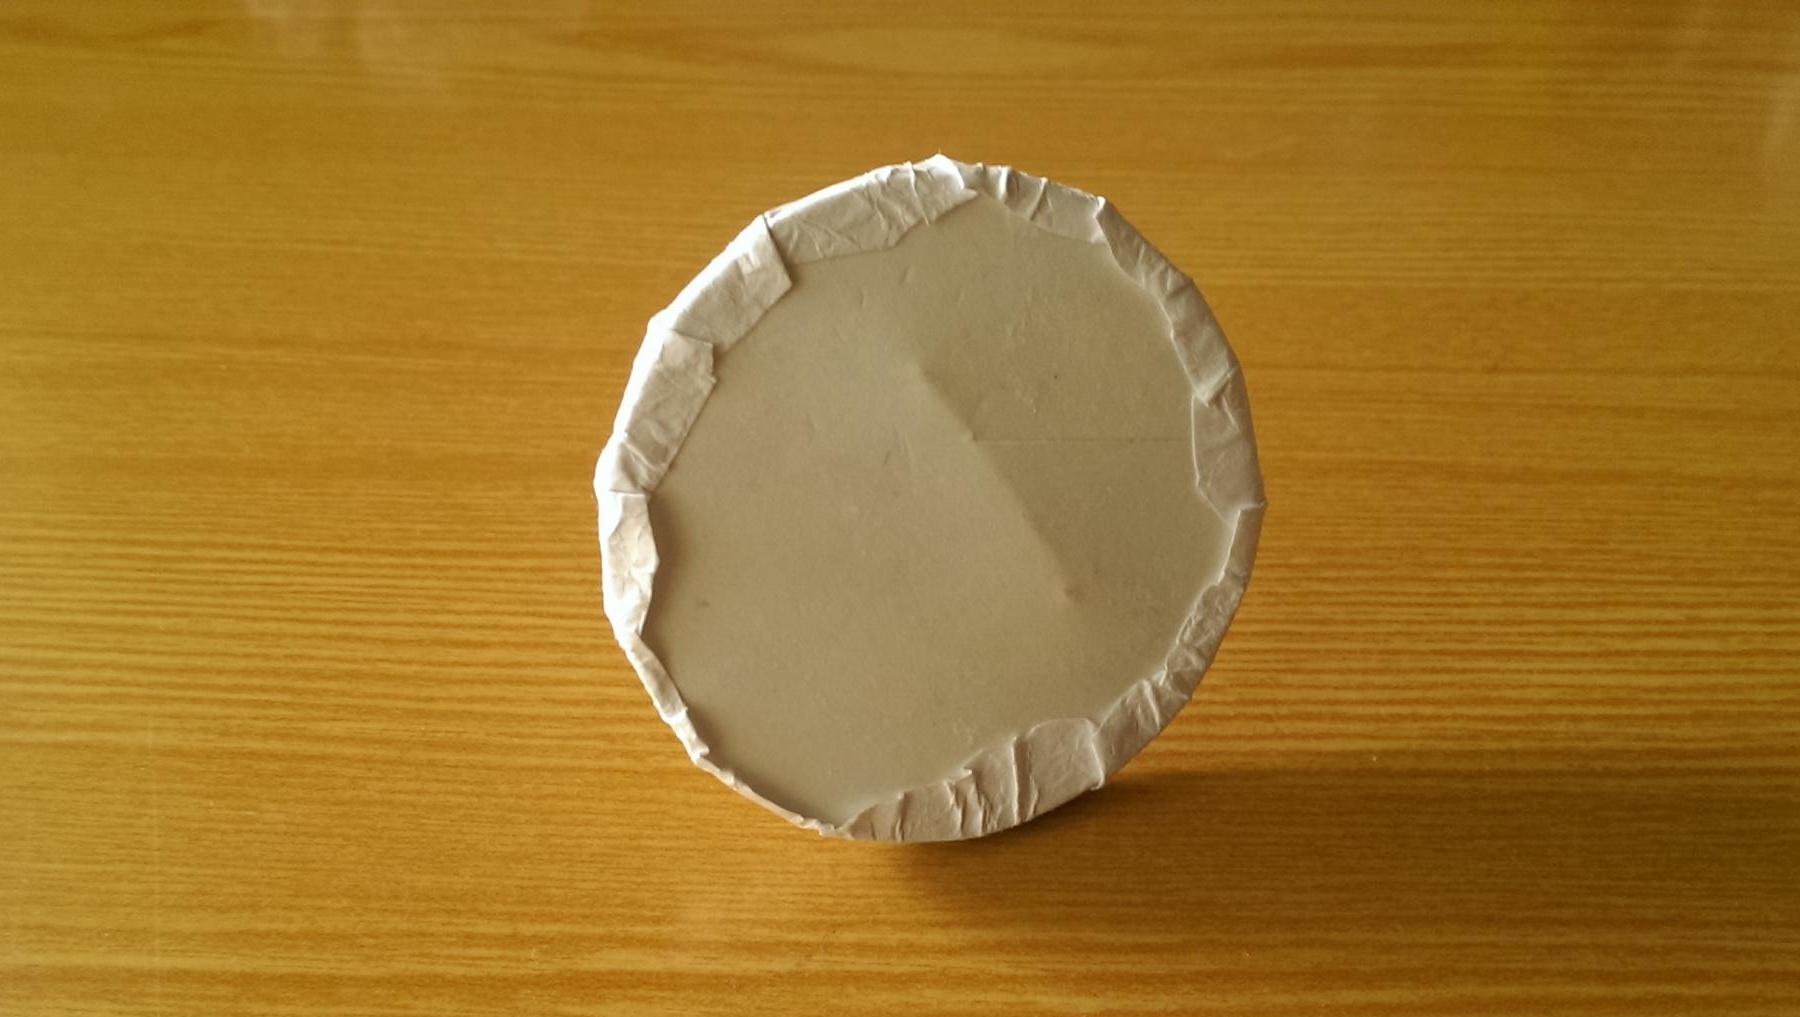
Step 8. On the back of the stand, cut off the excess paper, glue the edges.
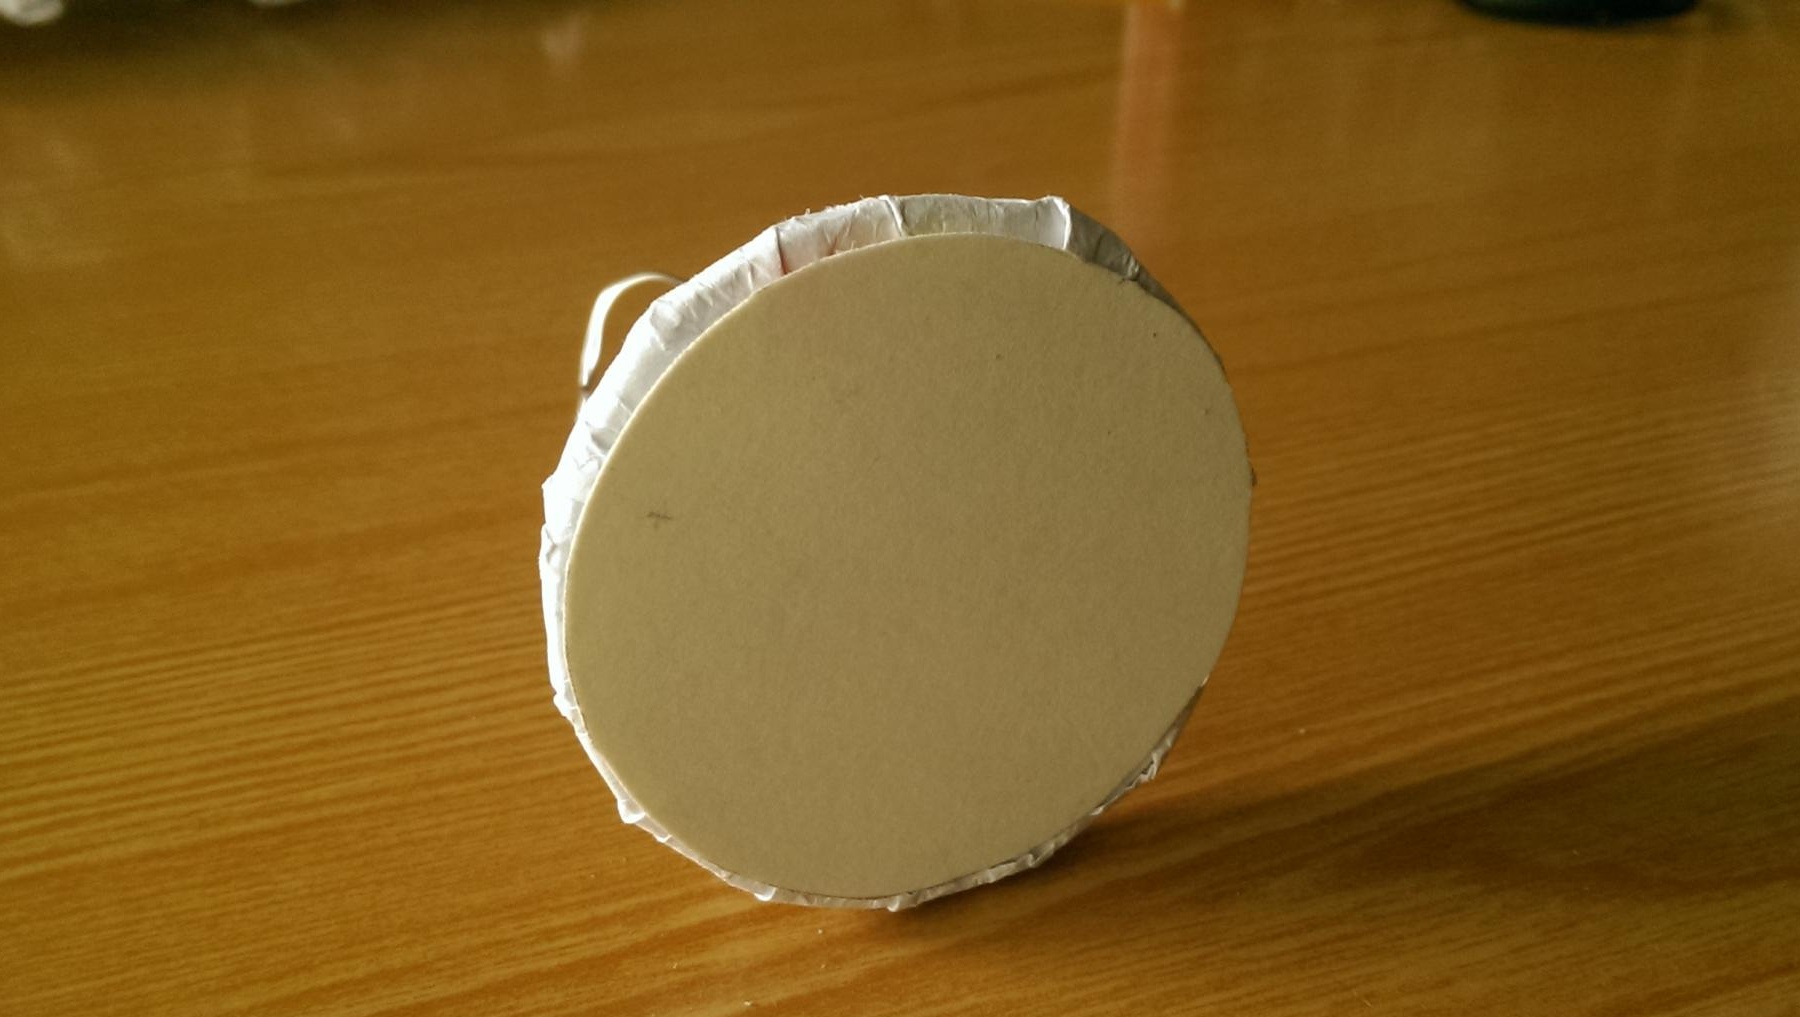
Step 9. The "finest hour" of our last round has arrived! It should be smaller in diameter than the rest by a few millimeters. Glue it to the bottom of the stand.
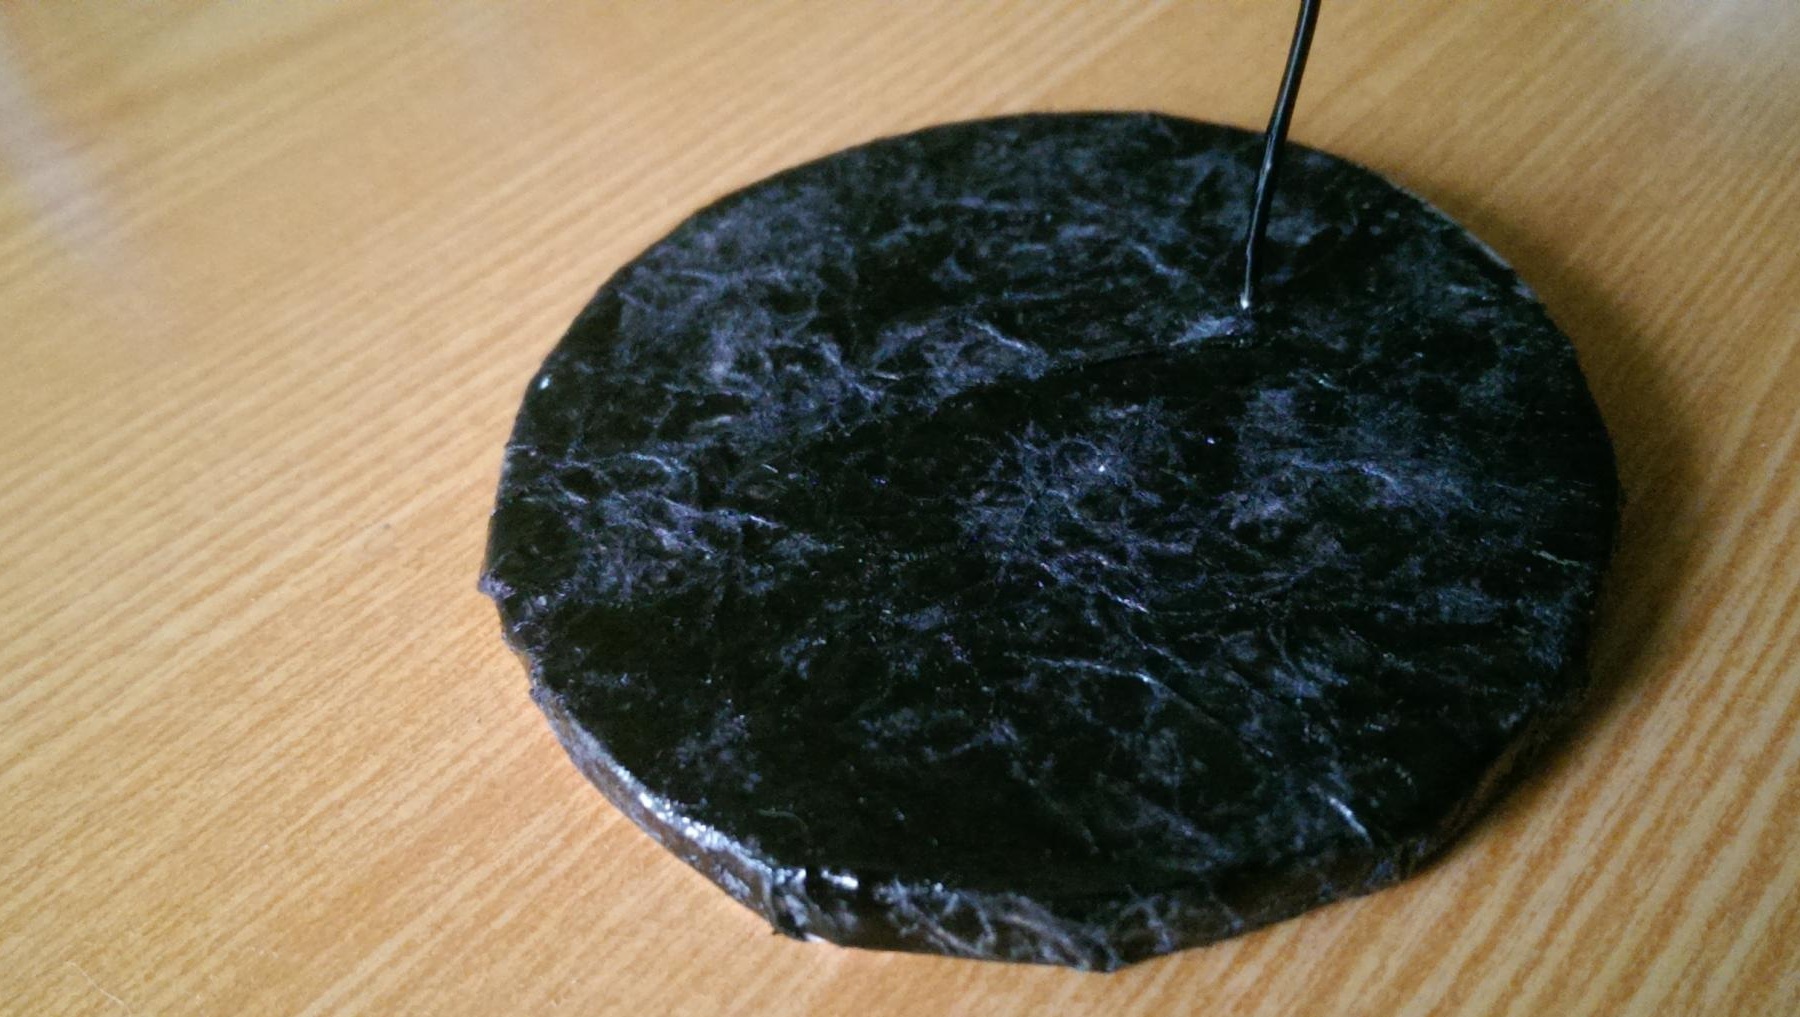
Step 10Now paint the stand with black acrylic paint. Let it dry properly.
Here are such useful and affordable coasters in our production!