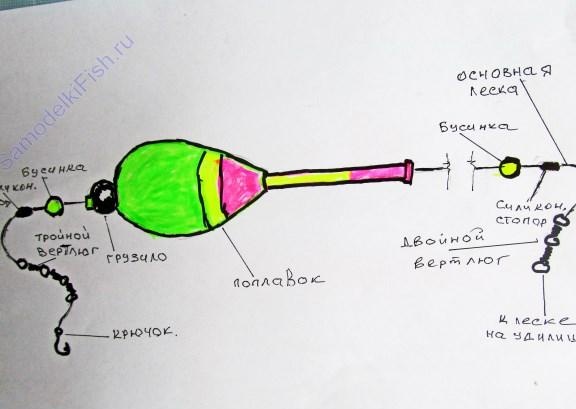
This tackle is designed for light bait fishing. Thanks to it, you can cast bait at a considerable distance from the coast without any difficulties. It can be such attachments as a "fly", maggot, chafer beetle when catching a chub, and so on. Initially, such fishing technology was mastered in Italy, now this novelty has reached us.
In a store, the cost of a bombardment is quite high, so it makes sense to create tackle yourself, especially since it is not difficult and some rare components are not required.
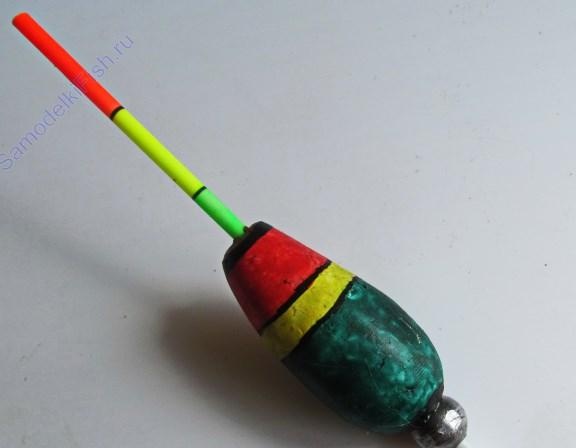
Tools and components
- a float from nets or another piece of polystyrene;
- the usual long thin float (you can use the old grandfather way - a goose feather);
- a piece of sandpaper (large for shaping and small for finishing work);
- lead ball weighing 15-20 grams;
- a drill and a drill for drilling holes in the sinker (it is desirable to have a vice);
- ordinary lighter (not turbo);
- swivel, fishing line, silicone stopper, bead.
Manufacturing process
Step 1. We grind, collect and paint the float
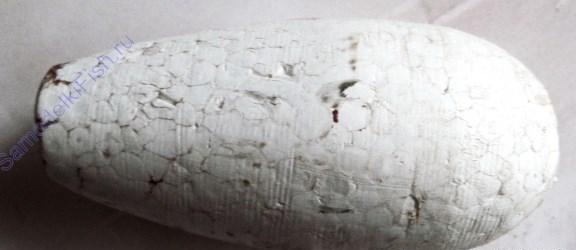
First of all, it is necessary to grind the body of the float, this is done with sandpaper. If there is a small electric sharpener, the process becomes much faster and easier. For the manufacture of the float, exclusively solid foam must be used. It is also important that the foam has a fine structure, otherwise the float will turn out to be embossed, as it turned out by the author.
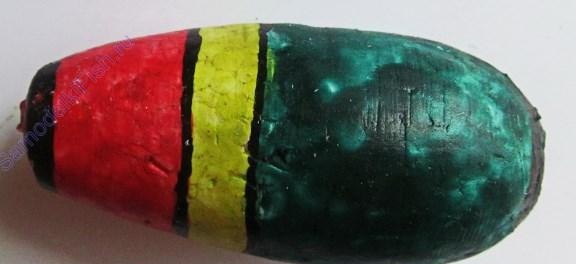
Next, we drill (in no case do we dig) a hole through the entire float. This is a very crucial moment, since at this stage the workpiece can easily crack and make gear will not work. Only use a drill. If there is no drill, you can glow a spoke or a piece of flat wire and burn a hole.
After that, a thin float is inserted into the hole, it is desirable to put it on glue.
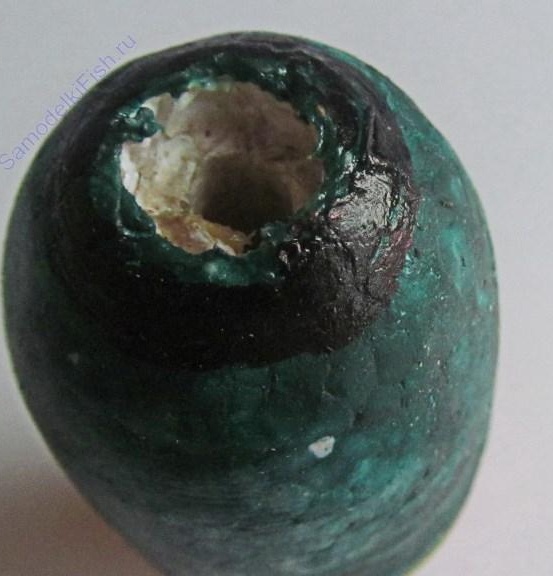

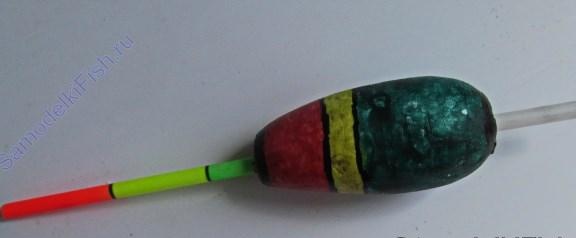
At the final stage, the float needs to be painted. How, here it all depends on the personal preferences of the fisherman.
Step 2. Installing the sinker
The sinker here acts as the main component, thanks to it the tackle is called not a float, but a bombardo.A hole is drilled in the sinker for the diameter of a thin float and is worn on its lower part. The sinker is pressed against the lower part of the body of the foam float and glued with waterproof glue.
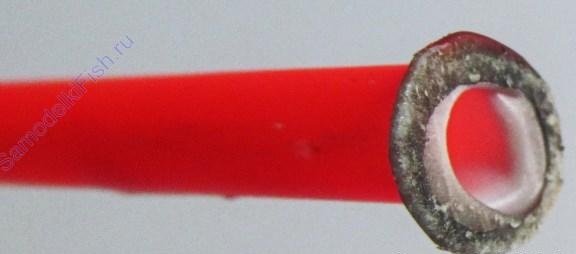
In conclusion, you need to take a lighter and alternately heat up the ends of a thin float. When the plastic becomes soft, this part of the float needs to be touched to the table to form an edge. Thanks to such edges, the fishing line will not cut the float.
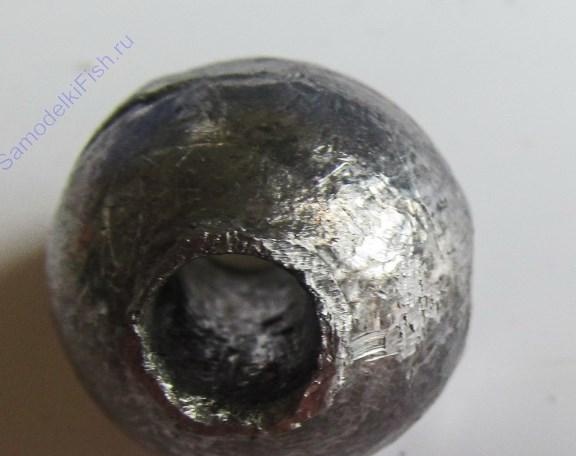

Step 3. Build the gear
The main component in this design is the swivel, there should be from 2 to 4 pieces. They are installed due to the fact that such a tackle bait is twisted quite strongly.
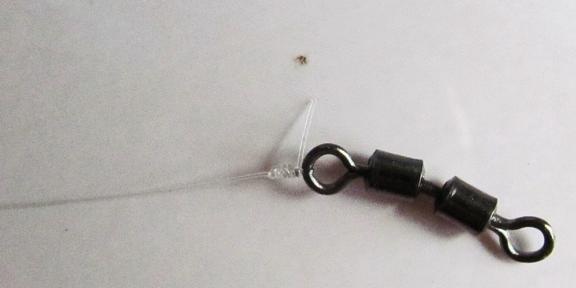
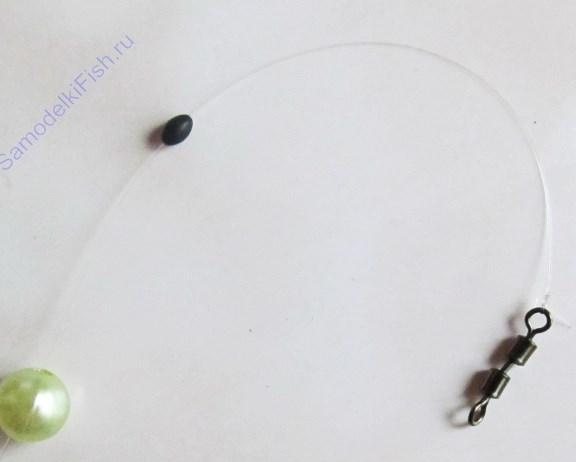
First, you need to attach a swivel to a piece of fishing line with a diameter of 0.2-0.3 mm and install a silicone stopper on the same line. A bead is installed above the stopper; its diameter should be larger than the diameter of a thin float. Next, the fishing line is passed through a tube (the entire float) and a swivel is installed on the other end in 2 or 3 sections. After that, the tackle can be considered finished.
Before fishing, it remains only to establish a leash. Its length can vary from 40 cm to 4 meters, the weight depends on the fishing conditions.


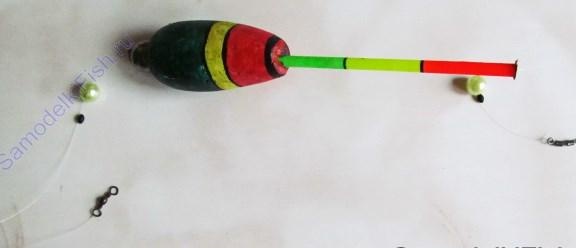
With the help of such tackle you can catch not only on top, but also in the water column, including from the bottom. A bombardment can be used to catch any fish, up to a predator. The tackle is easy to manufacture, all materials are easy to find, and if you wish and have imagination, you can produce the scorers of any size and characteristics yourself.
