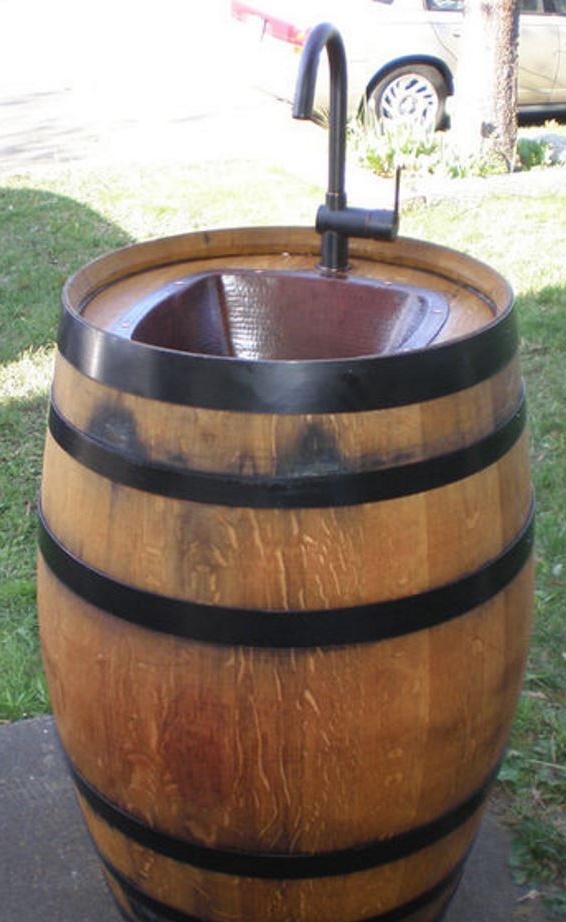
Turn a regular wine barrel into a decorative and functional sink for outdoor use. You can use a variety of sinks and faucets, from budget to designer.
Step 1. Materials and tools
• Oak barrel for 200 liters.
• Bar sink (15x15 inches of copper).
• Faucet (the author used a brass single lever mixer).
• Copper roofing nails (if a copper sink is used).
• Silicone sealant.
• Siphon for the sink.
• Metal fasteners in the form of strips for the door.
• Door accessories (hinges, handles, latches).
• Pipe connectors.
• Plastic sleeve to extend the drain pipe.
• Connector for connecting the drain pipe to the drain pump.
• Drain hose (the author used a corrugated drain pipe).
• Plastic strap.
• Stainless screws for fastening door rails.
• Steel wool for cleaning rust from metal parts.
• Primer for metal paint.
• Paint for metal.
• Masking tape.
• Stain water repellent.
• brushes
Instruments:
• Electric drill with a titanium drill for drilling metal rings and, if necessary, sinks.
• Jigsaw blade with fine teeth for sawing oak parts.
• Saw with small teeth
• A screwdriver or bit for a drill.
• Nippers for adjusting the curvature of the door and securing the metal strips.
• Adjustable wrench
• Clamps for attaching wooden elements when mounting the door.
Step 2. Finding a Wine Barrel
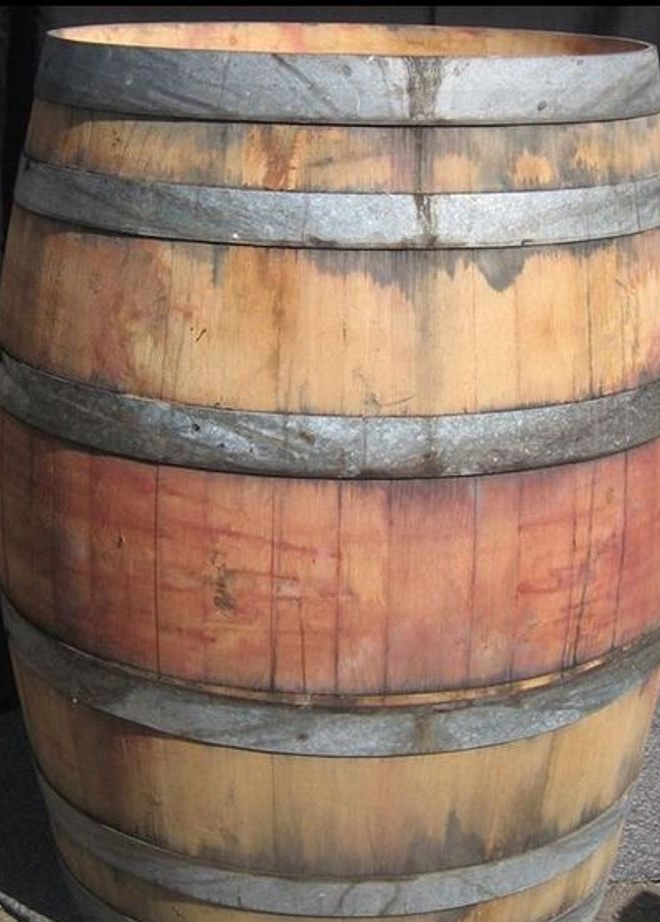
If you are fortunate enough to live in a region where there are wineries, you should have no problem finding a barrel. Sometimes you can get a barrel for free. Often during the harvest, wineries have free barrels and just call to find out what they do with the used barrels.
The author of the article bought a barrel for about $ 40 in the place where they not only make various products, but also sell them in their entirety.
Step 3. Choosing a sink and faucet
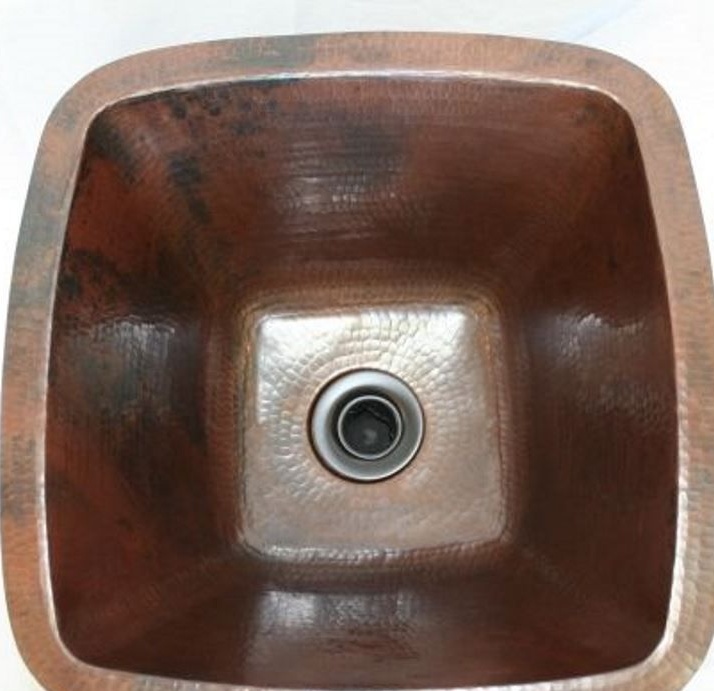
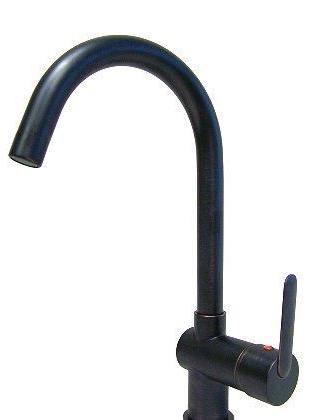
These structural elements are exactly up to you. You can use what you want and how much you are willing to spend on it. You can choose a stainless steel bar sink and chrome mixer. Or you can act as the author of an article that found a sink and faucet on eBay. A sink cost $ 160, and a faucet costs about $ 80.
Step. 4. Fastening wooden battens
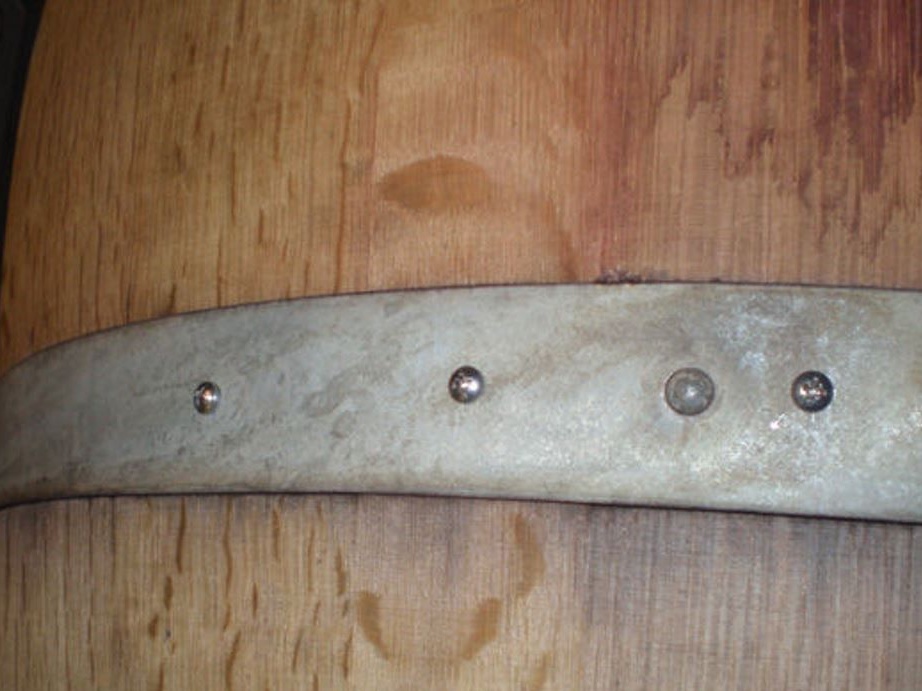
Before sawing wooden elements from a barrel, you must first attach the wooden slats to the metal rings.Since if you remove part of the boards, the remaining parts above or below the hole will fall out.
The author secured the rails by drilling holes in metal hoops and rails. Then, with stainless steel screws, I attached the rails to the hoops. In the metal hoops, the holes were made slightly larger than the diameter of the screw so that the screw passed freely, and the wooden battens — slightly smaller (they are needed only to avoid splitting the battens).
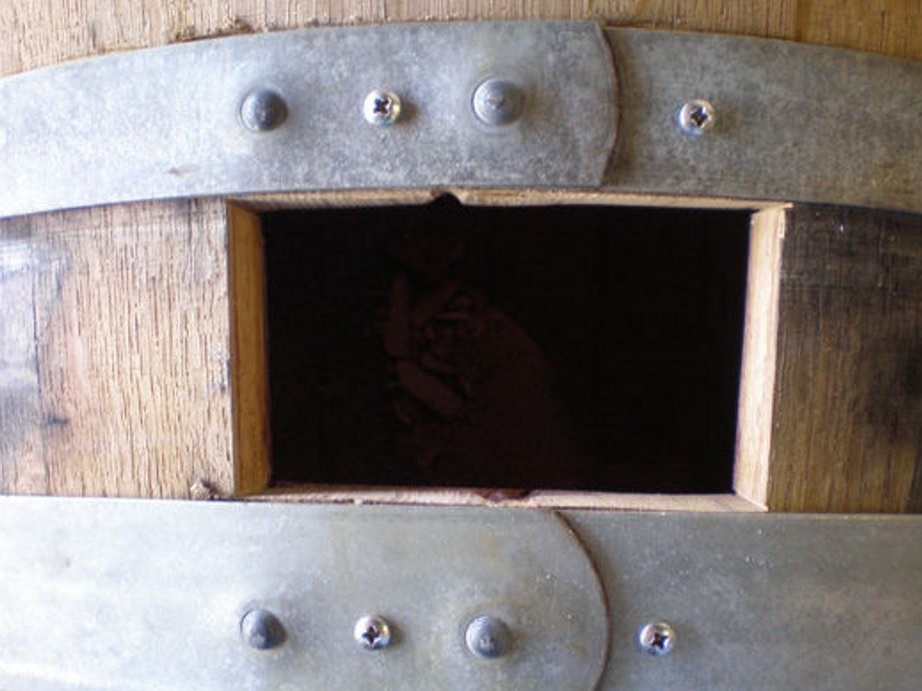
Screws screwed above and below the holes made. The holes are designed for the door - in the middle of the barrel and for the supply of water and sewage - in the lower part of the barrel.
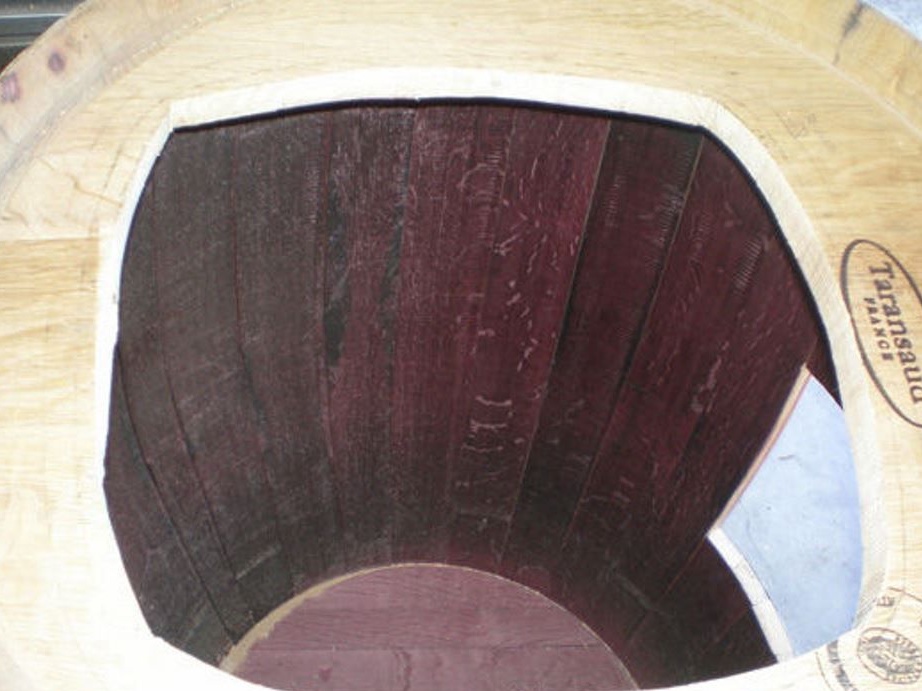
Step 5. Sawing the door and technical hole
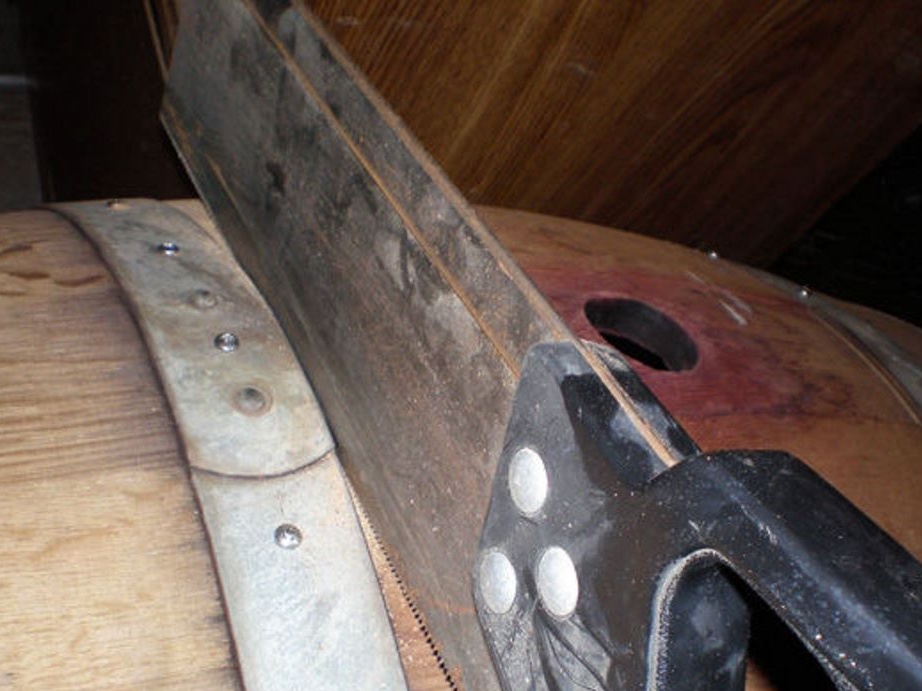
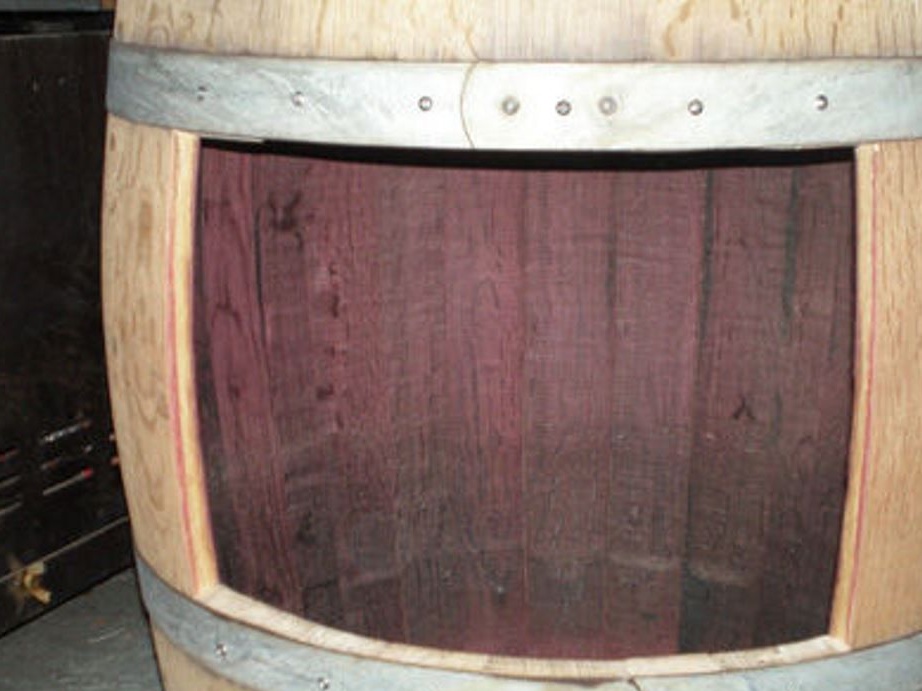

To cut out part of the barrel under the door, the master first used a miter saw, then to use a jigsaw. He used a hand saw only to obtain a through hole, while he began to saw from about the middle of the total length of the cut, since it was necessary to saw three rails. As a result, one rail was completely sawn.
When making a technical hole for supplying water and sewage, you can not worry about the accuracy of sawn slats, since they can simply be thrown away. Therefore, the author made, using a drill, holes for a jigsaw. He used a hand saw to cut the door, because he wanted to save the sawn rails for later use.
To get a clean straight cut line, the master used the edges of the fastening rings. It is necessary to determine the size of the door. It must be remembered that the barrel consists of vertical slats, which may vary slightly in width. Therefore, the author noted the beginnings and ends of the sawed rails.
Conveniently, you only need to make horizontal cuts, and the vertical lines of the rails create a neat appearance.
If you want to have doors, then you need to save the sawn slats.
Step 6. Making the door
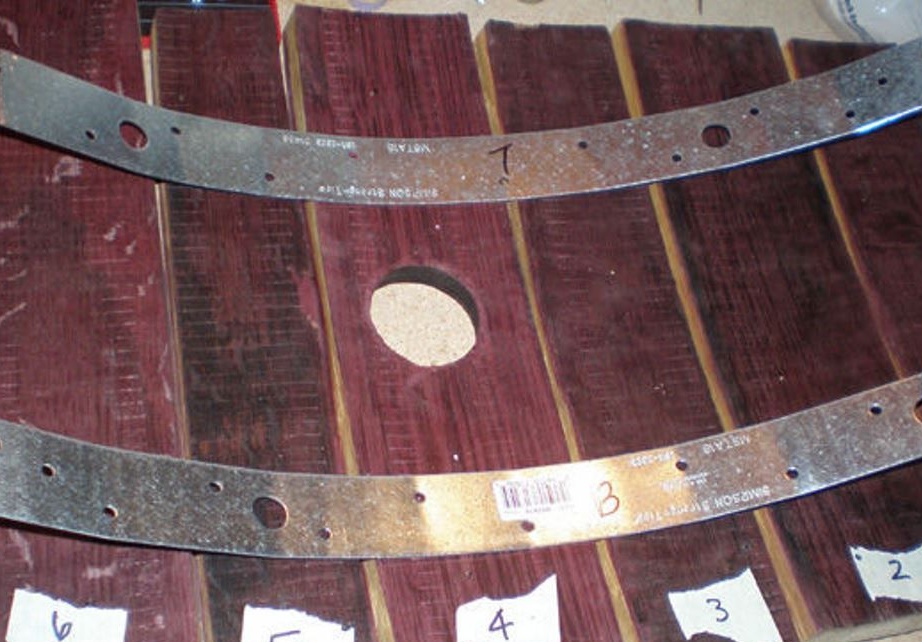
After the master made the cuts for cutting the door, he marked the slats, so that later they could be reconnected, as they were.
In order for the door line to follow the line of the barrel, he used metal strips, which he acquired in a hardware store. These stripes come in various lengths. The author of the product had to cut a couple of centimeters so that these strips fit the size of the door.
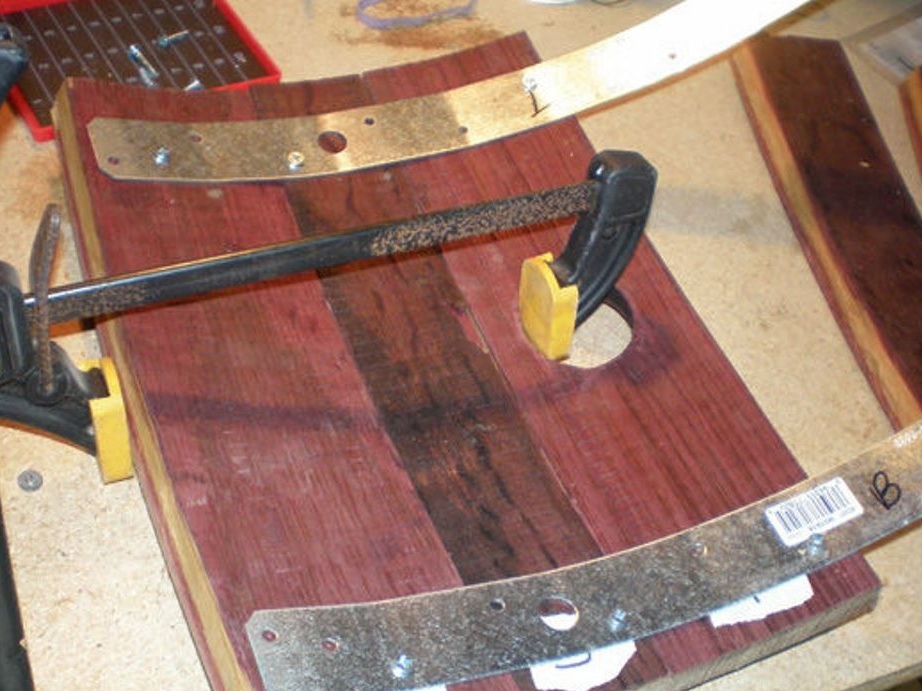
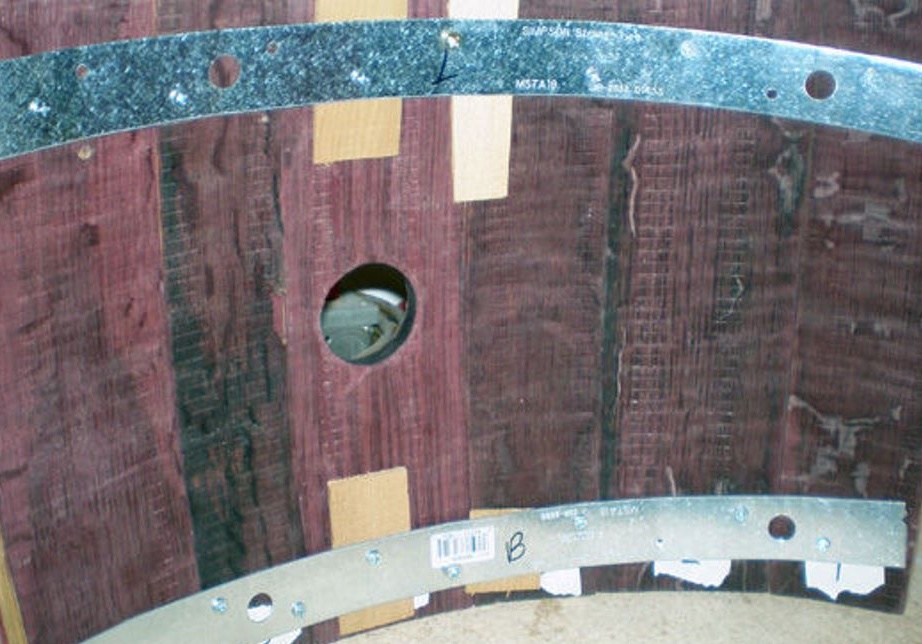
Wooden slats will try to straighten metal strips, so when connecting the slats, more often check that the door is bent correctly by applying it to the barrel. As can be seen from the photo, it was necessary to attach several gaskets to obtain a more accurate bend.
An alternative way is to connect with metal strips, through the upper hole for washing, the slats of the future door, while the barrel is still intact. (He would have done so if he had made another shell).
Step 7. Cutouts for the sink and faucet
The master found the center of the barrel and, placing the copper shell upside down on the top lid of the barrel, outlined the outer boundary of the shell. Then he stepped back about 22 mm so that you could attach the sink to the barrel.
He made a guide hole to insert a jigsaw saw and cut a hole for the sink. You may have to make several guide holes if you cannot turn the jigsaw blade in the corners of the sink cutout.
The author made a hole for the crane using a hole saw. For a single lever mixer, a hole of approximately 30 mm was required.
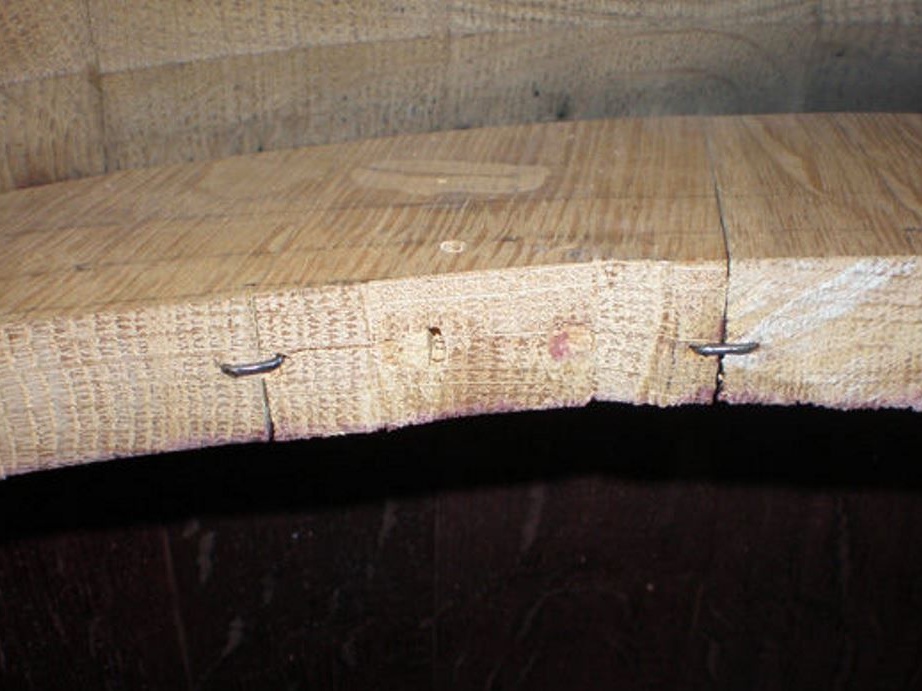
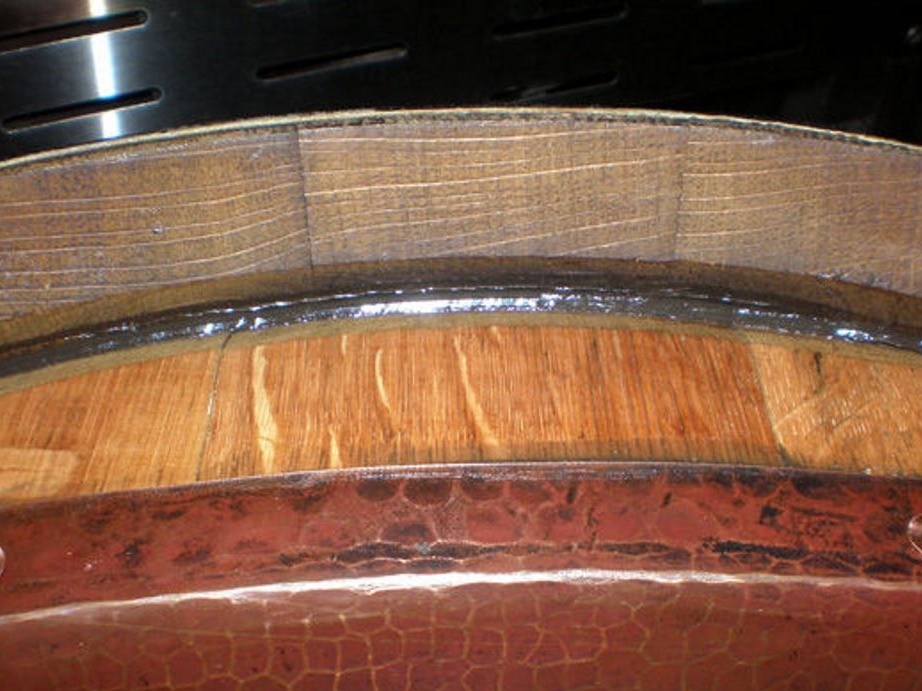
Several boards on the front of the sink were poorly glued, so I made brackets out of nails and fastened the boards together as shown.
The bottom and lid of the barrels are usually glued well, but the boards on the lid of this barrel were not glued well enough.
Step 8. External Processing
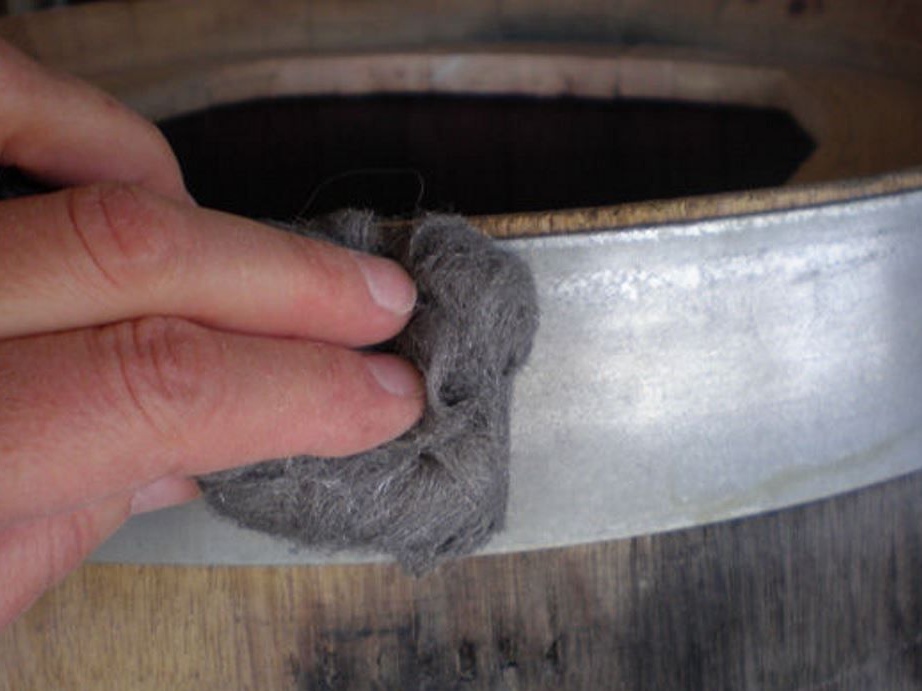
At this step, you can decide what appearance your barrel will have.You can leave it as is, or protect wood and metal, as the author of this product did.
First, he polished the metal rings with steel wool to remove rust and plaque. Above and below the metal rings, I glued masking tape, then applied a primer and 4 layers of matte black paint.
A primer for latex-based metal and matte black paint for the rings were used.
You must make sure that the selected paint does not react with galvanized metal, like some oil-based paints.
For the outer surface of the barrel I used a water-repellent stain - for better absorption.
After this, it is necessary to dry for a day, before installing the mixer and sink.
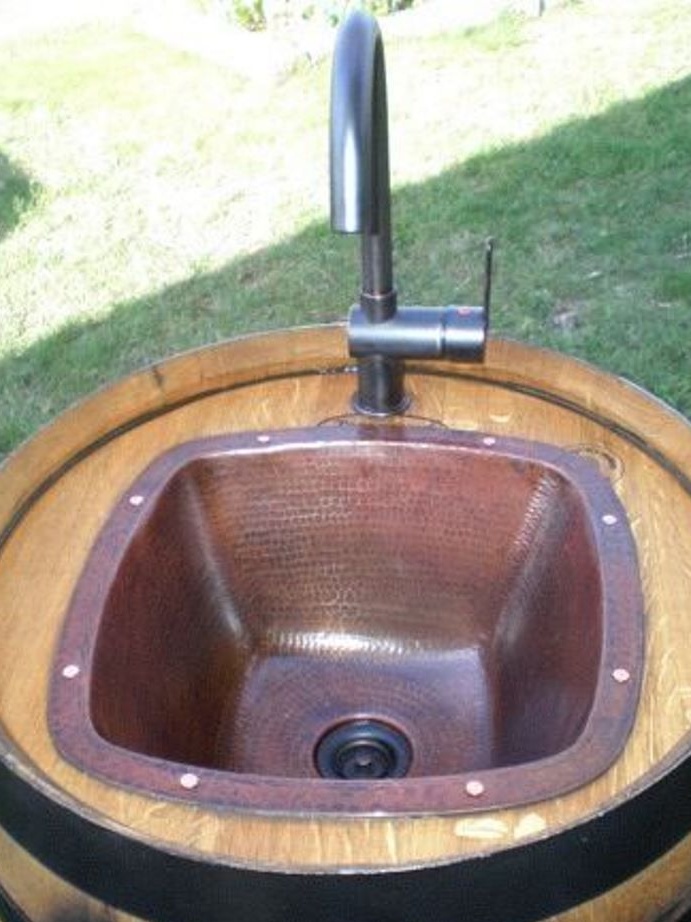
Step 9. Install the sink and faucet.
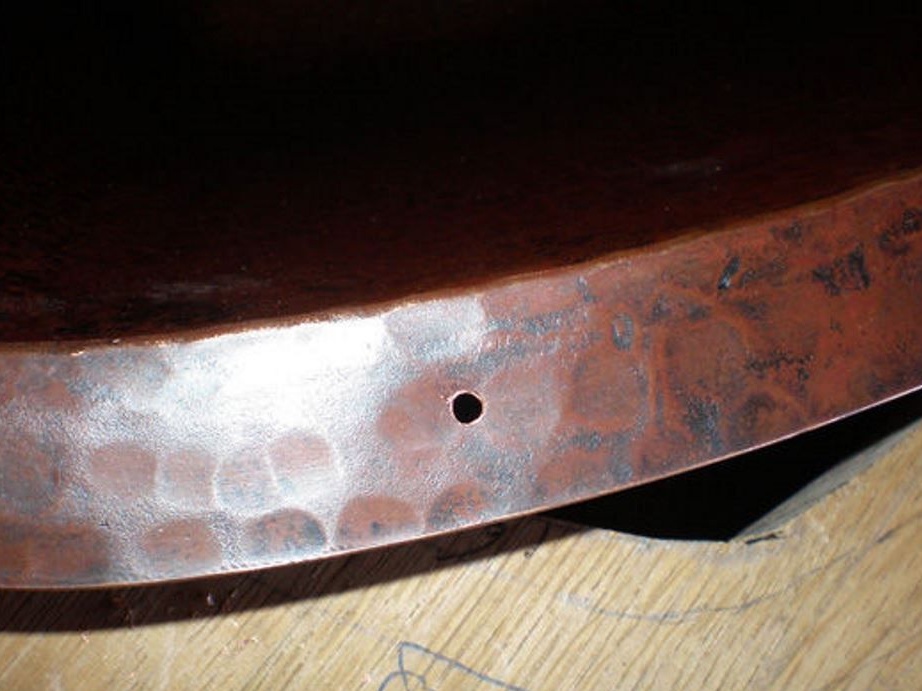

The master drilled eight holes in the edge of the sink to attach the sink to the barrel lid with copper roofing nails. I drilled holes in the wooden lid, slightly smaller than the diameter of the roofing nail, to exclude the splitting of the wood, but at the same time to keep the nail firmly in the wood.
Then he went through a bronze silicone sealant along the edge of the cut hole for the sink and the hole for the mixer.
He nailed all the nails, and sealed the edges of the sink, the mixer and the barrel lid with sealant for better waterproofing.
Copper nails are considered all-weather, and get the color of a brown patina from the selected elements.
The sealant must also dry before connecting water.
Step 10. Door hinges and fittings
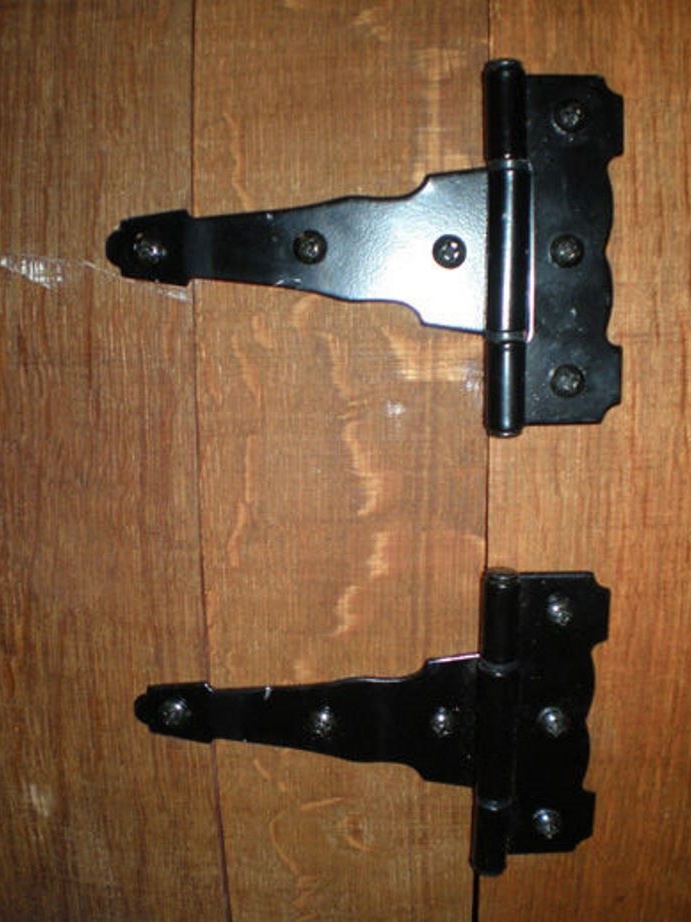
You can attach the door to the barrel in any way. Only, the main thing is that the selected hinges can repeat the bend of the door, but they themselves do not bend, otherwise it will be problematic to open the door.
First, the author attached the hinges to the door.
Aligned the hinges on the outside of the barrel so the door could open freely. (It may be necessary to lightly sandpaper or file the door or hole in the barrel so that the door fits snugly and easily opens / closes).
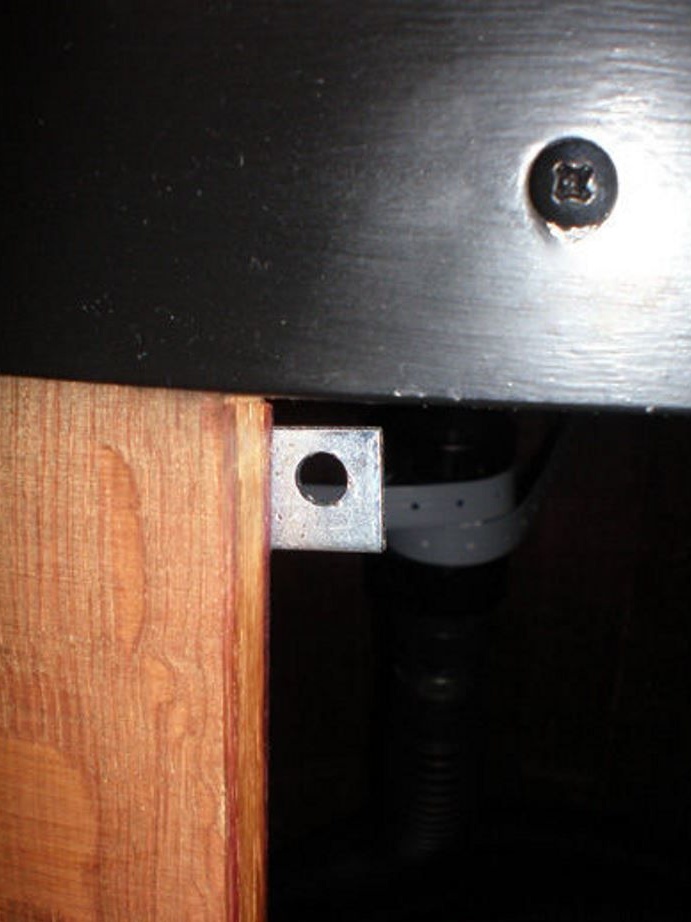
He also made a couple of stops so that the closed door was flush with the barrel.
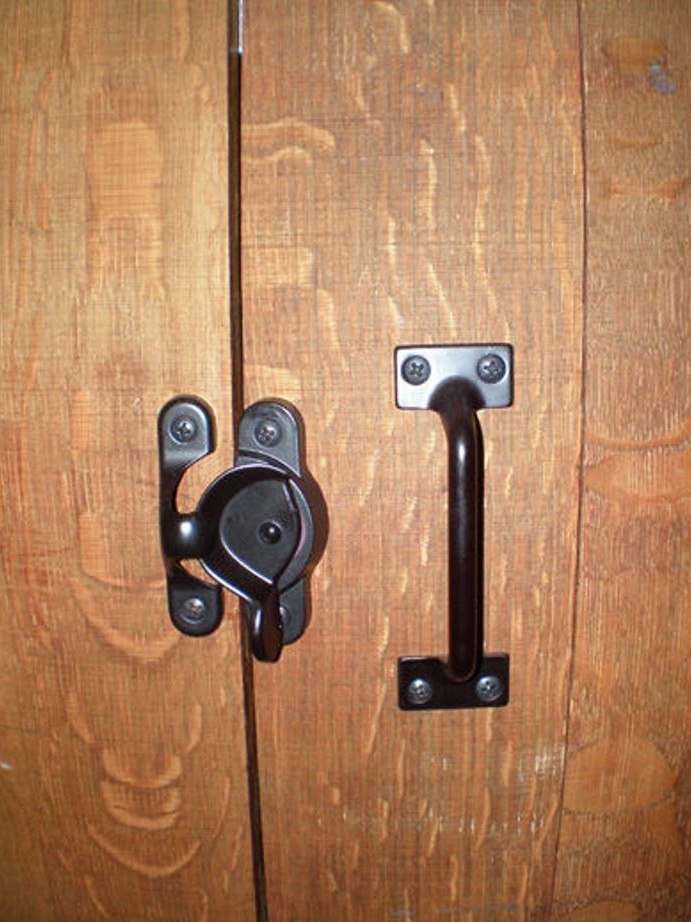
The lock for the door was made from a lock for window sashes, but you can use any other type of lock at your discretion.
Step 11. Connect the water and drain
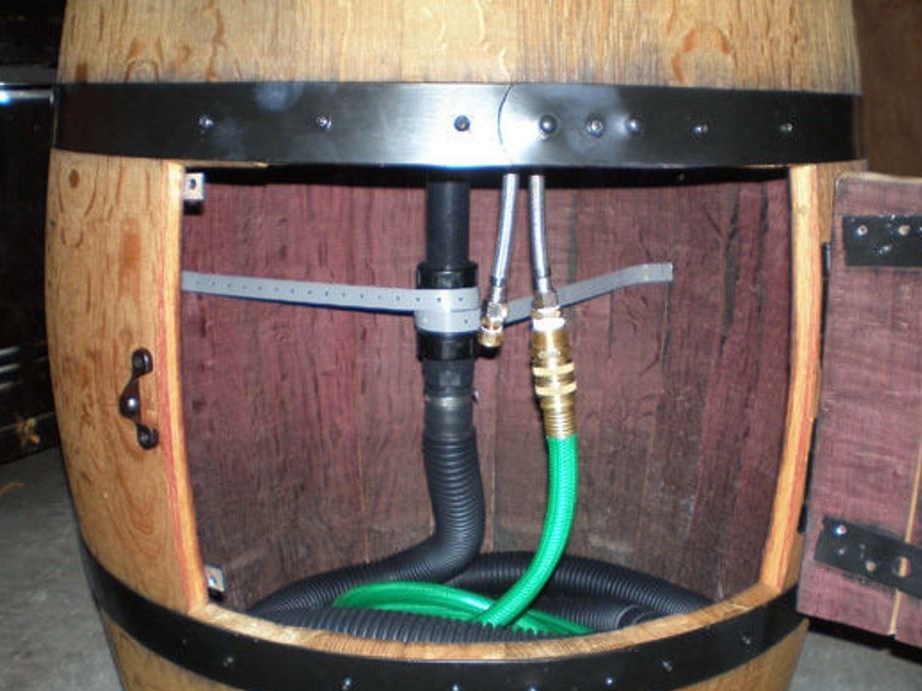
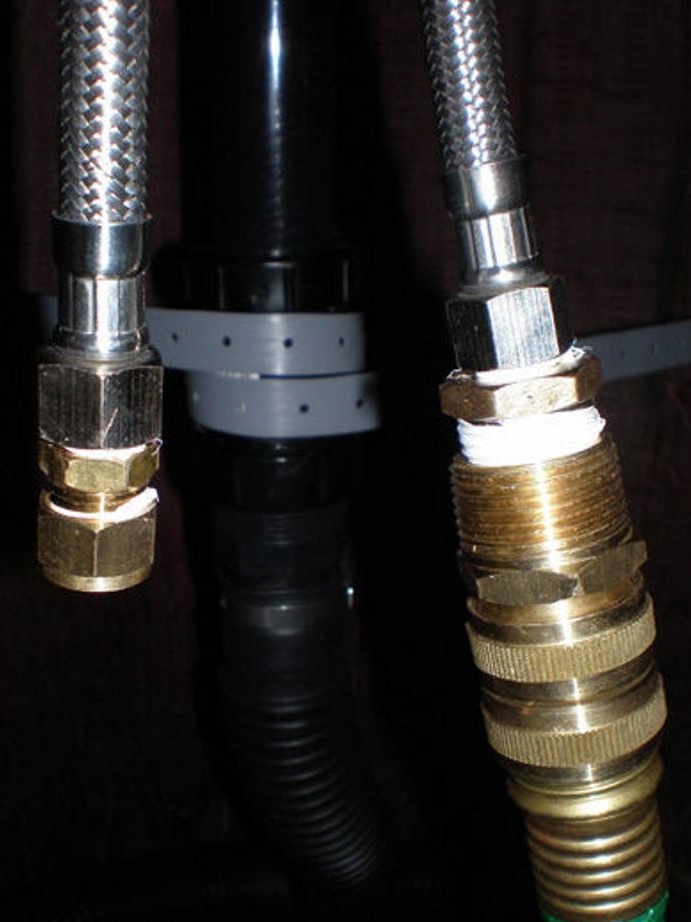
Since the author used braided water hoses, he had to use several types of adapters to connect the hose and pipes. The plumbing department will help you in choosing components.
He will only have cold water, so he installed a plug on hot water.
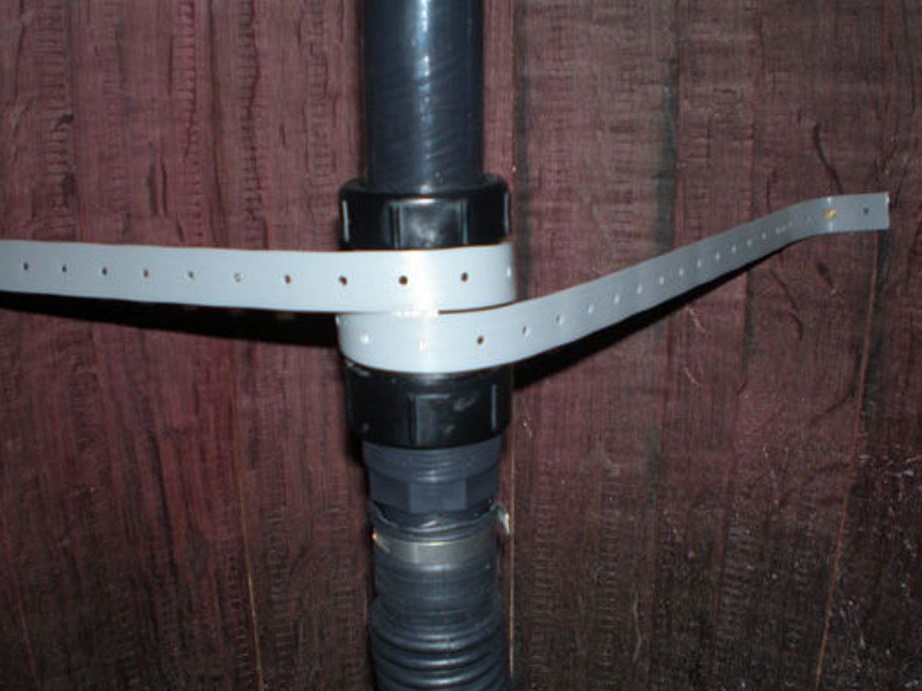
He used an extension cord for the sink siphon. Added an adapter for connecting a corrugated drain pipe. And used a plastic strap to secure the adapter.
Step 12. Connection to water supply systems
Connected to the water supply and sewerage to check for leaks and drainage quality.
If everything is in order, then you can safely use your new sink from a wine barrel.