
So hello!
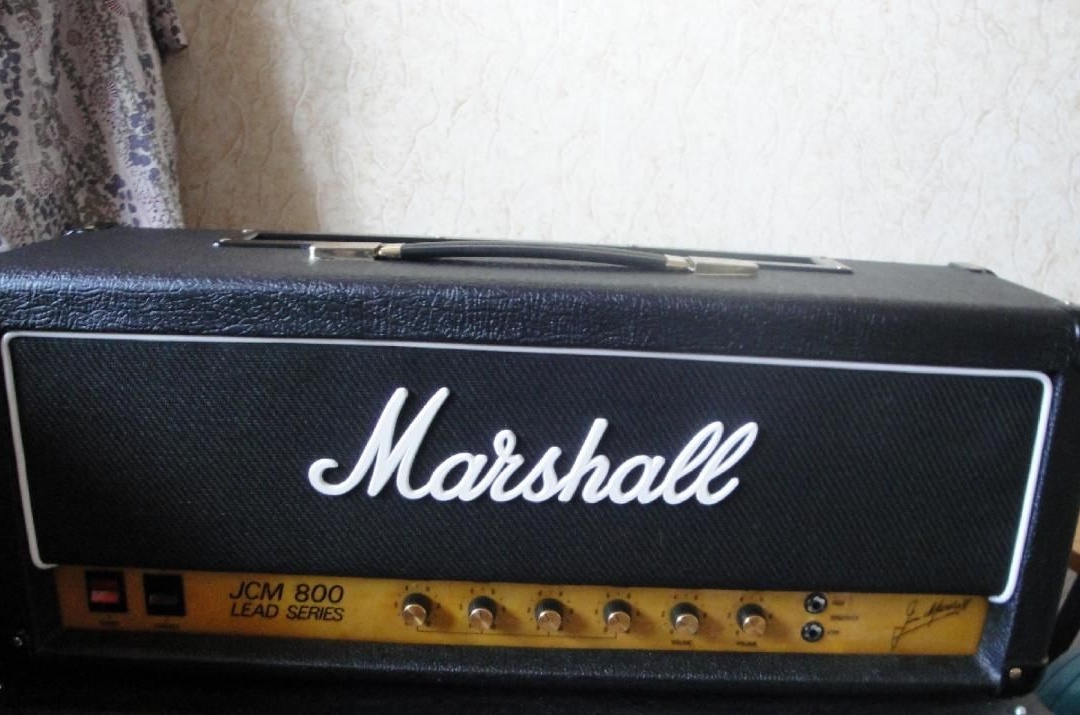
Today we will talk about how to make a case for our guitar amp. Yes, not just a case, but a box that will look like the original. Or a copy of the original, depending on the size of your chassis and your preferences.
We will see the sizes and photographs of the author of this assembly.
For starters, billets 270x210x15 and 270x210x21 were cut from plywood.
Then these blanks were glued together. You can use a press or clamps for this.
As for the glue, 88 glue was used, you can use any wood glue, the main thing is that there is gluing strength. Repeat the operation two times - these are the side walls.
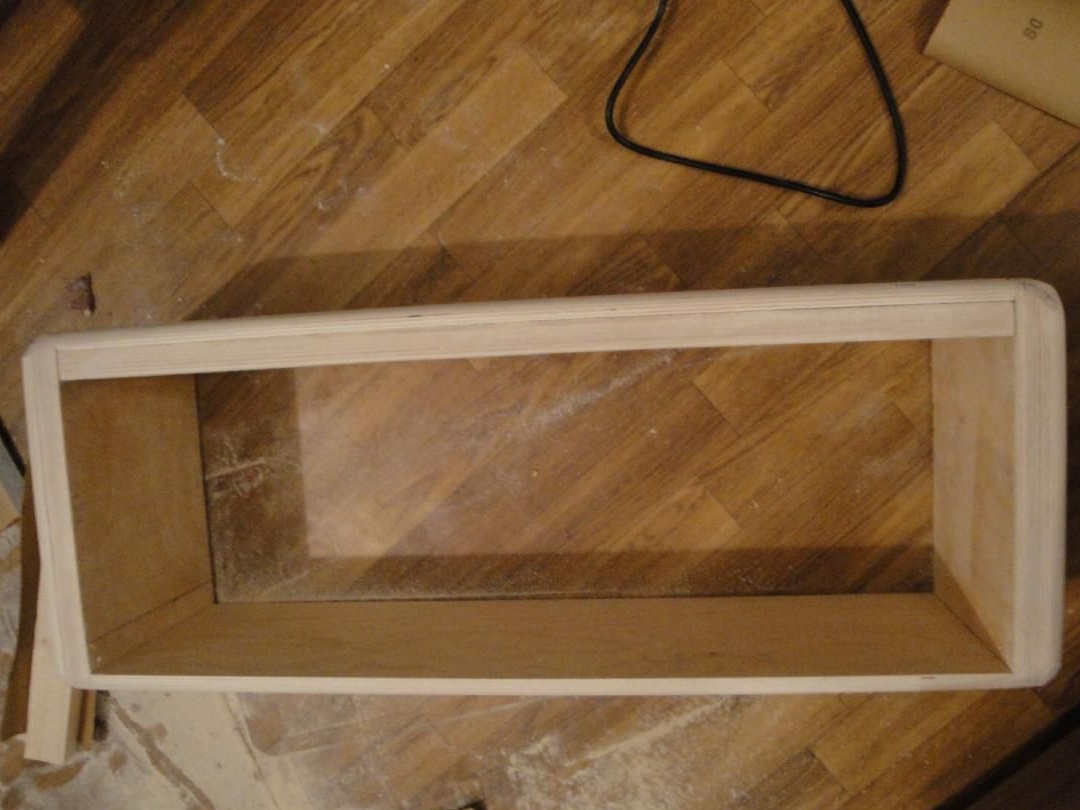
After that, two pieces of 646x210x15 were cut. Further, with the help of self-tapping screws, the entire structure is assembled, as in the picture.
After a piece was cut out at 646x25x21. Which author screwed, again with screws, to the top panel.
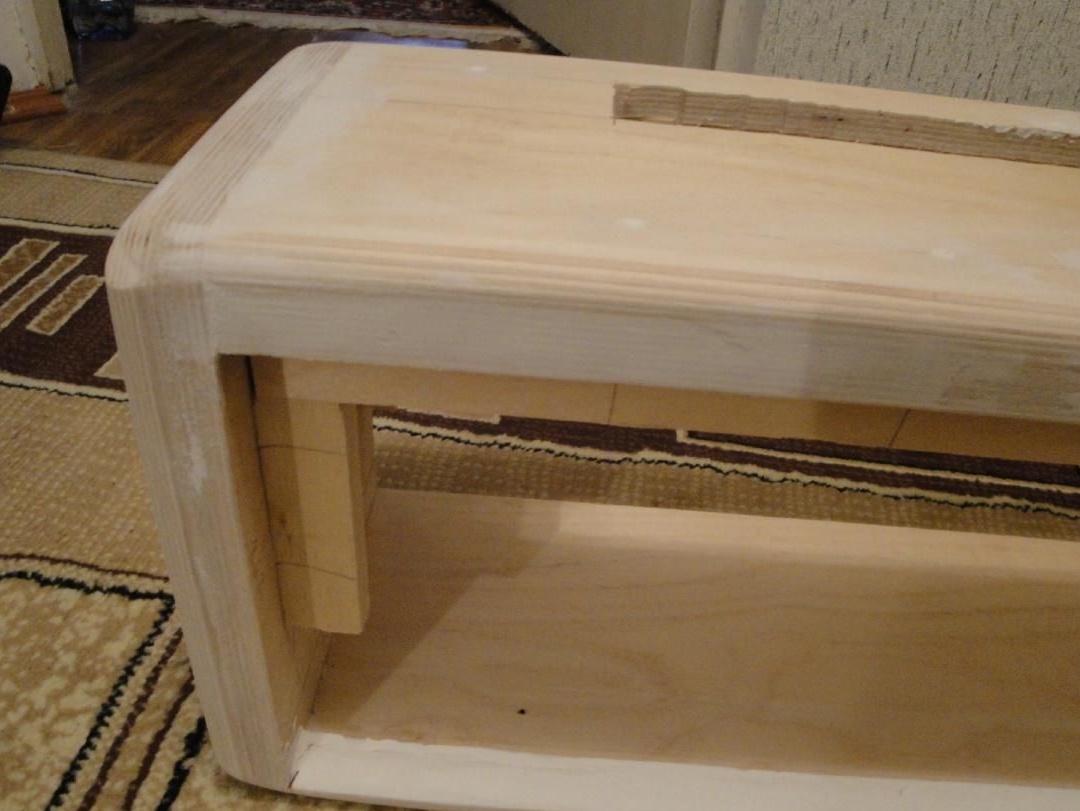
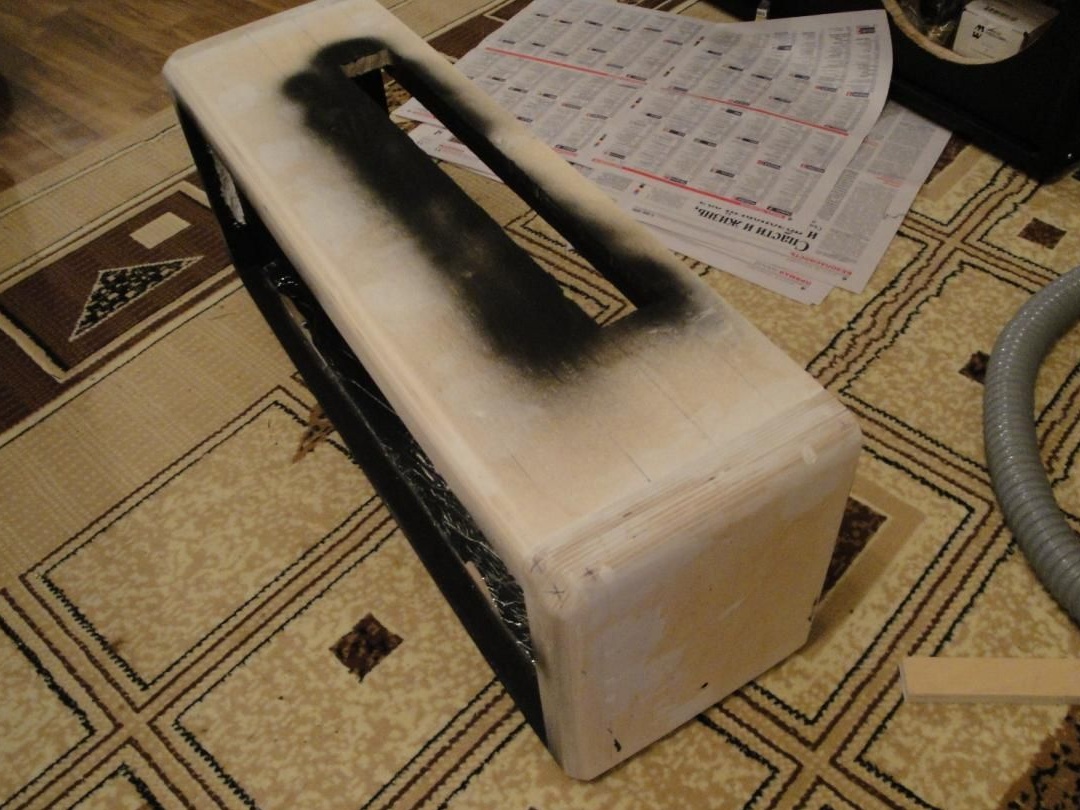
Next was the process of putty and grinding. And rounding the corners, for which the author recommends using a mill.
In the following photos we can see screwed rails, the sizes of which are: 646x40x15 and 125x30x15. Short, as we see, two.
And, of course, you need to cut a hole for the ventilation grill.
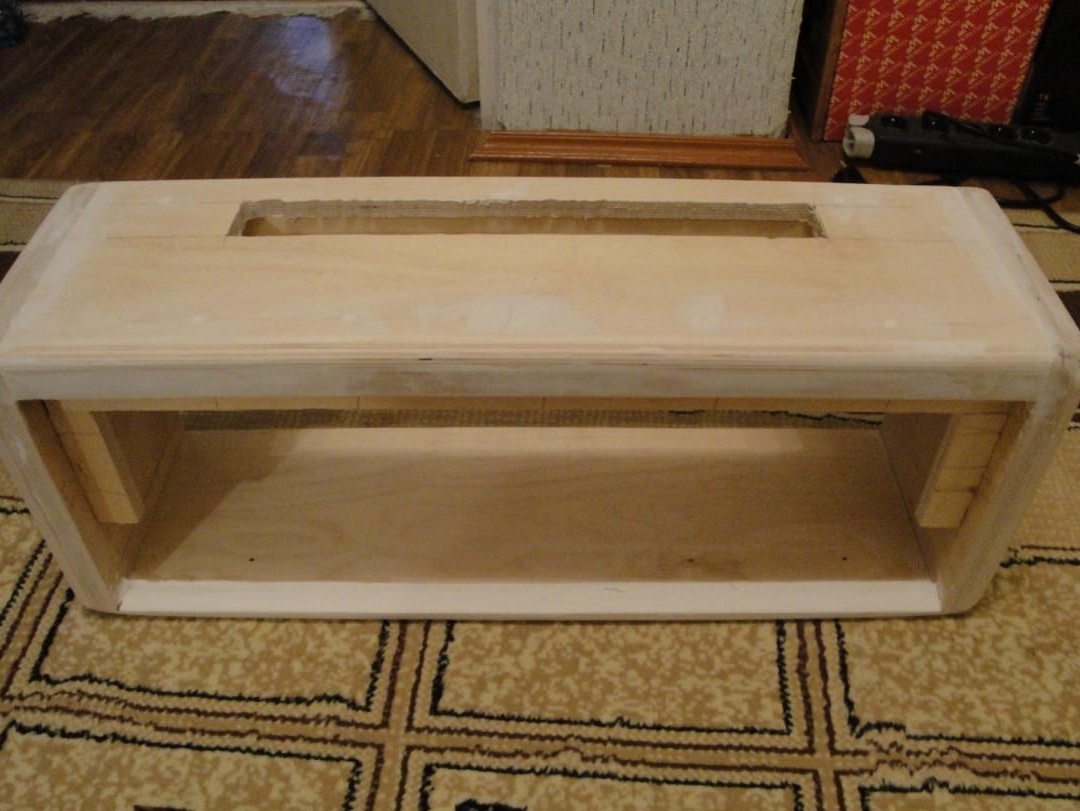
Upper back mesh holder. 646x20x15, 15 mm from the edge, see drawing. Side holders: 145x20x15, also 15 mm from the edge and you need to make sure that the chassis passes under them.
Next, holes for handles and chassis were drilled.
Later, this "good" must be painted black inside and glued with foil at the bottom, for shielding (so as not to fonil).
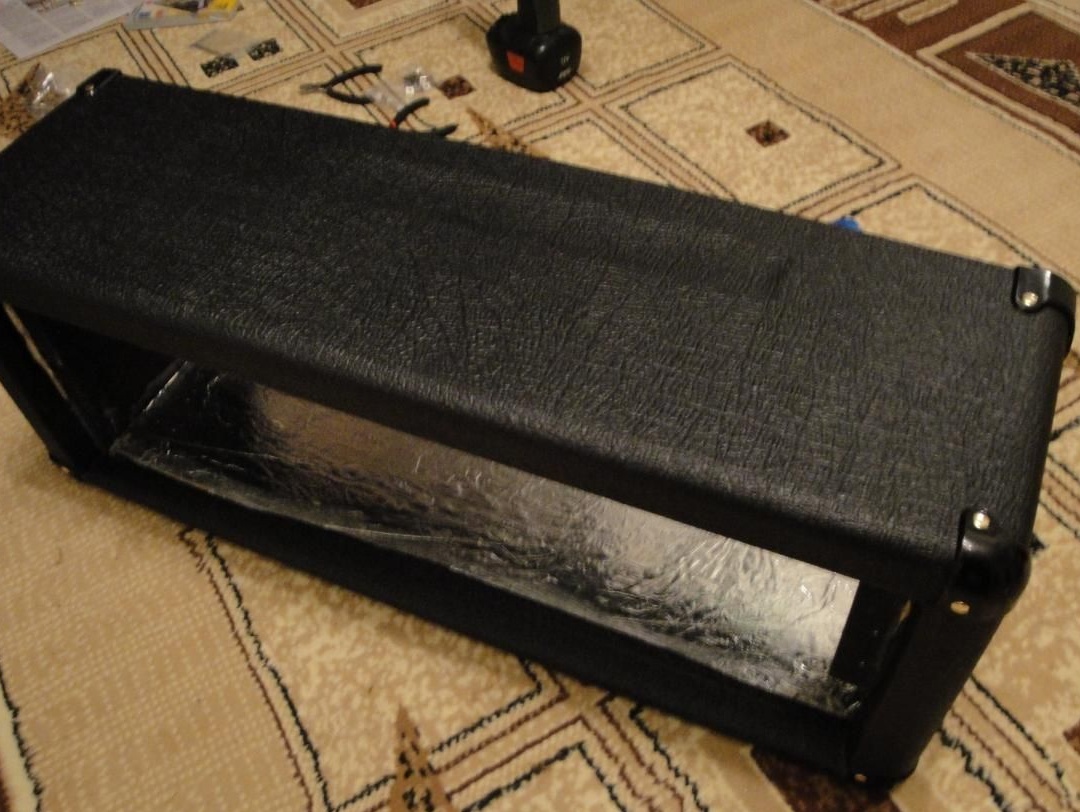
Pasting with dermatin. It is necessary to ensure that no air bubbles remain under the matter.
And also for the amount of glue, it should not be much.
After pasting, you need to nail the corners. To do this, the author collapsed the dermatine scrap in 4 layers and attached it to the hammer using electrical tape. This is done so that hammer blows do not deform the corners and coating.
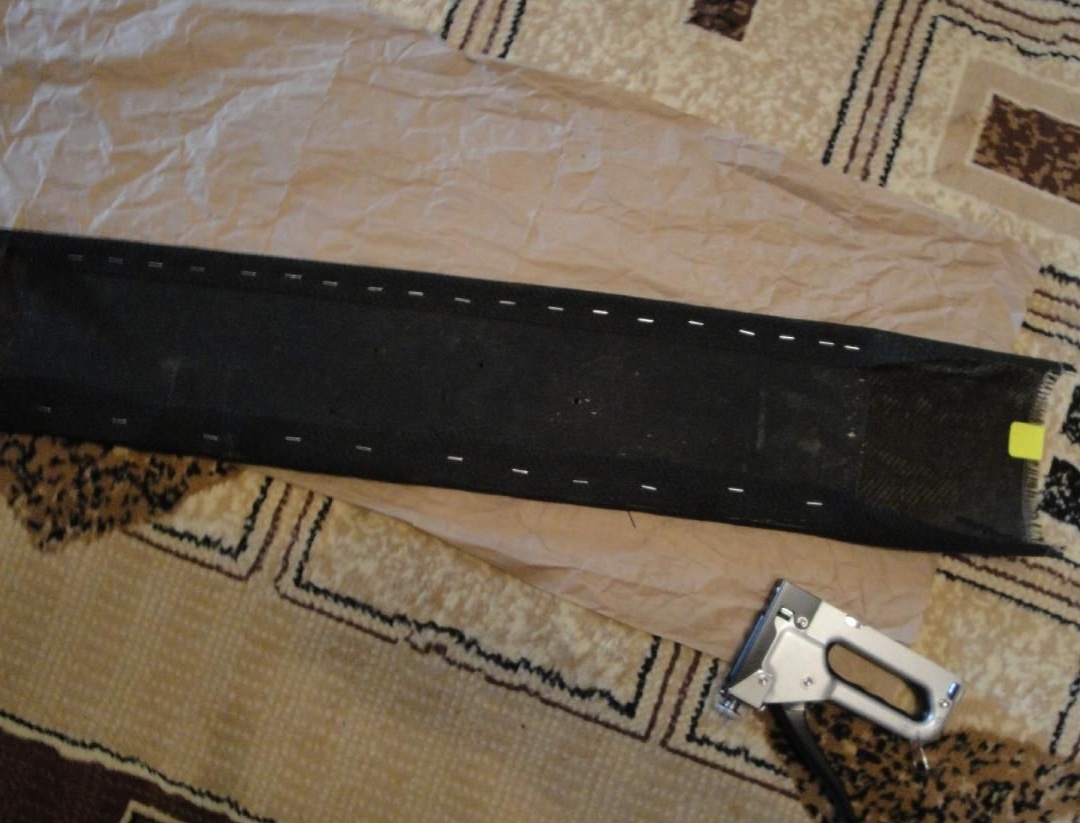
After the “Grill” was drunk from the same plywood 639x156mm and slightly adjusted. Drill holes for the inscription, staining with black paint from a balloon. Using a stapler, the fabric was nailed from the back.
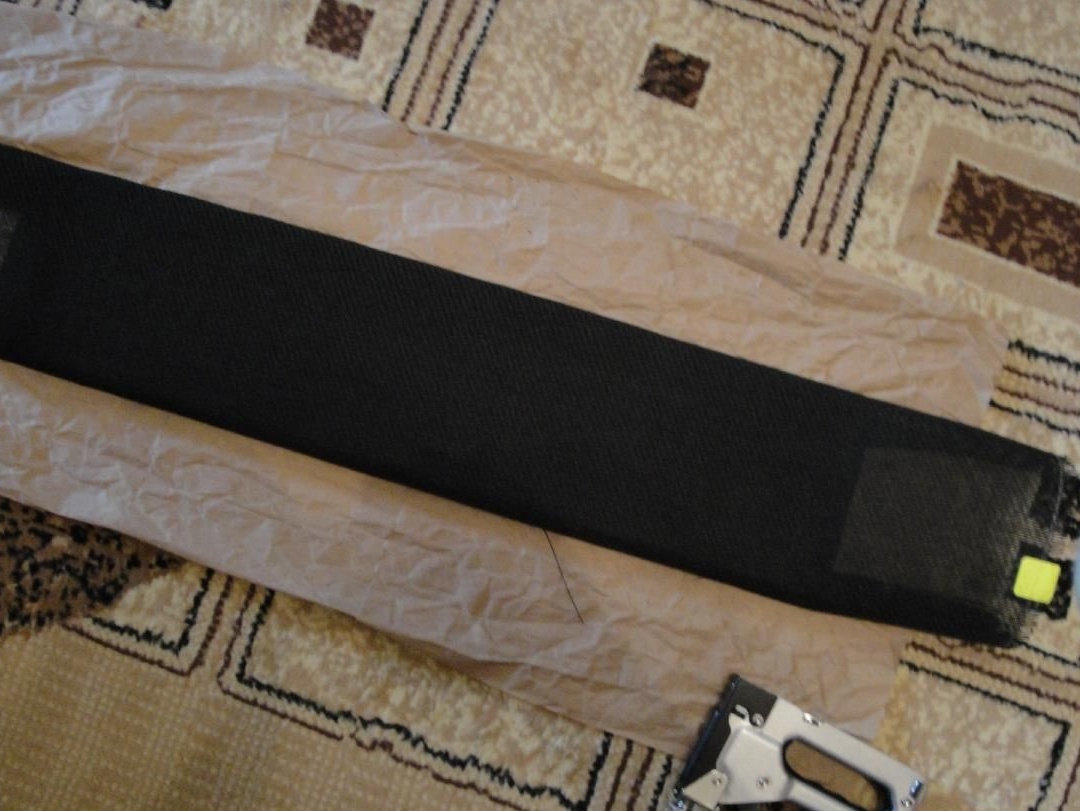
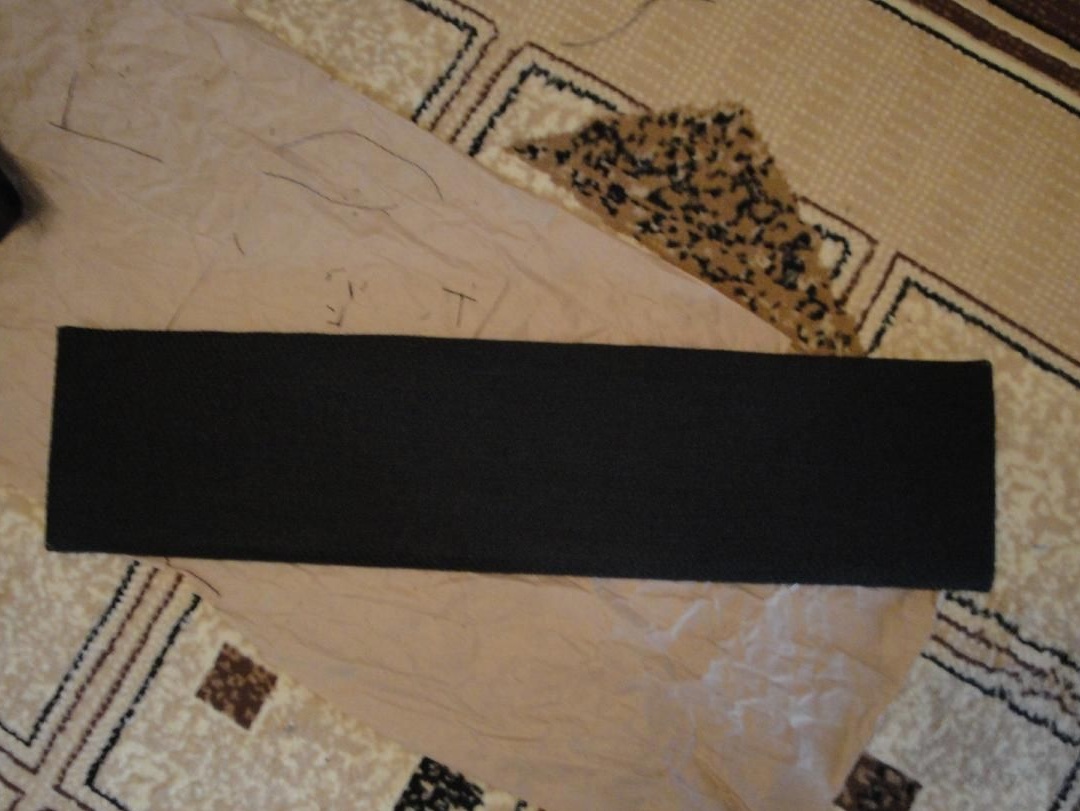
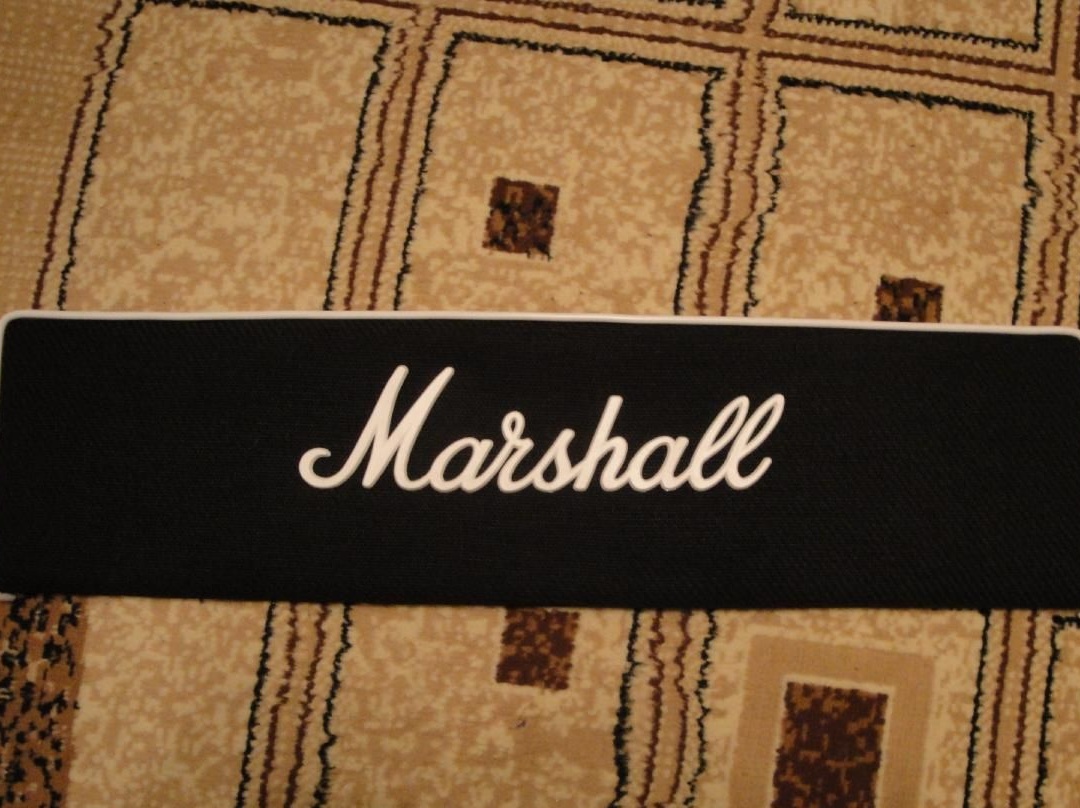
Next, a “Piping” is nailed along the edge of the stapler and the logo is inserted.
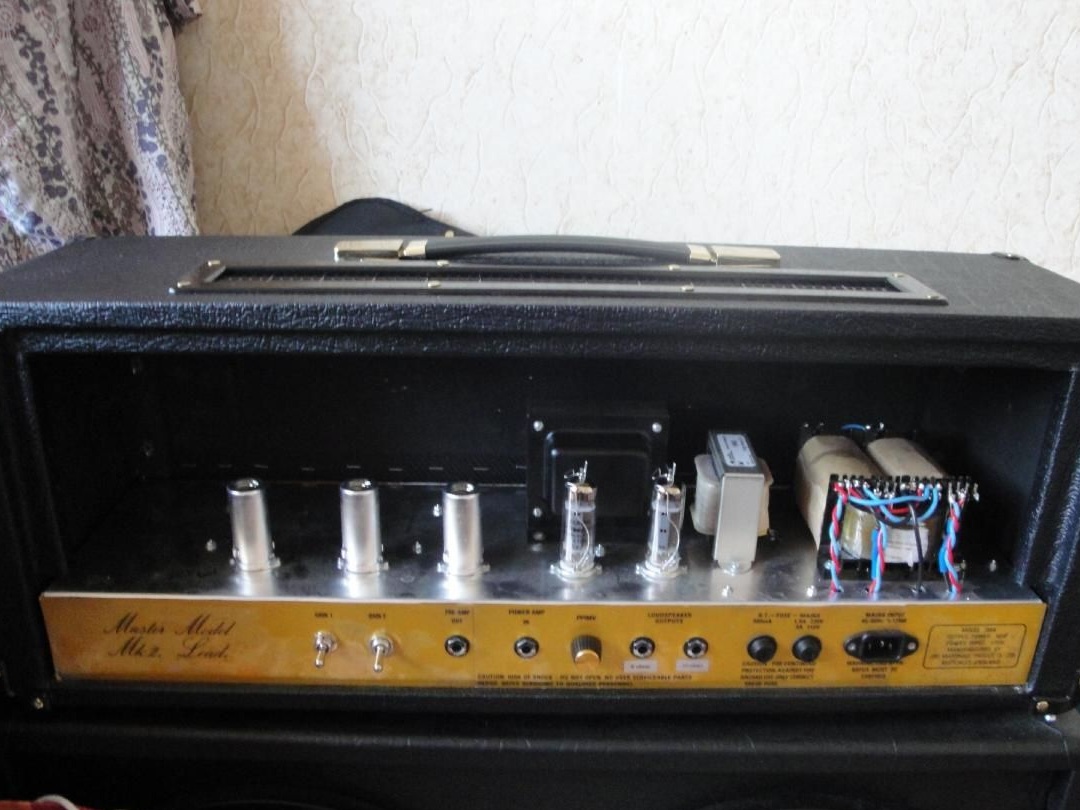
The chassis, to the body, is bolted from below.
And the finishing touch is the grid.
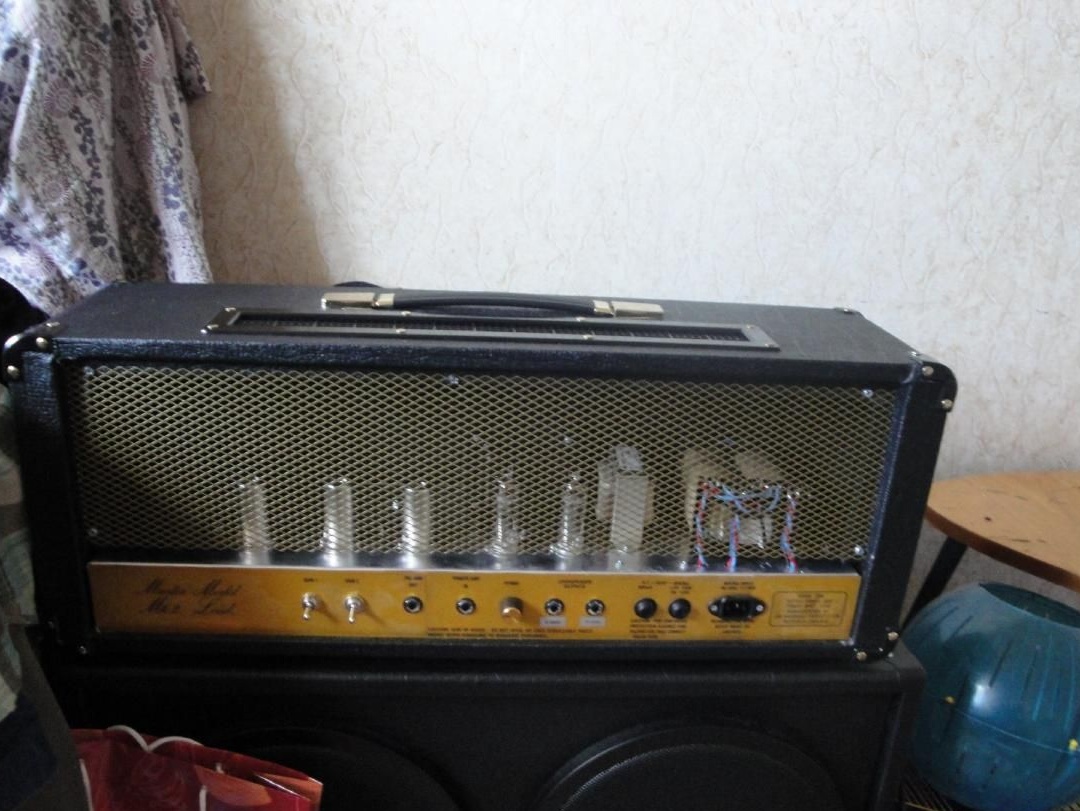
Thank you all, collect the tube “heads” and enjoy the tube sound that you create.