Have you long dreamed of your own summerhouse in the country? Is building a gazebo very expensive and difficult? If you answered yes to at least one of these questions, this article is for you.
Today we will tell you how to build a gazebo from improvised materials, namely from ordinary plastic bottles.
The start of construction will, of course, be a drawing of our future gazebo. First you need to decide exactly where the gazebo will be located on the site, then decide what size it will be. An important point is the color of the future building, because it depends on what color bottles we need.
Now you should pay attention to the "building material". It must be remembered that all bottles must be of the same volume and size, for example, bottles of one and a half liters. If you don’t have the right number of bottles to build a gazebo, let’s tell you a little secret - in most summer cafe-restaurants you will be happy to give the required number of bottles for free or sell them for a nominal fee.
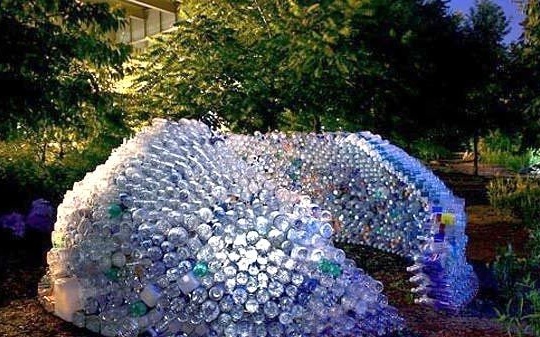
So, we found the required number of bottles. What's next? The next step is to prepare them. To do this, soak the bottles for several hours in a container of warm water and soda, then remove the remaining labels, clean them and dry in the sun or in any other warm place. After, we recommend that you group the bottles by color, which in the future will allow you to lay out various colored designs from the bottles in the process of constructing the gazebo. If you want to add even more effect to your gazebo, we recommend one little secret. You should take some acrylic paint of the color you like and paint the bottles from the inside. To do this, pour a little paint inside the bottle, shake it, and pour the remaining paint into the next bottle for painting. As you can see, everything is very simple.
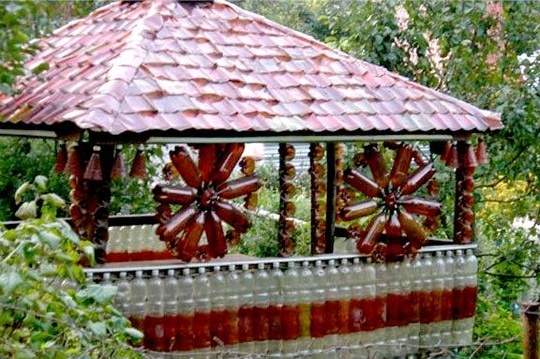
The next step will be the manufacture of original pillars from bottles. To do this, cut off the neck of each bottle in the place where the bottle begins to narrow slightly. After that, we take already prepared bottles and insert them into each other so that the narrower part of one bottle fits tightly into the wider part of the other. For additional stability and reliability of such a column, we recommend that you fill the bottom few bottles with sand.
After we collected such columns, each one meter high, you should connect them together. For this, a neat hole should be made in each column, through which a thin wire is then passed and the columns are connected together. Important: do not use fishing line or twine together with wire, as these materials can rot or deteriorate due to direct sunlight.
Having prepared and connected the columns together, you should deal with the device of the base for our arbor. To do this, it is necessary to level the surface of the earth on the site where we plan to install the gazebo and install horizontally strong support pillars there from a thick wooden beam. Please note that the thickness of the timber should correspond to the thickness of our pillars from the bottles. Next, we create a kind of frame from bars, for which we install vertical bars on horizontally laid supporting bars, after which we put horizontal bars on the resulting wooden posts again. The resulting rectangle of wooden bars is filled with columns of plastic bottles, binding them together and wooden bars with wire.
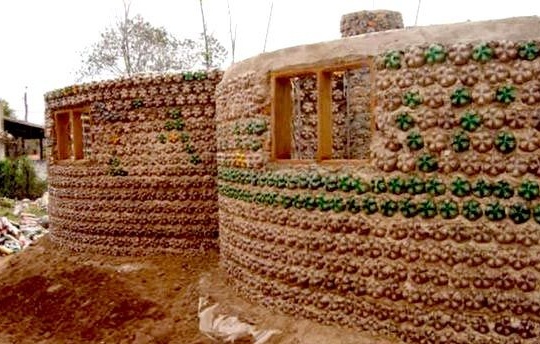
To create a gazebo, bottles can be used in another way. To do this, each of them should be filled with sand, thus obtaining a semblance of bricks. After, from them you can begin to erect the walls of the future gazebo, laying out bottle bricks on a special solution. A mixture of clay, cement and sawdust is perfect. We draw your attention to the fact that bottle bricks should be laid out in such a way that their necks are directed outward from the arbor. Important: no more than three horizontal rows of such bricks should be laid out at a time, after which the cement-adhesive mixture should be allowed to harden.


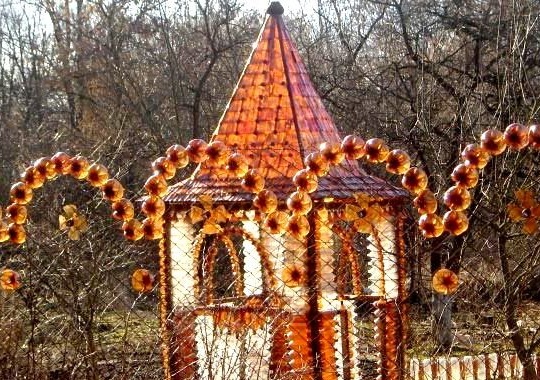
Bottles can be used as a building material not only for the walls of the gazebo, but also for its roof. For this, the bottles are cut in such a way that their middle part, after cutting the necks and bottom, was in the form of a sheet. In order for this “sheet” not to bend or curl, it should be straightened, for example, by ironing with an iron through a thick sheet of paper. After, the resulting sheets are stacked on a moisture-resistant material, mounted on the roof of the gazebo, stitched together with a stapler, wire or thread, and mounted on the roof.
Voila, our gazebo is ready!

