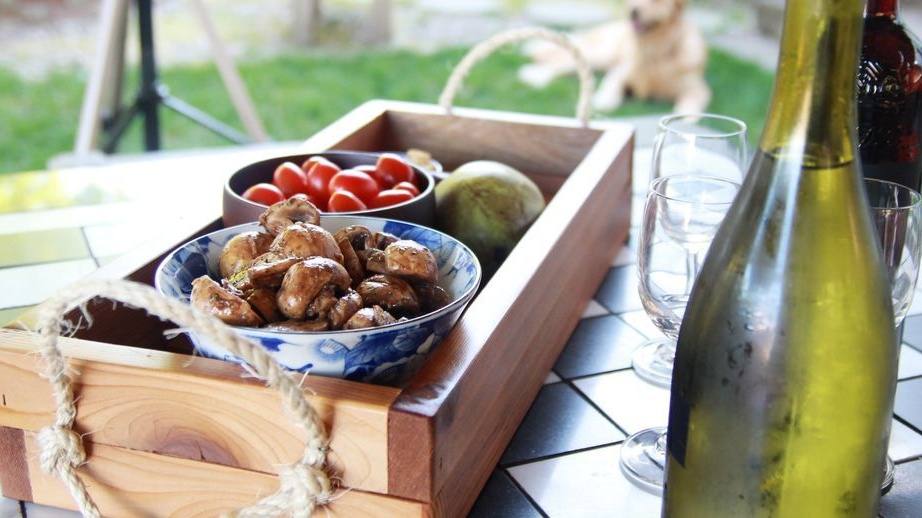
An indispensable assistant in the house of any housewife is a tray. This item of furniture very versatile: in addition to the traditional use for serving dishes on the table, the tray itself can serve as a table in those rooms where the latter is absent. For example, you can’t do without it if you decide to please your loved one with breakfast in bed. In addition, the tray is simply indispensable for summer picnics in the open.
After watching this video lesson, you will be sure to make a practical tray do it yourself everyone can do it!
The following materials will be required to make the tray:
- glue;
- varnish for wood;
- 4 boards 4.4 * 2 * 48 cm in size;
- 4 boards 4.4 * 2 * 20 cm in size;
- 2 planks measuring 2 * 2 * 44.5 cm;
- 9 planks measuring 18.5 * 1 * 18 cm;
The author of the lesson uses cedar planks as the basis for the tray, but you can use any other species of wood.
During the execution of the work, you will need the following tools:
- drill;
- screwdrivers;
- sandpaper;
- construction stapler;
- paper clips for a construction stapler;
- the rope.
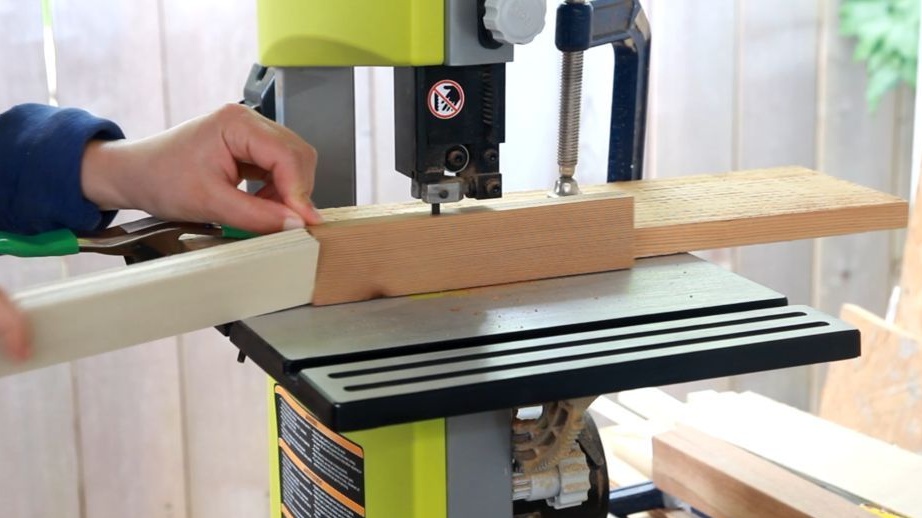
When all the necessary materials and tools are ready for use, we begin work with the basis for the tray. To do this, cut cedar boards in accordance with the required size and number of boards.
Now we begin to assemble the details of the future tray.
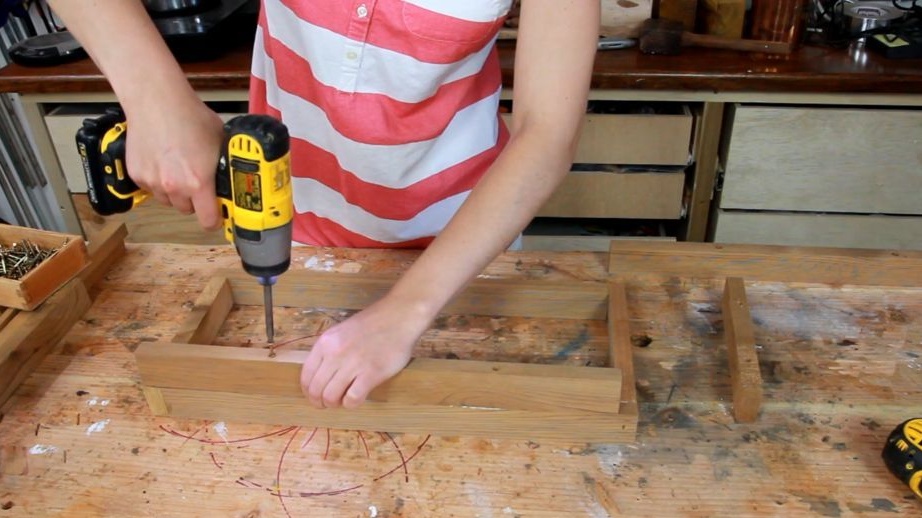
Using the countersink, we pre-drill holes in the planks, which will be located at the bottom of the tray. That is, these are 2 boards 4.4 * 2 * 48 cm in size and 2 boards 4.4 * 2 * 20 cm in size.
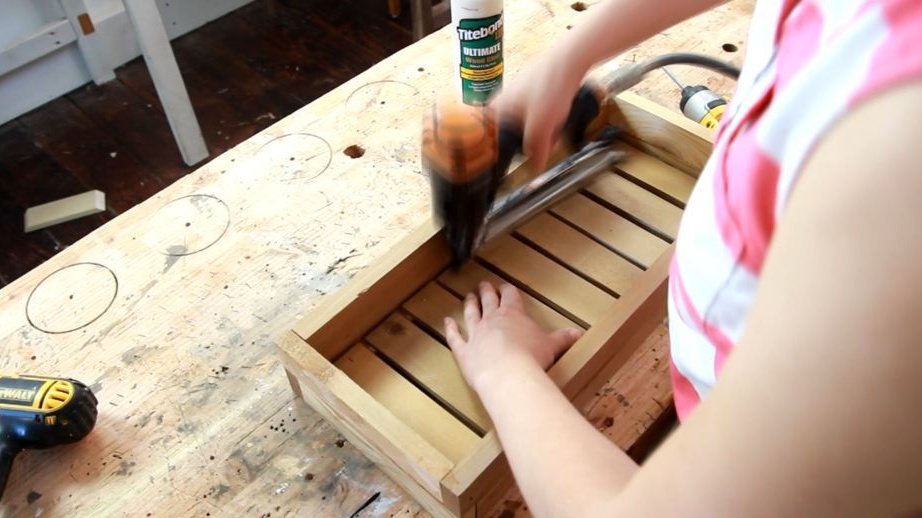
Then, using glue and a drill with screwdrivers, we connect together the planks for the bottom of the tray. The resulting design should resemble a rectangular frame. The author uses glue for oily wood, as he chose cedar planks for the base of the tray.
Similarly, we proceed with 2 more planks measuring 4.4 * 2 * 48 cm and 2 planks measuring 4.4 * 2 * 20 cm, gluing and drilling them onto the previous layer.
After the frame structure, which forms the basis of the tray, is ready, using glue and a drill with screwdrivers we fix 2 boards 2 * 2 * 44.5 cm in size to the base of the tray.We fix the boards in such a position that they are located on the inner side of the base along the length of the product.
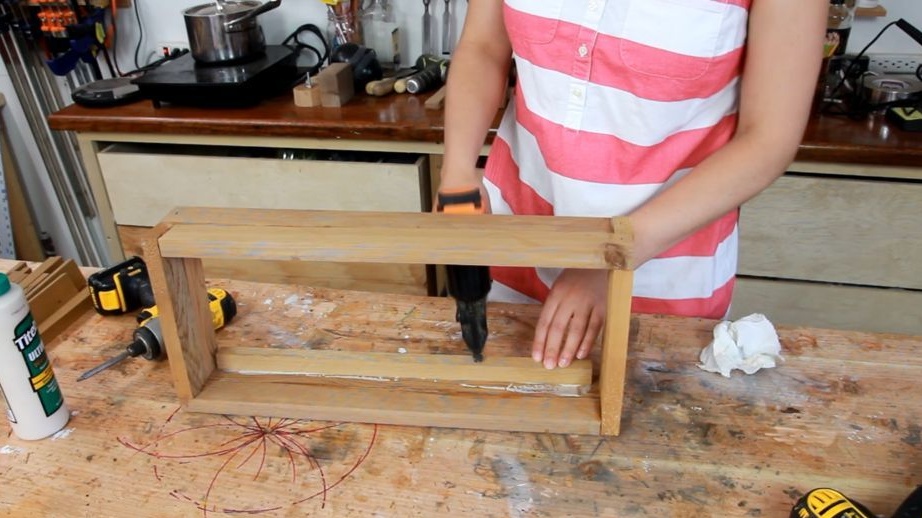
In the same way - with glue and a drill, we evenly fix 9 boards 18.5 * 1 * 18 cm in size on the frame structure (they will form the bottom of the tray).
Now, using sandpaper, polish the surface of the tray until smooth.
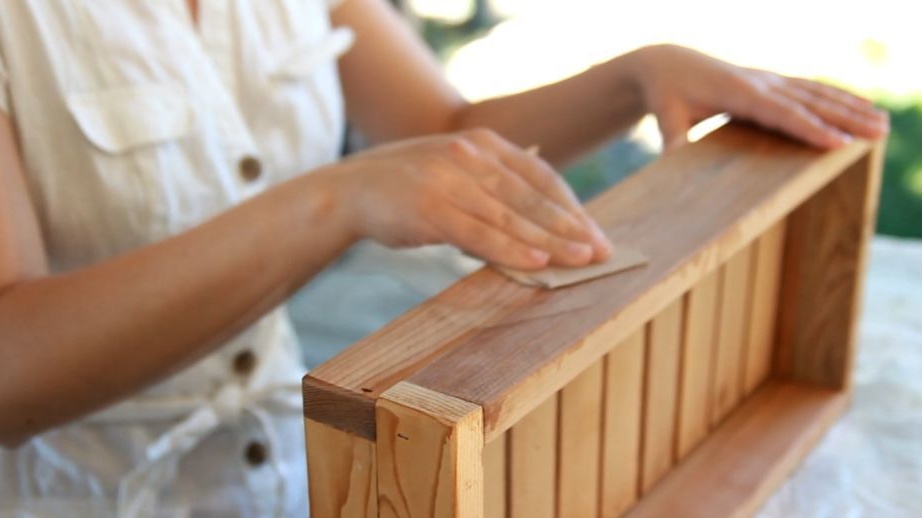
We cover the tray with varnish and let it dry.
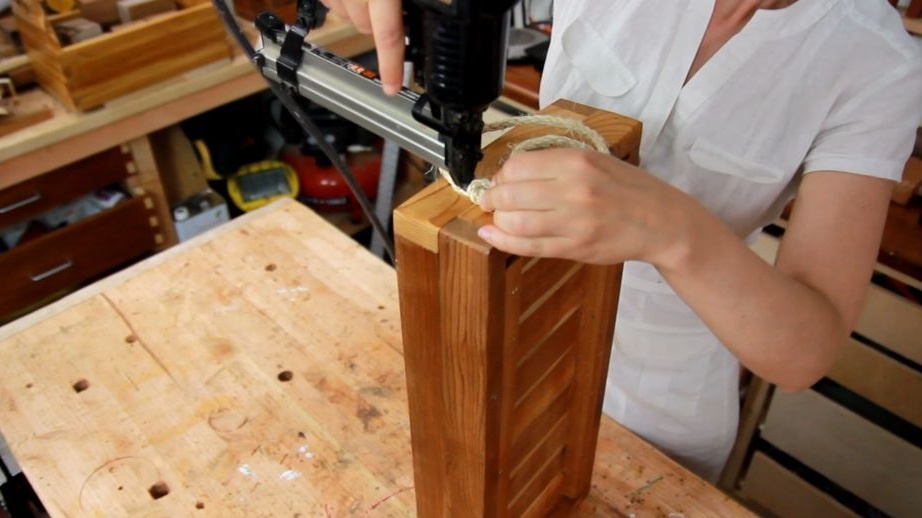
As a final step we make handles for a tray. For this, it is necessary to fix along a piece of rope from 2 sides of the tray using a construction stapler.
And now it's time to enjoy using the tray: serve food and drinks not only indoors, but also during summer dinners on the terrace!