So, you looked and still have not left this page? Then sit back, for you will learn later how to repeat this “magic”.
To begin with, the music in your floppy is not played by a little gnome with a cello. The pitch changes with the rotation speed of our drive. I think everyone understands that it’s not on its axis.
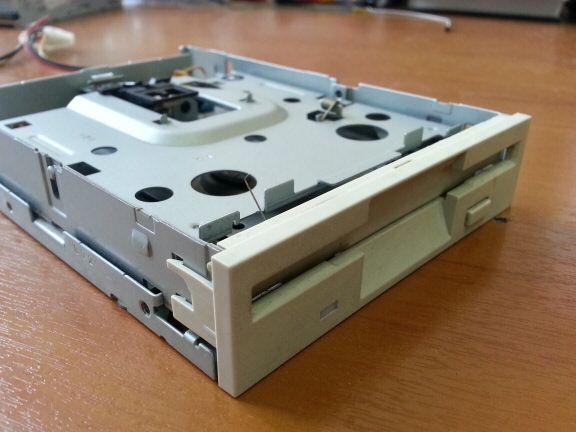
But it’s one thing when we have a constant number of revolutions. Then we have only a monotonous buzz, one note. Another thing is when we want to get an "imperial march" or murka. To do this, we will need to change the speed, and take into account the duration of each note.
We are smarter and therefore we will make the computer play this melody for us. And for this we need a controller. For example, arduino. With it, we will make our floppy disk drives “sing” today.
So, let's start, for a start we will need an extra power supply for the computer, because the drives of our music turntables require them to be fed with electric current.
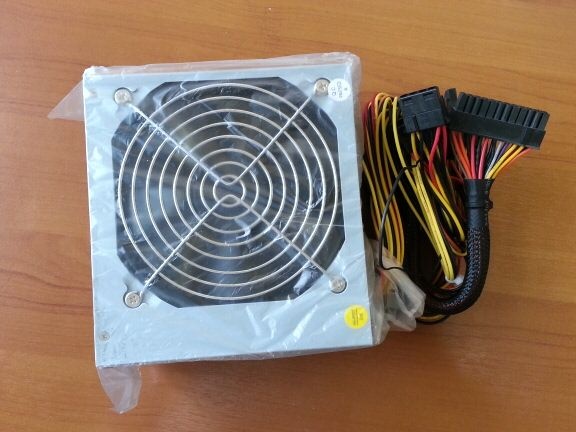
Have you found? Now go to the connection:
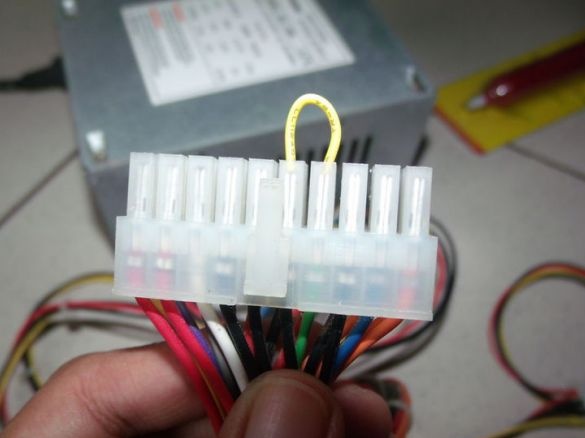
1) We connect the black and green contacts in our power supply. This is required to enable it.
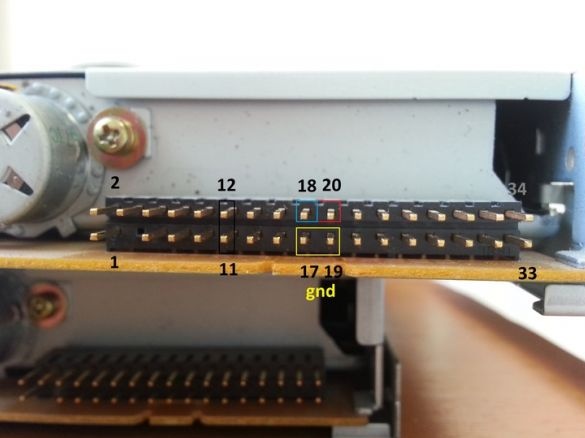
2) We close the drive contacts 11 and 12 with each other using a jumper. Yes, I know that you should not translate such names.
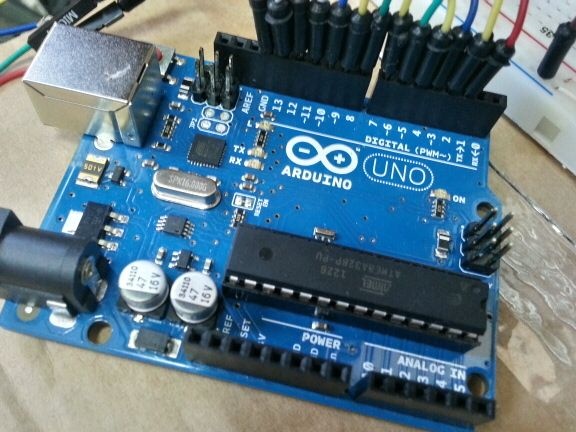
3) 17 and 19 are connected to the land of arduino (GND).
4) 18 to 3 digital pin Arduino.
5) 20 is also floppy, to 2 d.p.
6) We feed.
Now software:
1) Download the IDE, install the driver.
2) Download the TimerOne library to the folder to the arduino.
3) Fill the sketch.
4) Everything is connected, everything is flooded? Install the NetBeans Java JDK.
5) Download MoppyDesk and drivers for it. This is a program that makes the drive “sing” through the microcontroller
Launch MoppyDesk through NotBeans. We look where the arduino is installed, select this com port. Next, click Connect and select the midi file, Start.
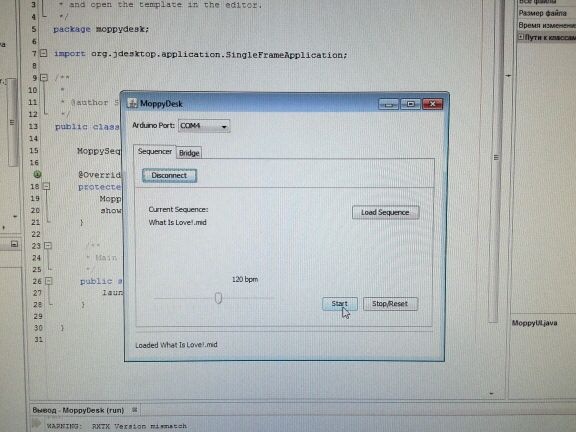
Rejoice.
Thanks everybody.

