
Each princess dreams of her own dollhouse. Now, in the modern world, you can buy such a house in any children's store, but the price is too high for it. Therefore, there is a simple and budget solution - to make such beauty yourself. You don’t need to buy anything specially for this, you can use all the means at hand: the remains of old wallpaper, bamboo sticks, beads, plastic, fabric and much more.
Time spent on under the tree such a house, everyone will have different things, it all depends on your perseverance, patience and the availability of free time. Even just by devoting several hours to work in the evening, it is quite possible to produce it in a few days.
We offer you a small but informative master class on making a dollhouse from fiberboard glued with PVA glue.
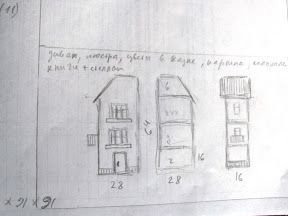
The total height of the house is 65 cm, and the floor area in the rooms is 16x28 cm. On the first floor we have a living room, on the second - a children's room, on the third kitchen, and in the attic there is a bathroom.
Proceed directly to building.
The most important thing is to draw a sketch correctly, and determine the size.
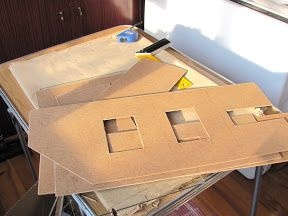
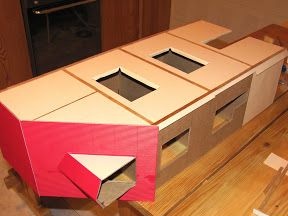
We take a fiberboard sheet and cut out all the necessary details: walls, roof and floors of our floors. We carefully glue all parts with PVA glue. Sometimes sawdust is added to it for strength, but if you have thick glue, this will be enough.
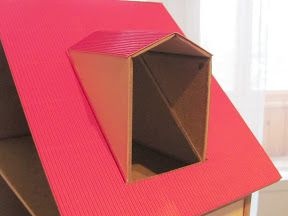
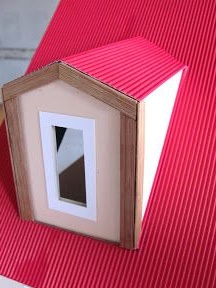
We glue the roof of the house with corrugated cardboard of any color.
We disassemble the kitchen bamboo napkin for exterior decoration of our house.
Next, we glue all the external sides of the house of any color with paper and divided bamboo strips.
On the ground floor, for decoration, we glue “bricks” previously cut from cardboard.
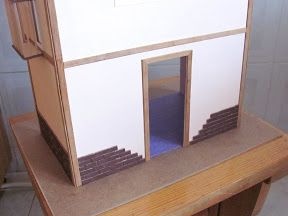
We take a large sheet of fiberboard, for stability, and glue to it our whole finished house.
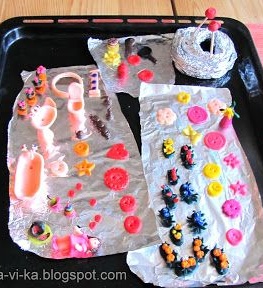
Now we proceed to the most labor-intensive process - the molding of various accessories from plastic. These will be various flowers, dishes, products, accessories for the home interior.
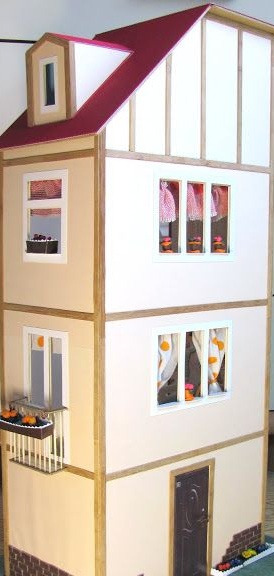
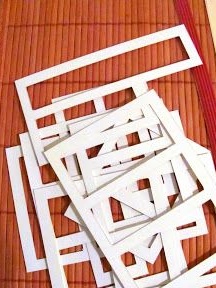
We cut the window frames from cardboard, and glue them on both sides (outside and inside).
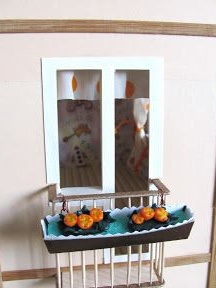
We paste cardboard window sills on the ends and decorate them with flower pots on top.
Next, we make a balcony. We take the toothpicks and stick them into the cardboard on both sides, into the floor and the railing (see the photo). And on hooks from wire to the railing we hang a cardboard box in which there are stuck flowers.
We insert the attic window (it can just be a thick cover for a book or notebook).
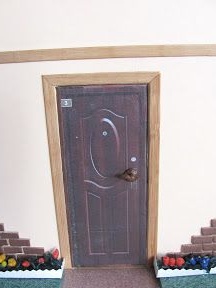
We glue the front door. You can print a picture of the door and stick it on the desired location. The handle is made of plastic.
We glue a grassy lawn from hard green kitchen sponges. We make small flowerbeds from cardboard boxes, and insert the flowers sculpted in advance of plastic into them.
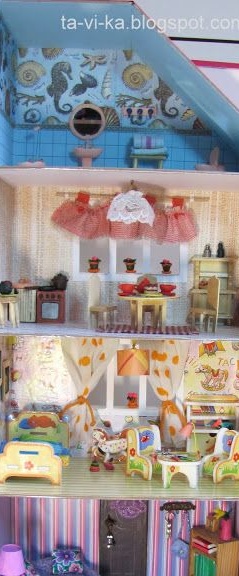
The interior of the dollhouse.
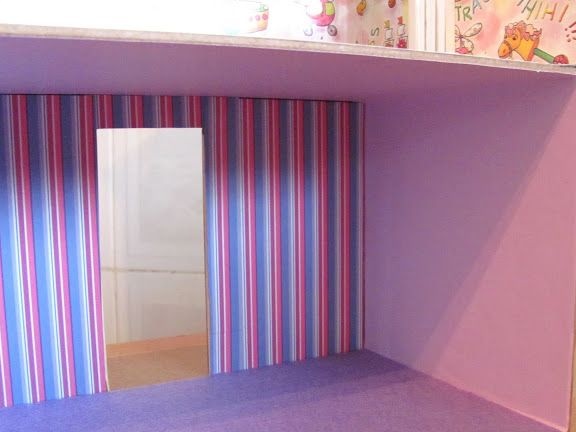
Living room
We paste over the walls with colored cardboard, take a cellulose kitchen napkin on the floor, a suitable pattern, for the ceiling you need ordinary white paper.
After the ceiling has been glued, we hang the chandelier - with an awl, make a hole in the fiberboard (just do not pass through it so as not to accidentally climb out onto the floor of the upper floor) and glue the wire ring to hang the finished chandelier.
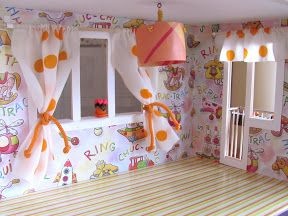
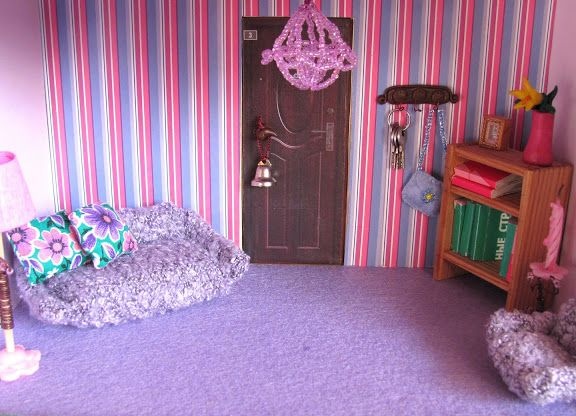
Children's room
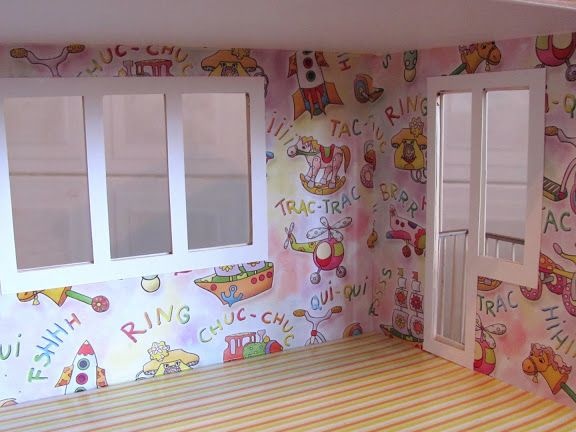
We cover the walls with gift paper, for wrapping, with a children's theme. If not, take any paper with a child's drawing. On the floor we glue colored cardboard that resembles a laminate.
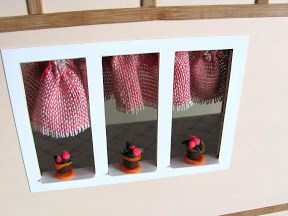
We make curtain rods: we put the curtain on the bamboo skewer and insert it into the wall mounts from thin strips of cardboard. We hang a chandelier on a wire ring.
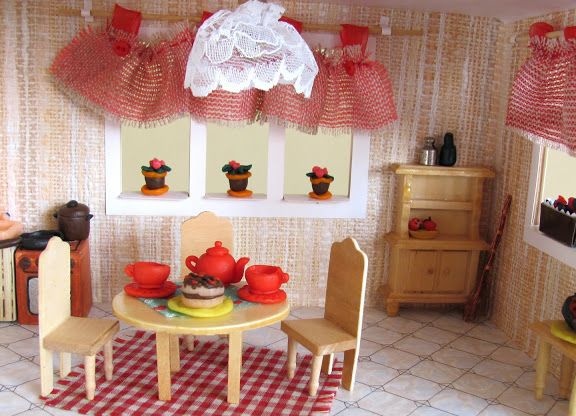
Kitchen
We glue the walls with a napkin with the desired pattern, or we take the remains of real wallpaper, as in this case.
We fasten the curtains in the same way as in the nursery, for beauty you can sew tiny homemade buttons from plastic. We hang the chandelier on a wire ring. We take a ruler and draw a “tile” on the floor.

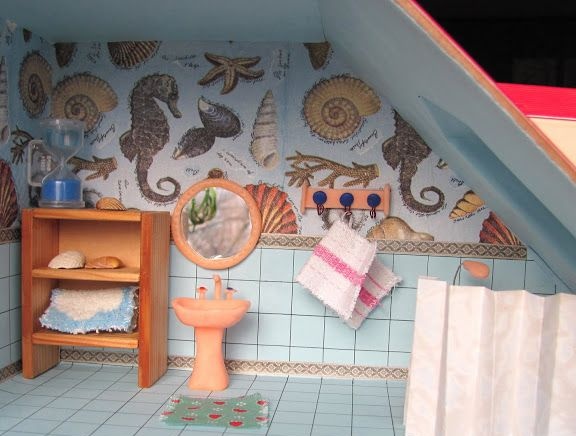
Bathroom
Draw the floors and bottom of the walls with a gel pen, imitating a tile. For the top of the walls, grab a paper napkin with a nautical theme. Glue it to cardboard for strength, glue our walls.
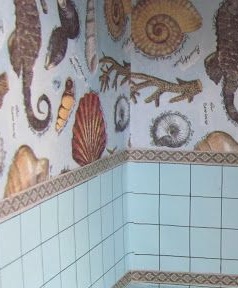
The border can be found and cut from any magazine or printed on a printer.
All! Our fabulous house is ready!
Now the fun part is left! Furnish our rooms.
Living room:
We sew a sofa, pillows and a chair from fabric, we stuff with foam rubber.
We make a bookcase from plywood.
Everything else, your imagination and ability to invent something interesting with simple unnecessary things.
Children's:
Furniture You can do it yourself, or buy a ready-made kit, as in the picture. We sew bedding and add, at will, various accessories.

Kitchen:
You can also buy a ready-made set, or tinker, and make it yourself. We cook plastic utensils and products on the table.
Bathroom:
We sculpt a toilet bowl and a mirror from plastic. We knock down the locker from the slats. Add the necessary bathroom accessories.
Here we have such beauty! And most importantly, that it is done do it yourself and from the bottom of my heart!
Let your child play with pleasure and learn about the world!