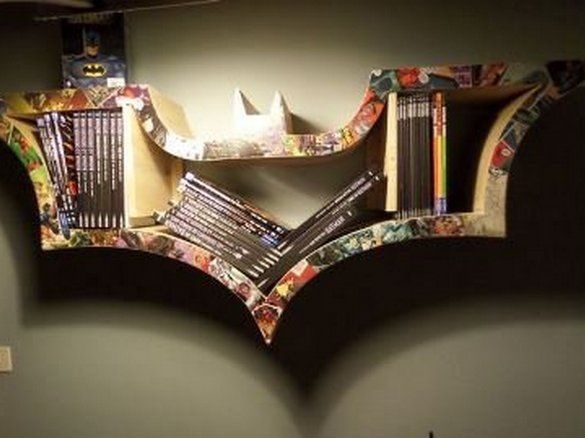
Furniture do it yourself - that's cool anyway. You can be 100% sure that no one has such an interior detail. Such homemade in the form of a shelf in the shape of a bat is able to surprise anyone. On the shelf you can store books, CDs, magazines - everything that the soul desires.
To make a fun shelf you will need:
- 2 wooden boards 180 by 70 cm,
- wooden blocks, about 25 cm,
- PVA glue, special wood glue,
- sanding paper,
- sheets of MDF 3 mm.
Tools for work:
- power saw, drill,
- Grinder,
- clamps (a lot),
- carpentry triangle
- tape measure, centimeter tape.
1. Drawing a plan
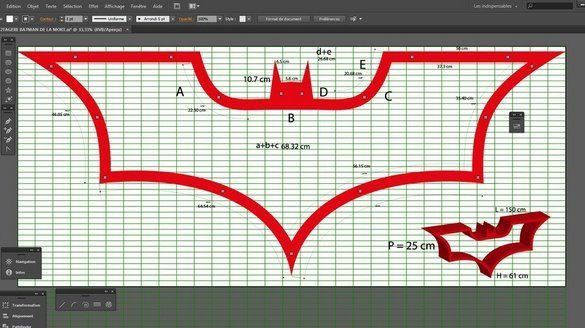
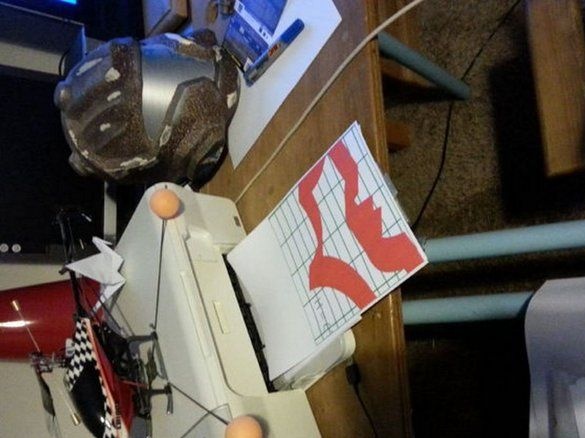
To do this, you will need any graphic editor that you are used to working with. The main thing is that the program is convenient so that you can easily draw a plan of the shelves. Print the picture on paper. Connect the sheets, cut, then transfer the image to the tree.
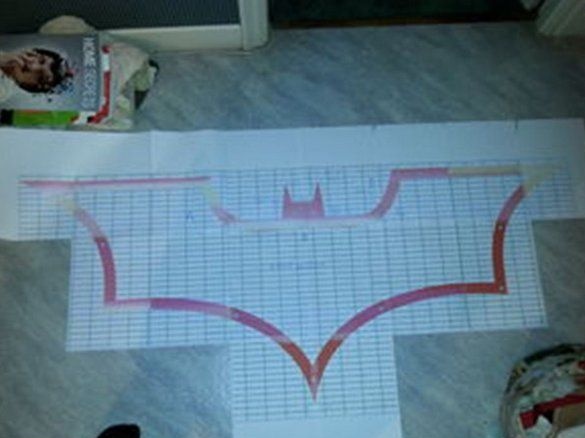
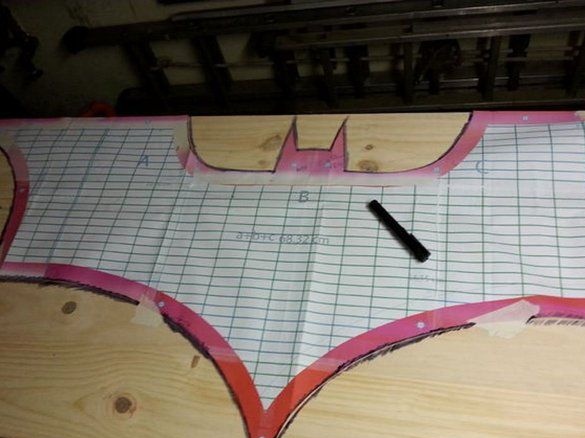
2. The bulk of the work
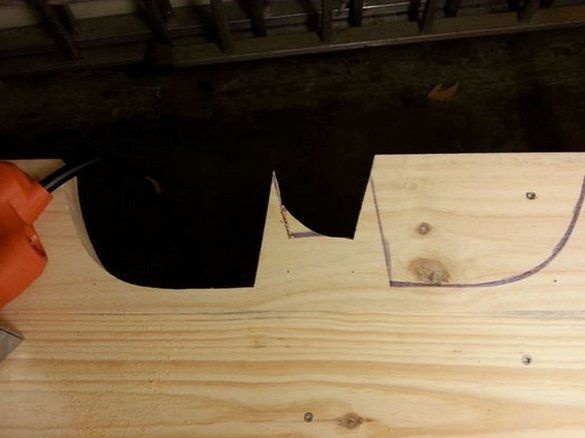
Cut wood panels. Tip: cut 2 panels at the same time so that there is no shift and subsequently skewing of the product. This can be done with a powerful saw at about 650 watts, since it will have to be cut in a rather large thickness.
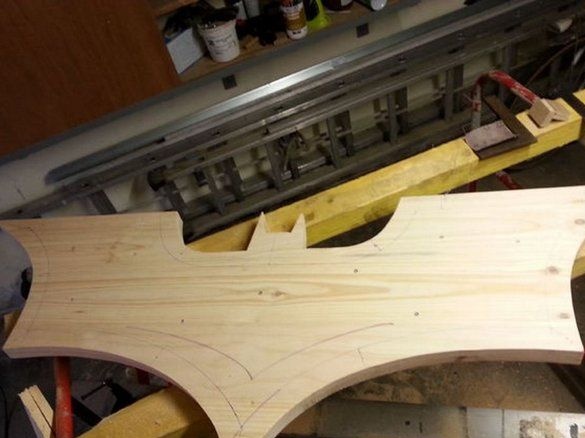
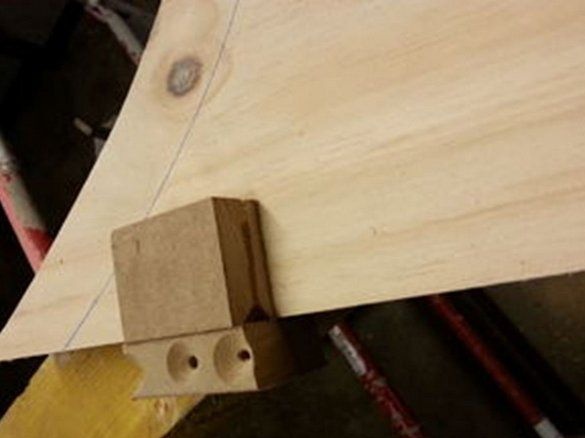
After we cut our blank in shape, draw a contour of the inside of the figure on the board. Before you cut the second sheet, we strengthen our future frame.
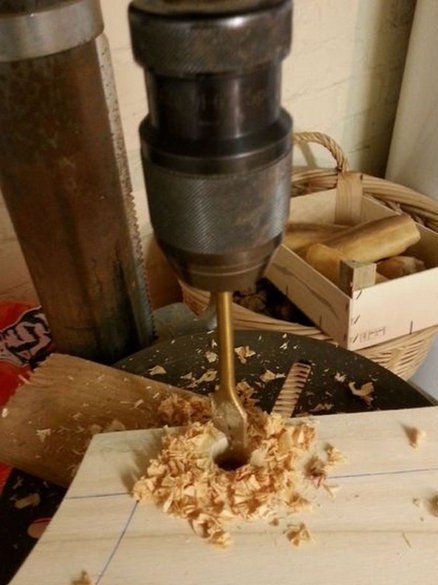
We drill holes for fasteners. After we finished drilling, we cut our bat along the drawn outline.
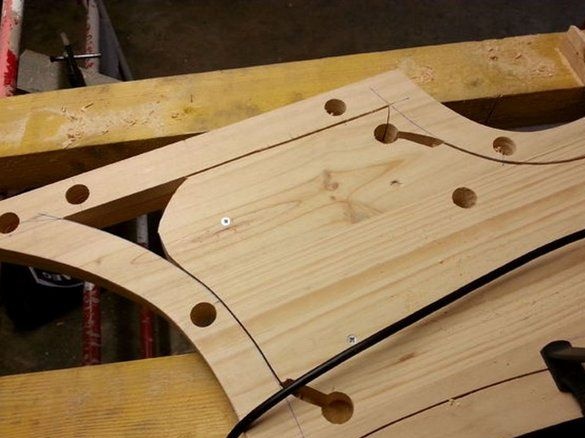
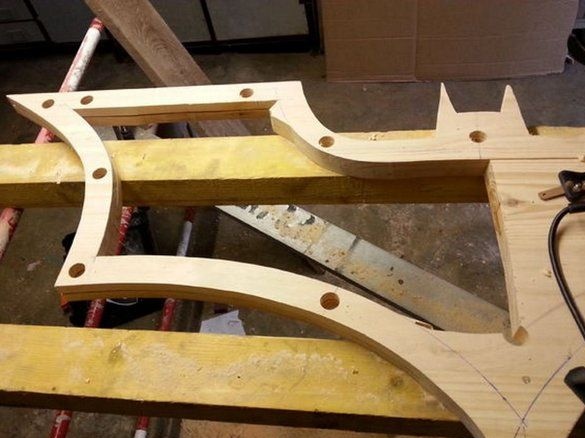
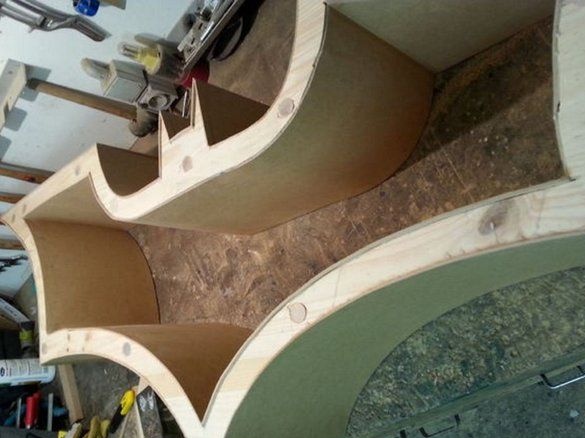
3. We assemble the wooden skeleton of the product
Time to determine the depth of the shelf. The size of the wooden blocks we need for fastening will depend on this.
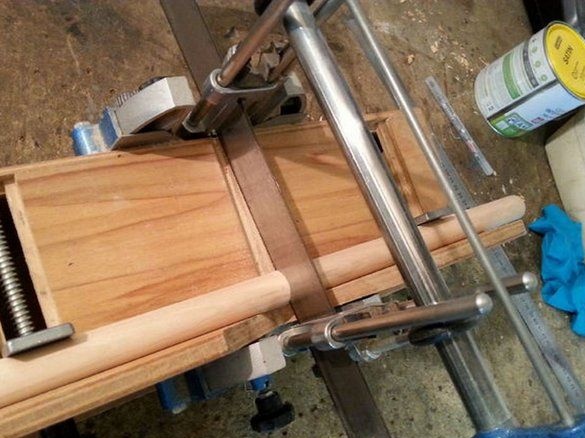
It is worth making a reservation: choose a solid tree for the bars in order to avoid possible future troubles in the form of a break in the places of the greatest load on the shelf.
4. Glue all parts of the shelf
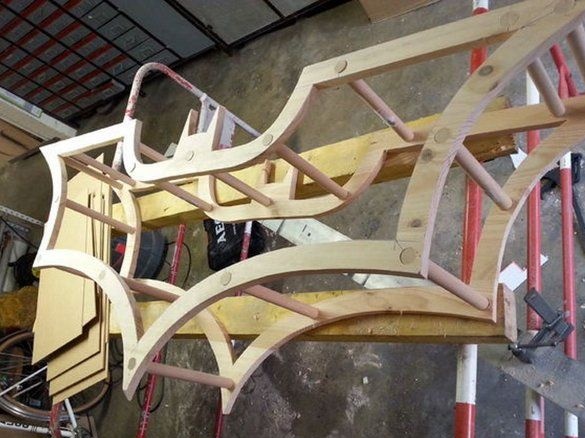
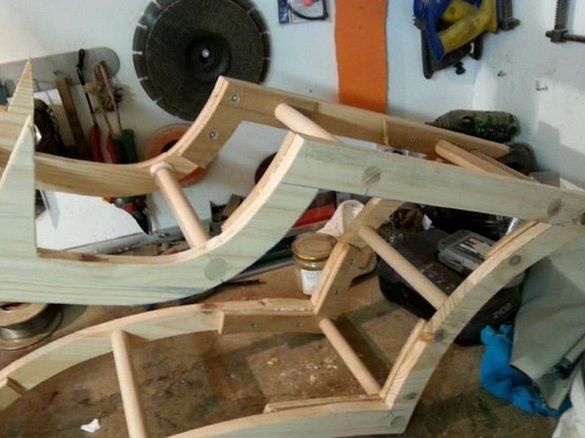
When gluing the base with wooden blocks, use the carpentry triangle and tape measure to check. So you will be sure that there is the same distance between all the mounting bars. The glue dries in a day.
5. We glue the curved side, upper and lower parts of the shelf
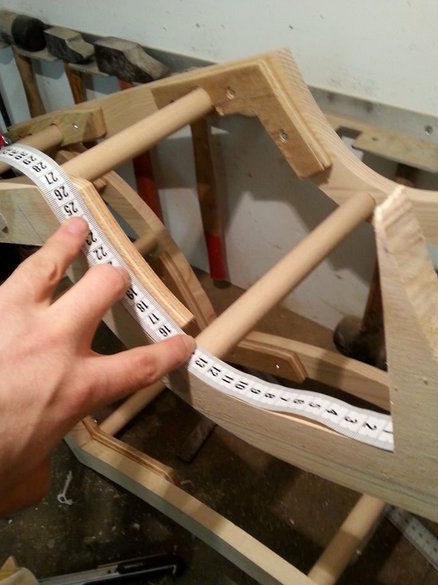
Now you will need a lot of clips. First, we measure with a centimeter tape all the sections of our shelf where we will attach the curved sheets.
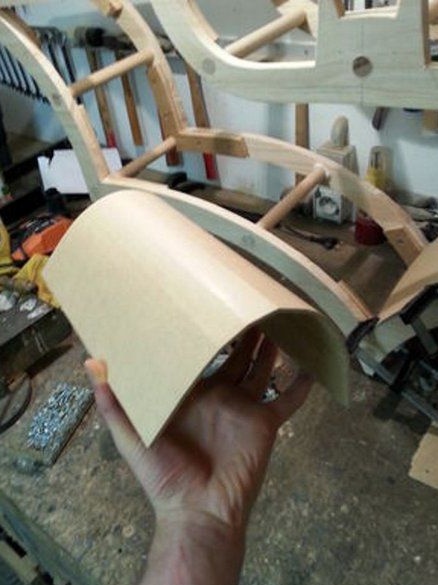
We transfer the sizes to the MDF sheet, cut out the pieces we need.
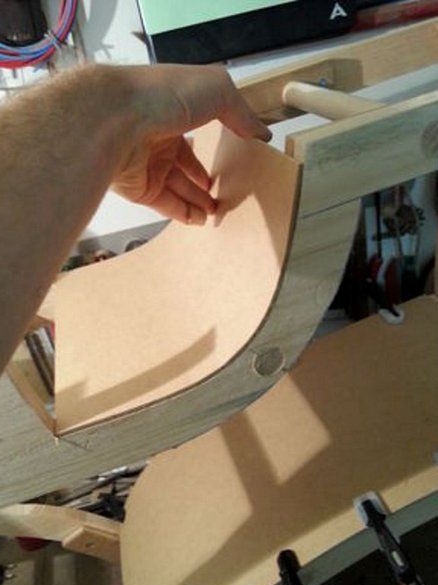
After that, glue it tightly to the shelf frame.
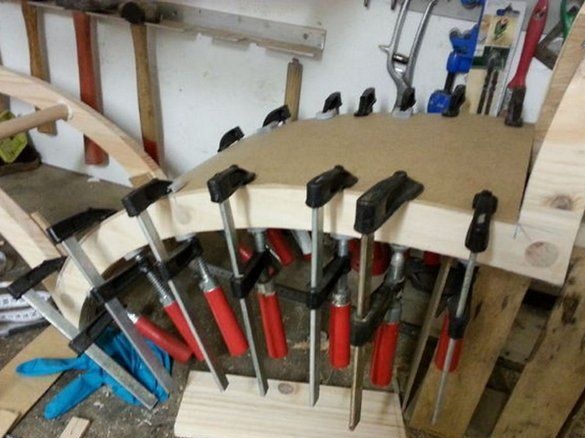
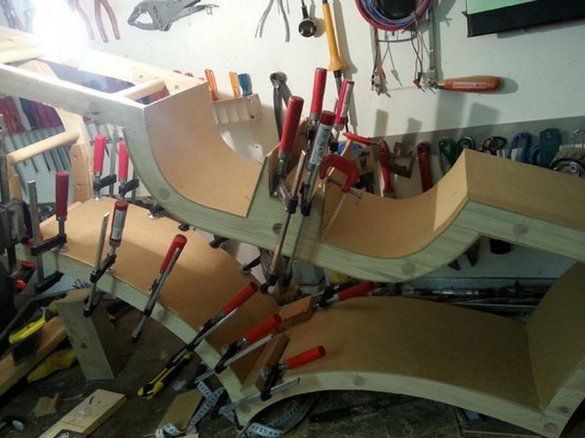
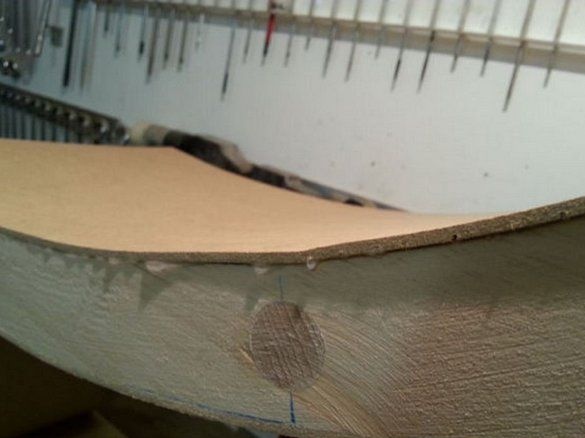
The clamps provide us with a snug fit on the adhesive surfaces and guarantee that there are no gaps anywhere. Remove excess glue in a timely manner.
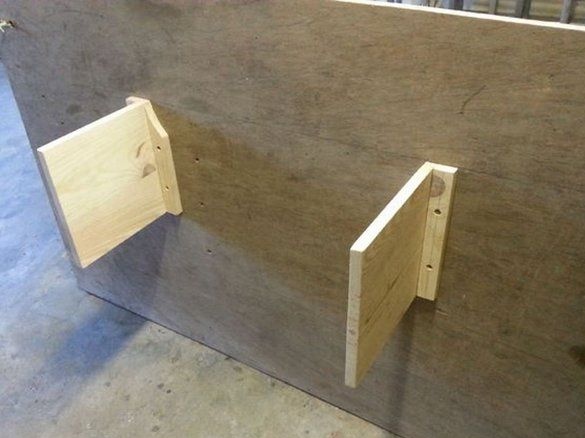
6. Mounts
Our shelf is almost ready and it's time to think about a fastening system. Just fasten the two wooden brackets to the back of the shelf.
7. Grinding
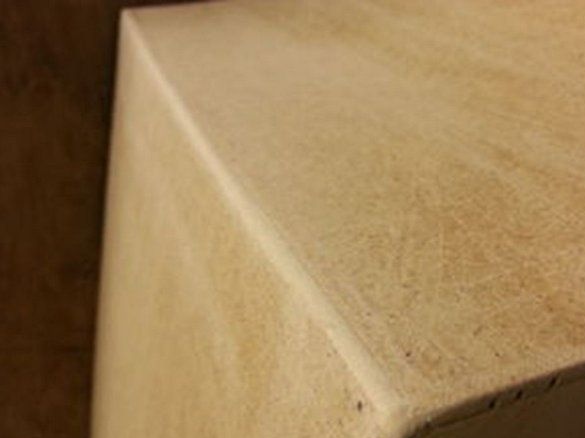
We smooth all surfaces, sharp protruding edges with a grinder.
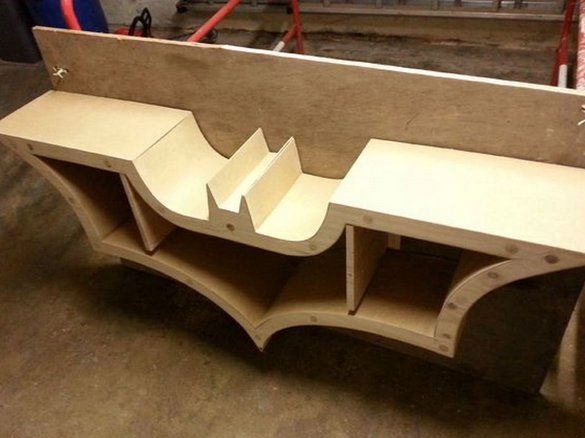
8. The final stage. Shelf decoration
With regard to decor, you can consider three options. Firstly, to leave everything as it is, the shelf itself is interesting in its shapes, and natural wood is always relevant.
Secondly, you can paint the shelf as your heart desires. Antiqued, rust effect, charcoal black (Batman color), and at least colorful flowers - as you like.
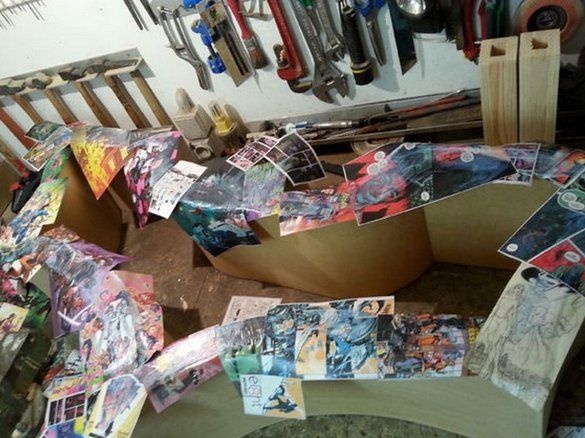
The author of this homemade product decided to show consistency and decorated his creation thematically. He took pages from his favorite comics and decorated them with the outer part of the shelf.
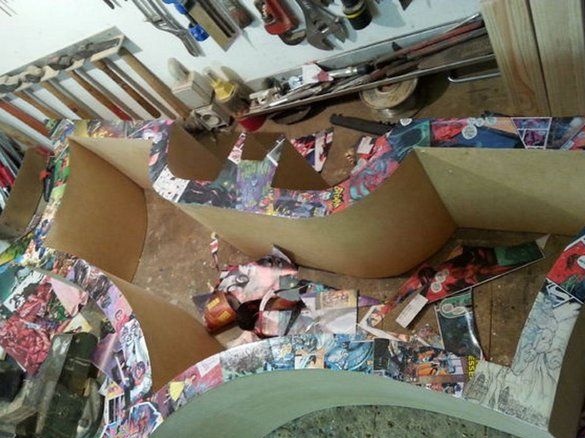
PVA glue was useful for this, although you can use wood glue and wallpaper glue.
Such decor looks good only on the outer edge of the "bat." After the glue has dried, cut off the excess paper with a clerical knife and sand the edges until smooth.
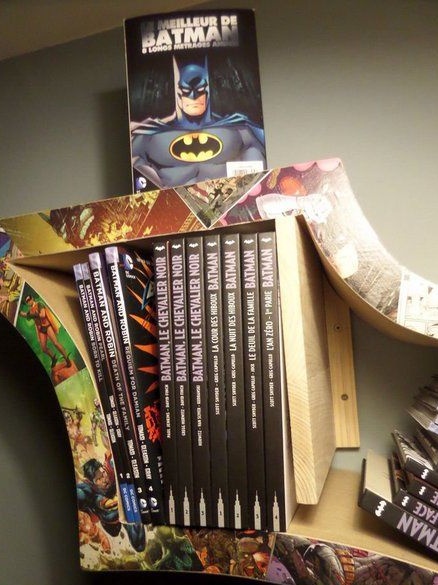
After that, varnish the entire surface of the shelf.
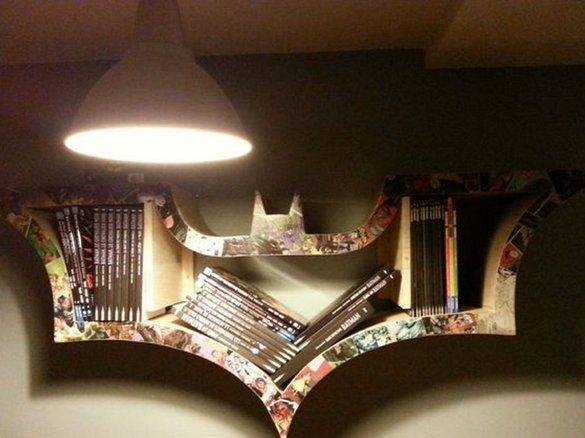
The shelf is ready. It remains only to fix it on the wall and fill it. Now call your friends and show off your unique homemade!
