
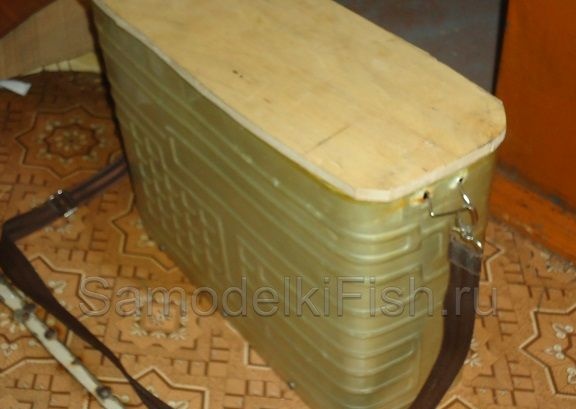
A fishing crate is an essential attribute when fishing in winter. Here, the fisherman puts everything necessary for fishing, and there may also be a thermos with hot tea. In addition, the fishing box can be made with heating, this will be another good bonus.
If the task was to make a fishing box for fishing in the winter, then the freezer from the old refrigerator is best suited for these purposes. Let's consider in more detail how to make such a box.
Tools and materials:
- freezer (suitable from an old Soviet refrigerator);
- self-tapping screws;
- a piece of plywood to create the lid and bottom of the box;
- drill with drills;
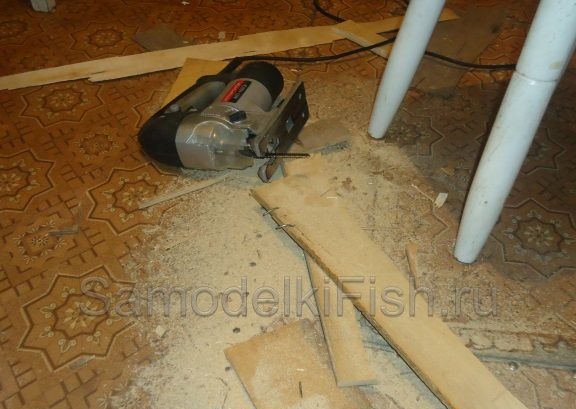
- jigsaw or other suitable cutting tool;
- two hinges for attaching the cover;
- 4 bolts of type M5;
- a piece of steel wire to create pens and a belt.
Manufacturing process
Step 1. Create the bottom of the box
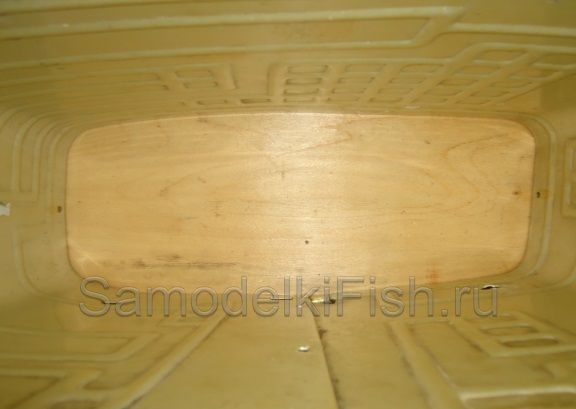
Having pulled the camera out of the freezer, we proceed to create the bottom of the box. For these purposes, you can use various materials, including sheet steel. The author had a piece of plywood at hand, and he decided to make a bottom and a cover out of it.
To create a bottom, you need to put the freezer on plywood and circle it with a pencil. You need to cut the bottom so that it enters the freezer, that is, you need to make it a couple of millimeters smaller than it was drawn.
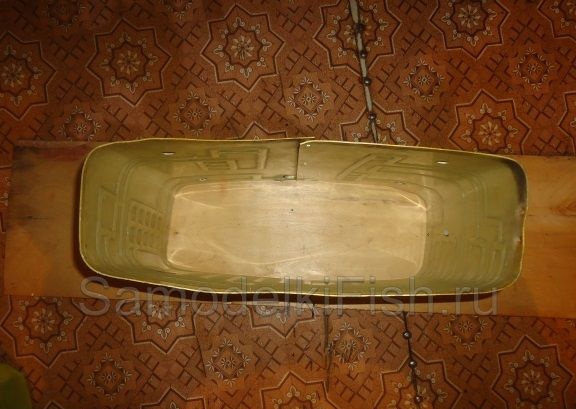
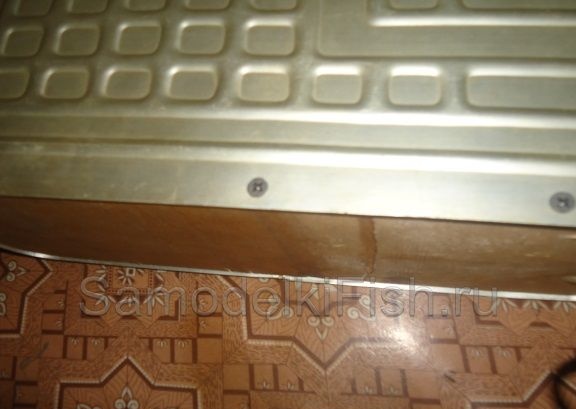
When the bottom is cut out, it is inserted into the chamber and fastened with 6-10 screws. So, in the wide part of the box, 3 screws can be screwed in, and in the narrow part 2.
Surely many people know that plywood has such an unpleasant property as delamination when wet. To prevent this from happening, plywood must be properly varnished on all sides in 2-3 layers. Still need to pay attention to the docking points of the box and plywood. They must be carefully repaired with sealant or hot melt adhesive.
Step 2. Create a drawer lid
The lid is made in exactly the same way as the bottom. The only difference is that the lid should be a couple of millimeters wider than the box. That is, as a result, the lid should lie on the box, and not fall into it.
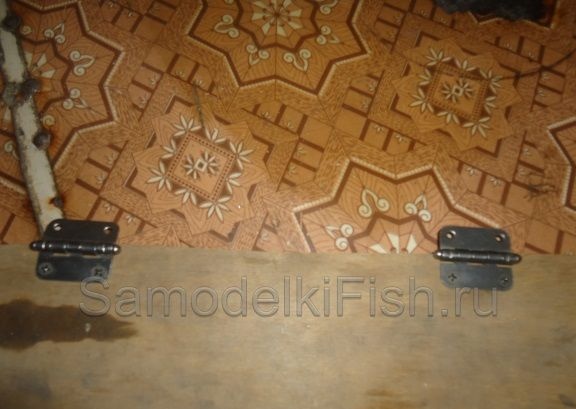
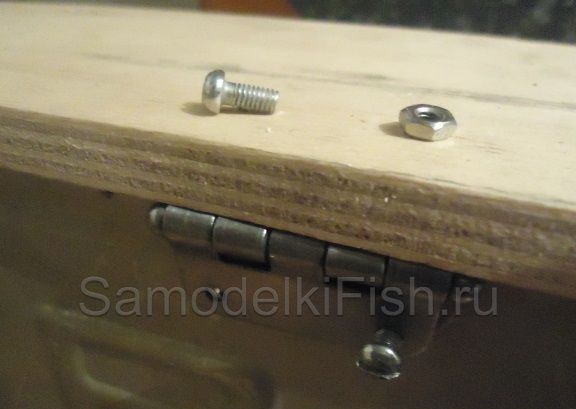
The cover will be mounted using hinges.They are attached to plywood using self-tapping screws. Then it remains to attach the lid to the box. To do this, drill holes in suitable places and fasten the cover with screws and nuts.

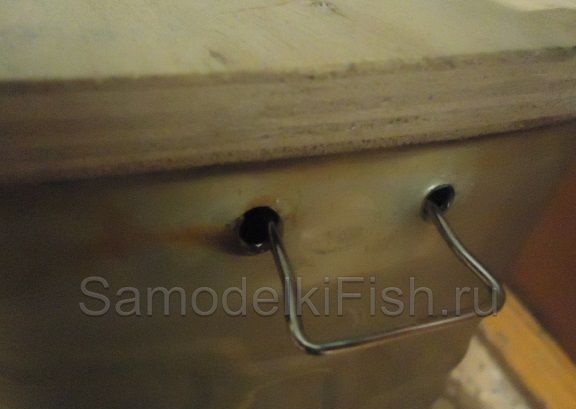
Step 3. Install the belt.
In order to fix the belt, in the box you need to make two holes on each side. Next, you need to make two handles of steel wire and insert them into these holes. That's all, now you can hook the belt to the handles.
Creating a box can be considered complete. Now it remains only to make partitions and shelves in it. Here, already every fisherman decides for himself how best to do it.