Everyone is familiar with garden lights, which are charged by a solar battery during the day, and automatically turn on in the evening. They have a special sensor that calculates the lighting on the street and as soon as evening comes, it turns on the LED. In this review, we offer instructions for manufacturing a similar sensor do it yourself.
Let's start with the video from the author of the idea
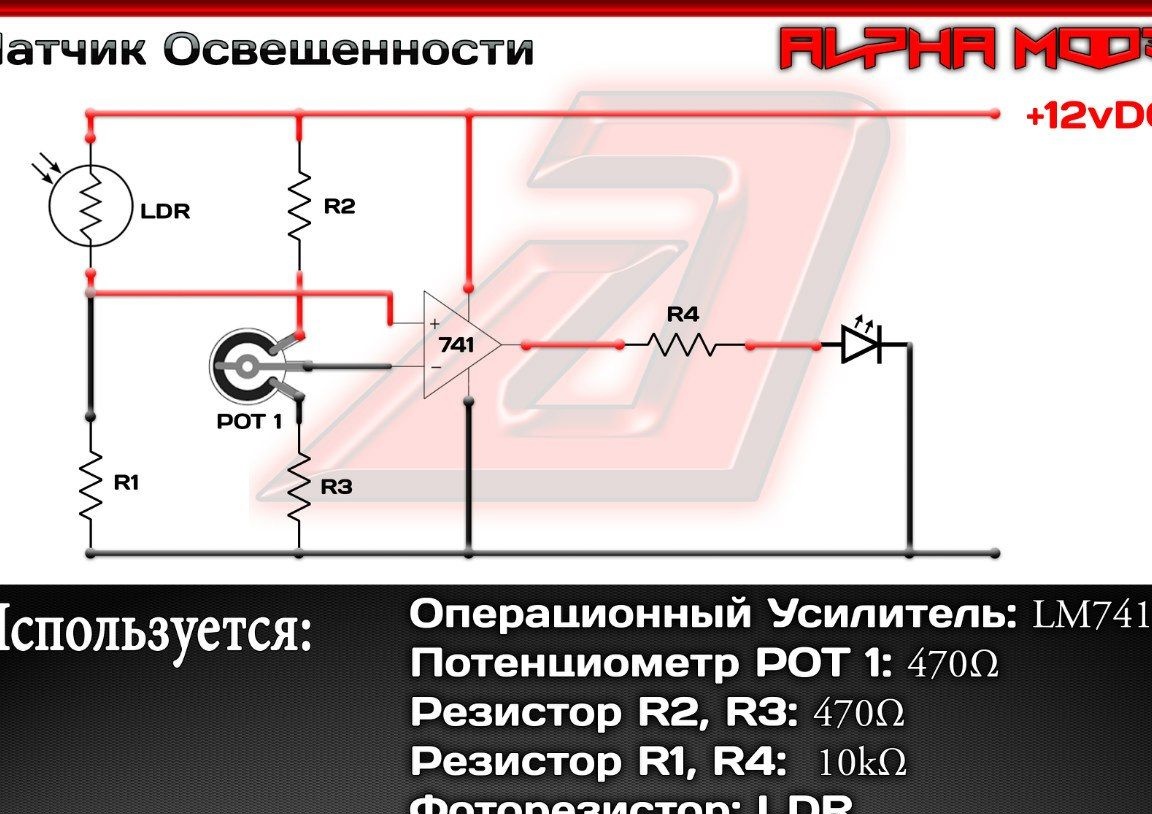
To manufacture the sensor, we need:
- 2 resistors at 470 ohms;
- 2 resistors per 10 ohms;
- photoresistor;
- 470 ohm potentiometer;
- light;
- operational amplifier LM741;
- eight-pin DIP panel;
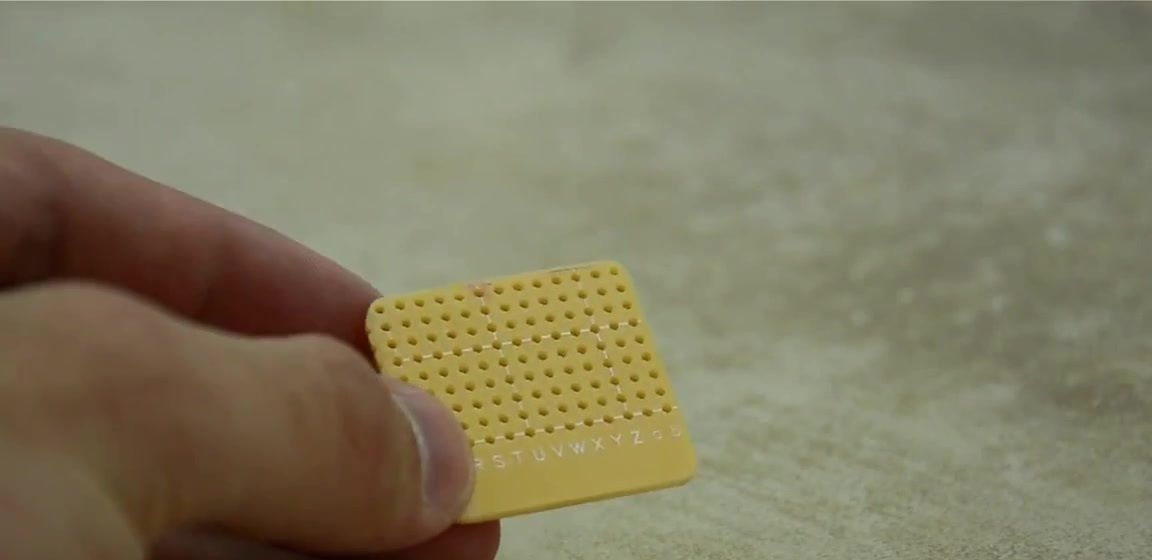
- circuit board.
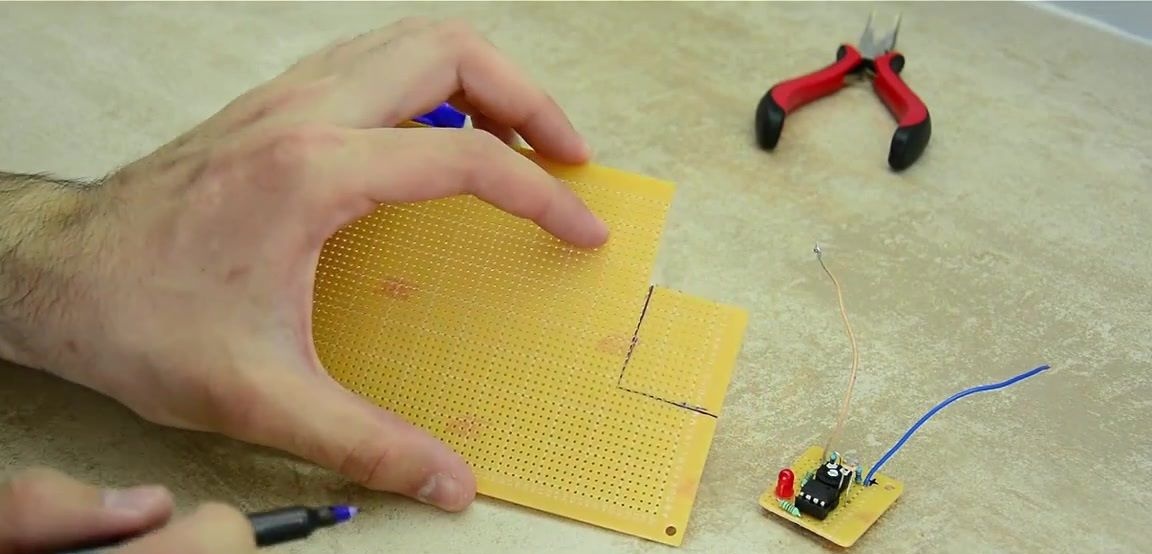
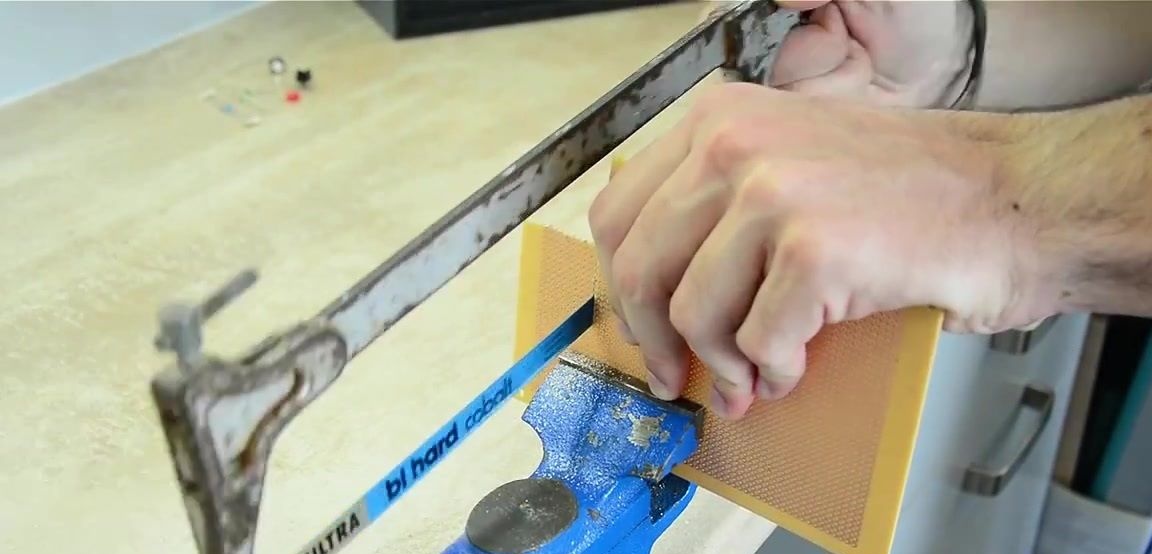
Start with the circuit board. Cut a small piece with a width of 9 points and a length of 13.
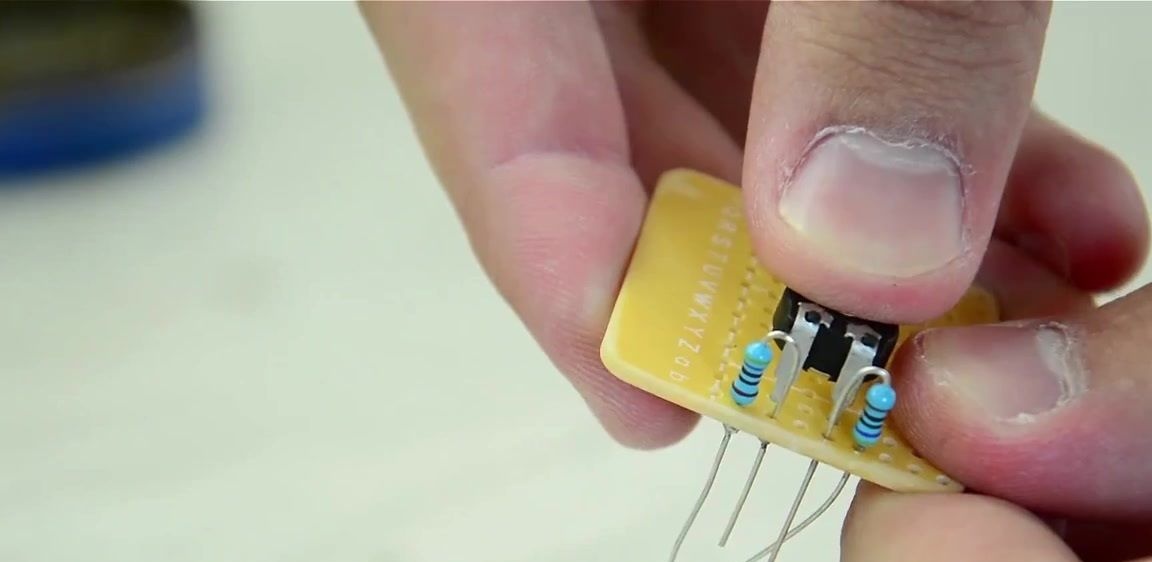
Next, we take resistors to 470 ohms. We insert them into the uppermost strip by dividing 2 and 5.
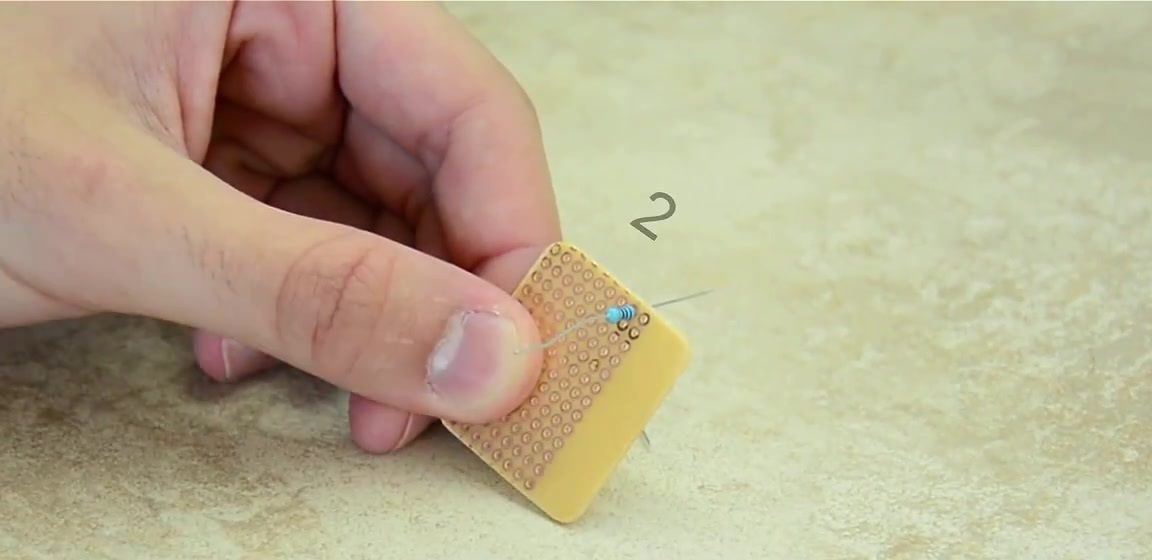
We bend them to each other so that one division remains between them.
Now we take a potentiometer and insert two contacts close to the resistors installed earlier. Solder the contacts.
Next, take the DIP panel. We connect the third pin of the panel to a free contact of the potentiometer.
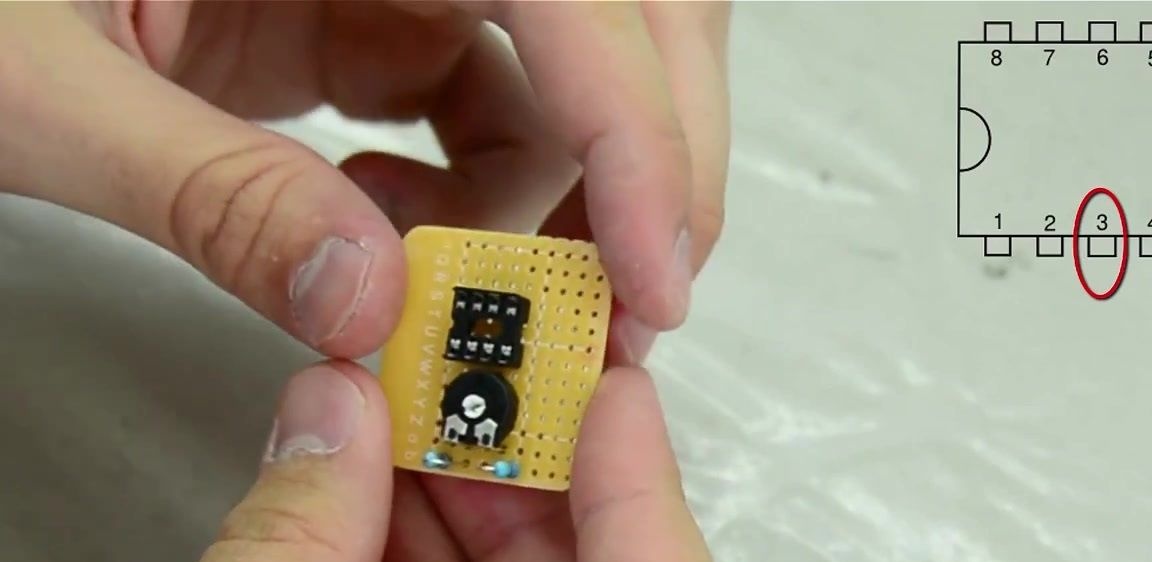
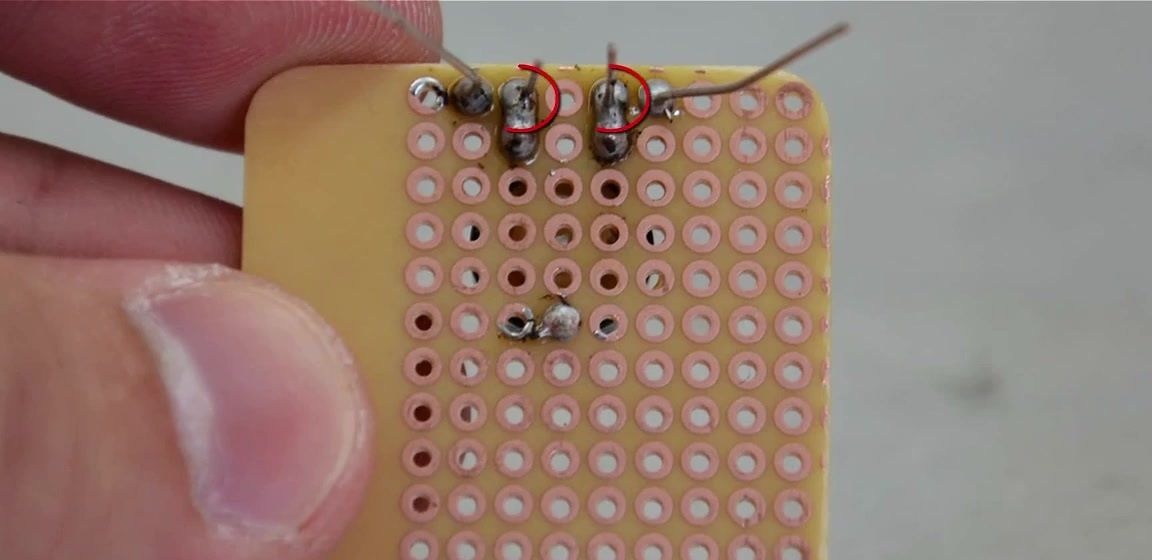
We solder the panel to the board.
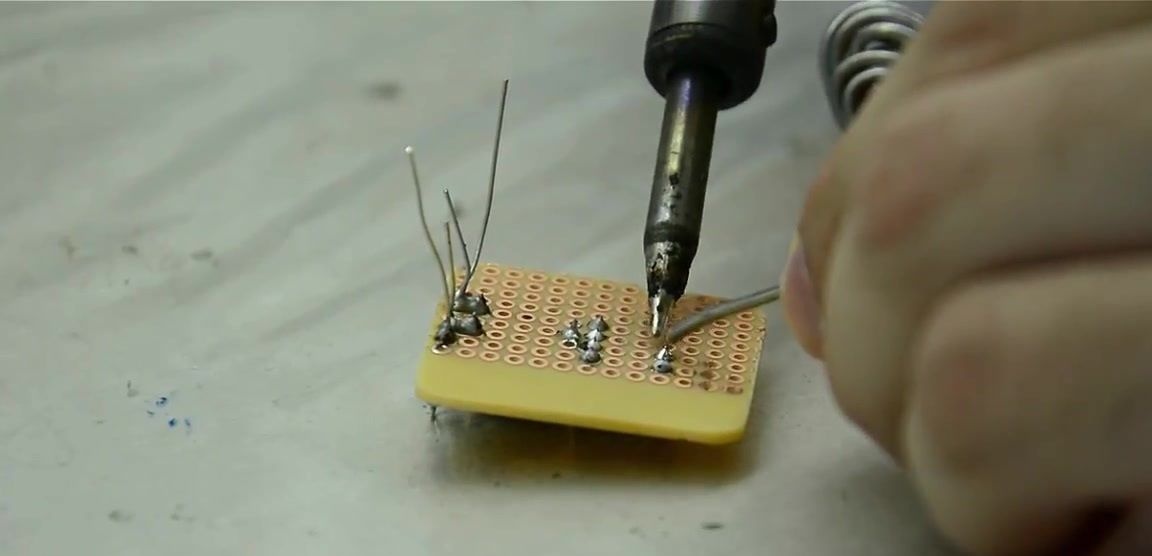
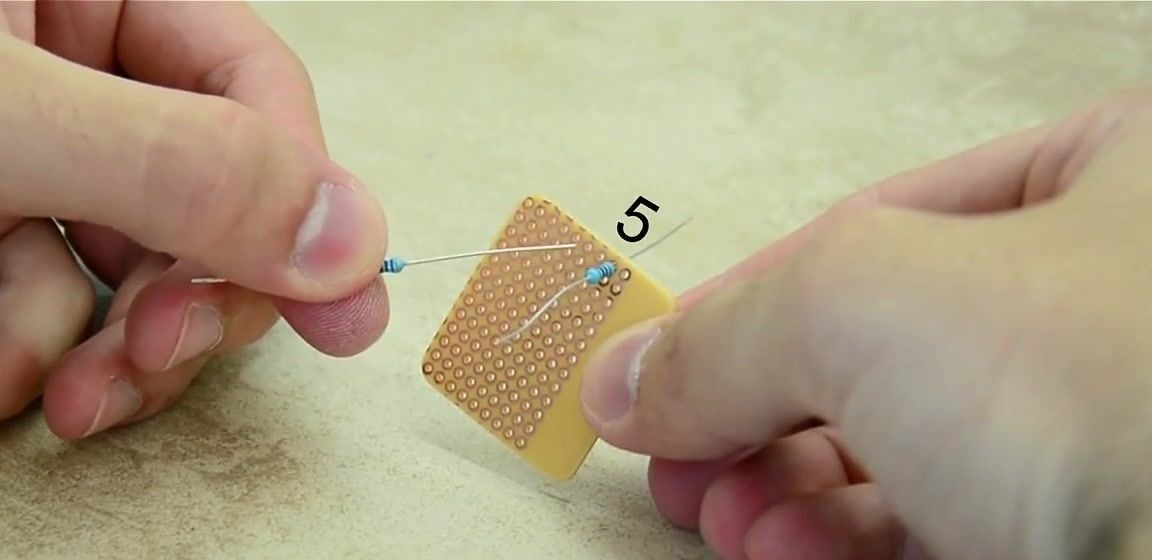
Next, we take a 10 kΩ resistor and a photoresistor. The resistor must be connected to pin number 2 and to the minus. Holding the board with 470 ohm resistors down, the minus will be located on the right side.
We connect a photoresistor to the same pin number 2, which this time should also go to the plus.
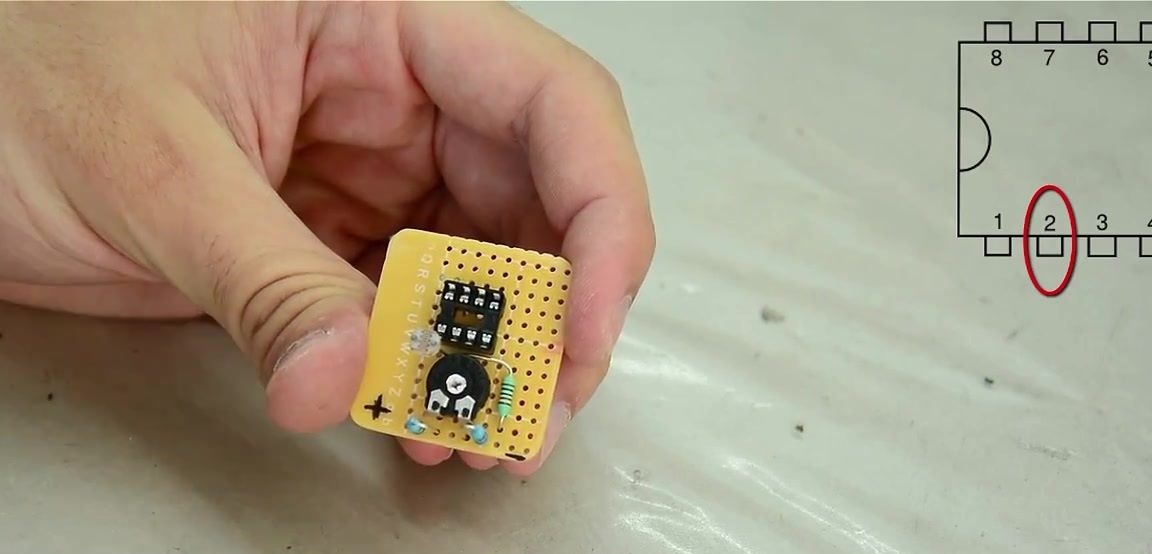
Now connect the fourth pin to minus. And the seventh, or second from above, is a plus.
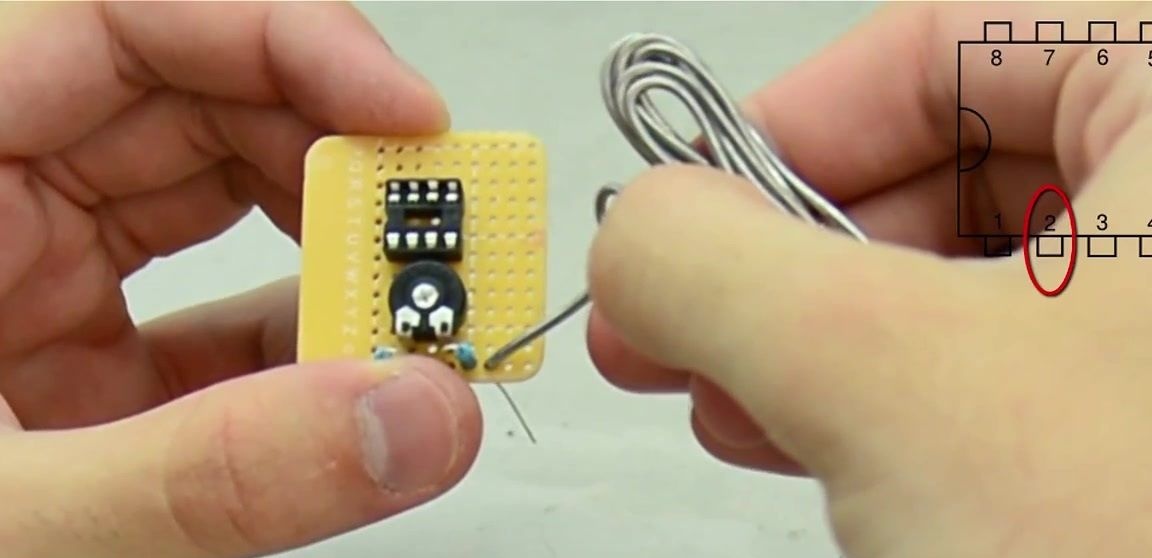
In the end, it remains to connect to the board what will be turned on. In our case, this is an LED bulb that needs to be connected to the sixth pin.
When the assembly is completed, you can insert the LM741, on which, by the way, there is a designating point that you need to insert in the plus direction.
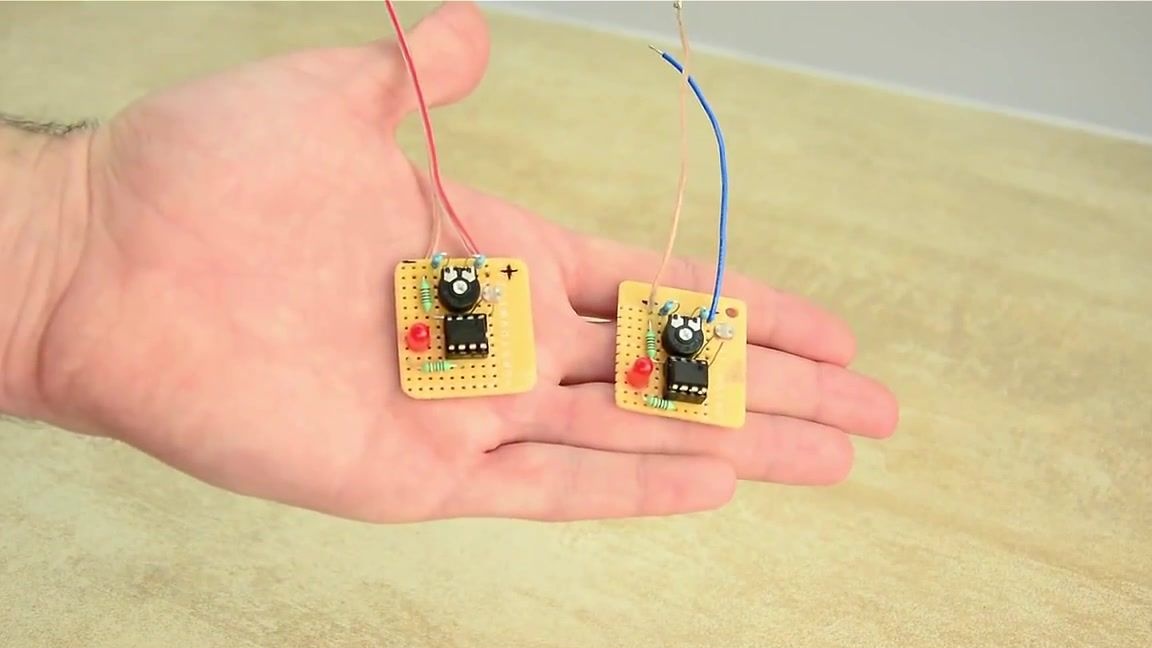
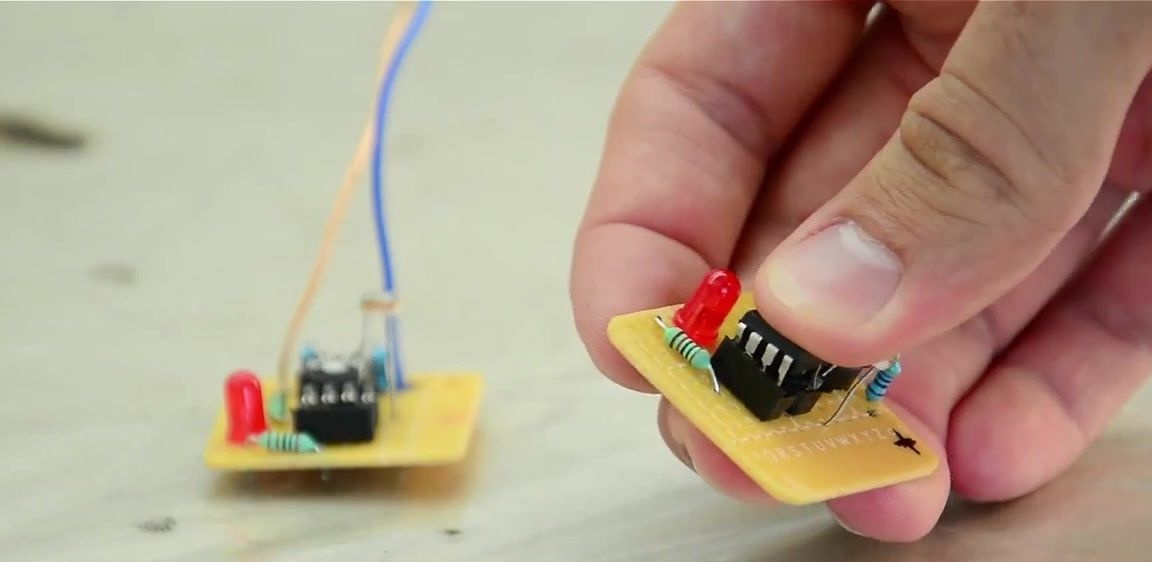
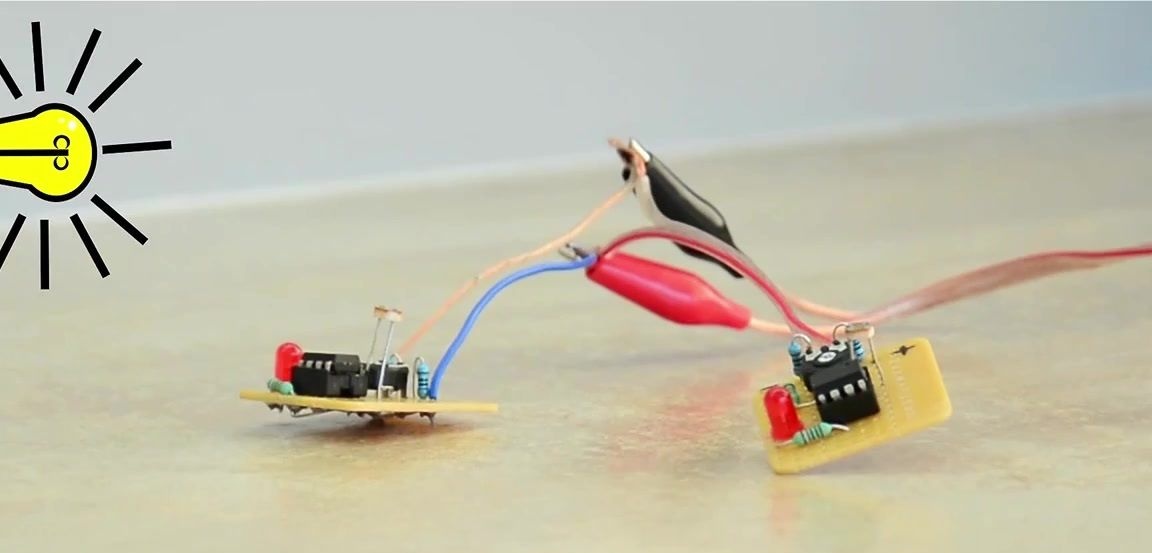
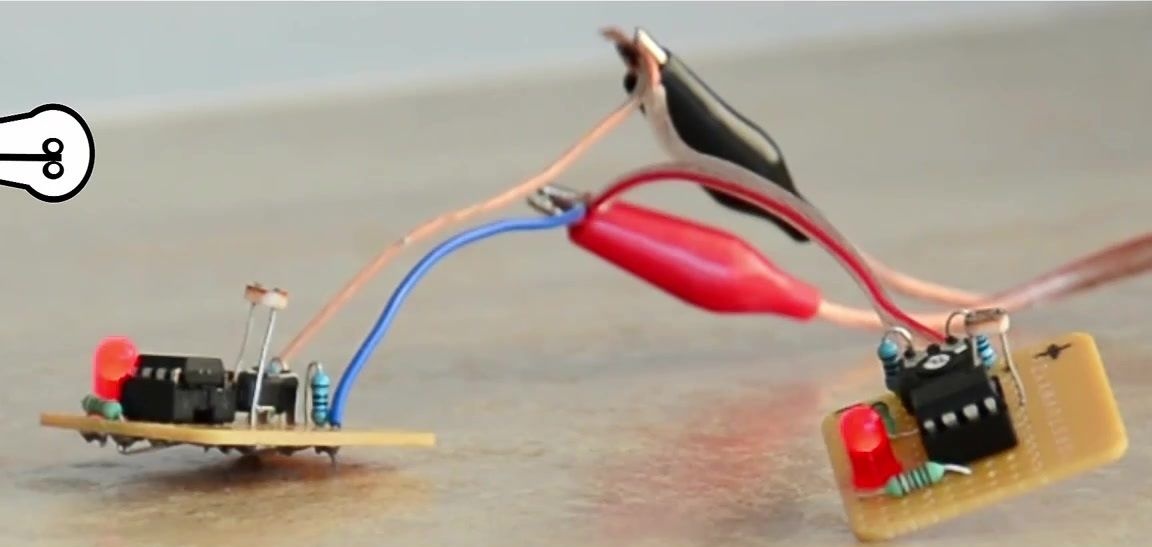
Our sensor is ready. Photoresistor measures illumination. As soon as it falls below a certain level, the LED light comes on. The lighting level can be adjusted using a potentiometer. If you need to turn on something more powerful, then instead of the LED you can put some kind of transistor.
At the end, we present the assembly scheme from the author of the idea.