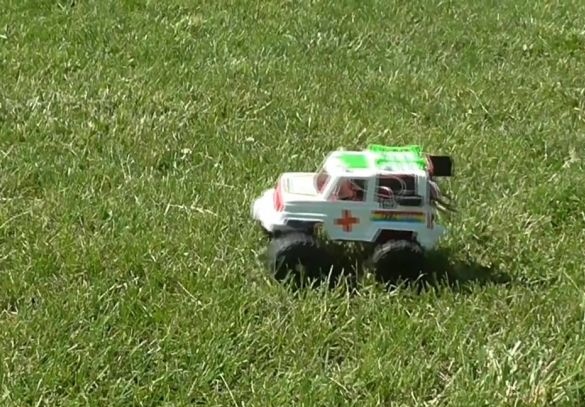
In this material, we suggest learning how to make a radio-controlled machine in home conditions.
We recommend starting the manufacturing process by viewing the author’s video material
To make a machine, we need:
- toy car;
- two cards Arduino Uno;
- two boards of the radio module NRF24;
- 470 mF capacitor, 25 volts;
- engine driver board L298N;
- engine;
- servo drive;
- analog joystick;
- rechargeable batteries;
- crown battery;
- two buttons on and off;
- housing.
The first step is to solder the capacitor to the power leads of the radio module. You also need to first collect the batteries to get a total power of 12 volts to power the motor and the Arduino board.
It is necessary to take care of the rotary system of the car. To do this, cut out the part intended for mounting the front wheels.
Next, we take two corners for of furniture and make two holes in each in the places marked in the figure.
Now you need to make holes with a diameter of 4 mm in the lower part of the machine body and wheels.
Putting it all together. We put a screw into the wheel, and fix it with two nuts.
Next, we put a corner on the same screw and fix it again with nuts.
We put one more screw into the hole on the case, fix it with nuts.
In the end, it remains to put the wheel with the corner on the nut in the machine body and fix it with a couple more nuts. We do the same with the second wheel.
Now you need to connect the servo to the rotary system.
Next, you need to connect the engine to the chassis. To do this, saw the chassis axis in the center. Next, insert both axles into the engine holes and glue with epoxy glue.
The engine also has special mounting holes in which two screws must be inserted to secure the engine to the machine body.
Now you need to fill in the code on the Arduino board. At the end of the article, a code for the receiver will be presented, as well as a code for the transmitter.
Introducing the joystick or transmitter assembly diagram.
Below you can see the receiver assembly diagram.
In the end it remains to collect electronics and the mechanics of a makeshift radio-controlled car.When you turn on, you must first turn on the control panel, and then the machine itself.
As promised, below are links to the codes necessary for programming the board
Code for receiver:
Code for transmitter:
We also provide a short instruction on flashing Arduino Uno boards. The board must be connected to the computer via a USB cable. Next, from the official site () you need to download a free program, install it, install the board drivers and flash it using this program.
If you use a Chinese board, then its driver can be downloaded at this link:

