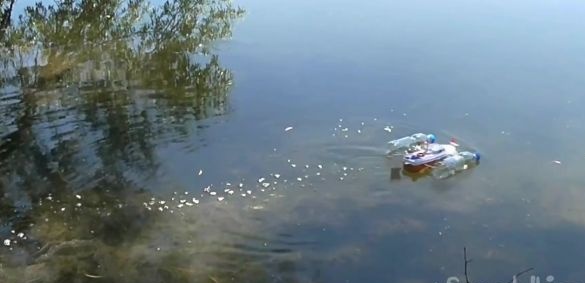
In one of the previous materials, we shared an overview of the manufacturing video radio controlled cars. We continue the theme of improvised radio-controlled toys, presenting another idea in the form of a boat.
Let's start by watching the author’s video
We will need:
- toy boat;
- servo drive;
- engine;
- two boards Arduino Nano;
- two boards of the radio module NRF24L01;
- board L298N;
- two caps from a plastic bottle;
- compartments for finger batteries.
First, you need to make slots for the blades in the covers. We make slots in places where there is no thread.
We make the necessary hole in the center of the covers and in the boat.
We bend the wire as shown in the figure below.
We put the wire through the hole on the lid and fix it with a glue gun.
Next, glue pieces of plastic in the slots, getting the blades.
We do the same with the second cover.
Next, insert the engine into the lower part of the hull of the toy boat, securing with two screws.
In the back of the boat we make a hole to fix the servo.
According to the author of the idea, it is best to screw the propellers to the motor gearbox shaft using cold welding.
We attach the engine driver to the top of the boat with two screws.
We solder the battery boxes in series and attach them so that the load is evenly distributed, since the batteries are quite heavy.
Now you need to program both boards. How to do this, you can find in the material on the manufacture of a radio-controlled machine.
Now you need to assemble the remote control circuit, which is presented below.
We also present the assembly diagram of the electronics on the ship.
The ship that the author uses is narrow. To prevent it from turning over, he screwed two plastic bottles on the sides.
Finally, the rotary system of the boat can be made of a piece of plastic, which must be cut to the shape of the blade. This blade needs to be fixed on the servo drive with a small piece of wire.If you are familiar with the material on the manufacture of cars on the radio, then note that its remote control is not suitable for controlling a boat.
The ship is ready. According to the author, the radius of the remote control is 100 meters.
At the end, we present the codes necessary for flashing the boards:
Receiver Code:
Transmitter Code:

