A shelf in the bathroom is an important functional accessory. It is on it that all kinds of shampoos and shower gels, deodorants and other such necessary hygiene bottles for everyone, shaving accessories are placed. Therefore, such a shelf should be quite roomy and, of course, have an attractive appearance.
Modern building markets offer many different shelves for the bathroom, but good options cost decent money. The author suggests making shelf in the bathroom with your own handusing a minimum of inexpensive starting materials. By the way, they can easily be among home stocks, then generally there will be no need to buy such materials.
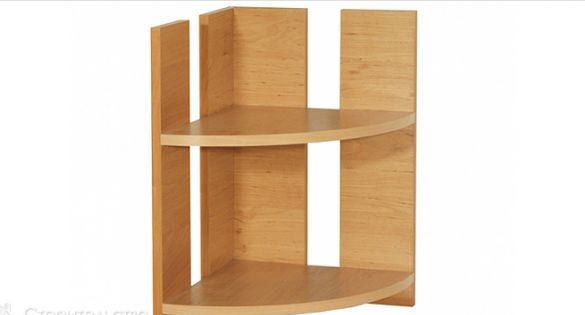
The simplest and best shelf for the bathroom - angular. Its author offers to make. Such a shelf will save space, especially in a small bathroom, visually smooth the corners.
Let's start making shelves for the bathroom. From the materials for this we take:
- Chipboard, MDF boards, wooden boards - to choose from;
- corners, dowels, screws, hinges;
- paint for wood processing or self-adhesive film.
From improvised tools you will need:
- jigsaw and screwdriver (options - saw and screwdriver);
- drill;
- level with a ruler;
- brushes for painting, sandpaper;
- twine, pencil.
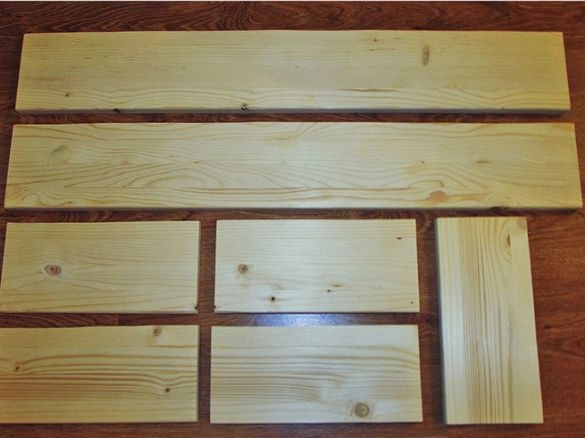
The author chose wooden boards to create the shelves. Wide for tiers and narrow for the frame will be needed. They must first be prepared - dry and plan. Do not worry that the wooden shelf will rot due to the increased humidity of the room. It will be necessary to cover it with a special paint or paste over it with a self-adhesive film. You also do not need to place it in the corner where the bathtub or shower is located. The shelf will have four tiers.
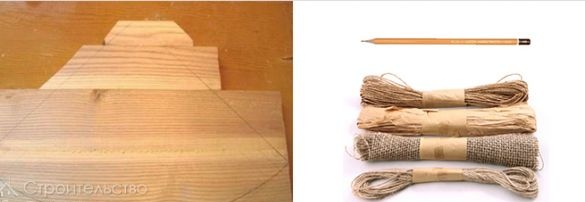
We are marking up the future shelf. The necessary dimensions are defined as follows: you need to measure the depth of the lower part from the corner along the bathroom wall, then multiply the result by two and add five centimeters to trim. Next, you need a simple pencil and twine.We lay the blanks on a flat surface, we fasten one end of the twine to their center, we attach a pencil to the other. We draw a pencil and draw a circle, divide it into 4 identical sectors using a ruler or a level with a ruler.
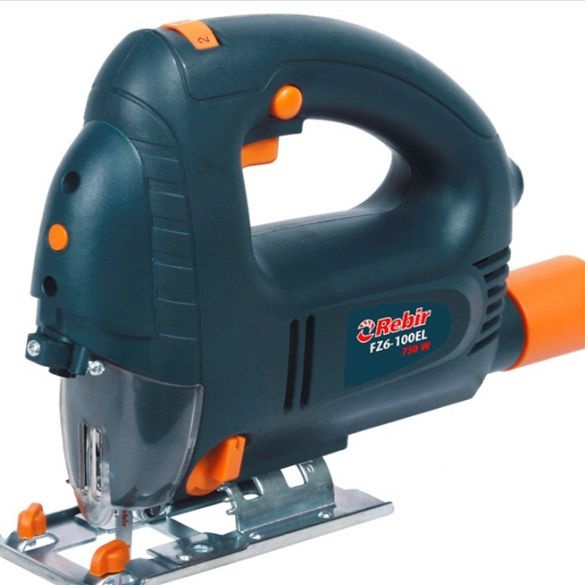
Using an electric jigsaw, we strictly cut out the marked circle along the lines and cut into sectors.
We clean the edges, especially the rounded ones, using sandpaper very carefully. Now you need four rectangular boards for the shelf frame. Three of them are the same, one is a little wider, with a gap the size of the thickness of the board. The length of the boards is determined by ourselves. It will depend on the distance between the four shelves you need. The width is small. Two boards - with and without a gap - are folded perpendicular to each other. This is a corner mount. The remaining two will connect the tiers of the bathroom shelves on the sides.
We drill holes for screws. We adjust the corners of the structure with the help of a level, assemble it, screw the screws. For each tier, corners are screwed for reliability. The assembled shelf must be painted with moisture-resistant paint, allowed to dry well, or glued with "self-adhesive", as the author did. Here's a snippet:
It remains to fasten the hinges to the product. We drill holes in the wall and hammer the dowels. We hang a shelf in the corner of the bathroom - done! We arrange cleaning supplies and use with pleasure!


