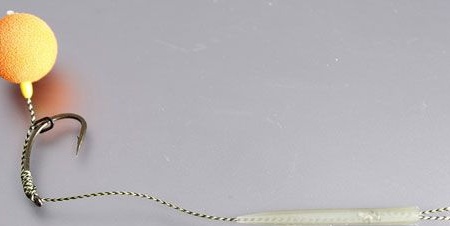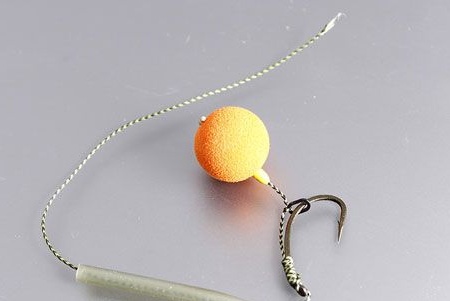
A leash on carp from a soft braid is an excellent tool for a muddy pond. With the help of the kickback technology, it’s not difficult to notice the ingenious carp and catch it on a hook. In this, at first glance, a simple leash, there are many small details that can easily be made from an ordinary fisherman, a real carp.
A plastic leash is prone to severe tangling, as well as to twisting of the hair as a whole. As a result, a bite that did not materialize itself or an annoying gathering. Twisting and tangling is the result of the leash being soft. In order to avoid twisting in the future, during its manufacture, it is necessary to observe some nuances.
So, we begin to manufacture a leash on carp:
We put a float stopper on the braid and fix the boilie on the other side.
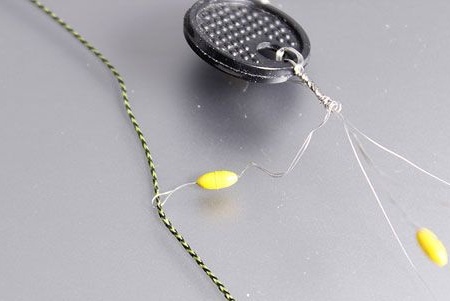
The locks, which are sold in various stores, are initially dressed on wire loops. To transfer the lock to the braid, you just need to thread it into the wire loop.
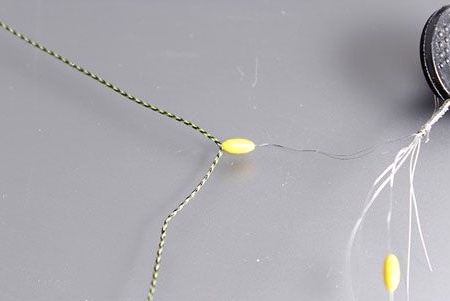
Now it is necessary to advance the silicone lock to the braid.
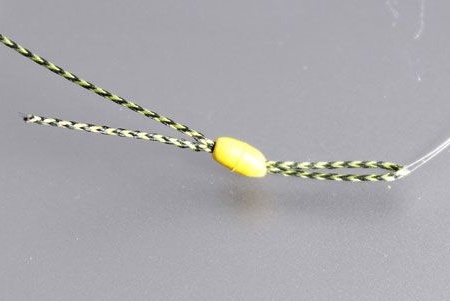
After transferring the lock to the loop from the braid.
Next, you will need to release the wire loop, as a result of which the locks will be on the braid.
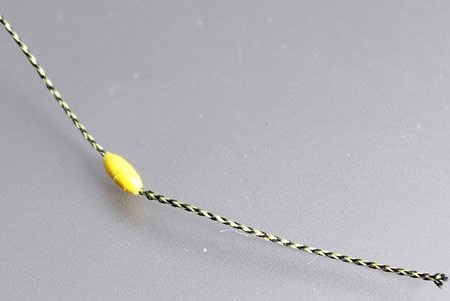
Now, you need to tie the lock loop, for the lock, which will fix the boilie.
The loop must be knitted at the end of the braid.
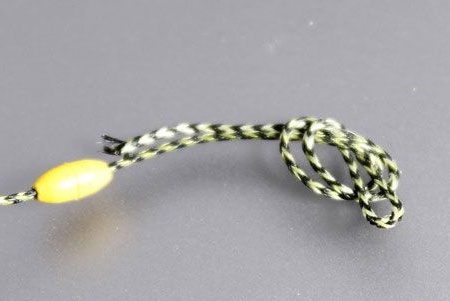
It should turn out like in the photo.
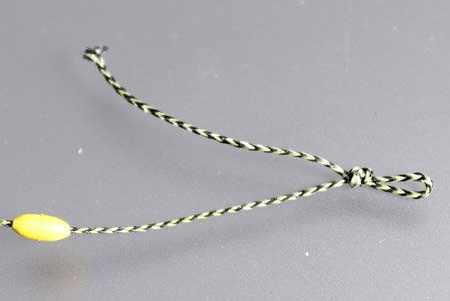
Next, you need to cut off the extra lead material.
It will turn out like this:
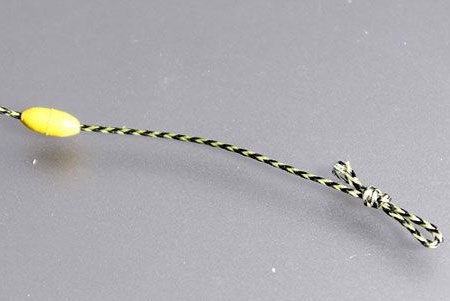
The hair to be clothed on.
Now you need to move the silicone lock approximately to the size of the boil
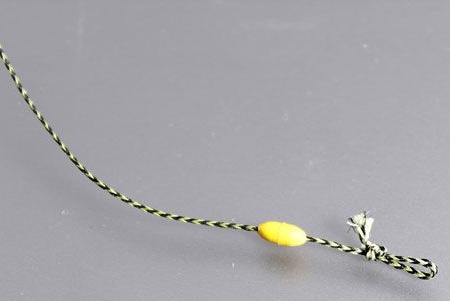
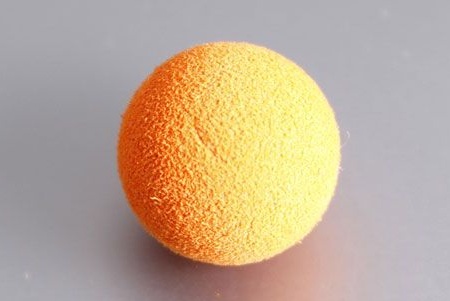
So, it's time to take the boil:
Using a needle, we put on a boyle on the hair.
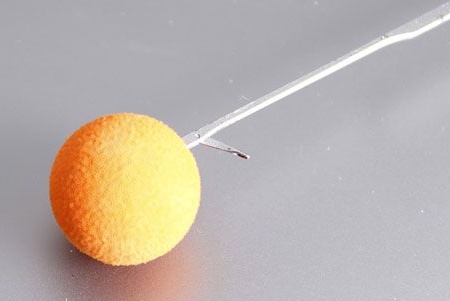
The leash is made according to the size of the boil until the needle comes out of it. This is done so that you can grab the loop.
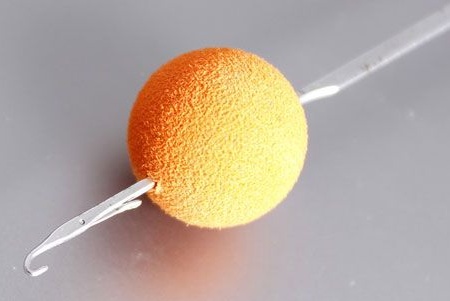
Next, you need to hook the finished loop.
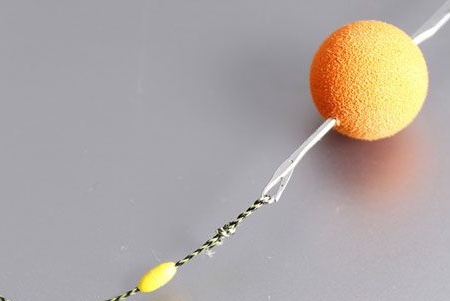
Closing the hook, you need to bring the loop to the boilie.
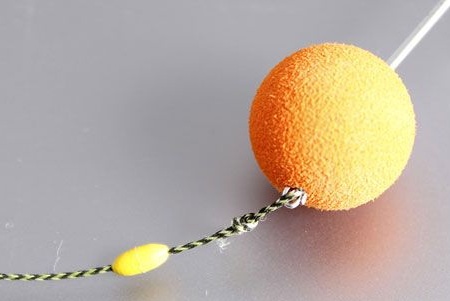
Now you need to stretch the lead material through the boil.
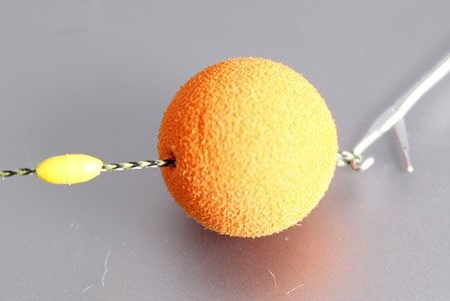
Until the loop comes out on the other side of the boil.
It will turn out like this:
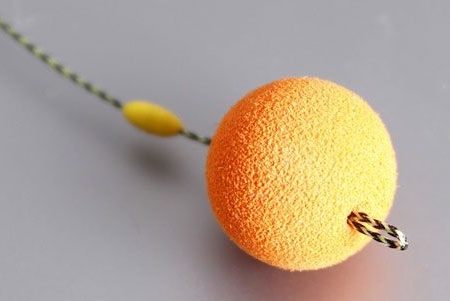
Now we put a lock on the loop for the boil.
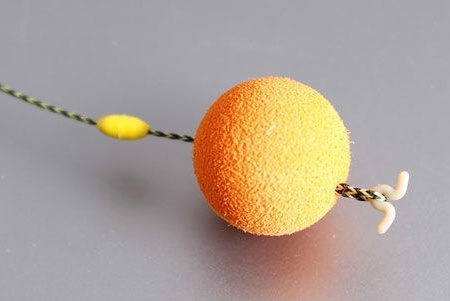
Then you need to carefully pull on the free end of the braid to fix everything.
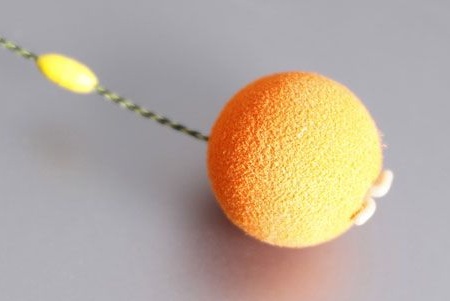
After we move the locks to the boilie and fix it well.
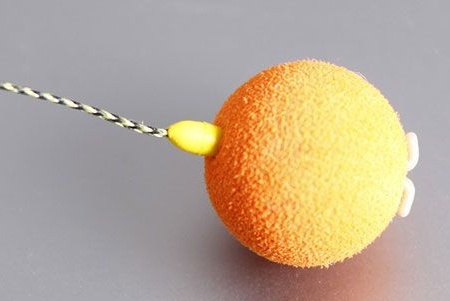
Now you need to take everyone’s favorite hook and micro ring.
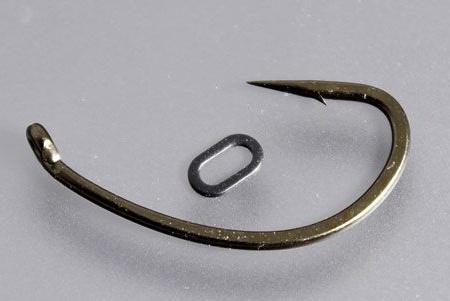
Put the ring on the hook.
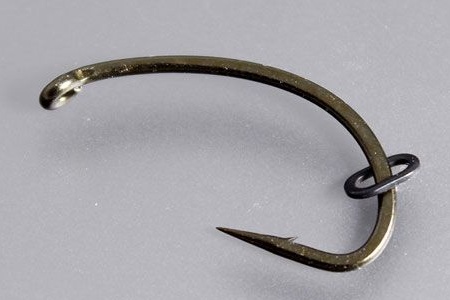
Now you need to take the lead material with hair already ready and boilie.Then hold the free end of the wicker material into the ringlet (from the tip to the loop of the hook itself).
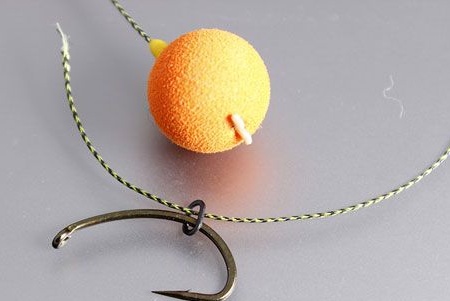
You can see larger in the photo:
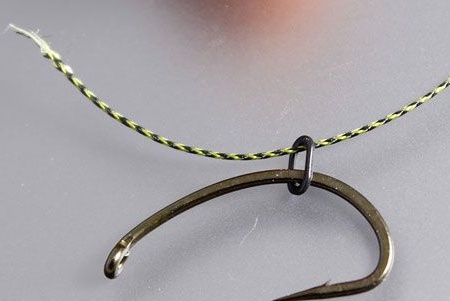
Next, you need to move the boil about the working hair length.
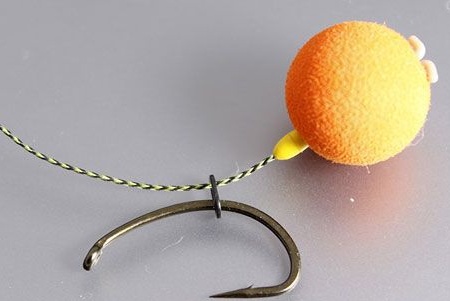
This must be done until the distance between the boilie and the hook curve is approximately five millimeters.
To fix the braid on a micro ring, you need to tie a regular knot in the chosen place.
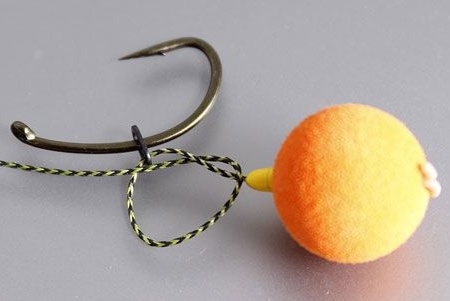
The knot must be properly tightened.
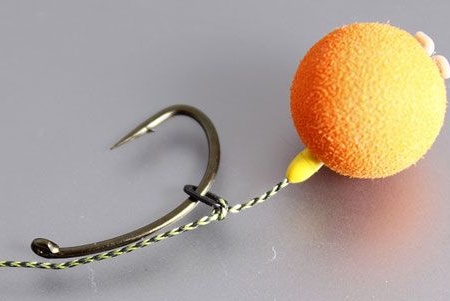
To set the stroke length of a micro-ring, it is necessary to place it opposite the hook beard and tie a knotless knot.
Pass the braid into the hook ring, towards the tip. The photo clearly shows how this is done:
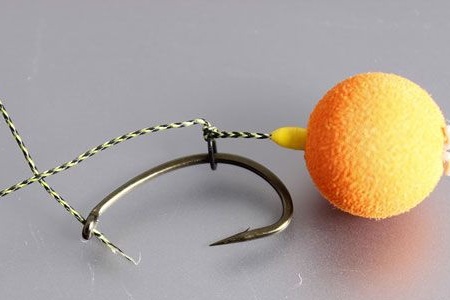
Now you need to tie a knotless knot so that its first half-turn is necessarily on the bend of the wire. When the next half-turn is made, it will have to be already on the side of the ring with the end of the wire. By doing such a simple trick here, you can save yourself from quick grinding. Thus, such a leash for carp will be very reliable.
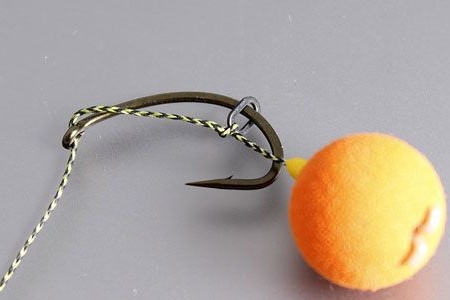
The photo shows how to do this:
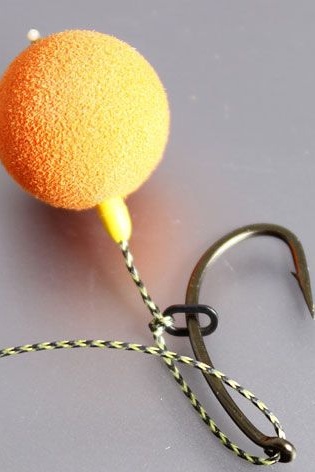
Now it's time for wrapping the hook along with the braid. You need to do this 8-10 times. After again, you need to thread the free end of the braid to the tip of the hook.
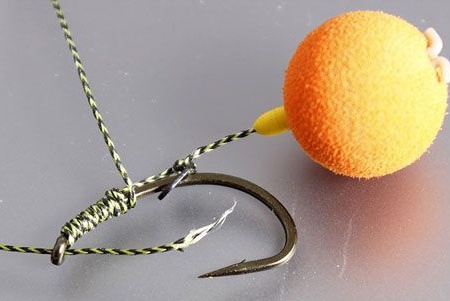
Tighten the knot:
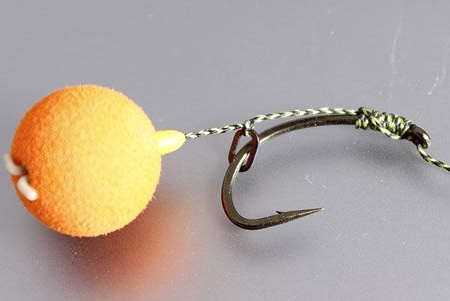
And we get the finished hair snap.
You only need to check the distance between the boilie and the hook bend
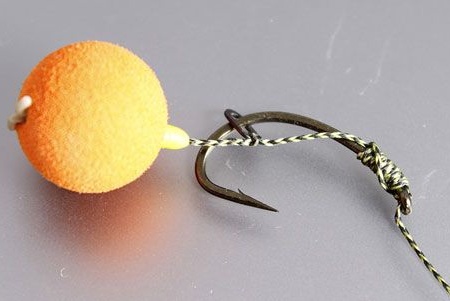
Now you need to check all possible options in which the ring could slip through the top of the hook bend. As Murphy’s law states: if bad things should happen, it will happen anyway. It is understood that if the ring during the oscillation can pass the bend of this hook, then the leash will be at the bottom. If the fish does not catch when biting, then this is just a matter of time. Thus, the leash on the carp, constantly need to be carefully checked and, if necessary, to bandage.
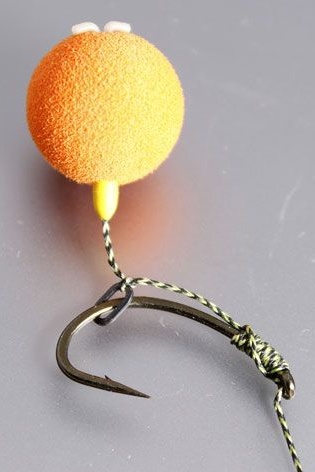
In this photo you can carefully consider that even in the worst of circumstances, this micro-ring will not pass the bend of such a hook.
Making a leash on carp, you can see that in many aspects jewelry work is required. For example, tightening the nodes or setting the correct position of the micro ring. It is unlikely that this will succeed the first time. Having retreated just a millimeter, you can turn the perfect leash for carp into a useless product. So you need to be very careful.
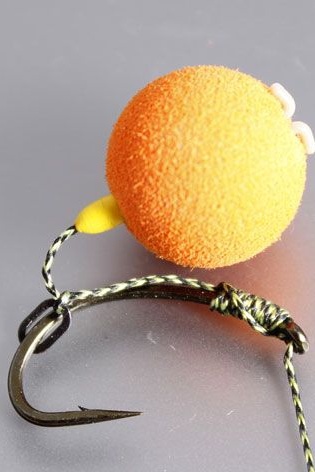
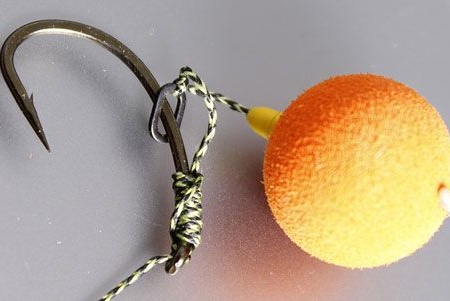
The leash on the carp should end with a loop, which will be closed by a silicone cone. The cone must be even and elastic. Also, it should be neutral to buoyancy or sinking.
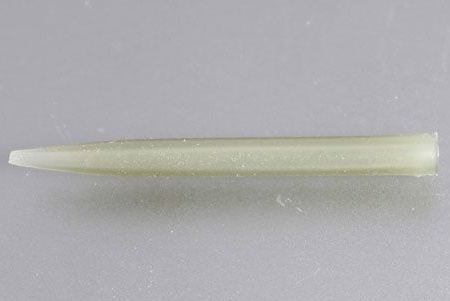
Through the cone you need to pass the needle for the boil.
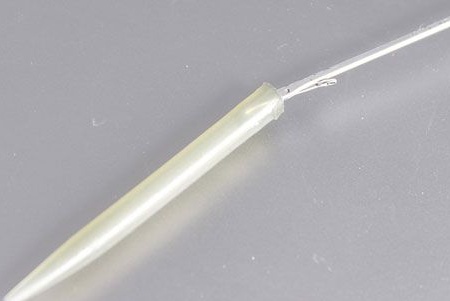
Until the needle comes out through the thin part of the cone.
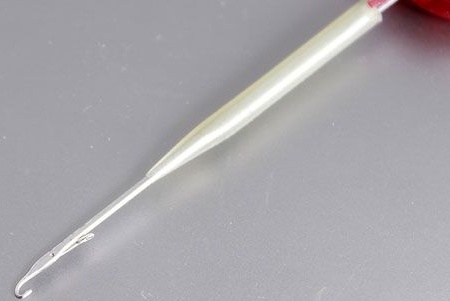
Now you need to grab the braid with a needle.
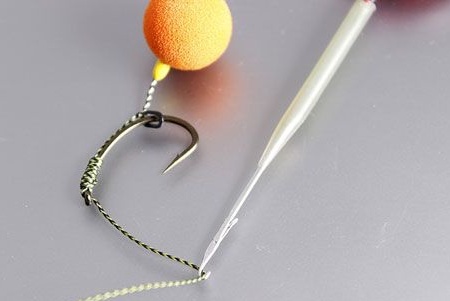
Next, you need to close the needle and carefully pass the braid through the silicone cone.
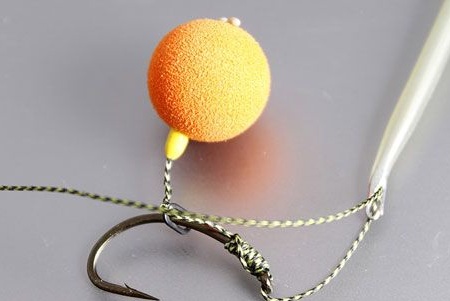
We carry out until the needle comes out of the cone.
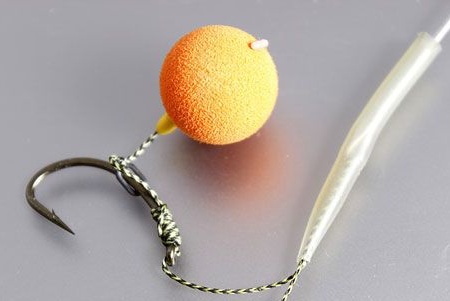
And also before the formation of the loop of the braid.
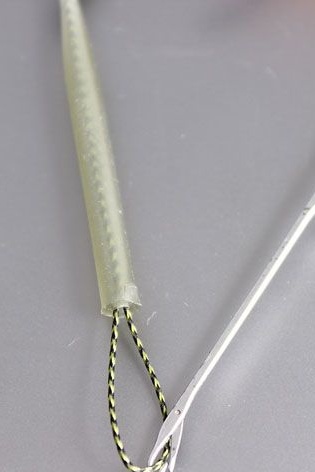
It should turn out like this:
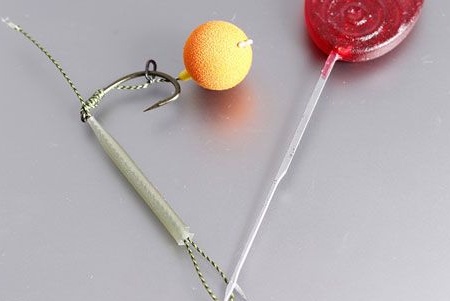
Now you need to stretch the end of the braid through the cone.

After you need to tie a loop.
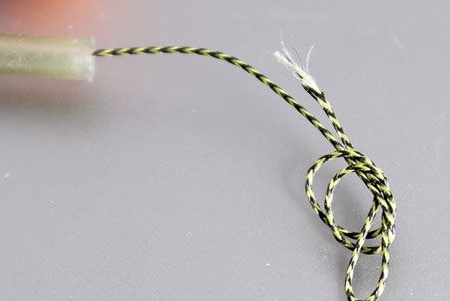
The loop is knitted with the help of the "eight" knot.
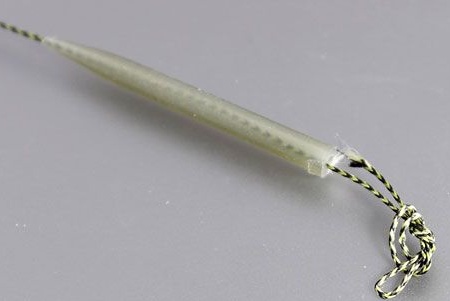
Then you need to tie a knot.
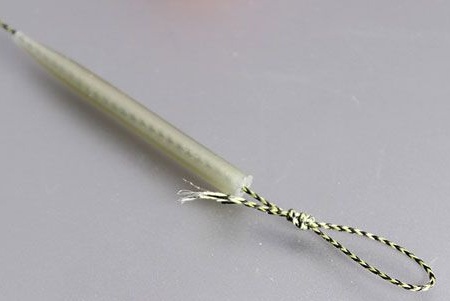
The tail of the braid, which remains superfluous, needs to be cut off.
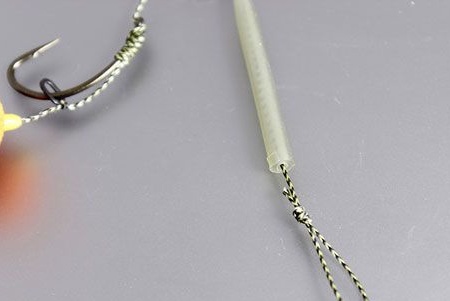
It looks like a ready-made leash:
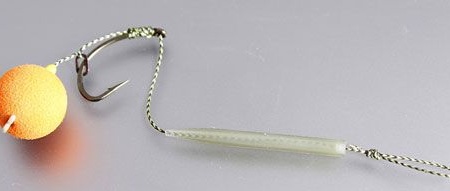
Ready-made equipment is well suited for silt pond and feeding fish.
