The modern domestic and foreign market offers a huge selection of very different of furniture for the home, including the nursery. Unfortunately, cheap furniture does not always fully meet the high requirements of parents, and not everyone can afford to buy better, but at the same time expensive models.
Therefore, if you want to give your child a practical gift and at the same time significantly save money, a great solution would be to make a comfortable baby chair for feeding your baby with your own hands.
The main thing is that in the process of manufacturing a high chair you must not forget that the main difference between furniture for children and the rest is safety and reliability. The highchair should not, under any circumstances, have sharp or protruding corners, and the surface of the structure should be completely smooth and even. Also, various cracks or cracks are unacceptable on children's furniture.
We offer everyone a small, but interesting master class on making a wooden highchair for own feeding.
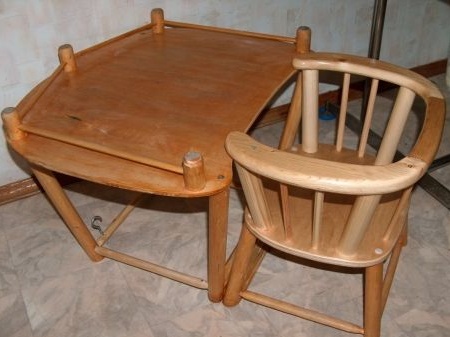
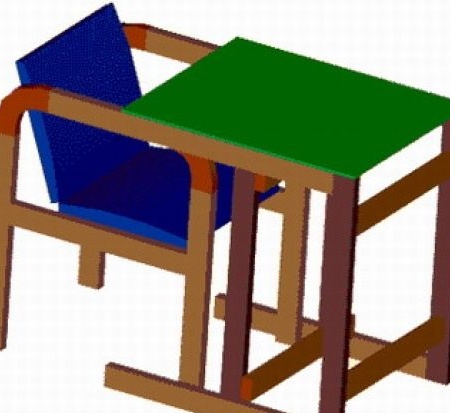
It consists of two elements: a chair and a table.
For children from 0 to 2 years, the table is used in assembled condition (see photo).
And for older children, a table and a chair are placed separately, which is very convenient. You will not need to overpay, and then buy a separate children's furniture set (see photo).
To make such a chair we will need wooden beams, the cross section of which is 400x200 mm, and a board 20 mm thick. Fiberboard sheet with a size of 2000X2100 mm. From the timber we will cut out all the details necessary for the chair, from the board we will make rounded parts for the chair handles. From the fiberboard sheet we will produce the necessary seat and backrest for our feeding table. often for tables most often used is acquired plywood, wood or laminated particleboard. If you don’t have the opportunity to buy new material, then you can probably get by with the old one, most importantly, first process it to eliminate all the bumps and flaws.
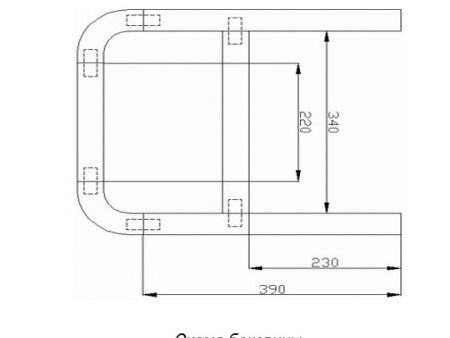
For a stool we need:
legs - length 390 mm - 4 pieces
rounded parts - 4 pieces
crossbars (lower) of 340 mm - 2 pieces
crossbars (upper) of 220 mm - 2 pieces
300 mm cross-pieces - 3 pieces
small countertop - 1 piece
To create a table you will need:
legs, 500 mm each - 4 pieces
410 mm strips - 4 pieces
cross members, 340 mm each - 4 pieces
countertop - 380x450 mm - 1 piece
We turn to the manufacture of parts
1. We cut the bars in half, and cut out the details of the length we need.
2. All elements must be treated with sandpaper.
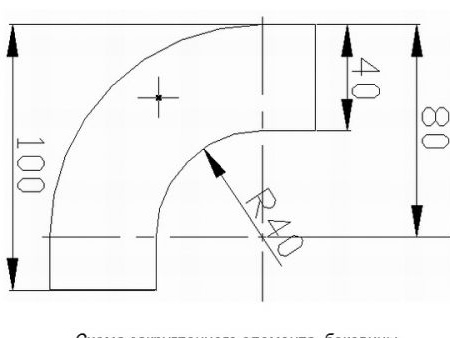
3. The rounded parts are alternately cut from the board according to the existing scheme (photo below). Transfer the markings to a wooden surface. Redraw the scheme so that the wood fibers are perpendicular to the corner of the bend, only then the details will be very strong and reliable.
4. Connect the parts with furniture glue and dowels.
5. Cut the wooden elements of the connection (or dowels) with a size of 8X20X50 mm. Under the dowels in the details, make holes 30-40 mm in size.
Putting the side parts of the baby chair
The side of the wooden chair consists of 2 roundings, 2 legs, and upper and lower rungs. Pre-glue prepared dowels and holes with glue. Gather the legs and lower bar of our chair. Make sure that the angles are exactly 90 degrees.
We proceed to the assembly of the upper crossbar and 2 necessary roundings. When the glue is completely taken, connect all the elements together, pulling them together with a clamp, and leave to dry for a day. The second sidewall of our table is assembled in exactly the same way. Process finished sidewalls with sandpaper to a perfectly smooth surface.
Backrest and seat assembly
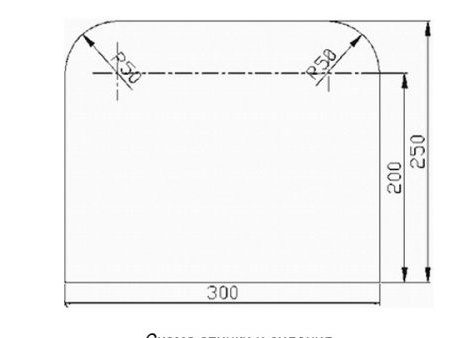
We will need 6 identical parts from fiberboard 300X250 mm in size. Two corners need to be rounded so that the required radius of curvature is 50 mm. Sand the ends of the parts carefully. Glue 3 identical parts together and place them under a press or something heavy. Between the back and seat, secure with a corner and screws.
Putting our chair together
Connect the prepared sidewalls with the help of strips 300 m long. First, mark with pencils exactly those places where the holes for dowels will be to you.
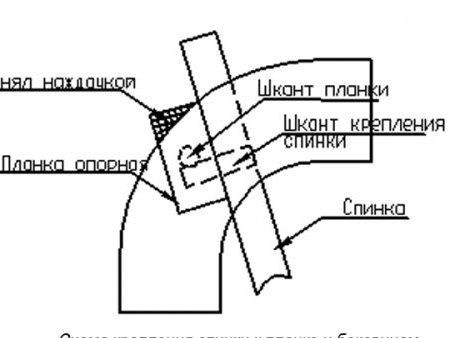
In the slats for the seat, make 4 holes. And in the plank itself, which supports the back of the seat, respectively, there are also 4 (of which 2 in the ends for fastening to the side wall and 2 in the plank itself for fixing the wooden back). On the side parts, make 2 holes for the bar and the retaining back, and 2 holes to which the tabletop itself is attached.
First, pre-assemble the entire structure, check whether everything is done correctly, and only then put the parts on the glue. After complete drying, sand the entire product and varnish.
Putting a table together
Connect the legs with the strips at the top and bottom (the length of which is 410 mm). Between them, fix the sidewalls with crossbars (length - 340 mm each). Fix the countertop from one of the sides of the structure.
The sequence of actions is identical. Try and plan a place for the joints, cut holes and dowels, completely assemble the structure, and check all the corners and joints, then grease with glue and assemble the sidewalls, fix them with the cross members to each other, set the countertop. Carefully process the finished structure with sandpaper, and then open with varnish.
To sit your child was easy and comfortable, cover the seat and back with a cloth or leatherette, put foam on the bottom and secure it with a stapler.
Everything, the chair is ready! On it you can not only eat delicious meals prepared by your mother, but also have fun playing and playing!
We also bring to your attention a short video, thanks to which you can familiarize yourself in more detail with the manufacture of a chair for your baby.
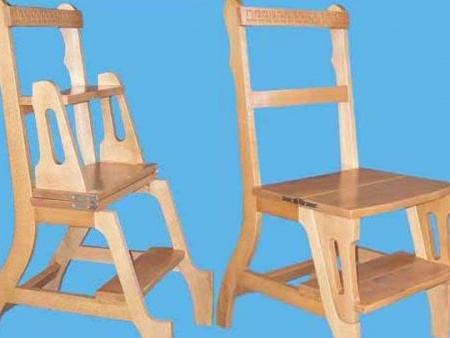
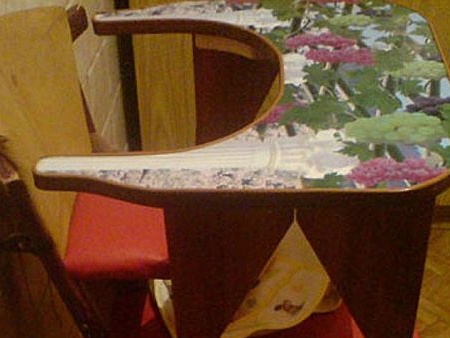
Check out a few more options that you can do with your own hands.