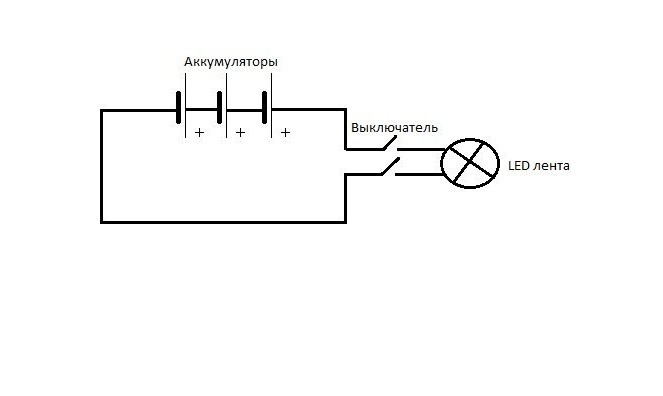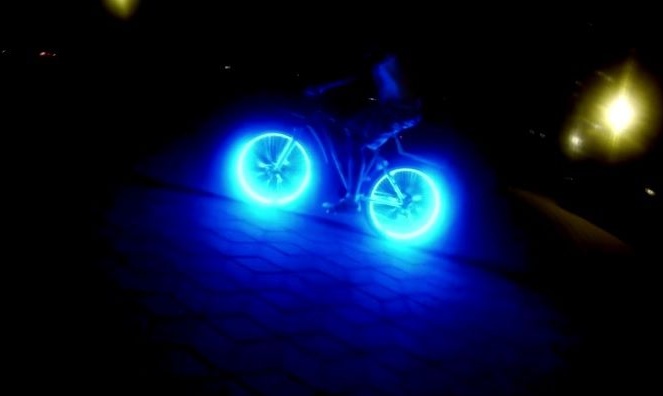
To make the backlight you will need:
- LED Strip Light
- batteries
- push button switch
- wires
- double-sided tape or thermal gun
- electrical tape
- soldering iron and soldering accessories (solder, rosin)
- scissors or knife
It is worth buying a LED tape sealed in silicone that will protect your backlight with little rainfall. When choosing an LED strip, it is better to choose a strip whose section length is 2.5 centimeters, not 5. This is because the distance between the spokes is 4.5 centimeters. If you still have an LED strip with a section equal to 5, you will have to cut it.
Batteries were taken at 3.7V in the amount of 3 pieces. Enough for about 30 minutes. Charging is carried out using a universal charger.
A push button switch can be pulled out of a faulty flashlight, desk lamp, or purchased.
It is convenient to use twisted pair wires as wires. They have one core and are not very thick.
1. Prepare the LED strip: cut it into sections and tear the contacts, if the sections do not fit between the spokes, cut them. Also, when using a tape with a section equal to 5 centimeters, it is necessary to isolate the spoke at the rim using electrical tape. You will need 62 strips of tape, or 31 if you will not install LEDs in each gap.
2. Using a heat gun or double-sided tape, fasten the prepared LED strip to the wheel rim. The rim surface should be degreased first. Be careful when installing it is necessary to observe the polarity.
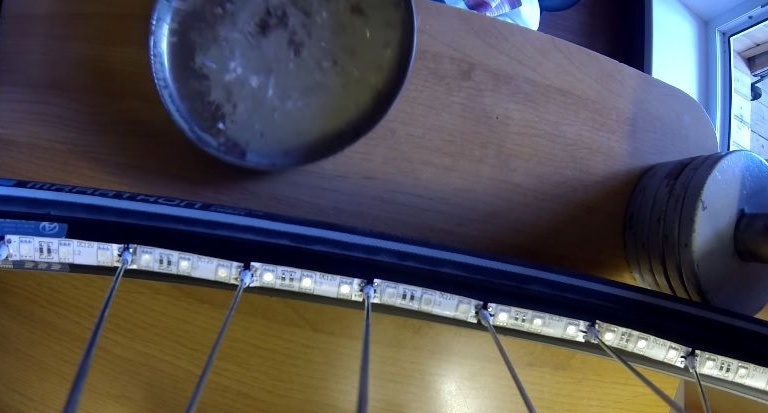
3. Solder the tape together, do not forget that the wires need to be tinned for a more reliable installation quality. After soldering, fill all the contacts with silicone.
4. Prepare 6 wires about 17 centimeters long. Strip the ends of the wires and tin them on one side. Secure the wire to the battery with electrical tape.
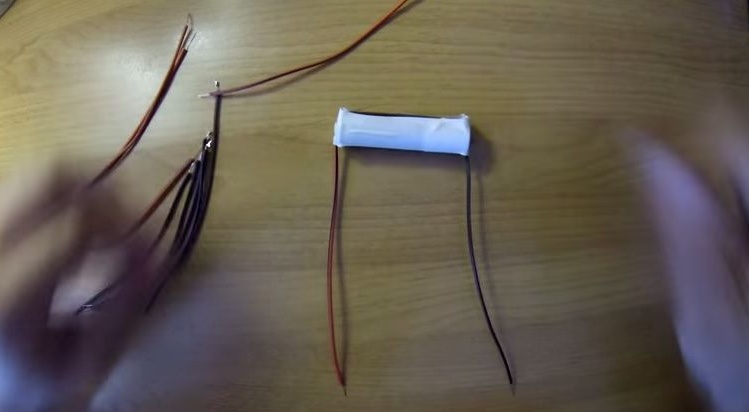
5. Fasten the batteries and the switch button to the wheel spokes. Connect them in series. Connect the switch contacts to the LED strip.
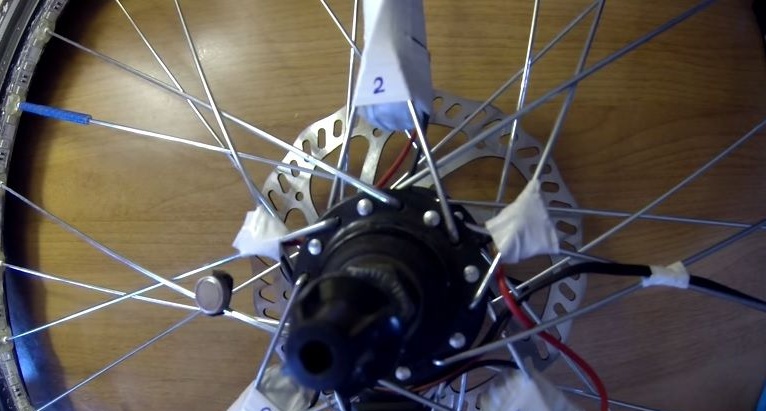
The wiring diagram looks like this
