
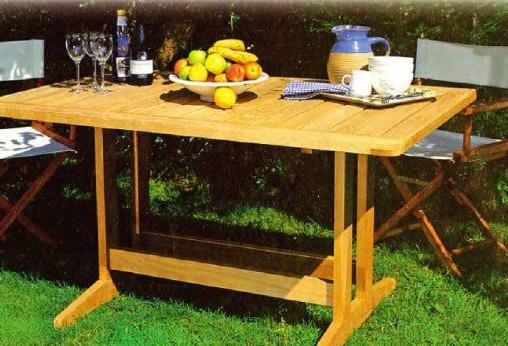
Concerns country at any worker awaken a strong appetite. After many hours of work, how can you not eat up tight in the fresh air? An aesthetic, mobile, durable and roomy table is perfect for this.
Materials and tools:
1. Oak boards - such wood will last a long time.
2. The plane is electric.
3. Sandpaper.
4. Brass screws.
5. Joiner's glue.
6. Impregnation from wood, which protects from water - the garden table must withstand any weather. Spilled drinks should also be considered.
7. Electrofibers.
8. Drill.
9. Milling machine.
10. Clamps.
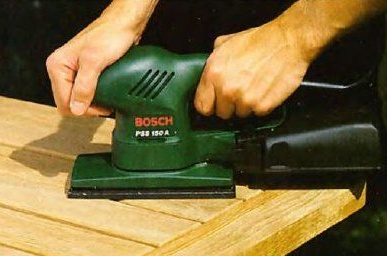
11. The grinding machine.
12. Reysmus.
13. A hammer, a chisel.
14. A mallet made of wood.
15. Paint brush.
Operating procedure:
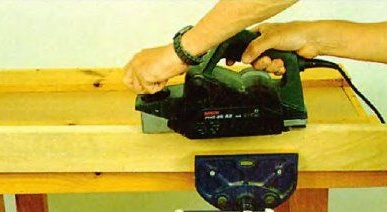
The most important requirement for oak boards is their evenness and good handling. If they do not quite meet these criteria, before cutting, properly plan it. It is advisable to calculate the dimensions of the table in advance - a height of 756 mm, a length of 1422 mm and a width of 914 mm are recommended. At such a table, up to eight people can sit completely freely. And if you take into account the children often kneeling on their knees, you will get even more.
After the tree is brought into proper form, blanks are cut. Every detail should be carefully checked.

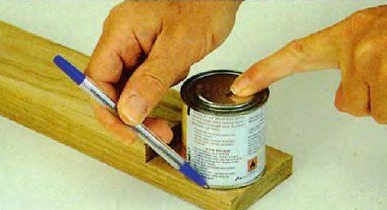
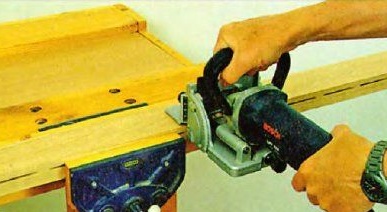
Now you can start processing the table top. It consists of 16 slats, which are framed by a border. The transverse and longitudinal parts are connected in half the tree, so the shoulders are marked on the full width of the elements. The grooves are selected by a milling machine. Using a conventional can, you can mark the radius of the rounded outer corners on the edging trims.
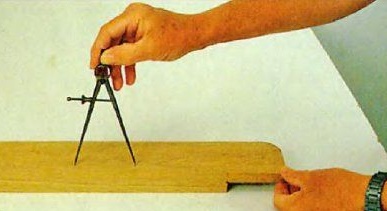
Sawing the strips of the same length, on the upper part of each, the middle is marked, which is useful for the normal operation of the milling machine. After that, one of the long strips intended for edging is taken, it is measured from the grooves to the middle on each side of 40 mm - at these points the centers of the last strips at the countertop will be placed. After that, the compass is set at a limit of 80 mm and the middle of the short planks at the edging is marked. In order to achieve proportionality of the table, the second longitudinal part must be marked in accordance with the template of the first.
Further, in the long edging strips, grooves for the keys are created. The lid is going dry, and it is always important to check the accuracy of all measurements. If the connections are made correctly, chamfers are removed from the upper ribs of all strips.In the process, chips are not excluded. But this can be avoided by milling parts in a special way - first along the wood fibers, and then across. The chamfer is removed both on the external and internal elements of the edging. It should be removed to the grooves that are selected to join in half the tree.
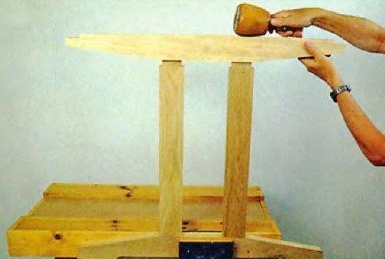
Now you can start assembling the tabletop. It begins with gluing the dowels into the longitudinal details of the edging. Then, the grooves at the ends of the planks are smeared with glue, they are connected to the edging and pulled together with clamps. Choose for such a procedure should be a flat horizontal surface. The next step is to smear a groove with a thick layer of glue into the floor of the tree. Each pair is seized with brass screws. At this stage, it is convenient to correct the position of the racks, since the glue has not yet completely dried out. For such a procedure, you need to use a lining block and a wooden mallet, since tapping with a hammer directly on the parts can damage them. The glued countertop is aged 24 hours, after which the rounded corners and the outer edges are processed with sandpaper. Now the bevel is removed.
In order to correctly manufacture the underframe, you need to remember that the frame consists of two racks, which are fastened together with the king and the sleeves. First, work is carried out on the upper and lower jumpers, edges are planed. Then samples are made in the supports using a drill, after which bevels are cut off on all the jumpers.
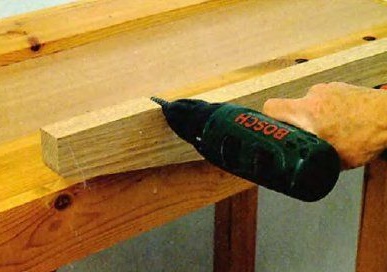
In the jumpers, jacks for racks are selected. The spike width is recommended about 12 mm. With a gage, spikes are cut on all racks.
After cutting the spikes, the sleeves are attached to the racks, the king is fitted. The supports are assembled using waterproof glue, and then connected to the prodrugs.
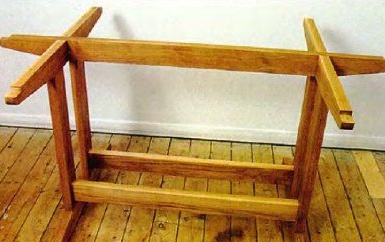
The tabletop is attached to the frame with glue, and the bottom is screwed with brass screws. Work is completed by final grinding and applying transparent impregnation in two layers.
This table is within the power of every gardener to make, and the range of its application is quite wide - holidays, twisting pickles and everyday dinners after work in the garden.