Owners of furry pets know summer is a terrible time, especially for hamsters. If the house has a climate control system - it’s already better, but if not - you can put ice cubes on your pet, or install your own air conditioner for the hamster! About how to assemble such a device from improvised means and the Peltier element, we will describe in this article.
The Peltier element is a simple device, but a very interesting device. In appearance it is a small ceramic plate with dissimilar semiconductors inside, but if you let current through it through two contacts, one side will begin to cool, and the other will warm up. This also works in the opposite direction - if you heat one side and cool the other, the EP will generate current.
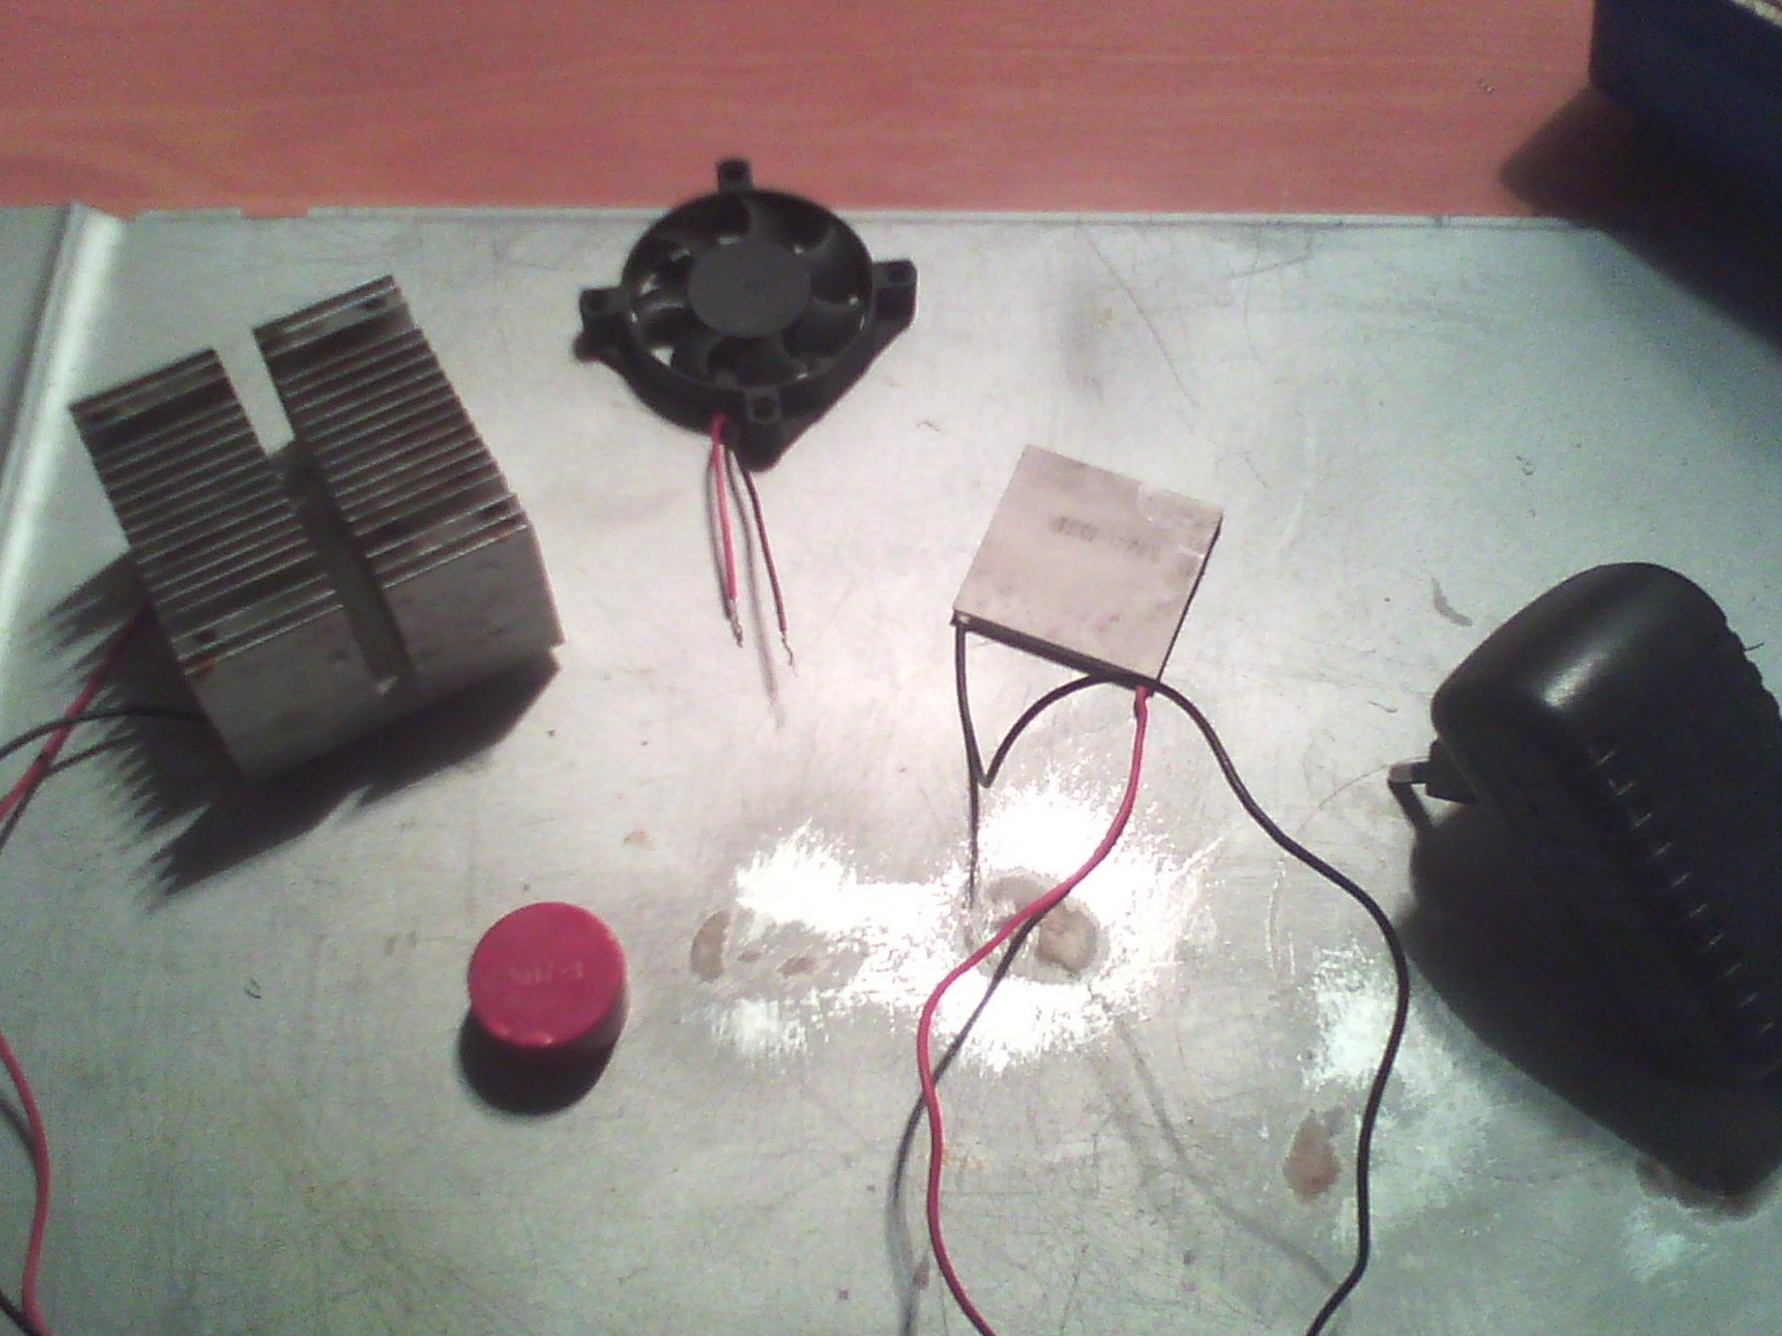
To build the device you will need:
1. The Peltier element.
2. Heatsink for the processor.
3. Cooler.
4. Thermal grease.
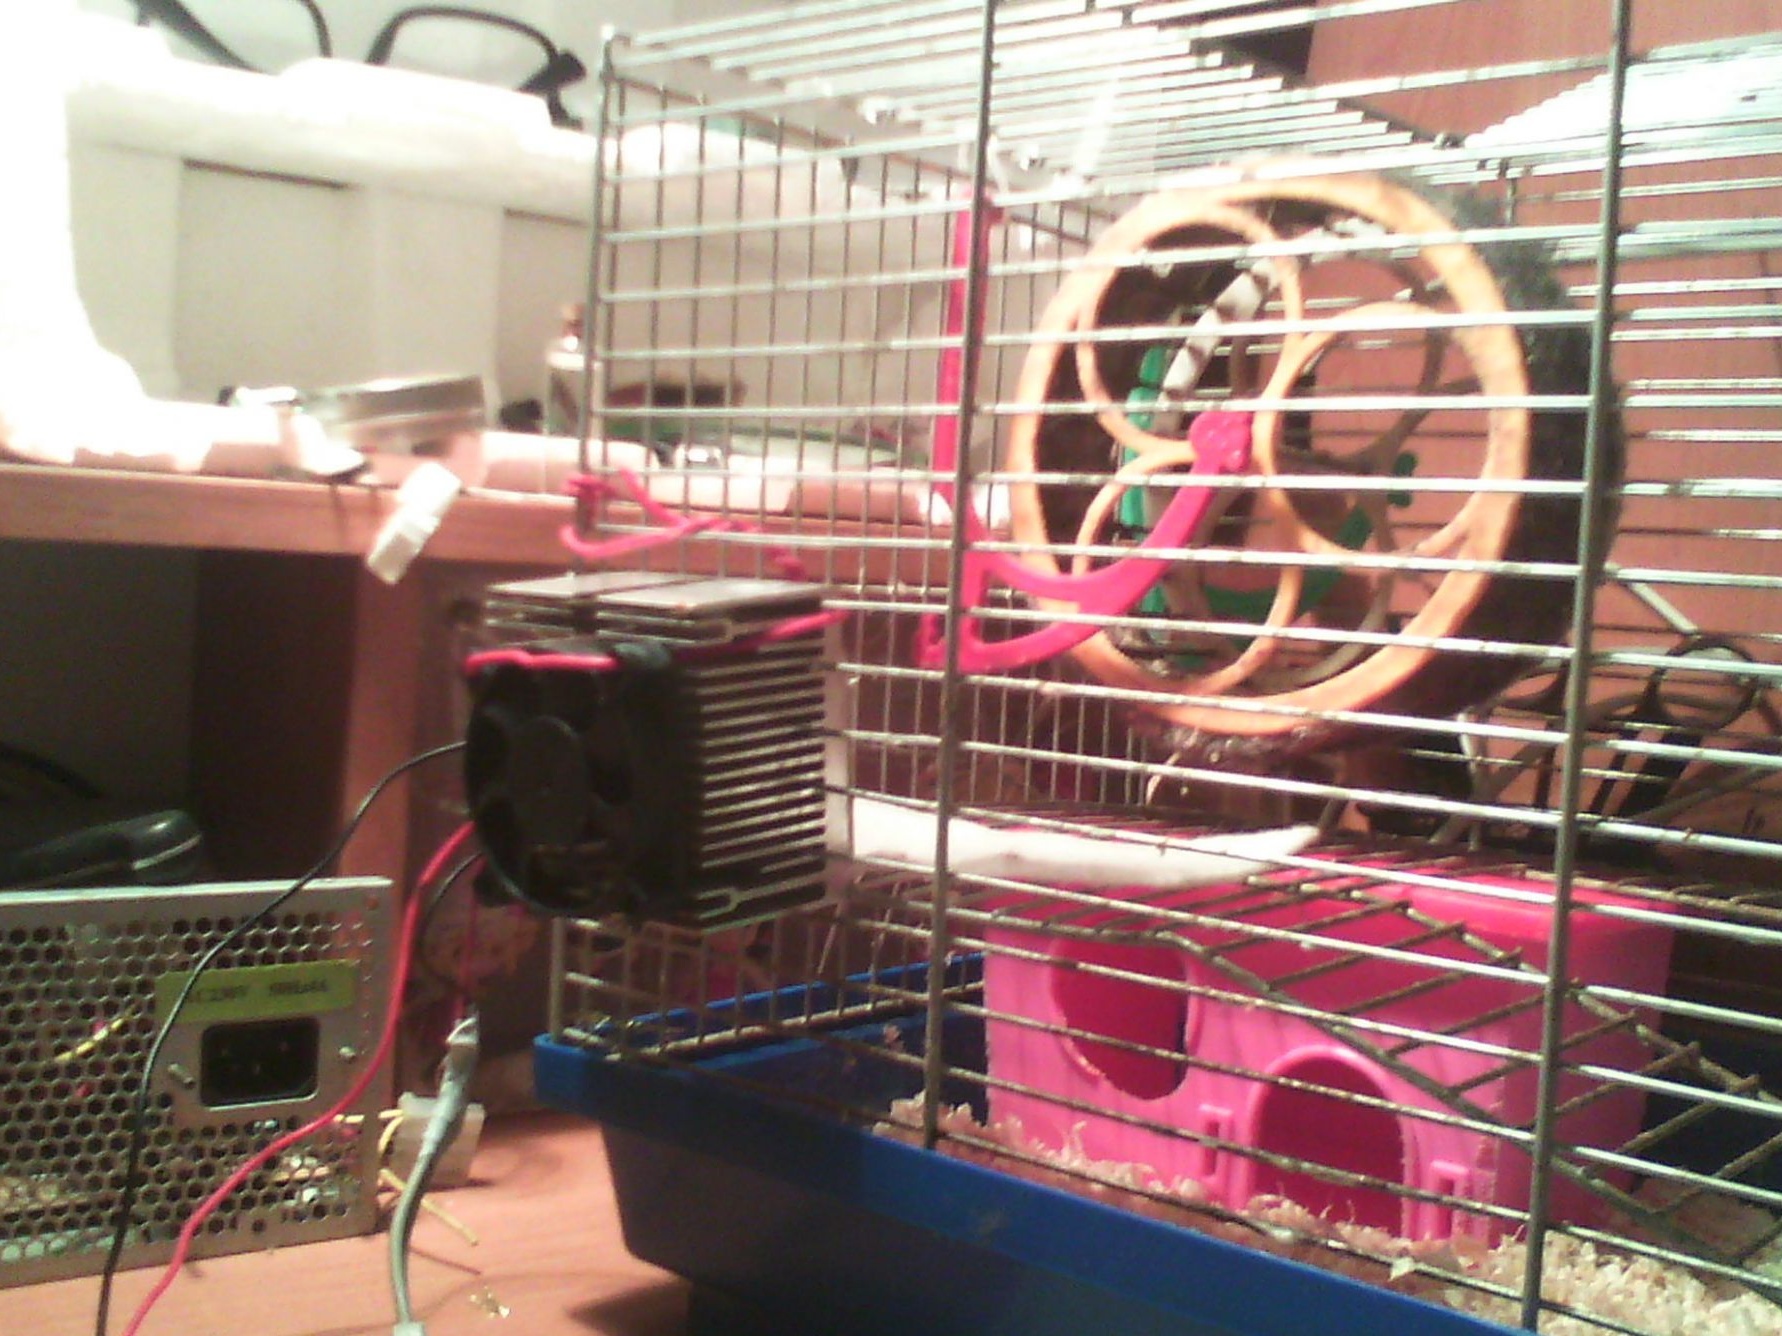
5. Power supply (in this article, a 5V 1A PSU is used, but it is better to choose a power supply for the rated parameters of the Peletier Element - 12V, then the efficiency of the device will increase).
Where to find and how to choose components:
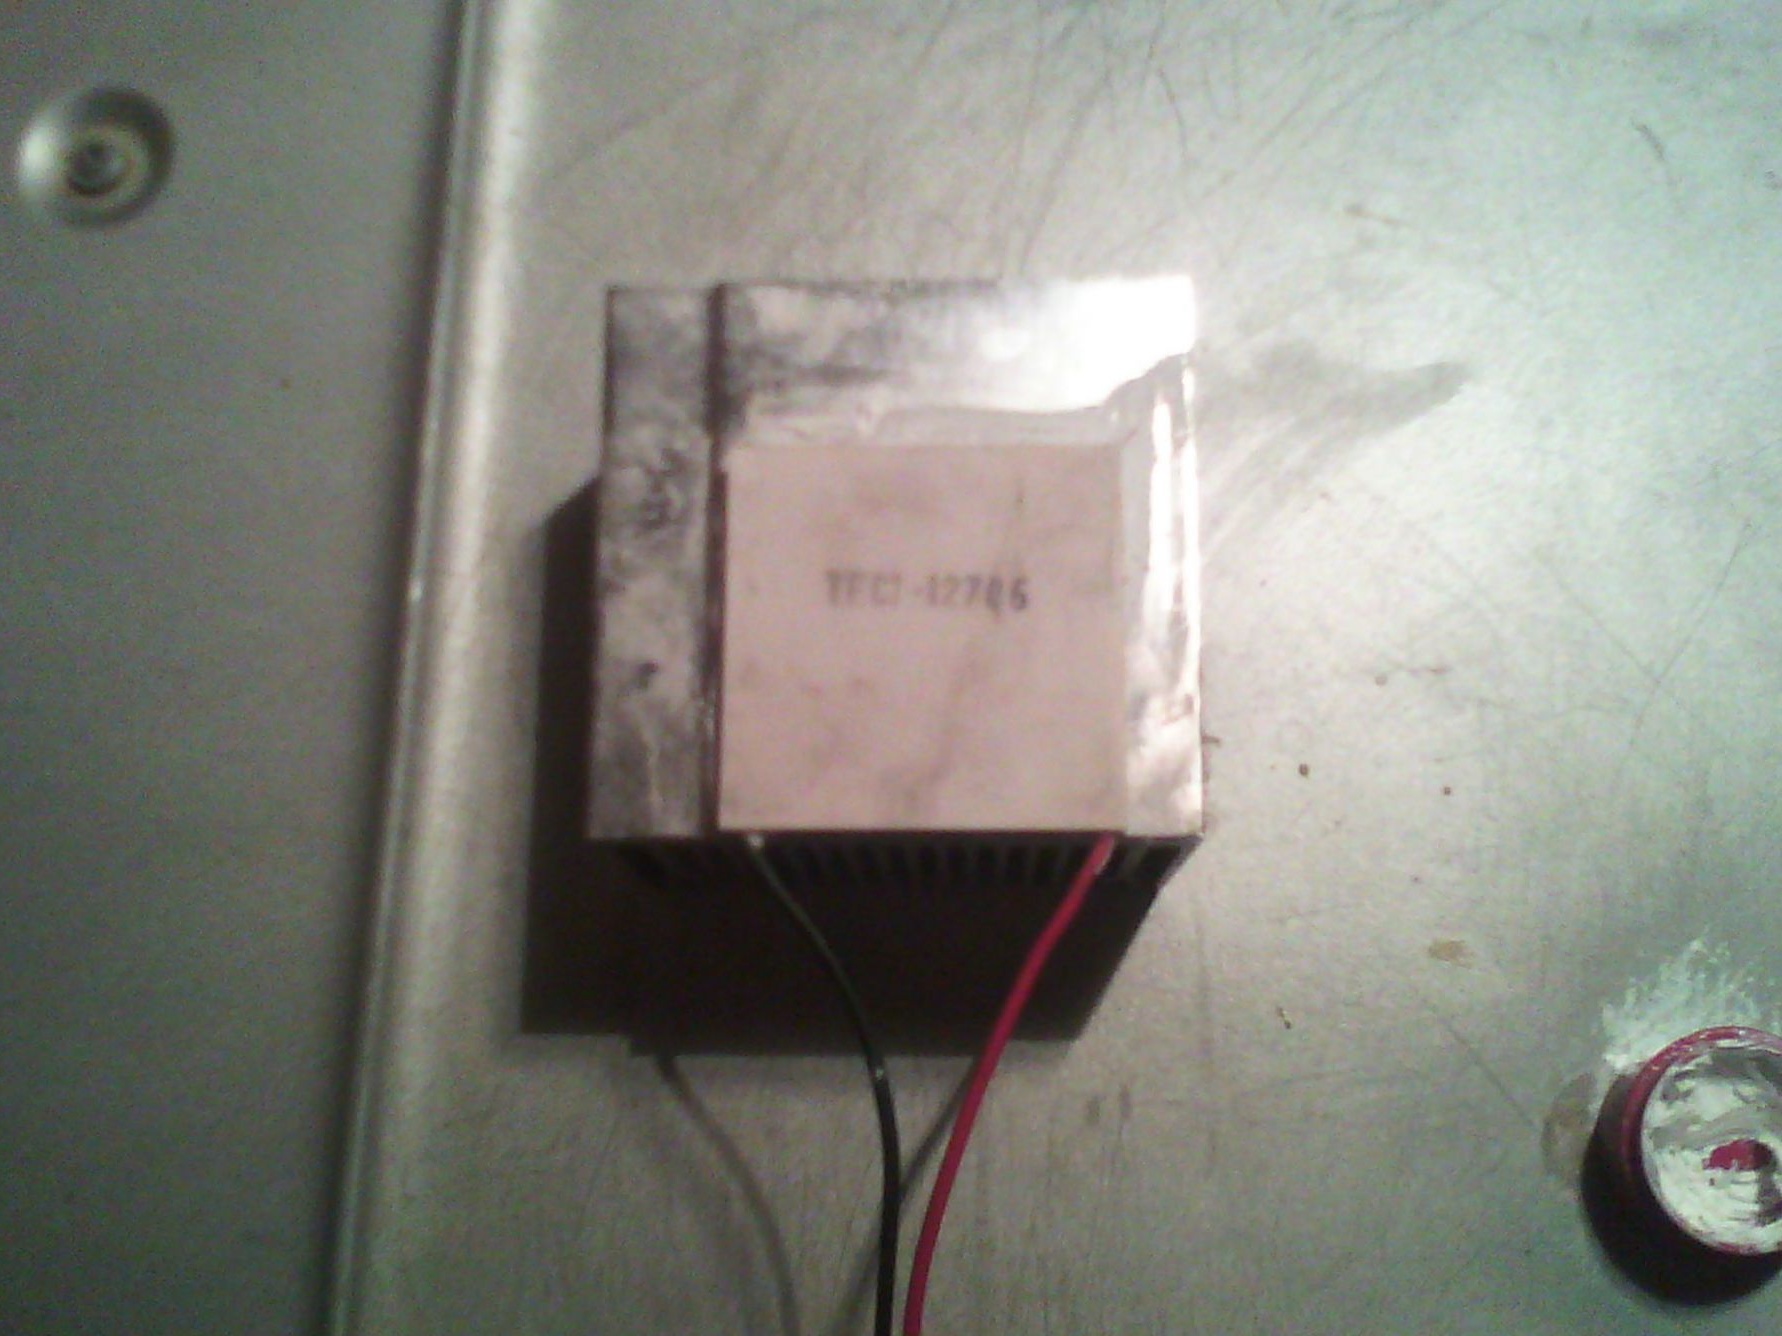
The Peltier element is not difficult to find, they are sold in many "amateur" stores and on radio markets. Also, you can order on the Internet - for example, on ebay or Aliexpress with the keyword "Peltier". The second method is more profitable, since pelteshki from the factories of the Middle Kingdom will cost you much cheaper (elements for this article were ordered from China, a batch of 5 pieces cost about $ 10). In our case, TEC1-12706 40x40mm was used, the optimal current for it was at 12V (although it is not critical to increase to 15-16V) from 0 to 6A.
The remaining components were removed from the old computer and found "in the bins", and if you do not have them, you can inexpensively buy them on the radio market. Last but not least, the cooling efficiency depends on the radiator - the bigger it is, the better. The rule was deduced empirically - optimally, if the bottom area of the radiator is twice the area of the electromagnet, and the height is 4-5 cm - such a radiator is not too large, but dissipates heat perfectly (on the radio market this will cost 50 rubles). A cooler - a small one taken from a video card will be enough.The power supply, as already mentioned - better than 12V, but also 5V / 1A (old telephone charging) - proved to be excellent.
Build process:
Usually, the name (12706) is marked on the cold side of the EP, and the warm is empty. You can check the sides by connecting the element to the power supply unit, observing the polarity.
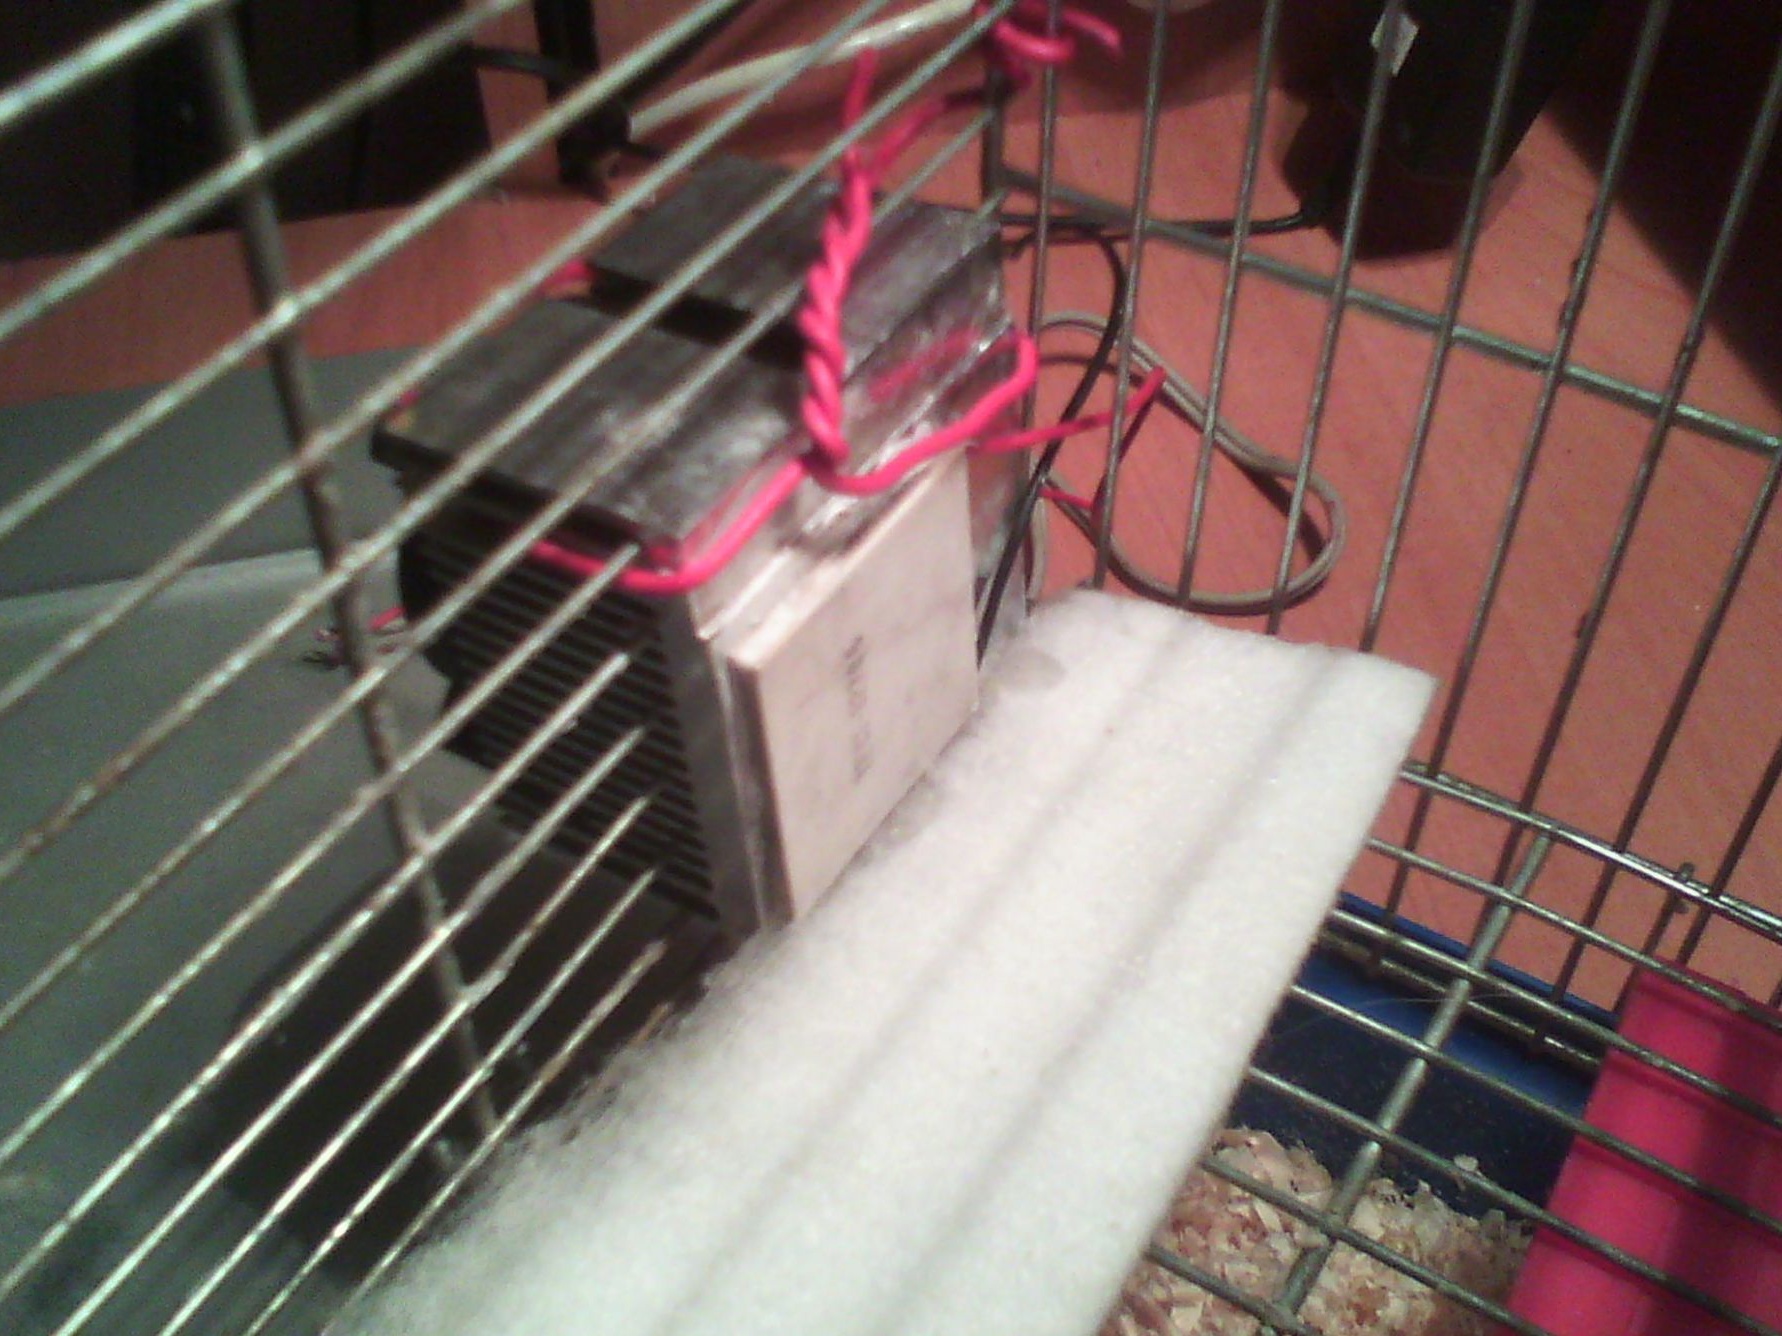
1. Apply a lot of thermal grease to the warm side of the Peltier Element, and install the radiator on it, pressing firmly.
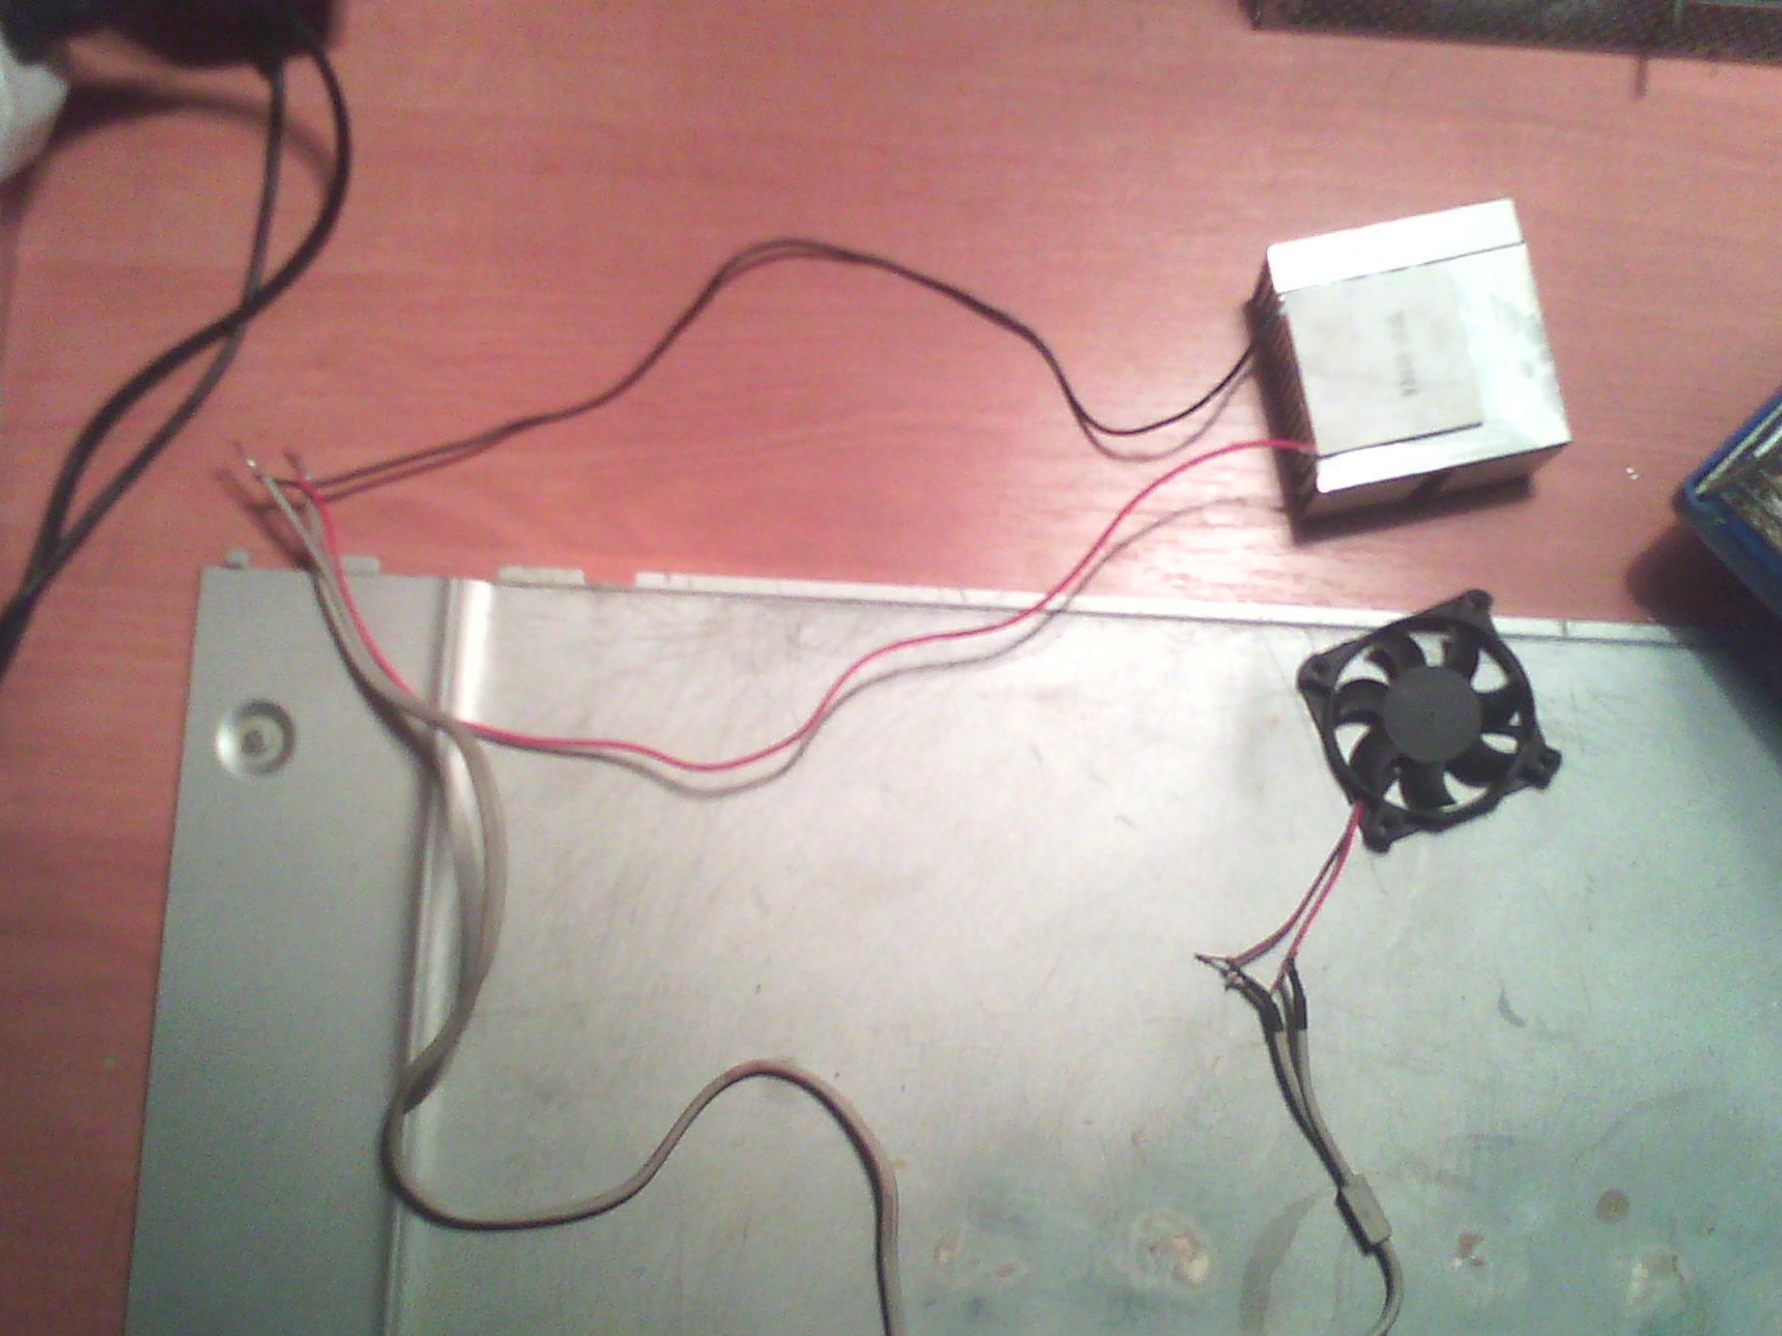
2. Bare the cooler “+” and “-” contacts, lengthen them if necessary - just twist more with two wires, and insulate (by heat shrink, or electrical tape) the joints. Heat shrinkage is a tube that contracts strongly if heated. A very convenient thing.
3. Using wire, cable ties, or special mounts - install the cooler on top of the radiator (air will enter the radiator and scatter around).
4. Now, connect the contacts of the cooler and the Peltier Element together, and do not reverse the polarity - the side that is not pressed to the radiator should cool, while the cooler should spin.
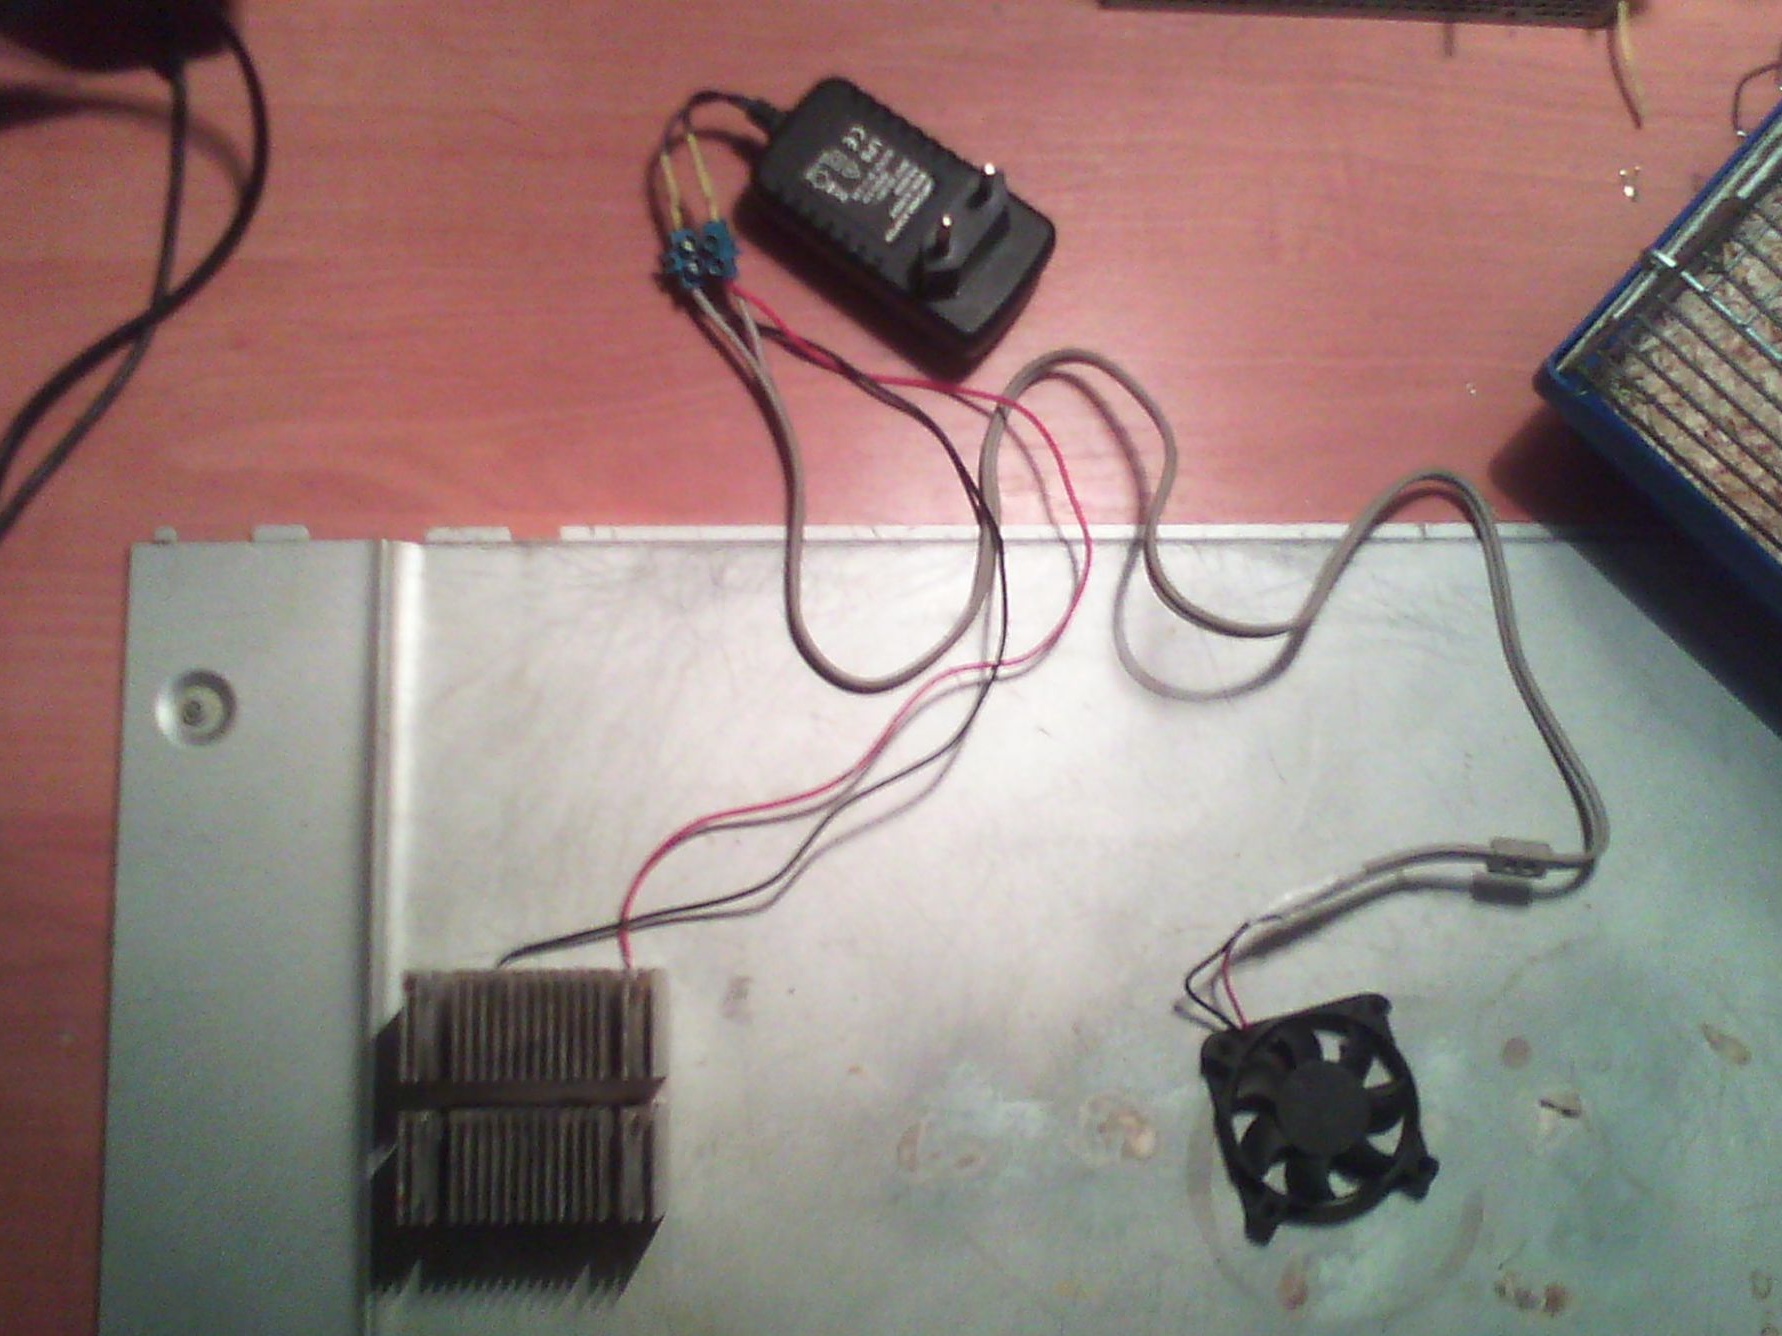
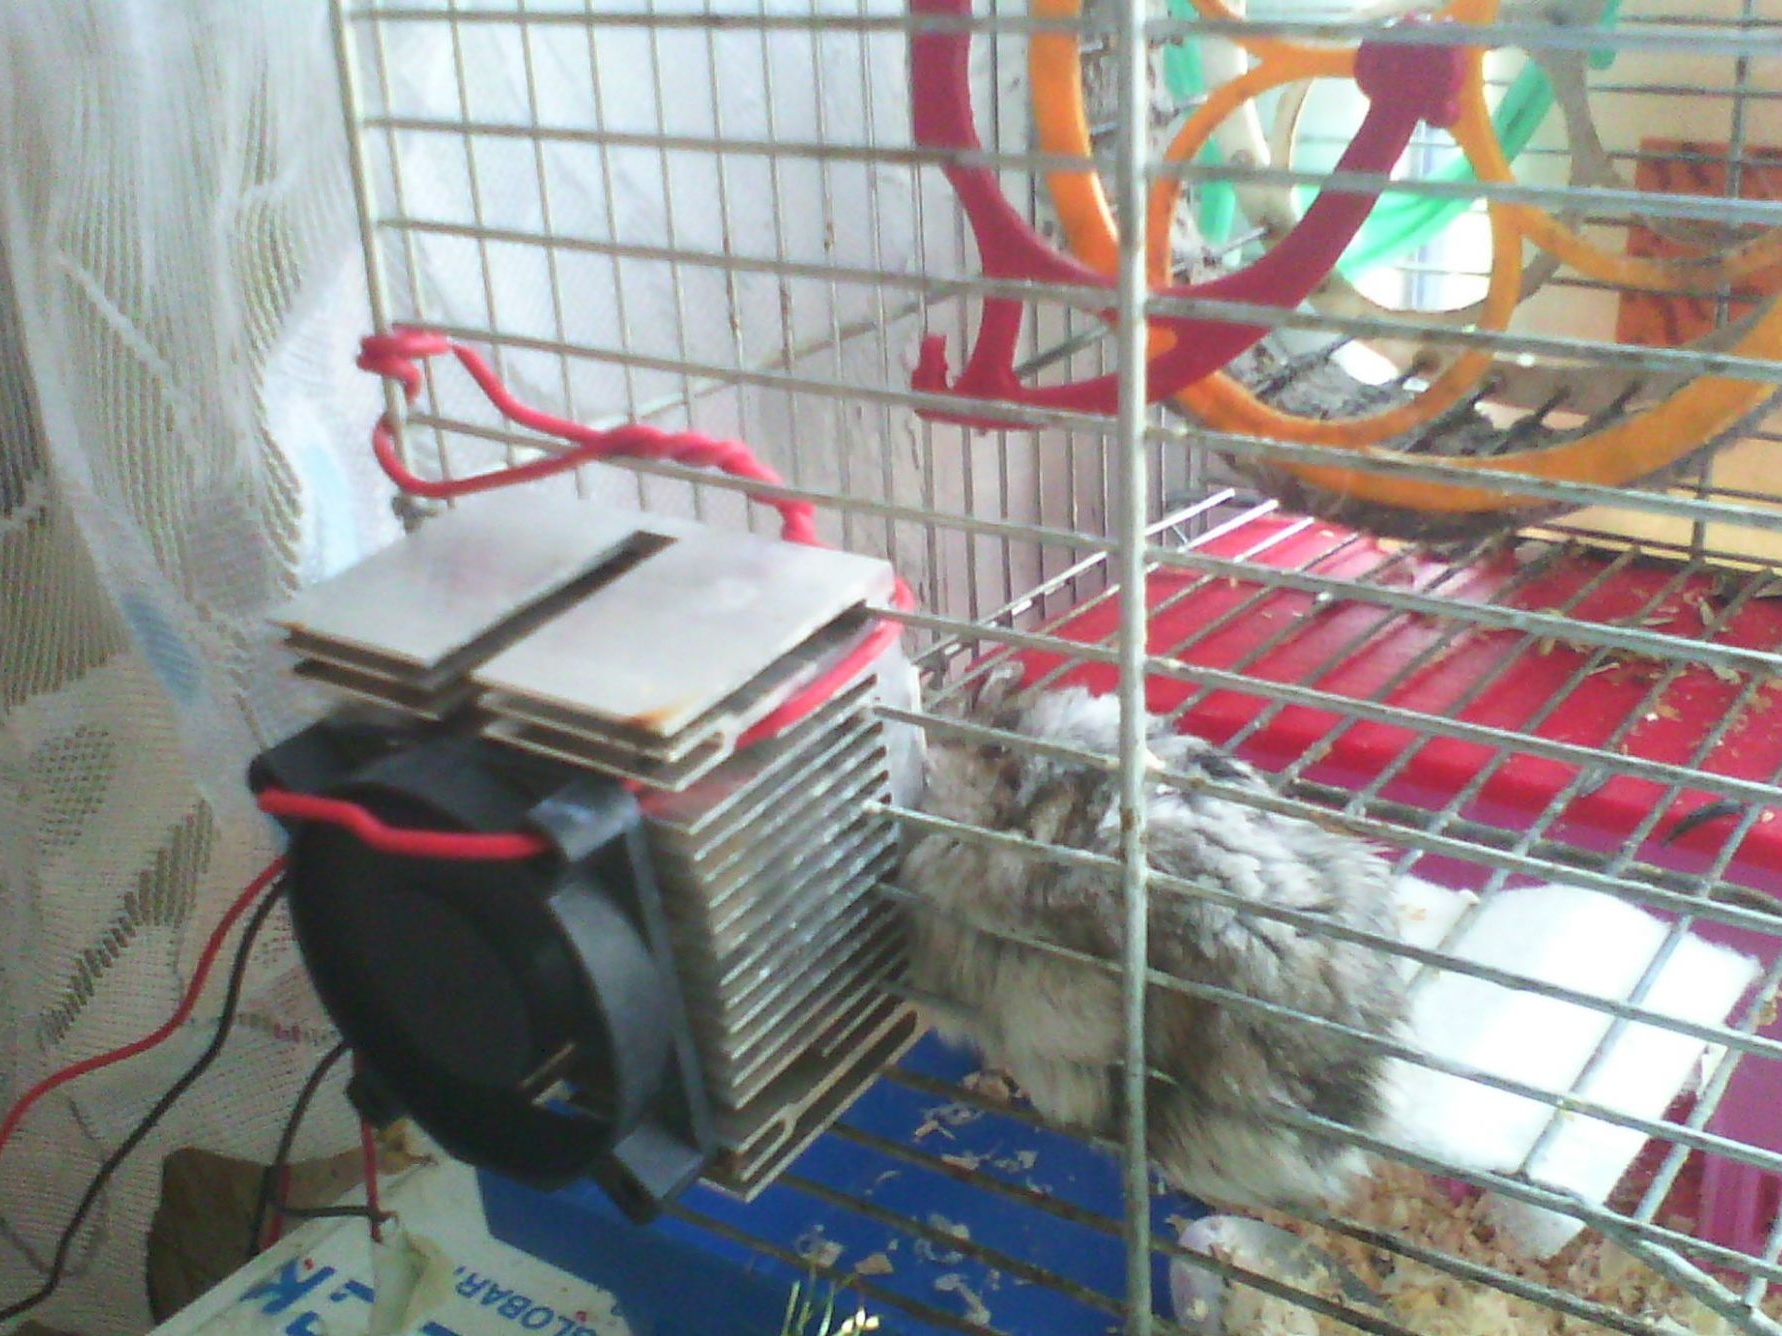
5. Connect the device to the power supply, isolate all the contacts and voila - the homemade air conditioner for the hamster is ready for use, it remains only to install it.
The installation process falls on your shoulders and depends entirely on the parameters of your pet's home. It is important that the radiator is carried out - otherwise, the heat will be poorly dissipated and will remain inside. Installing it on a cage is easier, you can simply pass the radiator through the pins, as in the photo below. If you have a terrarium, you will have to improvise - for example, put an additional cooler "on blowing" and change the power scheme - power coolers from a separate PSU - then the efficiency will increase significantly. The scope for modifications is enormous, and the power consumption of the device from this article is about 5-6W.
After connecting, the temperature of the cold side was significantly low, and after a couple of minutes condensation formed - in the heat of 30+, your furry pet is guaranteed to enjoy such a new thing :)