Agree that things and items made do it yourselfis always nicer to use than those that are purchased. In addition, to create analogues of certain objects with one's own hand is much more interesting, and even less expensive. If you like such experiments, then the following instructions for making a coffee table will appeal to you!
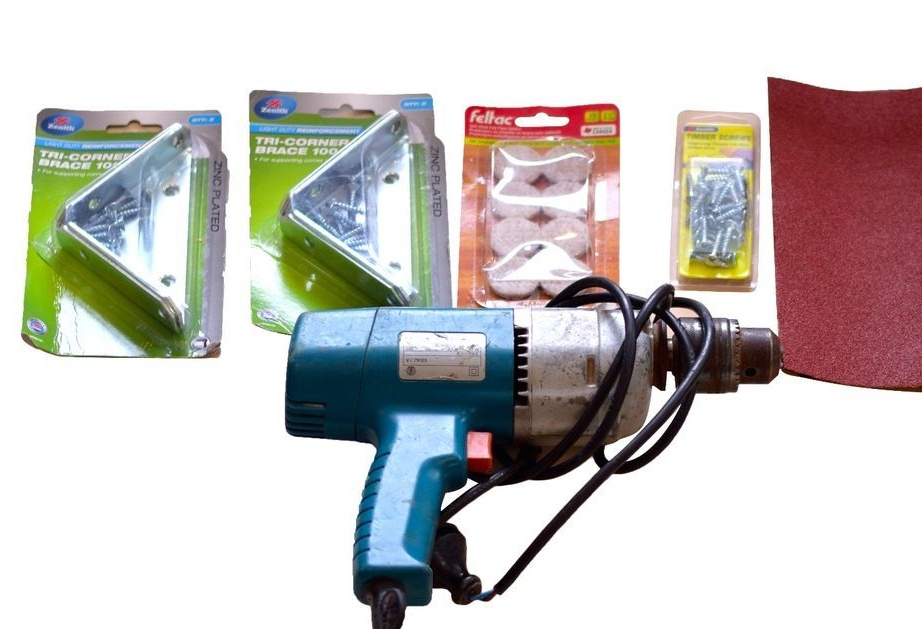
Necessary tools and materials:
- electric drill;
- jigsaw;
- sandpaper with grit from 100 to 150;
- wood screws 40-45 mm;
- 4 corner brackets;
- plywood sheet with a thickness of 0.05-0.06 m²;
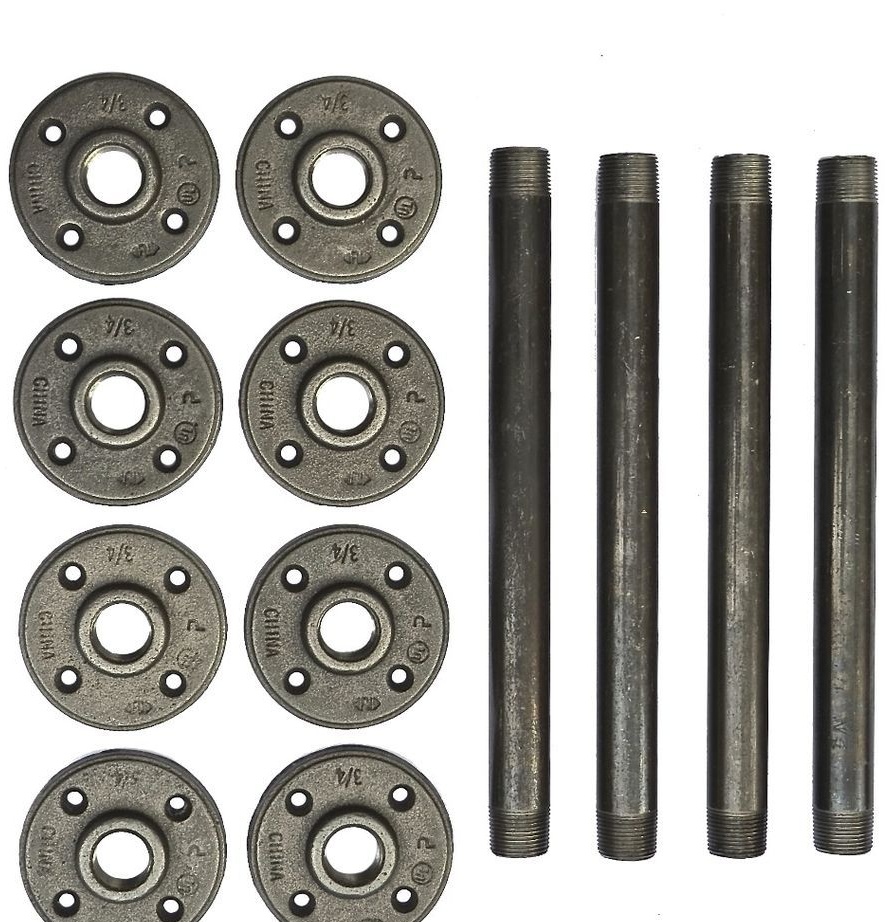
- a set of table legs;
- wooden pallet;
- a pencil;
- ruler.
Step 1
First of all, decide on a pallet, which will serve as the optimal basis for the table. Remember that the size of the surface of the pallet will be identical to the size of the working surface of the table.
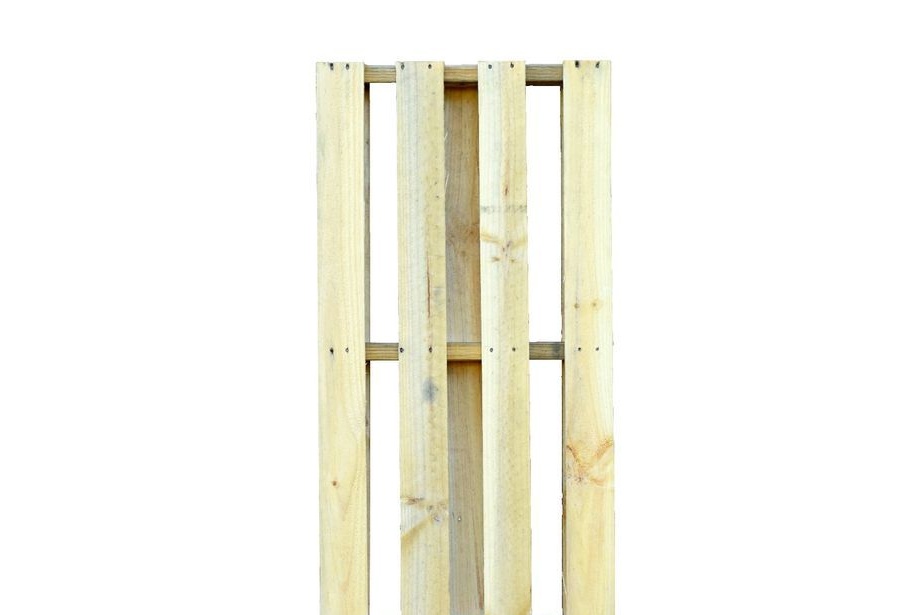
Step 2
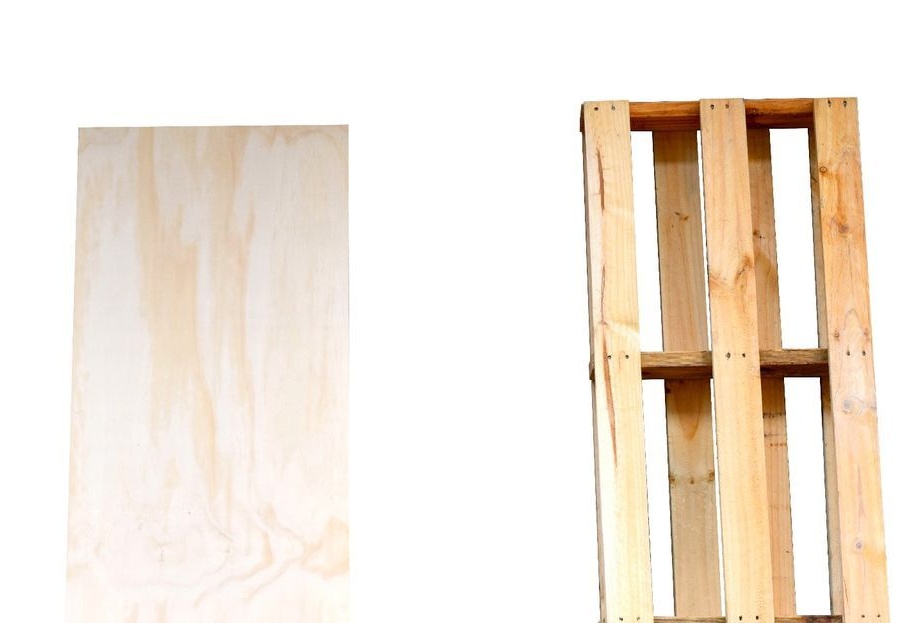
Use a ruler to measure the length and width of the pallet. With a pencil, draw marking lines on a plywood sheet in accordance with the dimensions of the pallet. Using a jigsaw, cut a piece from the plywood sheet along the marked lines.
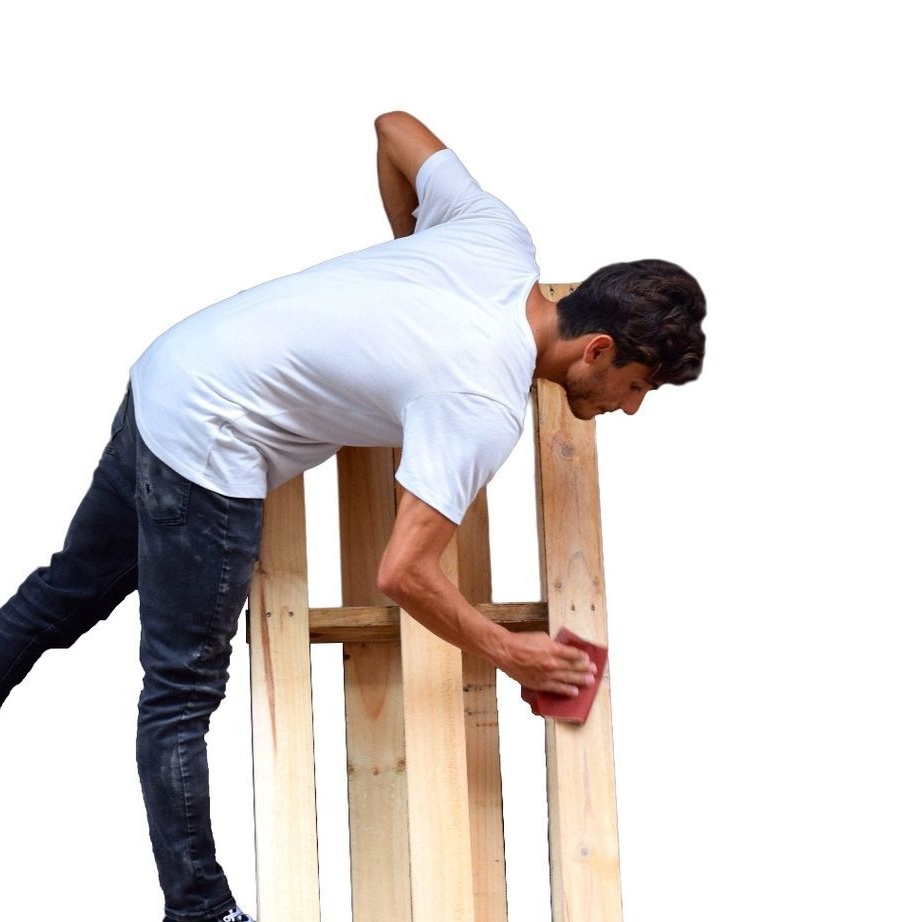
Step 3
Now sand the surfaces of the pallet and plywood sheet. Use sandpaper for these purposes. Depending on the “roughness” of the wood from which the pallet is made, grinding can take from 20 minutes to 1 hour.
If you want to paint the future table, then this is best done immediately after grinding.
Step 4
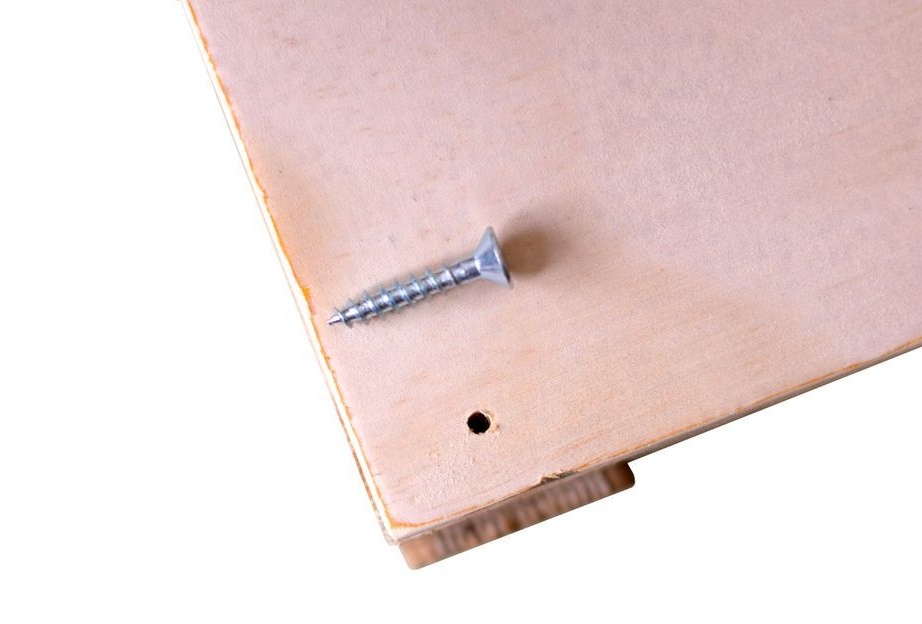
Now is the time to join the pallet and plywood sheet. In order to connect these elements, screw in 1 screw at the corners of the pallet.
The task will be much easier if you pre-drill holes for screws. Before drilling holes, place a sheet of plywood on top of the pallet so that they lie clearly on top of each other.
Step 5
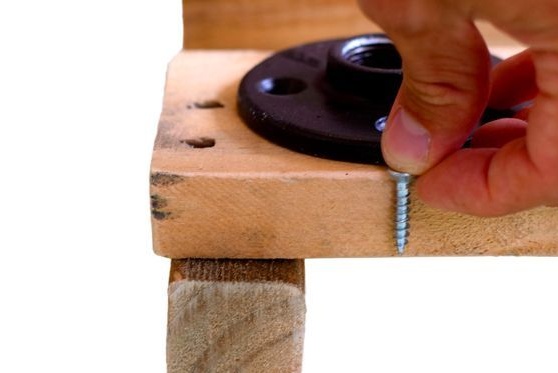
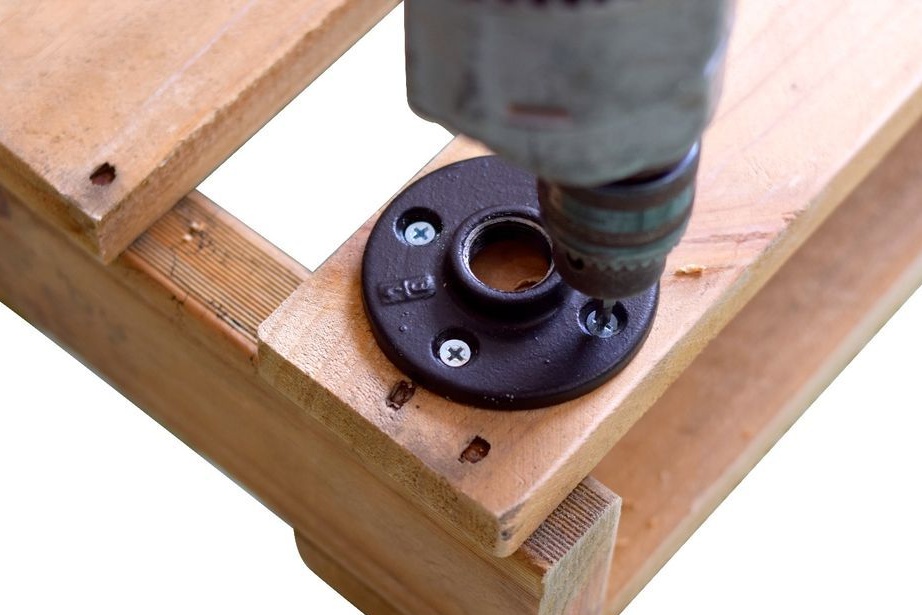
In this step, we will drill holes on the back of the pallet. These holes will be necessary for fastening the flanges at the corners of the bottom side of the pallet.
After that, fix the flanges by placing screws in the holes made and screwing them with an electric drill.
Step 6
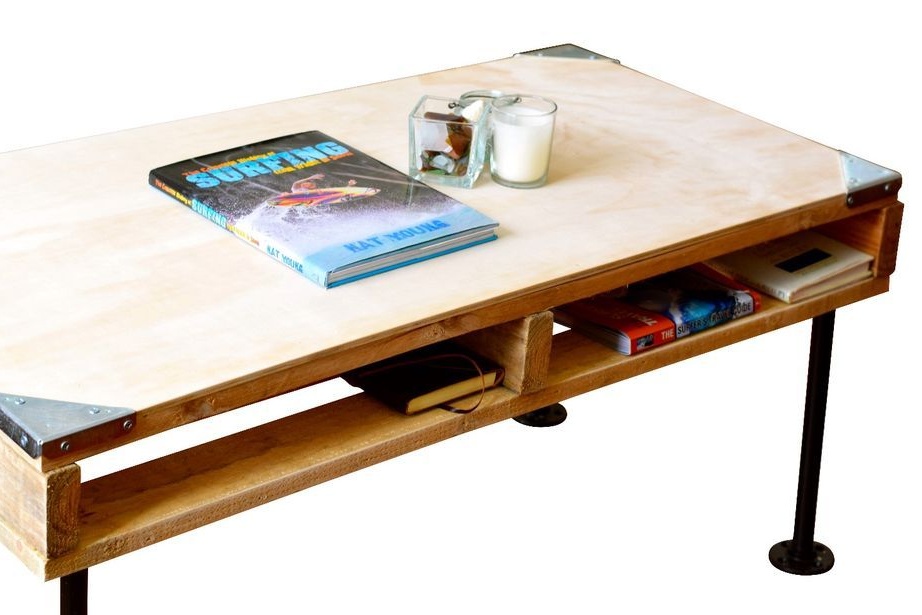
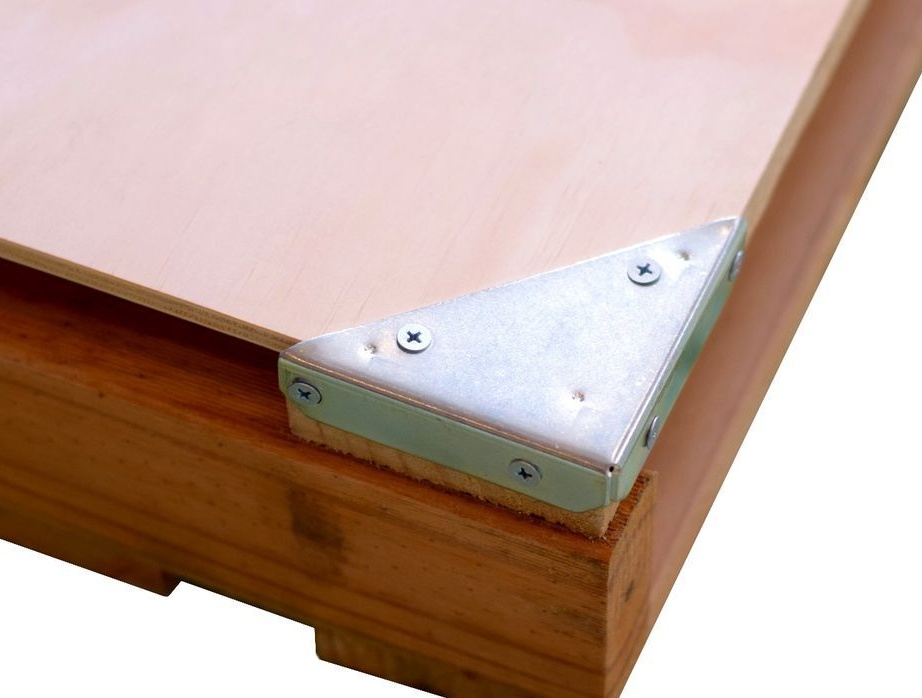
To ensure that the table does not have sharp corners, use medium-sized brackets.Lock them at the corners of the top surface of the countertop.
Step 7
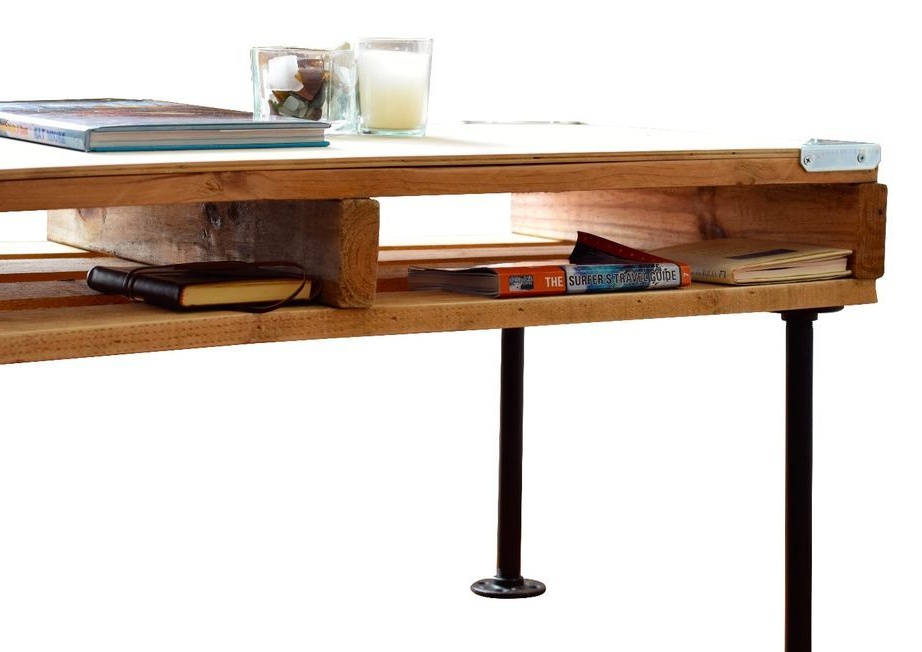
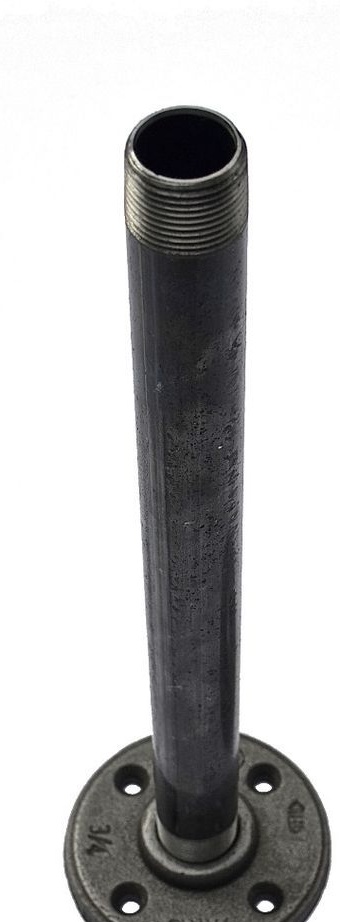
As a final step, make the legs for the table. First fix the legs with the lower flanges, and then with those located on the bottom surface of the countertop.
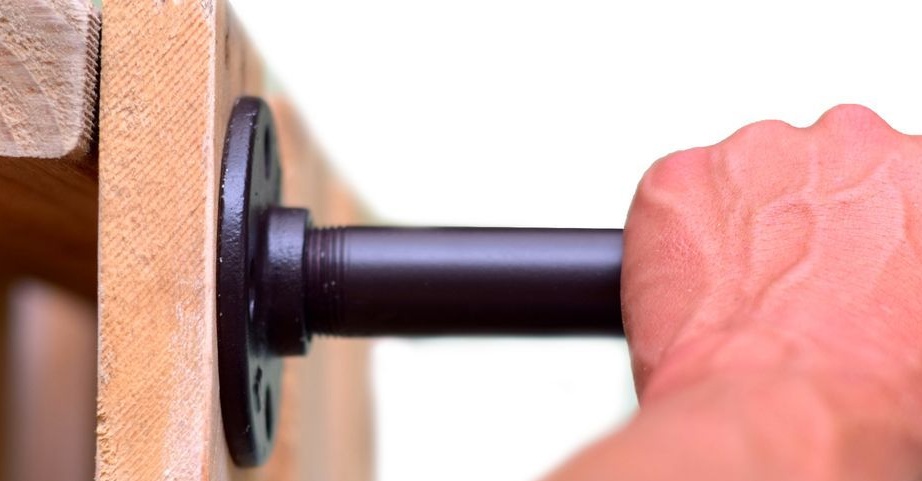
Now the table is ready and you can enjoy using it right now!