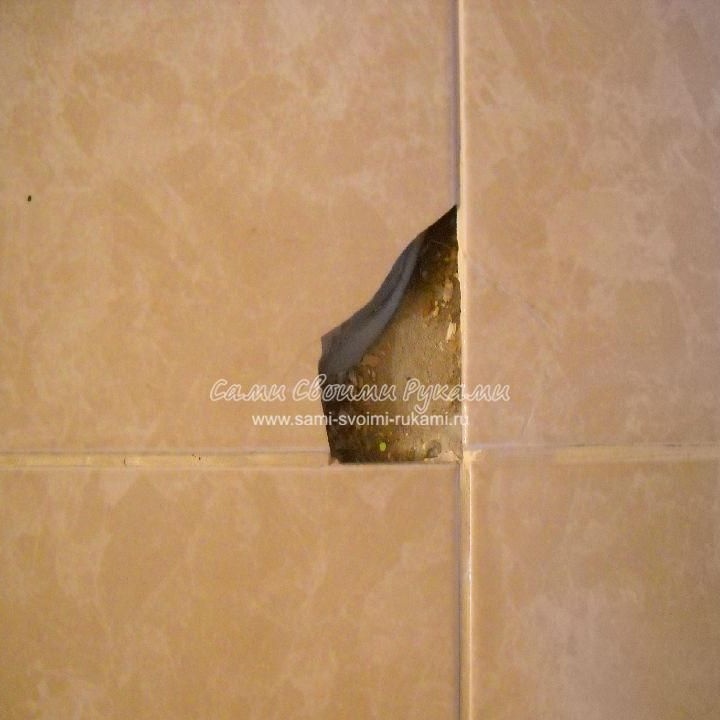
When a floor tile receives or has long been slightly damaged, this requires replacing it with a new tile. Often, after repair, a couple of spare tiles may remain, but if there are none left, you have to go to the store in search of the same size and color. The process of replacing tiles is not particularly complicated as it seems at first glance.
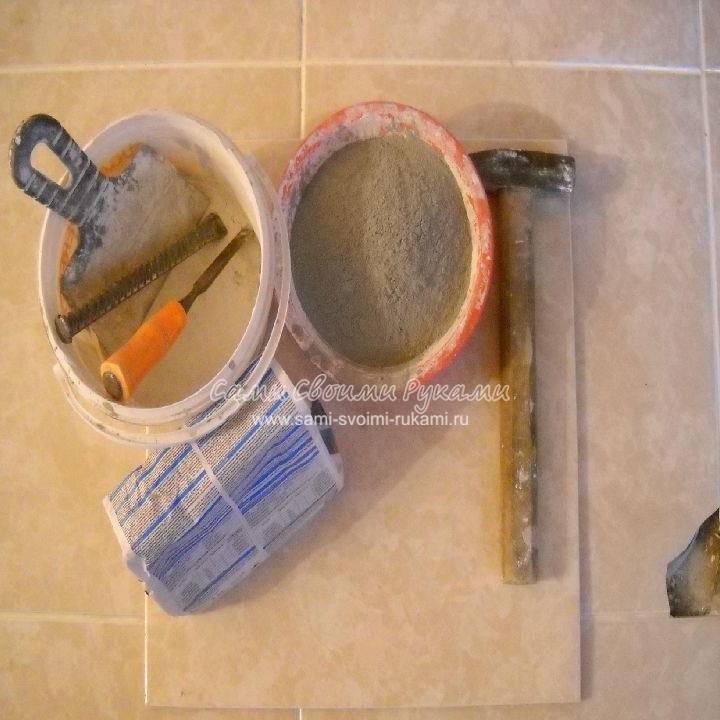
Materials and tools:
- The tile itself
- Chisel, chisel
- Medium-sized spatula
- Notched trowel
- Hammer
- Primer (water can be used)
- Tile adhesive
- Grout for joints
- gloves
Before starting work, it will not hurt to wear safety glasses, if any. For protection against tile fragments and dust.
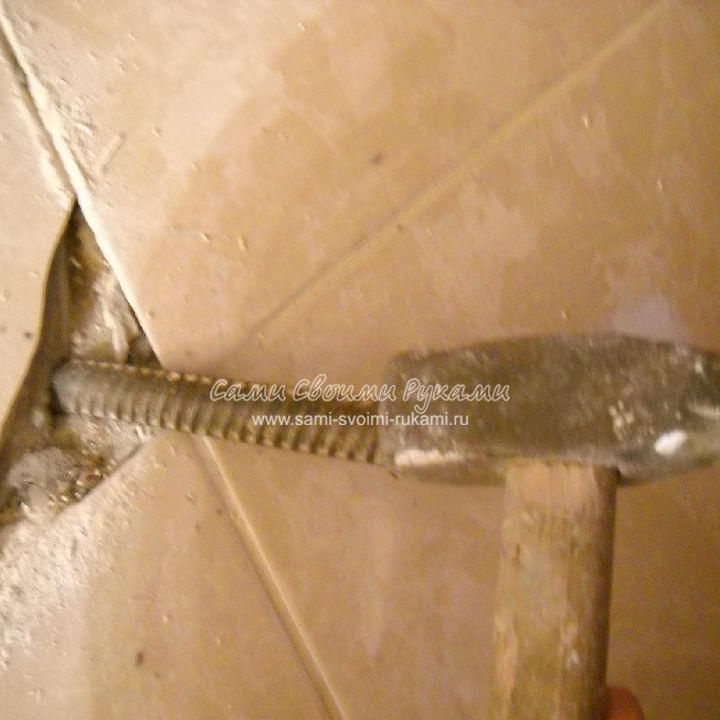
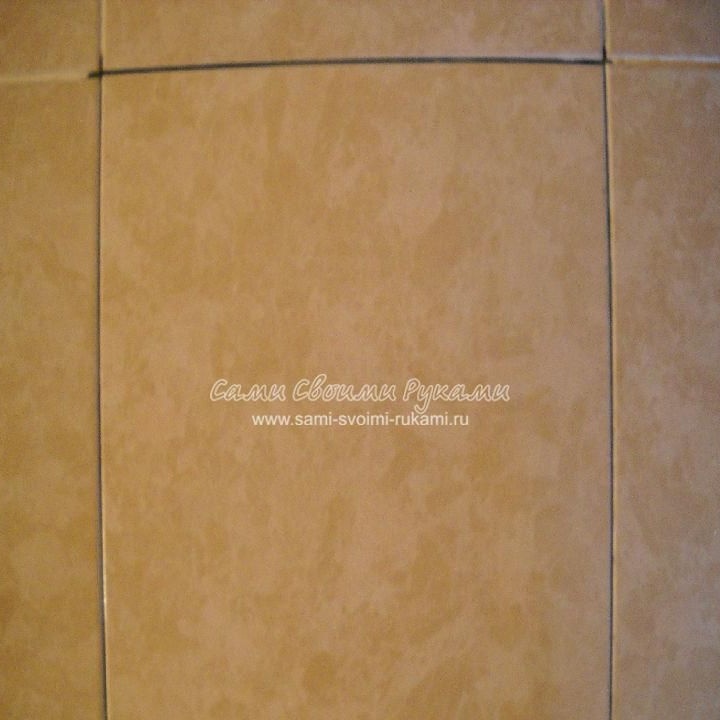
The first step is preparing the old tile for dismantling. To do this, clean the old seams that were grouted. Such work must be done carefully so as not to damage adjacent tiles.
Now a hammer and a chisel are used, with careful blows the author raises the whole tile. If you cannot raise the whole tile, you will have to get it piece by piece.
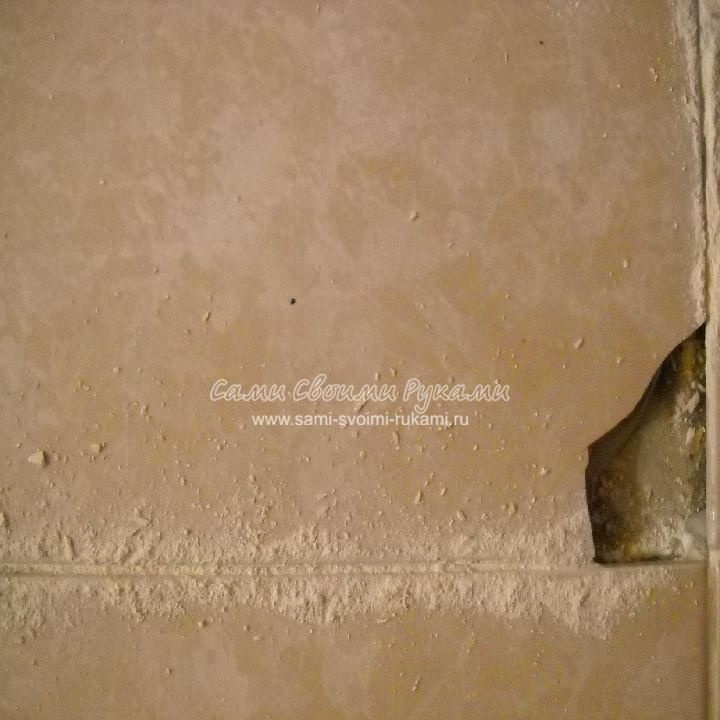
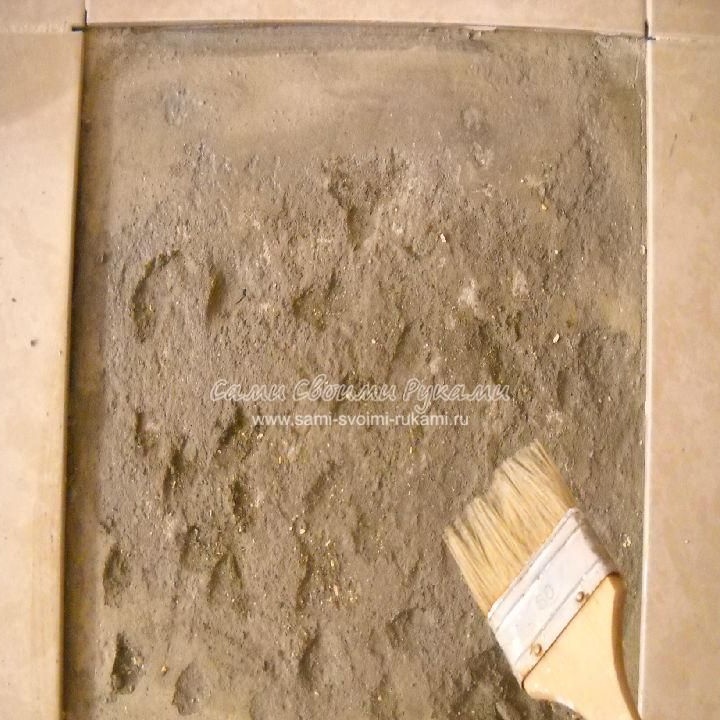
After dismantling, it is necessary to clean the place where the old tile was from the remnants of the old glue and cement. All this must also be done carefully, without damaging the base of the floor. Garbage is thoroughly cleaned with a broom.

The place free from tiles must be treated with a primer. It will facilitate the adhesion of the solution to the base. If you do not want to buy a large can of primer for one tile, you can use water.
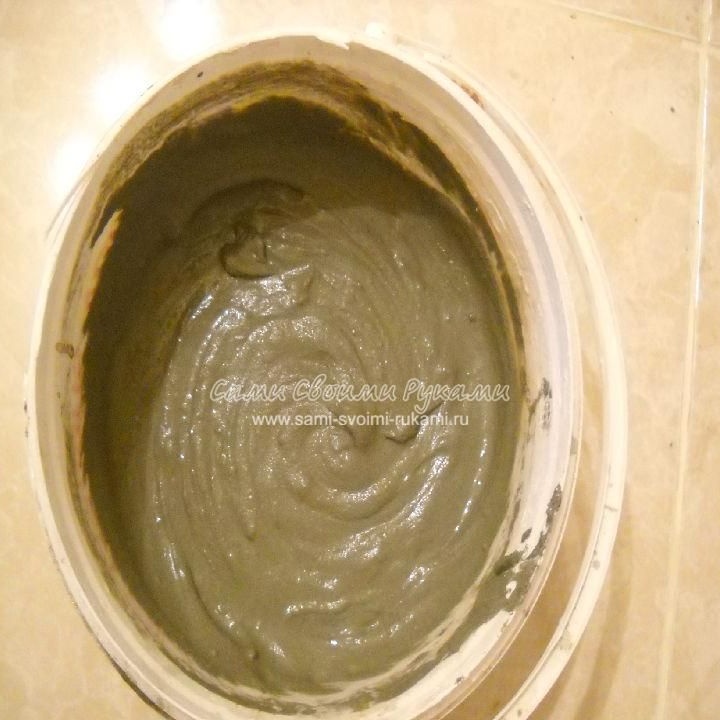
Next, you should prepare a glue solution, which is sold in every hardware store. The dry mixture is filled with water and thoroughly mixed. Since the solution needs to be mixed a little, you can use it with any available means, and do not use a construction mixer. At the end of stirring the glue in water, it should be left for several minutes to “ripen”.
When everything is ready, you can start applying the solution to the place under the tile with a notched trowel. It is necessary to plan the glue over the entire surface.A small amount of the solution is applied to the tile itself. Then the tile is neatly laid.
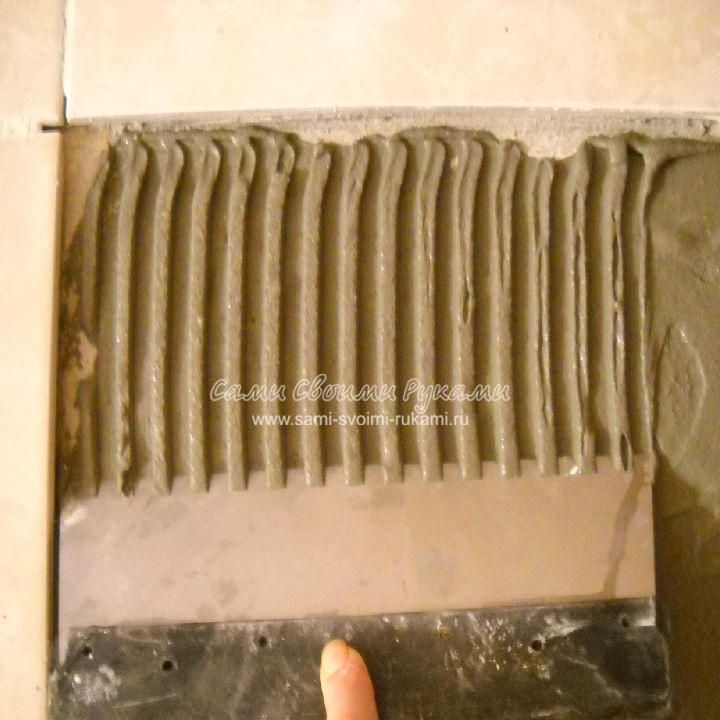
With light tapping on the tiles, we expose it to the floor level.
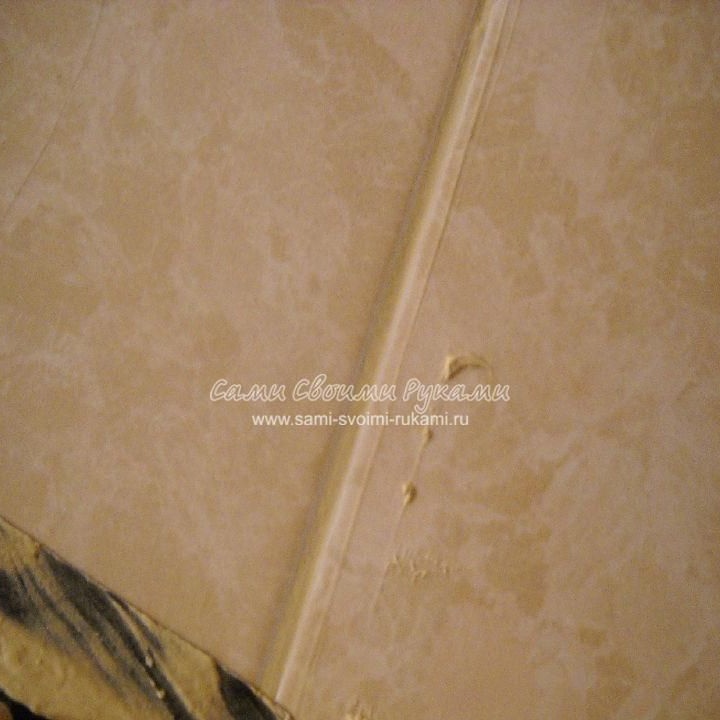
Now the tile can be left to dry for about a day. After this, the seams are rubbed with a special fugue with a rubber spatula.
After all the work done, the new tile is cleaned of the remainder of the solution and stains.