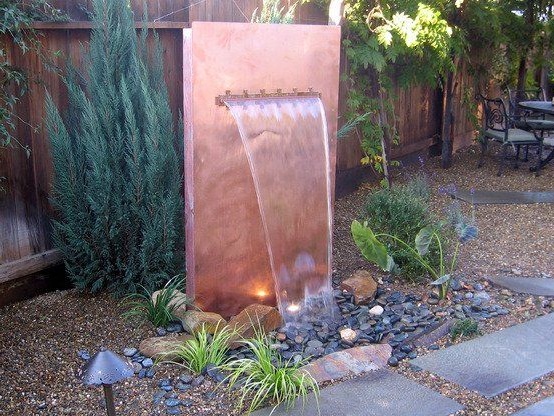
In today's workshop, we will look at how to quickly and beautifully make a mini-waterfall in a summer cottage. Firstly, it will take a minimum of space, and secondly, it will fit perfectly into the look of your site.
As for materials, here you will need to work hard to assemble all the necessary accessories.
Namely, you will need:
- a sheet of copper,
- wooden beams,
- concrete slab,
- concrete mix
- pipes, PVC connectors,
- galvanized screws,
- building glue,
- pebbles
- protective glasses,
- volumetric masking tape,
- soft rag or towel,
- pump
- waterproof spotlights,
- paint
- sand
- sandpaper,
- decorative tiles (copper color),
- a circular saw,
- drill and drill,
- a shovel.
As you noticed, the list is rather big, but, believe me, it's worth it. We pass directly to the master class itself.
1. Before you begin, you must imagine your future project as a whole. As for the waterfall, here the wall will need a height of about a meter. Also under it you will need to dig a base, as well as a base for a pool for falling water. Please note that the pool should be as wide as the width of the wall itself.
2. Now you need to dig holes. There should be three of them. The first will be for the pool itself. This pit should be deep enough so that water does not splash out of it. And for the wall itself, also dig two two-meter pits (they are needed under the pillars).
3. We turn to the manufacture of walls for the waterfall. To do this, take two 3-meter wooden beams and attach to them a concrete slab using galvanized screws. We attach the plate for one meter. On the reverse side also with wooden beams, strengthen the structure. Note that you need to attach perpendicular to the two side. To make it easier to do this, measure the length of the pieces themselves first, and then fasten them together. Try to place cross beams at the top. At the bottom and in the middle of the wall.
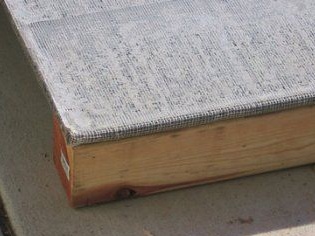
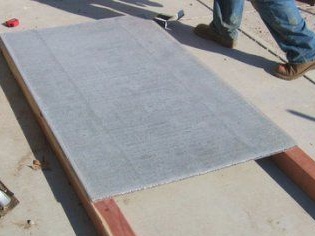
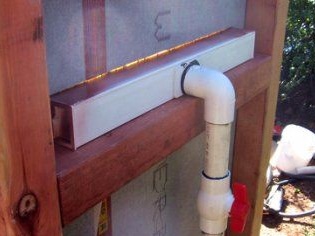
4. We begin to make holes. To do this, retreat 30 centimeters from the upper edge of the plate itself, then cut out the hole with a circular saw. From this hole, water will fall down. Try to make the hole as rectangular and not wide as possible.
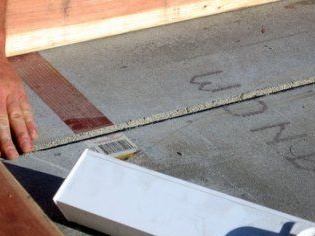
5. Before you fasten the copper sheet to the wall - prepare it. Sand it with sandpaper and sand. This is necessary so that the sheet tightly fastens to the wall.The back side just leave unchanged.
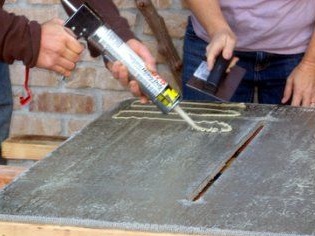
6. Using construction glue (use very strong), glue the copper sheet with the back to the wall. Apply glue with a special notched trowel, so that there is a high-quality hitch. At the same time, press the sheet as hard as possible so that the glue is evenly distributed. For convenience, use a towel.
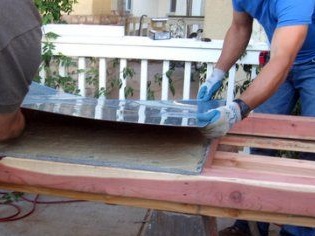
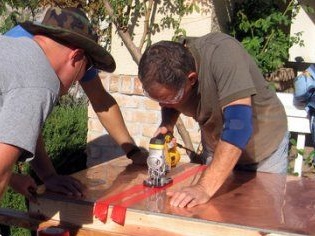
7. After the copper sheet adheres tightly, grab and cut a narrow horizontal hole on it. To do this, outline the cut points and be sure to paste over the edges with masking tape. Adhesive tape is needed in order not to scratch a sheet of copper during cutting.
8. The entire water supply structure is made of plastic pipes and connectors. Therefore, mask visible parts in this way: paint the connector with copper color.
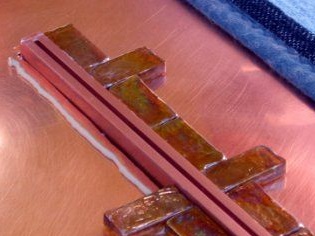
9. As a rule, cutting copper is exactly very difficult. Therefore, it is better to close all the errors with special pieces of decorative tiles, choosing the right tone. They need to be glued with construction glue to the hole in the wall together with a dried and painted connector.
10. Now you must use two beams to drive the wall into the prepared pits. The front side of the wall should be turned to the pool itself. Fix the pits with cement mortar.
11. The pool itself is covered with pebbles. And only then fix waterproof luminaires in it, which are often used to decorate gardens.
12. The last step is to connect all the pipes and connections to your waterfall.
Now your unusual wall with a waterfall and a pool is ready. Admire your invention!
