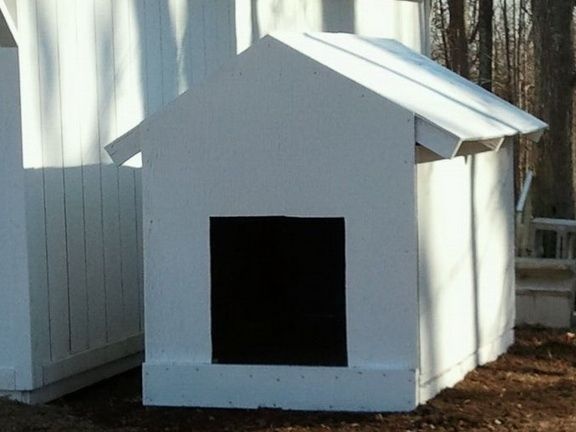
The dog is a loyal friend of a person, and an important member of the family, who also needs their own housing. Therefore, dog owners often wonder how best to build a dog house. Undoubtedly, there are many ready-made booths on the market, however, this purchase is not affordable for everyone. That is why it is better to try to make such a booth yourself. It will take a little skill and some wood. After all, everyone wants the booth to be durable and comfortable for your pet.
Materials and tools:
- beam
- Self-tapping screws
- Plywood
- Electric drill
- Saw
- Paint and brushes
- level
Detailed manufacturing description:
Often, for the proper organization of work, drawings will be required to prepare the right amount of material, and to know what will need to be done, and what dimensions it will have at all. Also in the drawings you will see the exact appearance of the booth.
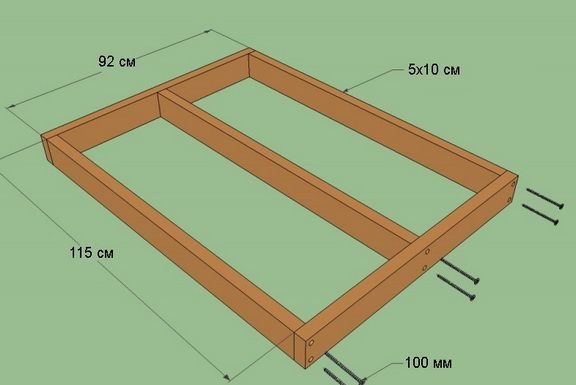
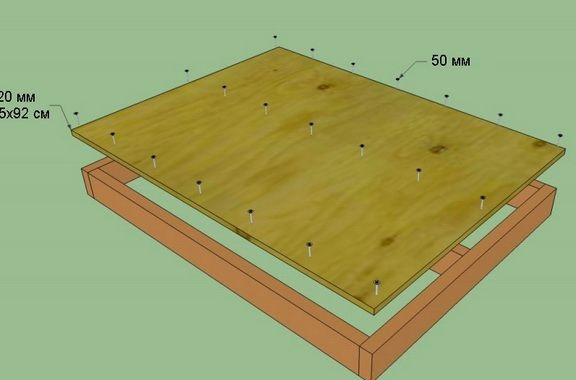
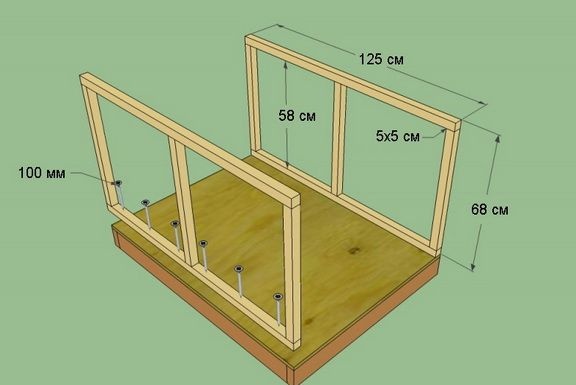
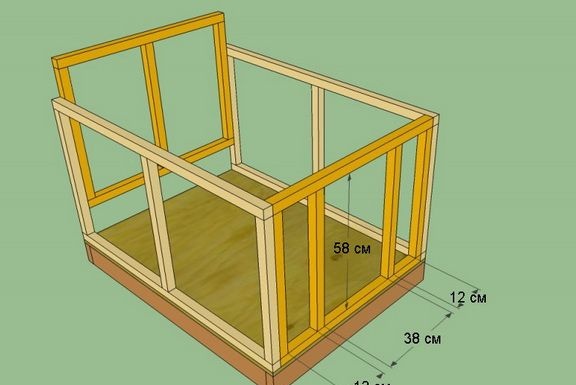
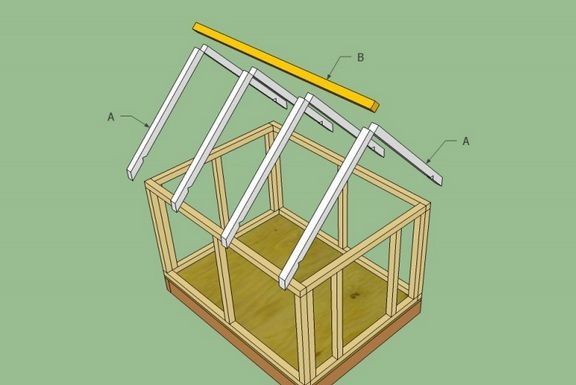
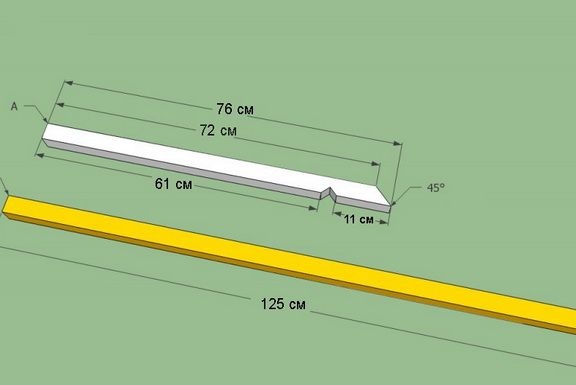
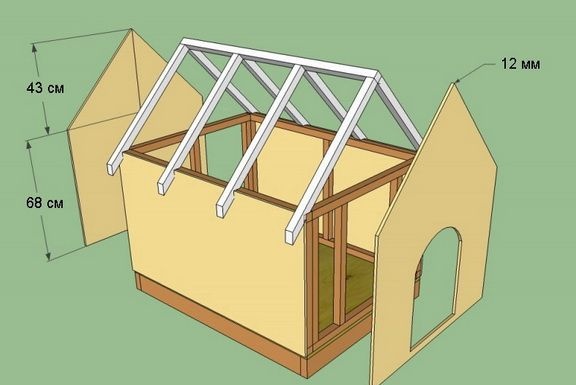
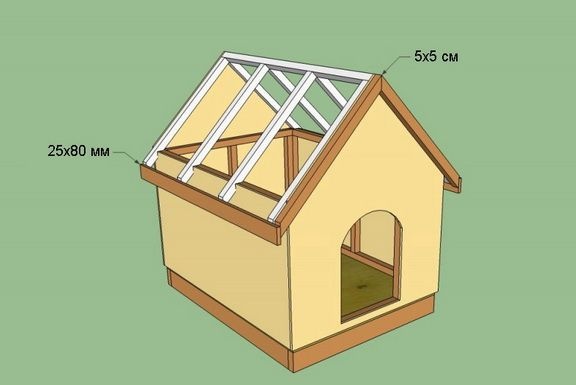
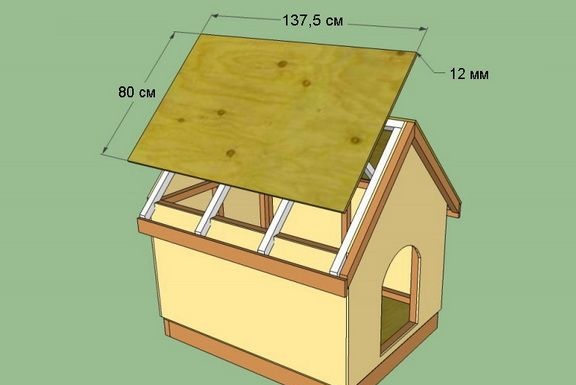
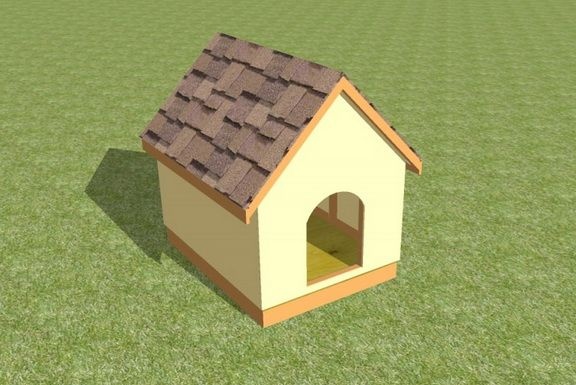
To create a booth, you can use immediately ready-made sizes with drawings, or you can personally fit it to your pet. The first option is much easier to use, it will not require additional calculations and save your time. At this stage, plywood and timber of the required sizes are prepared.
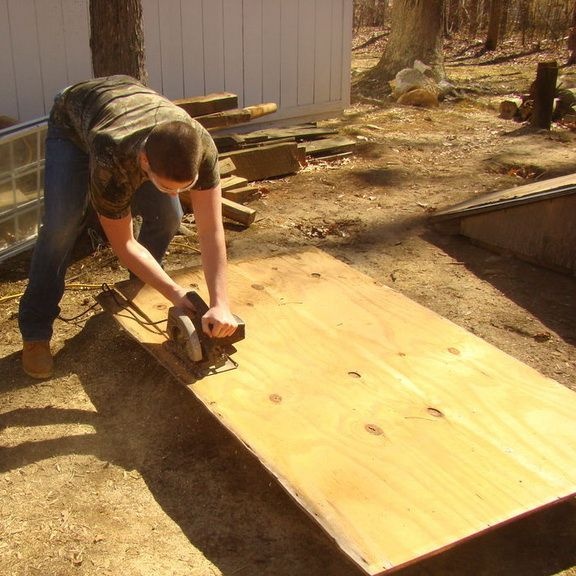
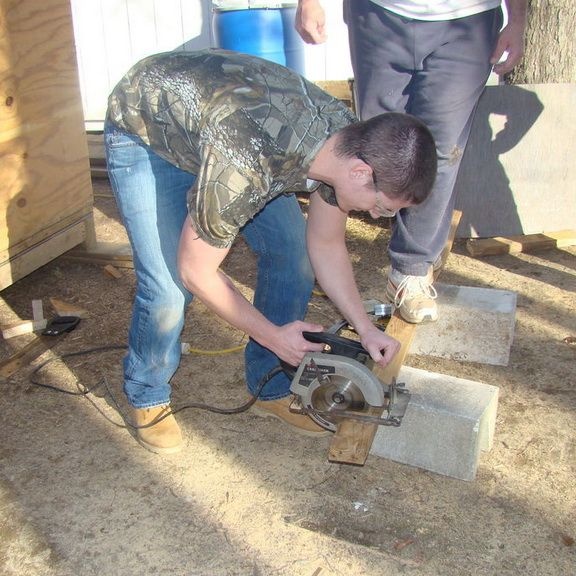
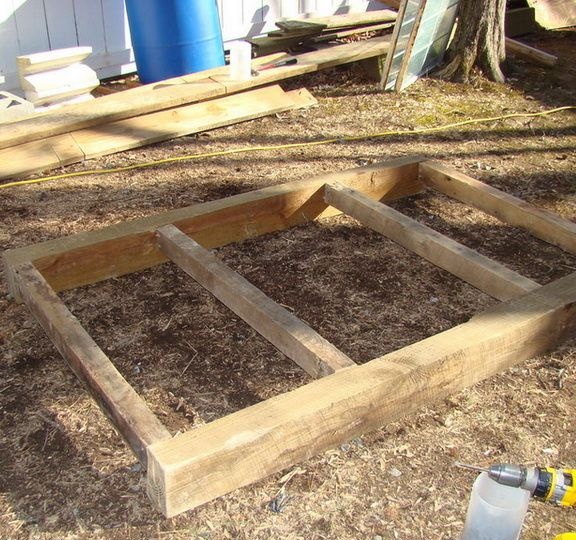
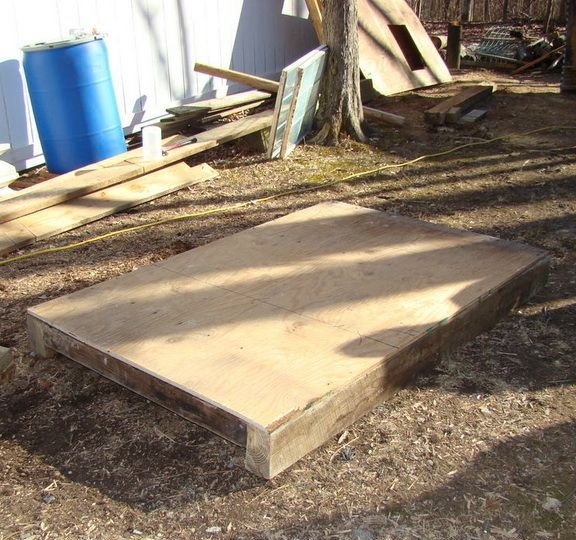
If you have planned to build a reliable booth, then you should pay great attention to the construction of the foundation of the house, since all loads will go to it. To begin with, 2 sawn timber lies parallel to each other, the bars are placed perpendicular to them, they are fixed with self-tapping screws, it is necessary to ensure that the timber is fixed evenly, it is better to do this work together. On a fixed base, plywood is attached from above, and already on it are supporting frames at the edges.
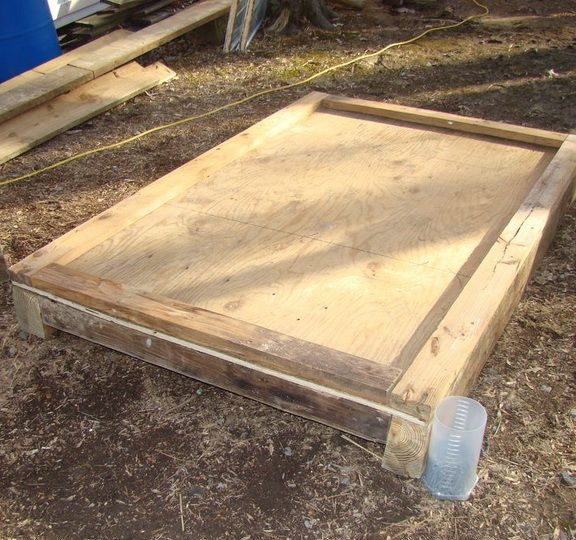
In order for the booth to be reliable, it must have good support frames throughout the structure. To do this, corner beams are installed on the finished base. During installation, the building level is used to control the perpendicularity of the floor beams. Then, the notches of the shape of the tail of the swallow are attached, and the side walls sit on the screws. The back wall is set in exactly the same way.
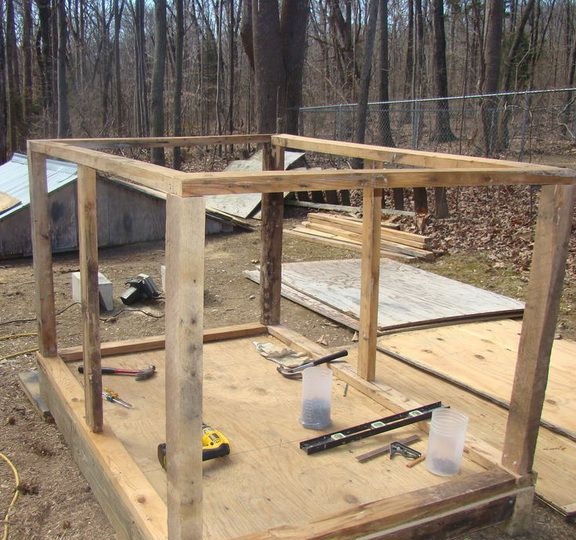
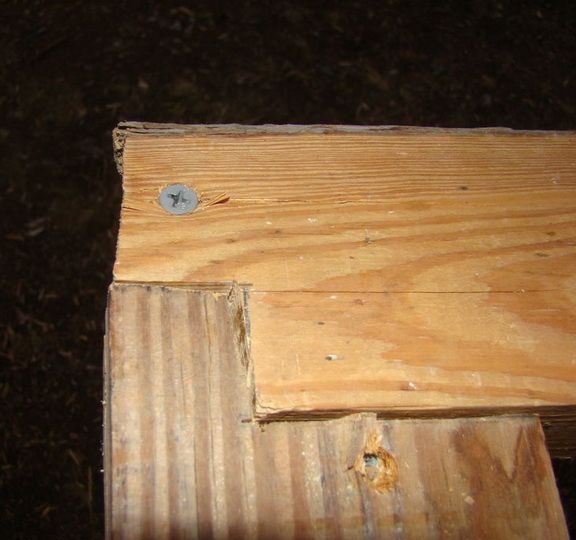
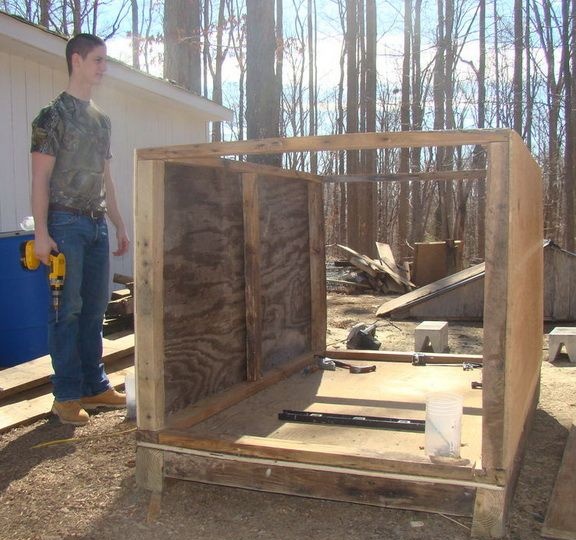
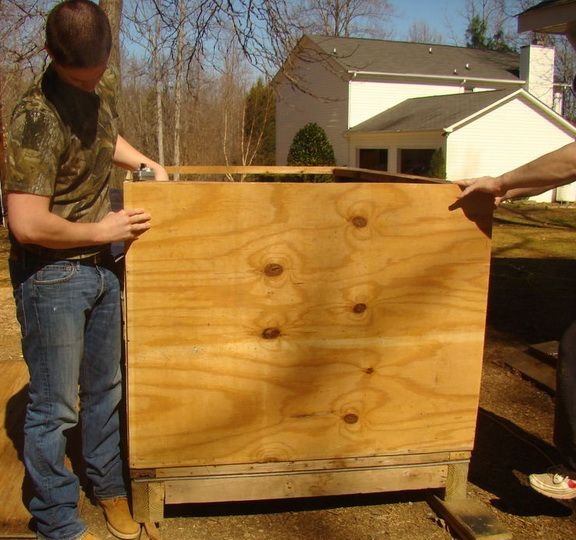
Next, you should start creating a rafter.To begin with, two triangular structures are assembled from the bars, after which they are fixed on the front and rear panels.
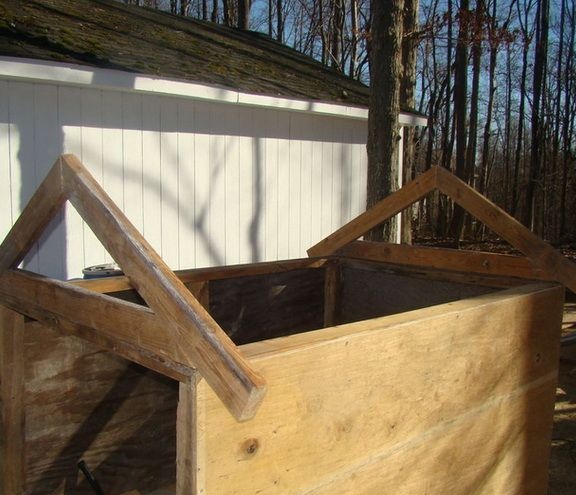
The plywood roof is mounted on triangular rafters with self-tapping screws. Similarly, the back of the booth is installed.
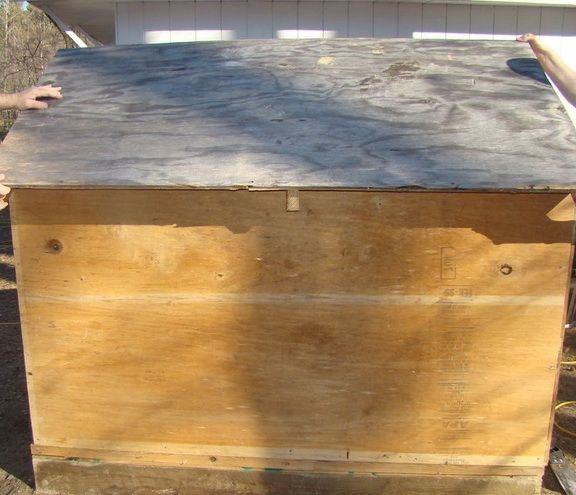
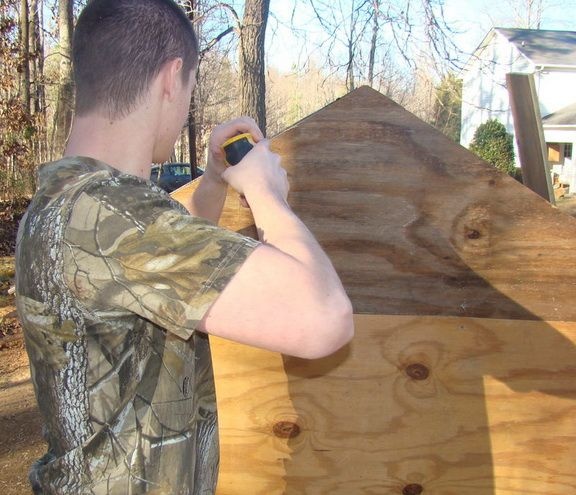
Then you need to screw the front wall to the booth with a pre-cut hole for your pet's entrance, this is done very simply - with a jigsaw. Next, the bottom panel is installed, which will close the beam.
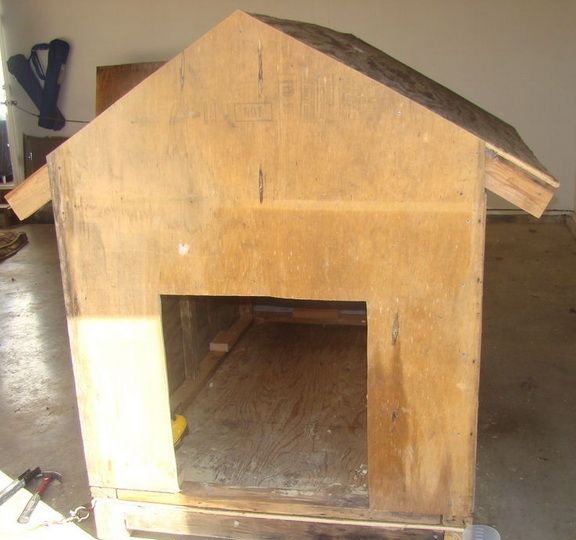
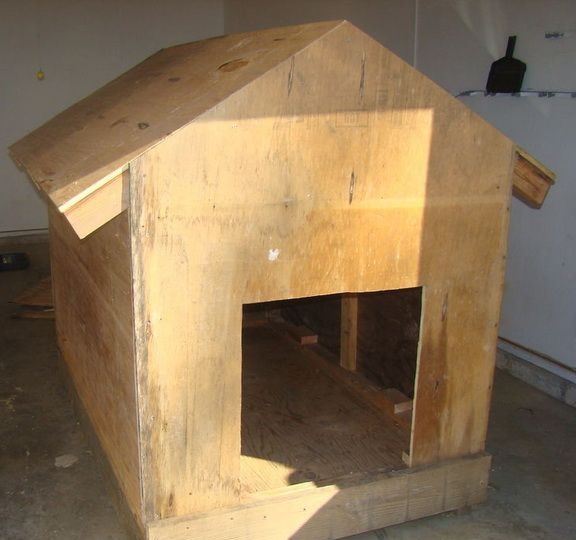
After that, the booth is painted, dries and is ready to move a new tenant into its walls. For convenience, you can lay a blanket or dog mat in the booth.

