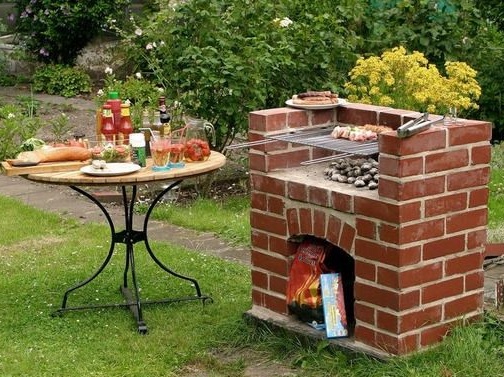
With the onset of summer, almost everyone goes to fry kebabs, using improvised materials if there is no barbecue, which is very inconvenient. Buying a barbecue in the store is not a very profitable occupation, especially if you want a good and high-quality, rather than thin metal. Then the question matures, why not build a barbecue on your own in the country for grilling kebabs?
To begin construction, you must immediately determine the right place for the location of the grill. It should stand so that it was convenient for the cook, and smoke did not fly to the neighbors' area. Next, you need to take care of the foundation, as you will see in this article.
Materials and tools:
- shovel
- Boards for formwork
- Fittings
- Concrete
- Heat-resistant bricks
- wire to strengthen
- Cement
- sand
- Reinforcing bars or mesh
- slaked lime
- Corners metal
- Master OK
- Drywall
- metal tray
Detailed manufacturing description:
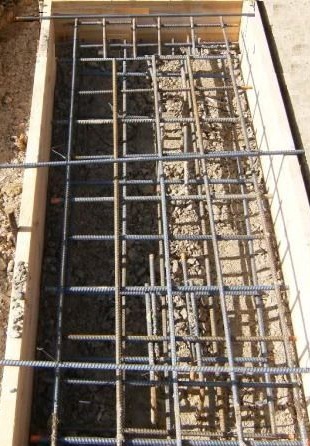
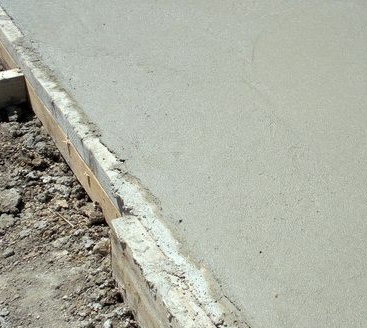
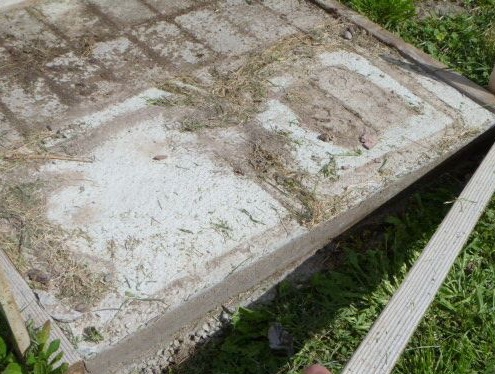
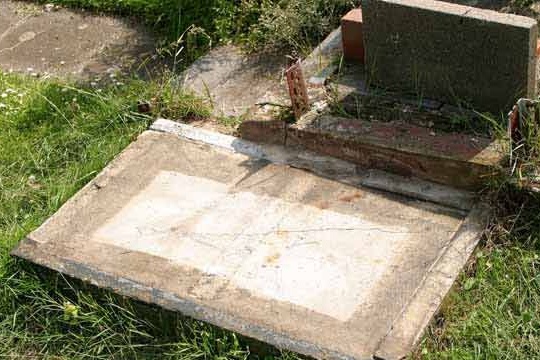
If you are interested in a brazier that will stand for years, then you just need to lay the foundation for it, otherwise you will just lose your time and money in vain. The size of the foundation directly depends on its future dimensions. For a start, digging a foundation pit for the foundation itself. Formwork is installed along its edges, reinforcement is installed inside the pit around the entire perimeter. Now the whole structure is poured with concrete, after which it is left to dry until two weeks have completely solidified.
When the foundation has finally hardened, you can begin to building barbecue.
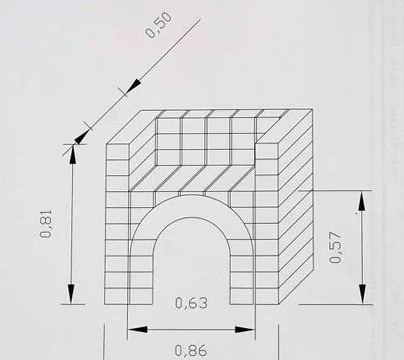
If you look at the construction itself, it becomes clear that you can do without drawings and diagrams, they will be needed only to calculate the material. For approximate calculations, you can simply decompose the brick in the form in which it should be located. Thus, it will be approximately visible how many whole and half halves of the brick are needed, and where the seams will be.
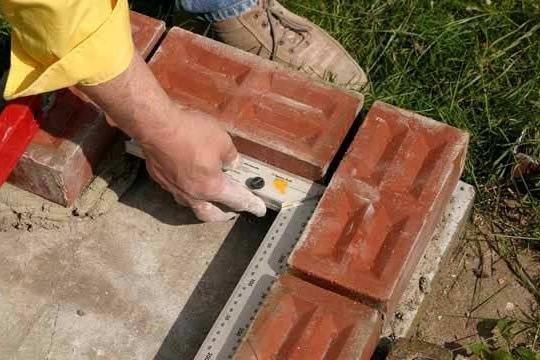
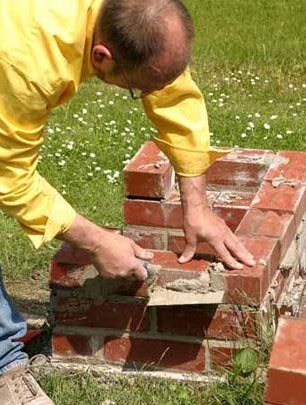
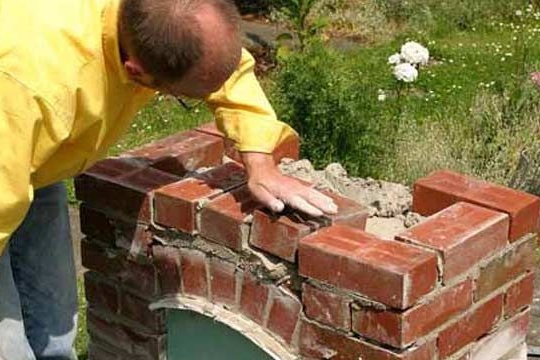
Do not forget that the brick is a material that absorbs moisture, so it is better to put a couple of layers of roofing felt under it, or other insulation. To start work, you need to prepare a masonry mortar. For him, you need to mix part of the cement with three parts of sand and a quarter of slaked lime. It turns out a creamy mixture on which prepared bricks are laid out. It is important to ensure that the space between the bricks is evenly filled with mortar. For a better fit, each brick is tapped with a trowel.All rows are staggered. Starting from the second row, it is recommended to use a clay-chamotte mixture, which is more heat-resistant.
Little by little, the bricks are stacked one on top of another, forming the future barbecue.
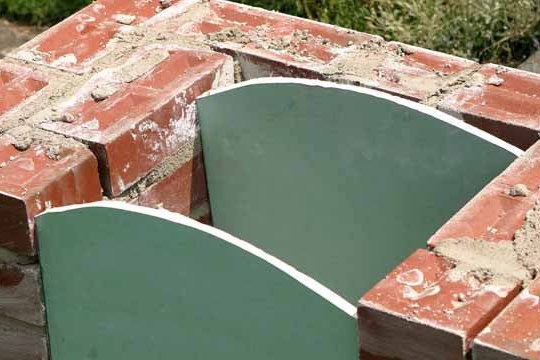
Further, patterns for the so-called arches in the barbecue are cut from drywall. On top of the templates lay 2 more sheets of drywall in a semi-oval form. A brick is laid vertically on top of them.
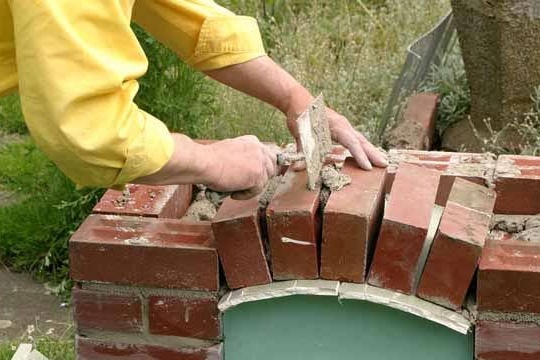
The walls are verified by level, and rise another 1-2 rows, a row of bricks lies horizontally on top of the arch. Reinforcing bars are installed between the walls at the base under the frypot, and the furnace base (metal tray) is laid on them.
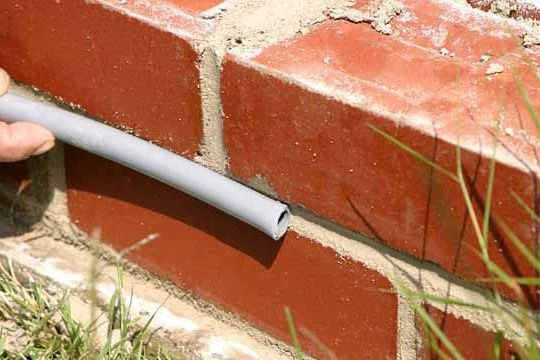
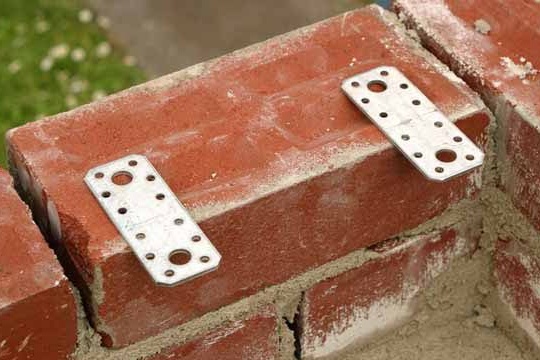
At the same time, side gaps are left in the furnace area that are not filled with the solution, so that air enters the chamber to ensure the combustion process. When there is already an even square of brick and mortar in the form of a table, 3 more rows of bricks are laid out on the sides. Between the second and third row, metal protrusions are installed - future lattice holders.
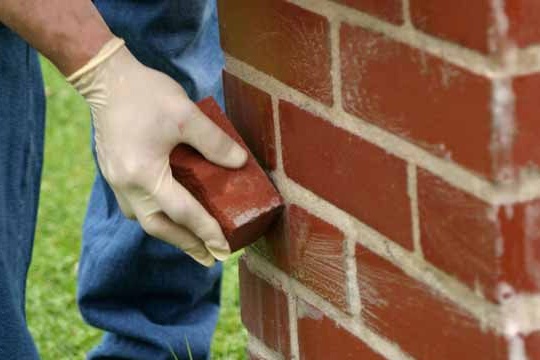
Brazier seams and bricks are washed from excess mortar.
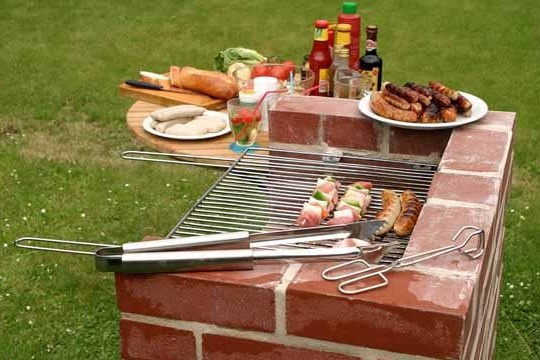
Such a brazier will be reliable and strong, it is convenient to clean and light the coals in it. It remains to buy meat and sausages, get the grill and call the whole family or friends for a barbecue.