The history of the use of wood by the Slavs for the construction of houses, utility structures, fences and fences is rooted in the distant past. Even then, our ancestors understood all the advantages of using this unpretentious natural material for construction. From it were built houses, windows, roof, floor and household items. And, despite the modern variety of building materials, wood still holds a leading position as a reliable eco-friendly building material.
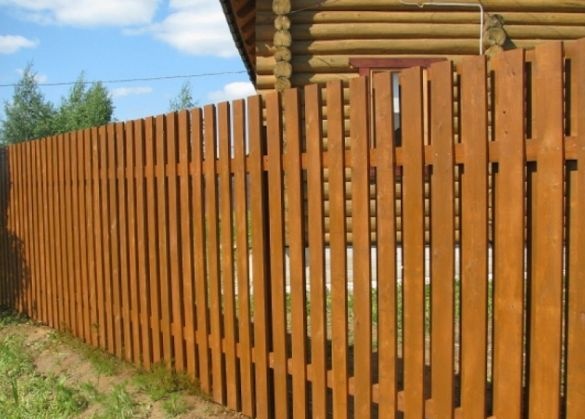
Today we’ll talk about a wooden fence fence. Such a fence performs several functions at once: it limits the territory of our site, and at the same time adds coziness and tranquility, decorating our house.

In addition, this fence has several more advantages. Firstly, a wooden fence is very versatile in the matter of combination with the design of the house; it looks great next to a house of stone, brick, next to concrete and metal elements of the facade and decoration. The next advantage of such a fence is the ease of installation, because anyone can build a fence from a picket fence summer residenthaving no construction experience. And finally, such a fence is very easy to maintain and operate; all care is reduced only to periodic coloring of its surface.
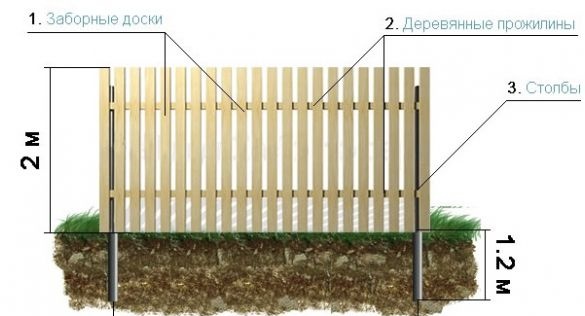
First you need to prepare the materials necessary for the construction of a wooden fence. Amy will be: pillars for support (metal or wood), shtaketin, transverse wooden boards. In addition, we will need the following tools: a drill or a shovel, a drill, screws, and a screwdriver with a saw.
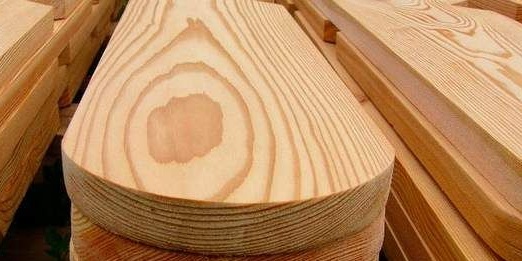
Shtaketins - finished from the store or created do it yourself? Which option would you not choose, each of them has its pros and cons. In the case of buying ready-made shtaketin, the process of building the fence is noticeably simplified and accelerated, because all we need to do is just install them. However, when buying shtaketin, there is a risk of running into a poor-quality raw tree, which will "lead" over time. In the case of preparing the material for the fence with your own hands, you should be prepared that it will take a little longer to erect the fence than in the first version. The advantages in this case, of course, will be that you will be 100% sure of the quality of the materials used, and the fact that such a fence is guaranteed to serve you for more than a dozen years.
Having decided on the picket fence, you should understand exactly how much of it you need.To do this, measure the total length of the fence, its height, consider the planned distance between the shtaketin, the number of supporting posts.
Now you can proceed directly to the construction of the fence. To do this, at the place where the fence is planned to be installed, clearing is carried out, all garbage and foreign objects are removed. Next, the landmark thread is pulled along which we will build the fence.
It's time to engage in support pillars. To do this, pits of the order of 1 meter each, with a pitch between the pits of no more than three meters, dig with a drill or shovel. Why exactly three meters? Everything is very simple - if the posts are arranged in increments of more than three meters, sagging and deformation of the transverse beams, and with them the entire fence, is possible. We don’t want this, right?
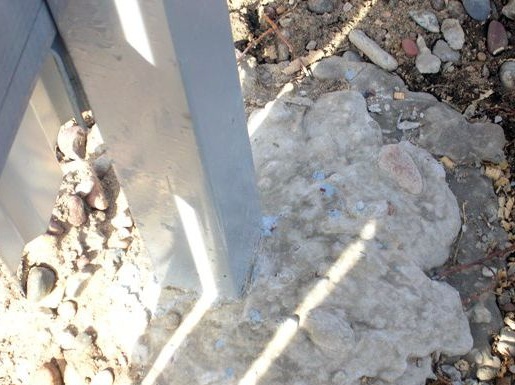
Digging out the pit and installing supports there, you can do their strengthening. We recommend installing columns with subsequent pouring of their base with concrete, for greater strength and stability.

Having established the pillars, we proceed to the installation of transverse beams - veins. And here we have two options: either install the veins first, and then fix the picket itself on them, or collect one span of the picket with veins and such “sets” to fix them between the support posts.
Whatever method of installation of the fence you choose, the principle of fixing the shtaketin is always the same. Each shtaketin in increments of about five to seven centimeters is attached to the transverse veins with the help of self-tapping screws or even ordinary nails. If your support posts are made of iron, make sure that special angles are welded onto the posts to secure the cross members. To these corners you will fasten veins with a picket fence.
And now, the fence is installed and you are one step away from the end of construction. It remains only to process the fence with stain and varnish, or paint it. This will not only protect it from moisture and the sun, from microorganisms and insects, but also give the fence a complete, original look.
Pay attention to the fact that the stain and varnish do not adhere well to freshly planked shtaketas, so the shtaketins should be slightly “roughened” with sandpaper.
After processing and opening with varnish, our fence is ready.


