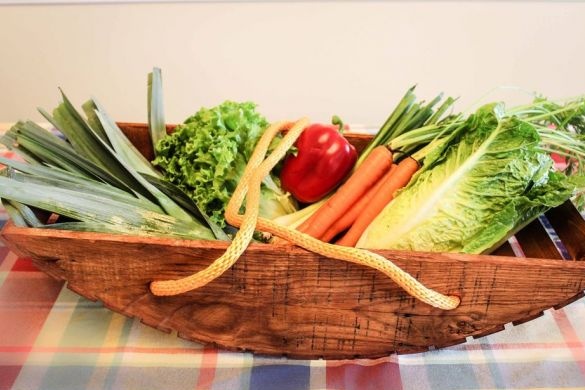
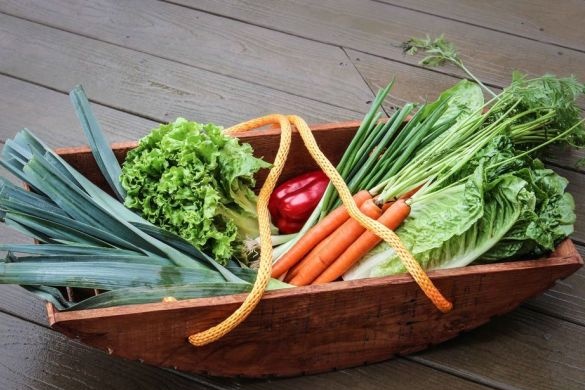
Even beginners can make this roomy basket for the garden, because for its production you need a minimum of tools and materials and a couple of hours of free time. A quick video and step-by-step job description will help you do everything quickly and correctly.
Tools required:
- band-saw;
- drill with drill 14 mm;
- hammer;
- portable mini grinder.
Materials that are needed to make a basket:
- 1 wooden board measuring 1.3 * 13 * 122 cm;
- 3 wooden boards measuring 4 * 0.7 * 243 cm;
- nails;
- glue;
- marker;
- ruler;
- paint (optional);
- 182 cm of rope with a diameter of 1.3 cm.
1 step
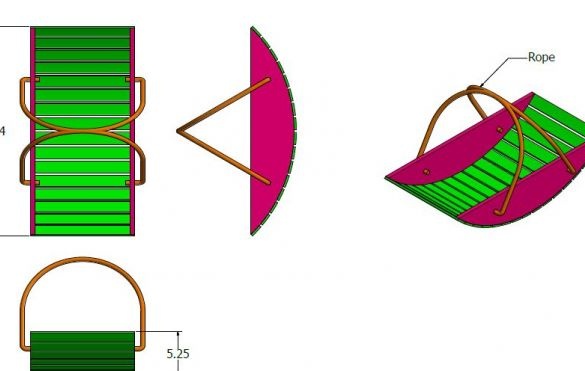
Initially, familiarize yourself with the scheme according to which you will make a basket.
Remember that the dimensions shown on the diagram are in inches. Accordingly, they must be converted to centimeters. So:
• the length of the basket is 24.34 inches = 61.8 ≈ 62 cm;
• the width of the basket is 12 inches = 20.48 ≈ 20.5 cm;
• The height of the basket is 5.25 inches = 13.3 cm.
2 step
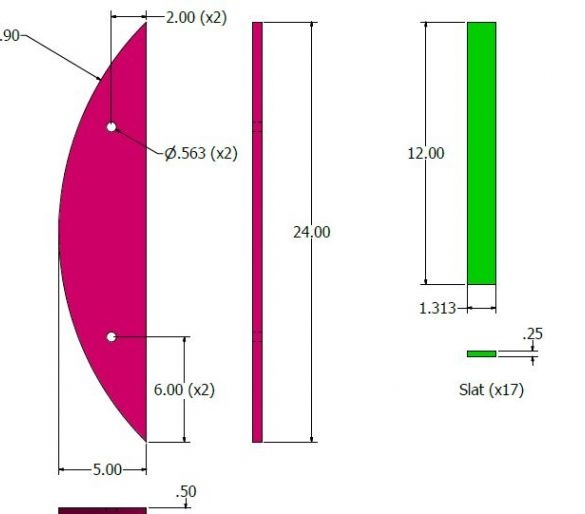
Now study the following pattern and, according to it, cut out the necessary details for the manufacture of the basket from wooden boards.
Do not forget that in the diagram all sizes are indicated in inches and they must be converted to centimeters. Accordingly, we calculate the dimensions of the side (semicircular) parts of the basket:
• part length - 24 inches = 60.9 ≈ 61 cm;
• part width is 5 inches = 12.7 ≈ 13 cm;
• part thickness - 0.5 inches ≈ 1.3 cm;
• the radius required to obtain the rounded part of the part is 16.9 inches = 42.9 ≈ 50 cm;
• the diameter of the round holes for the pens is 0.56 inches = 1.4 cm;
• the distance from the top of the part to the round hole is 2 inches = 5 cm;
• the distance from the edge of the part to the round hole is 6 inches = 15 cm.
In total, 2 such details are needed.
Now we calculate the sizes of the boards from which the basket frame will be made:
• part length is 12 inches = 30 cm;
• part width is 1.313 inches = 3.33 cm;
• the thickness of the part is 0.25 inches = 0.63 ≈ 0.6 cm.
In total, 17 parts of this size must be manufactured.
3 step
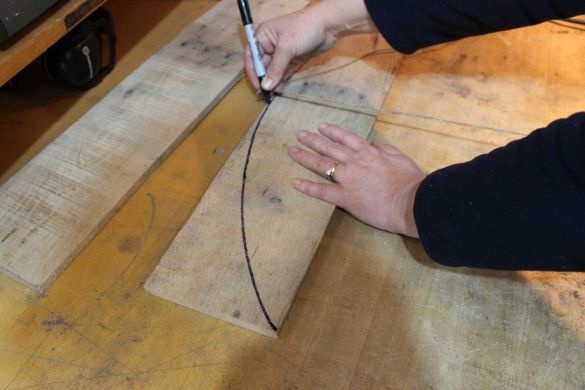
Using a marker and a ruler, we mark up on wooden boards according to the sizes specified in the previous step.
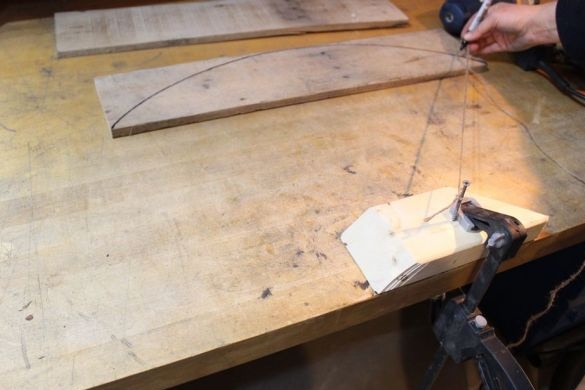
A little trick: to draw an arcuate line needed for the side part, use the marker to which the elastic is attached. Attach the other end of the gum to a fixed object (for example, tie the end of the gum to the nail head).Then position the wooden board (on which the arc will be drawn) so that its center is opposite the nail, pull the rubber with a marker and boldly draw the arc.
Do the same with both parts.
For clarity, refer to the photo of this step.
4 step
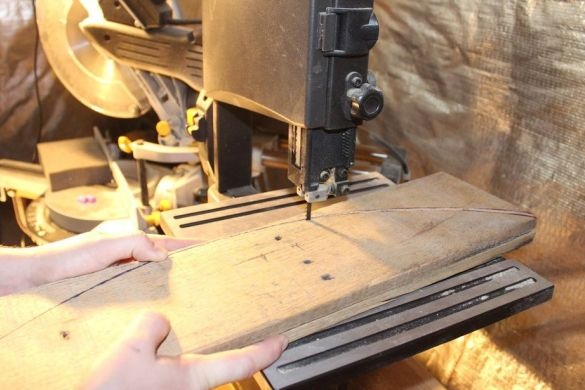
Using a band saw, cut the side parts of the basket according to the marked markings. To make it faster, lay the parts on top of each other.
Do the same with the parts for the basket frame.
5 step
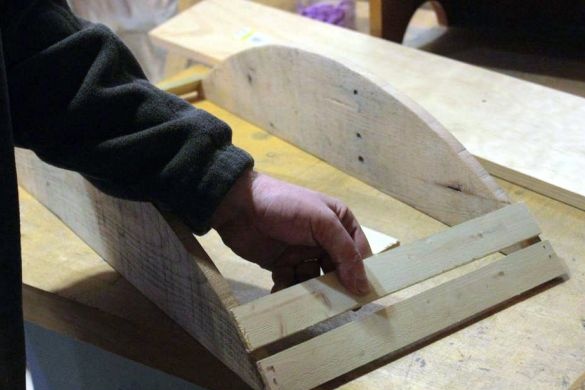
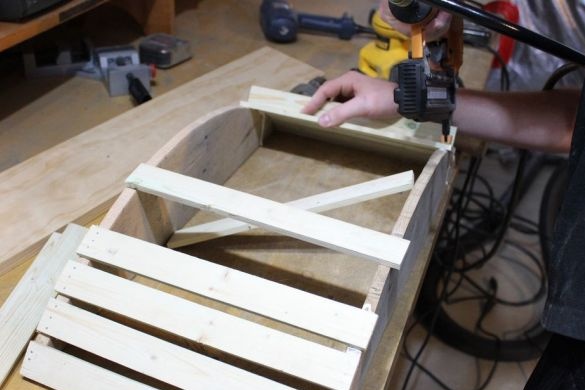
Glue the basket parts together as shown in the photo.
The author draws attention to the fact that some transverse trims may appear protruding and that extra edges need to be cut off.
6 step
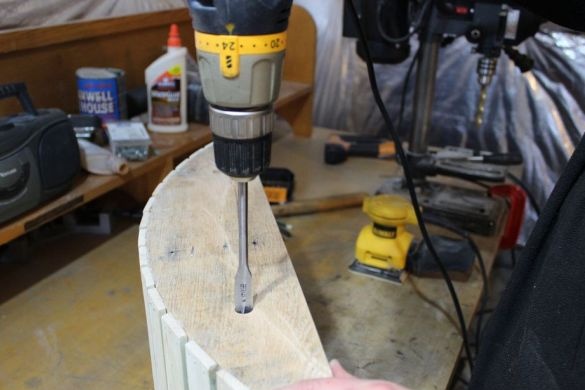
Using a drill with a 14 mm drill, make holes on the sides of the basket as described in Step 3.
7 Step
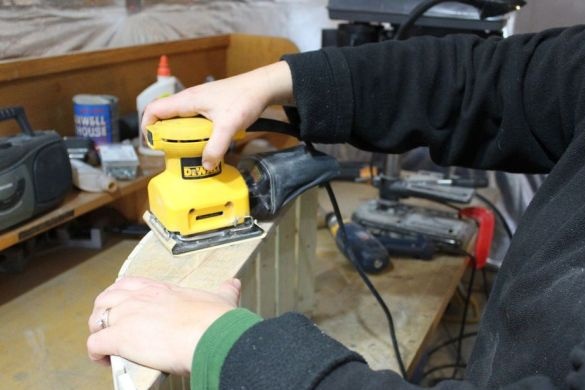
Now use a portable mini-grinder to polish the surface of the basket to smoothness and shine.
8 Step
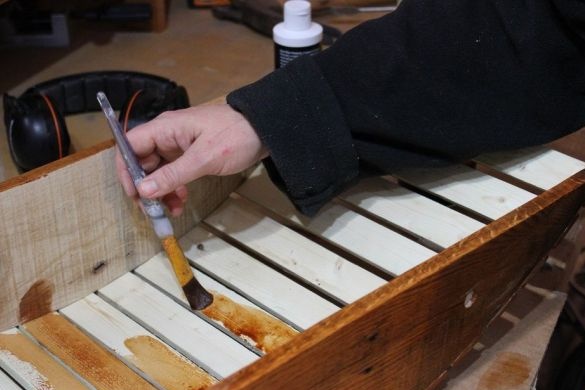
If necessary, paint over the basket. The author suggests using a home-made coloring mixture for these purposes. To prepare it, they used: ¼ cups of instant coffee, 5 drops of red food coloring and ½ cup of water. Such a mixture, according to the author, is most easily applied to a wooden surface with a paint brush or a cellulose sponge.
Leave the basket to dry for 12 hours.
9 Step
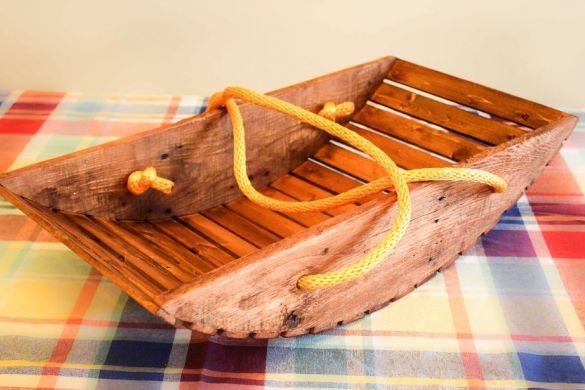
Now make handles for the basket. To do this, cut the rope in half and pull each part through the holes in the side parts of the basket. Tie the edges of the handles into tight knots.
Now the basket is ready! You can use it not only for garden needs, but you can also take it to the beach or for a picnic, or use it for decorative purposes - as an interior item. For example, lovers of cooking can serve in a basket fresh pastries and fruits, and needlewomen can store in it stocks of thread or yarn.

