
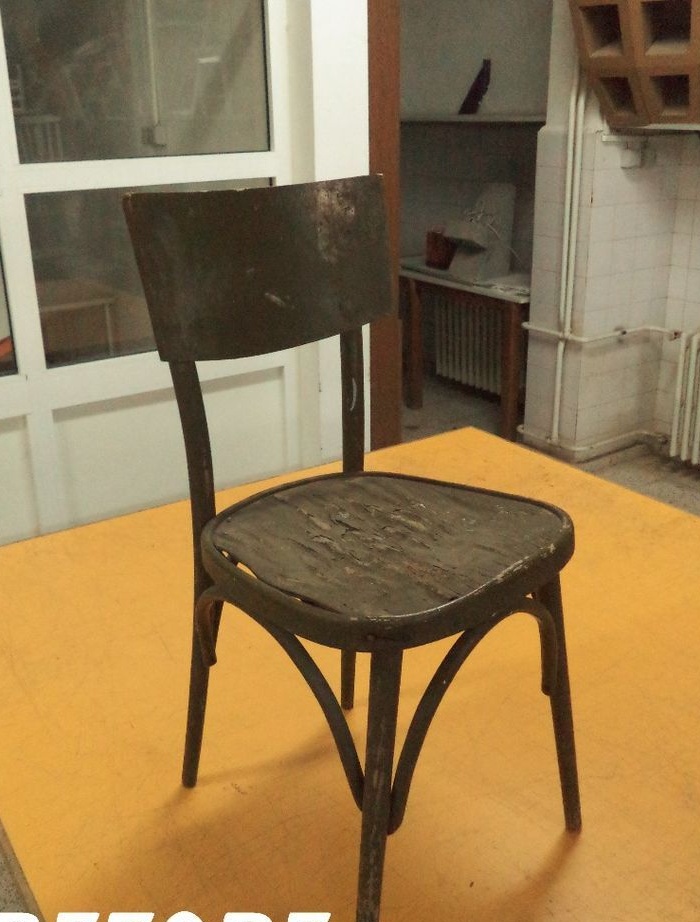
Old and unusable chairs can be restored on their own
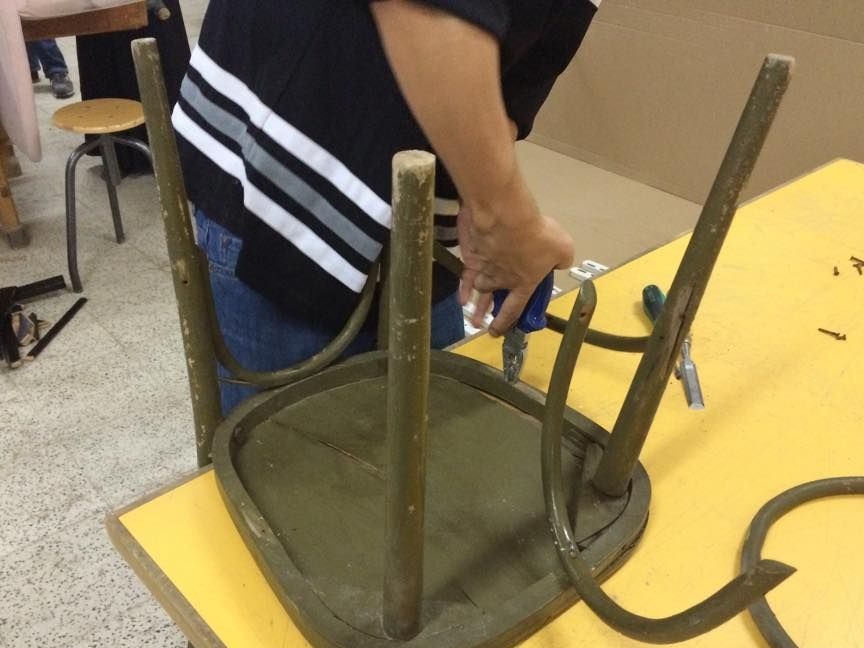
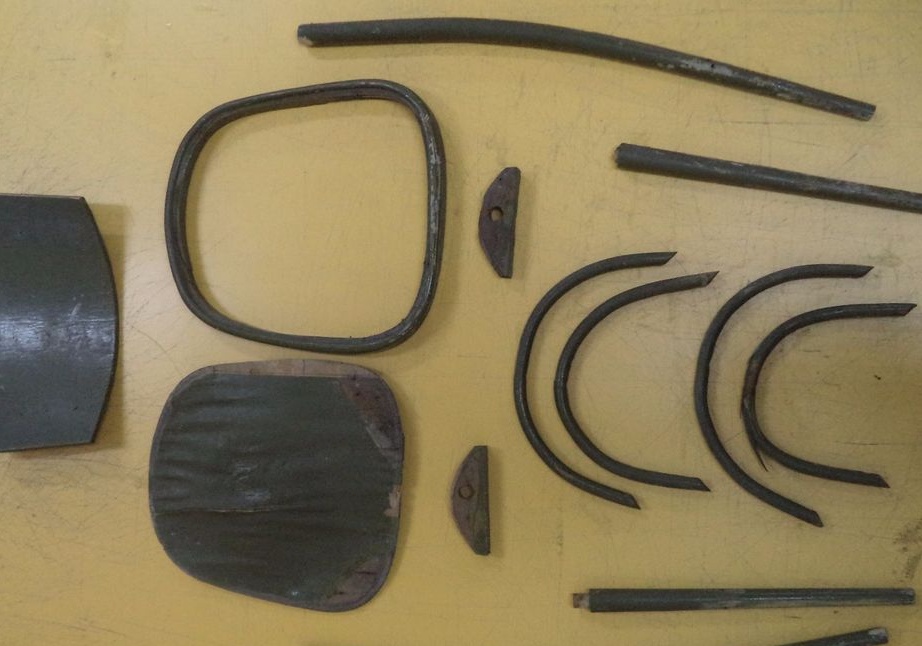
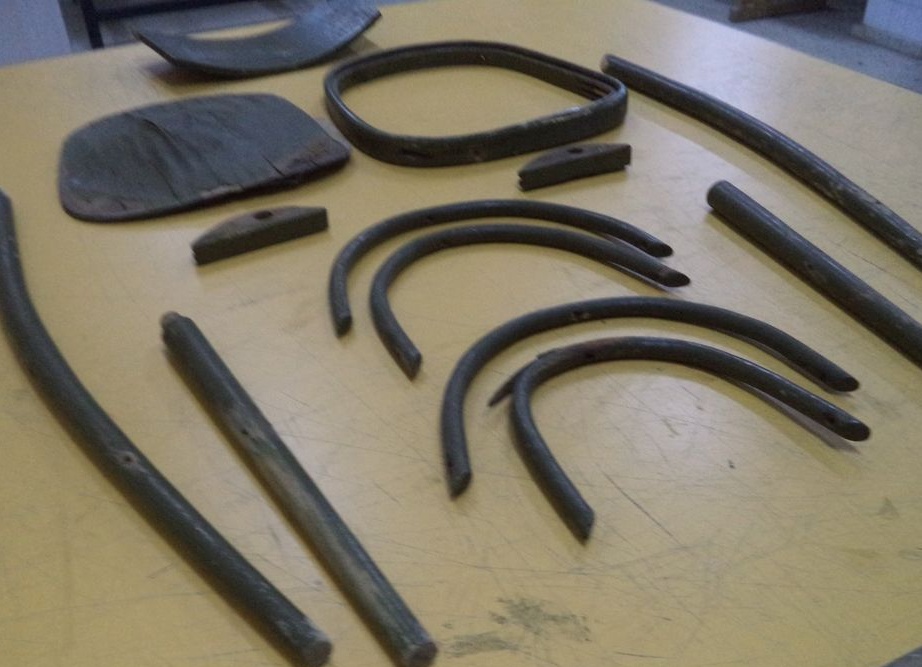
Step number 1: disassemble the old chair into parts
You must independently separate all fragments and additional parts from the base of the chair, which serves as the frame of the product. Use special tools to facilitate the task.
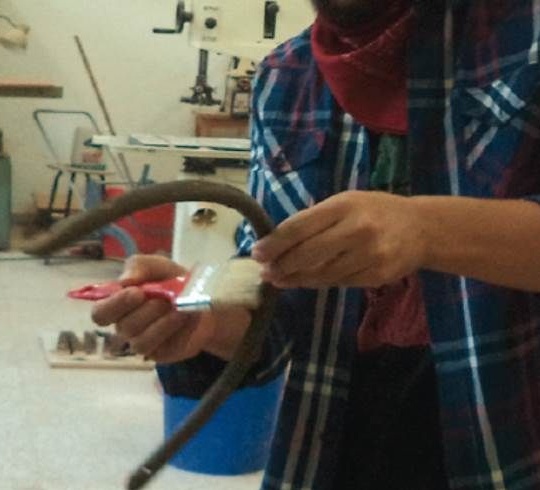
Step # 2: Remove the old paint from the surfaces of the chair
Using a special gel, remove the top coat of paint from the product. Remains of paint can be removed with a spatula, scraping off pieces. Before covering the chair frame with new helium paint, leave it to dry for a couple of hours from the old coating.
Step # 3: Grinding the surface of the chair
To remove all scratches and cracks from the chair, you need to sand it with high quality. Fine sandpaper is suitable for this. You can also use a special grinding tool, but if you do not have it, then the paper will completely cope with this task.
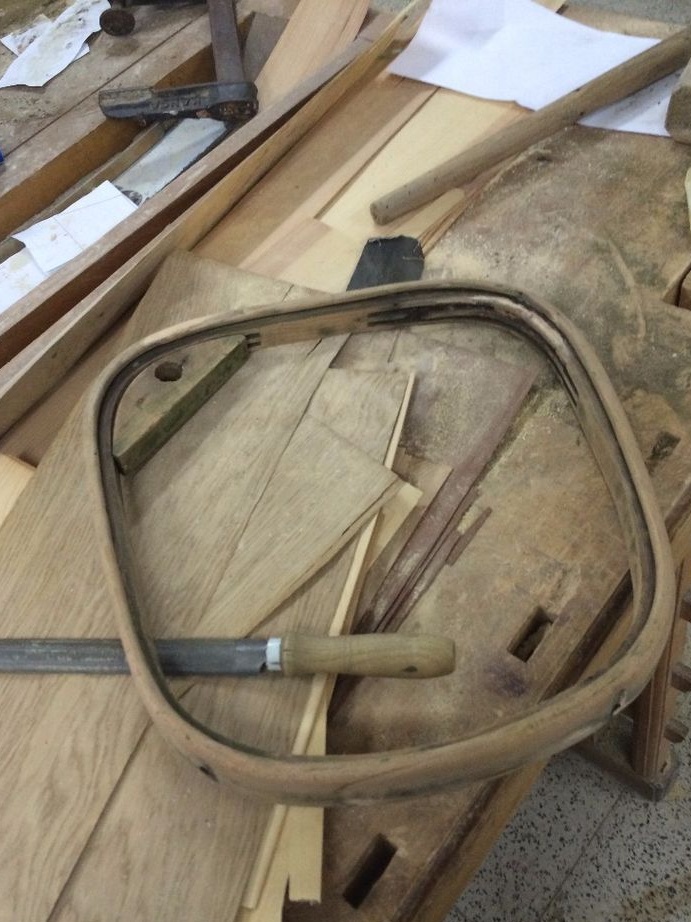
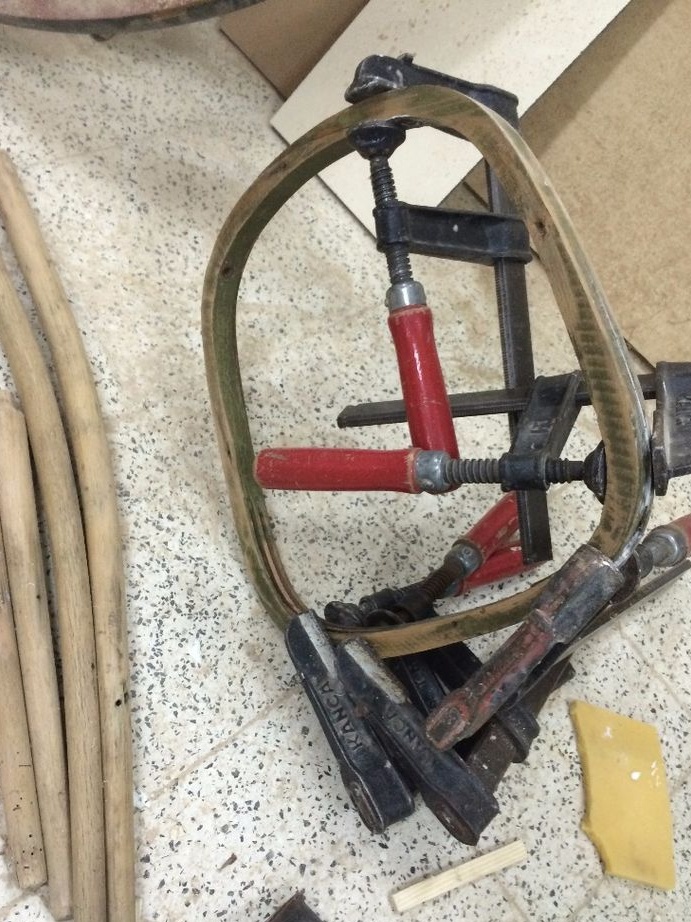
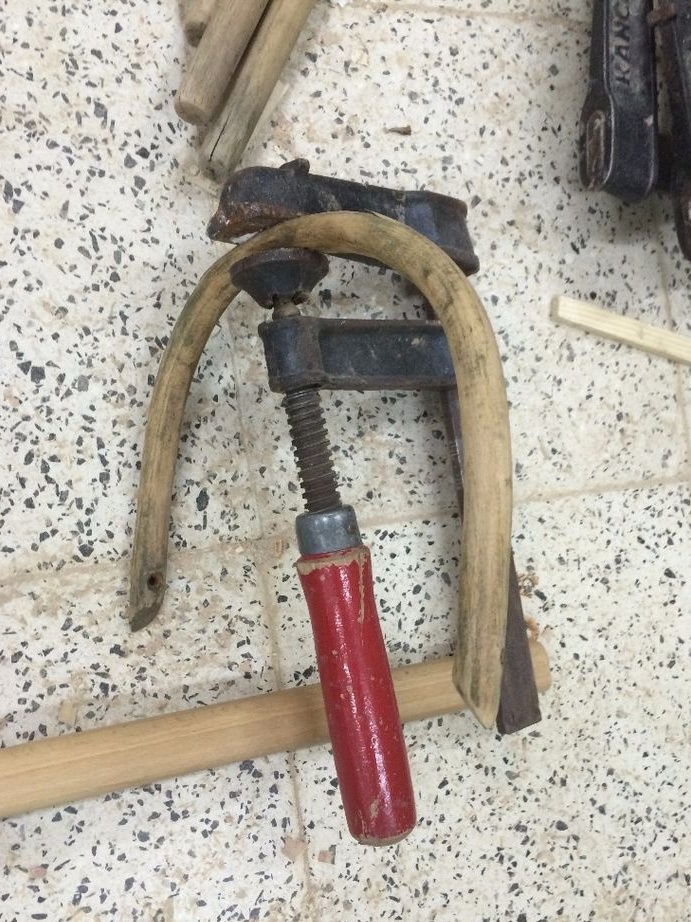
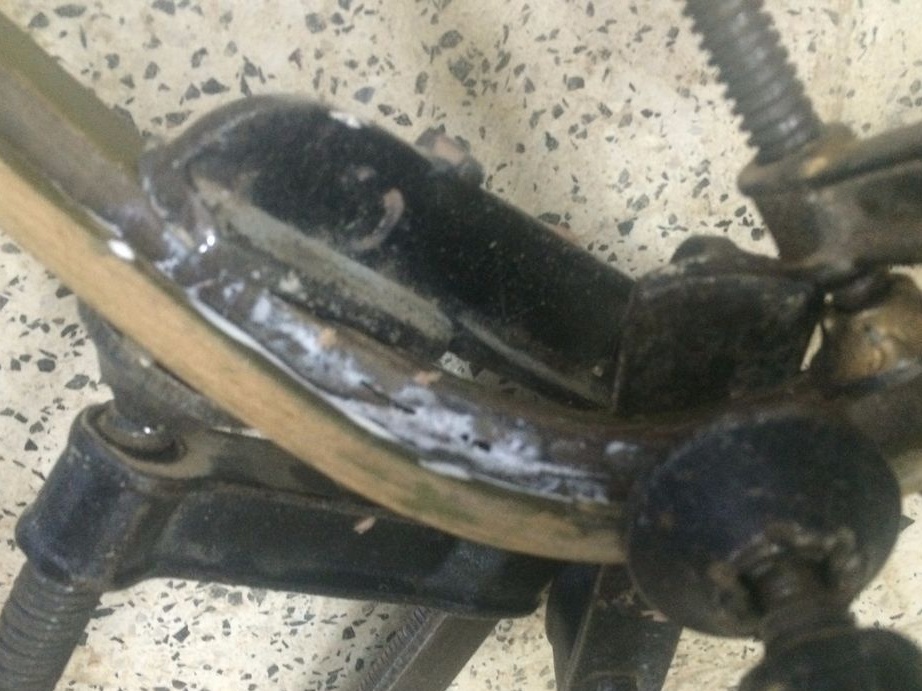
Step # 4: Repair Damaged Parts of the Chair
If your chair is very old, then for sure there are parts in it that need repair. Joiner glue will help to glue the parts of the chair after repair. After repairing the chair, you must wait 24 hours. After that, you can continue to work on the product.

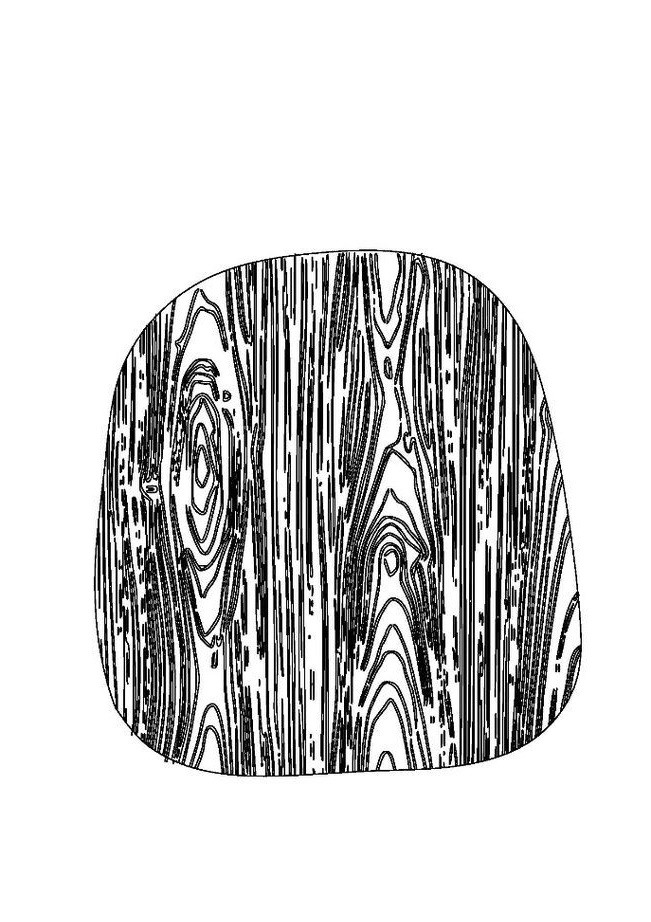
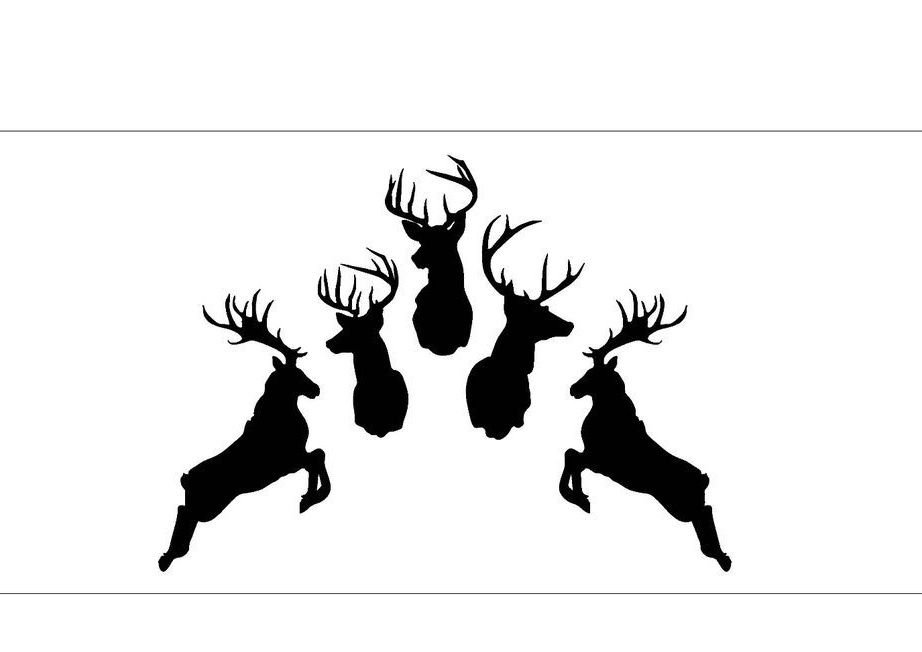
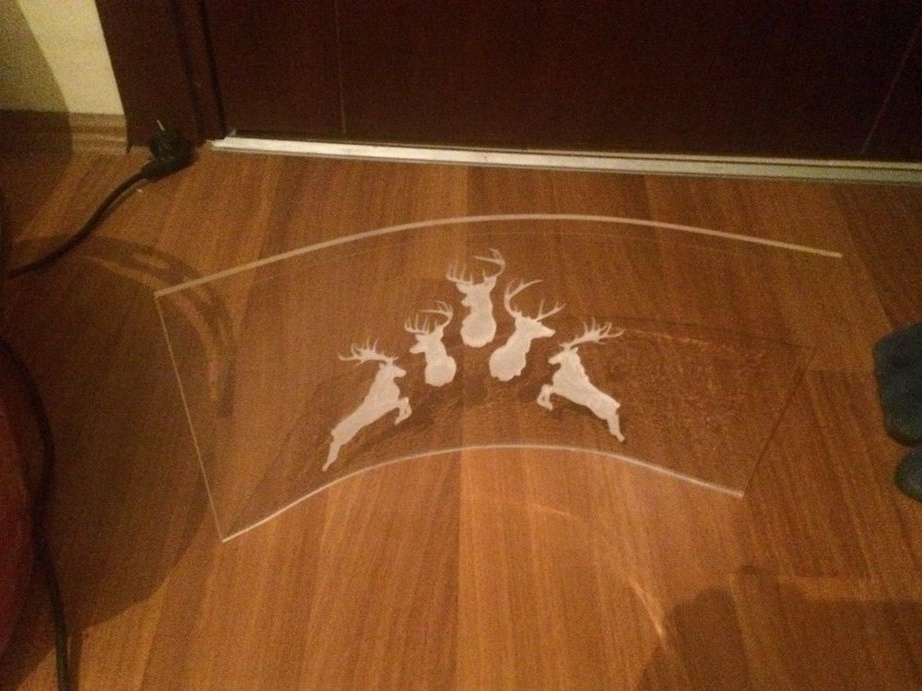
Step number 5: working on the design
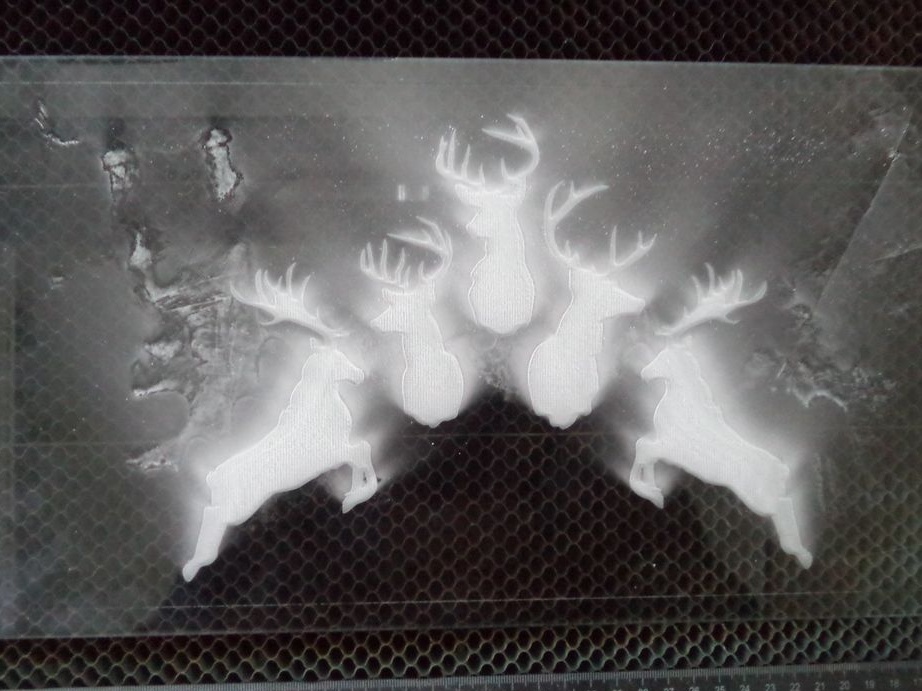
You can take ready-made sketches for different parts of the future chair. You can crop and edit future designs using programs on your computer. For example, AutoCAD will help you a lot. Since we will continue to work with laser cutting, it is necessary to save the design in DXF format.
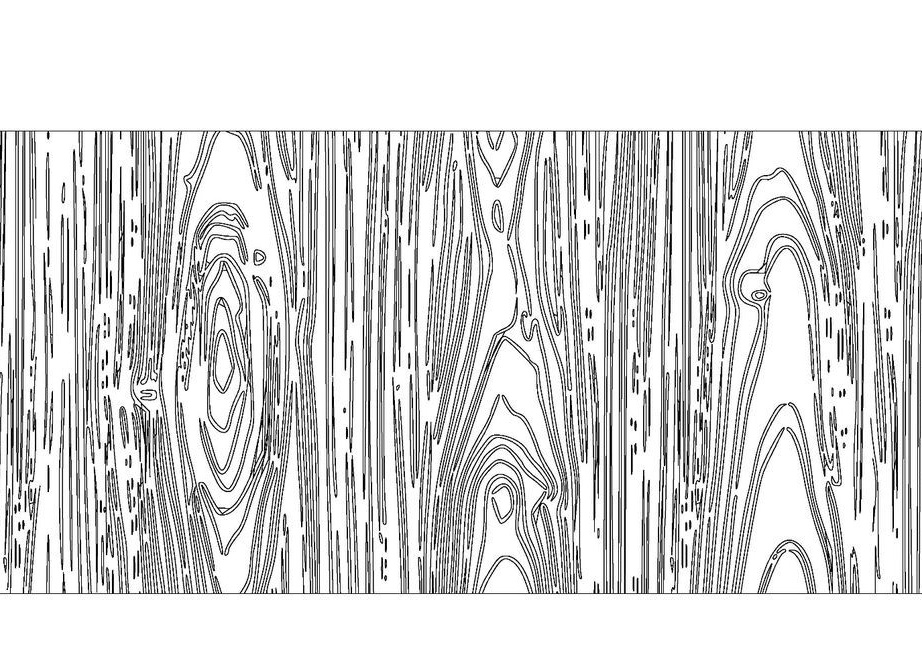
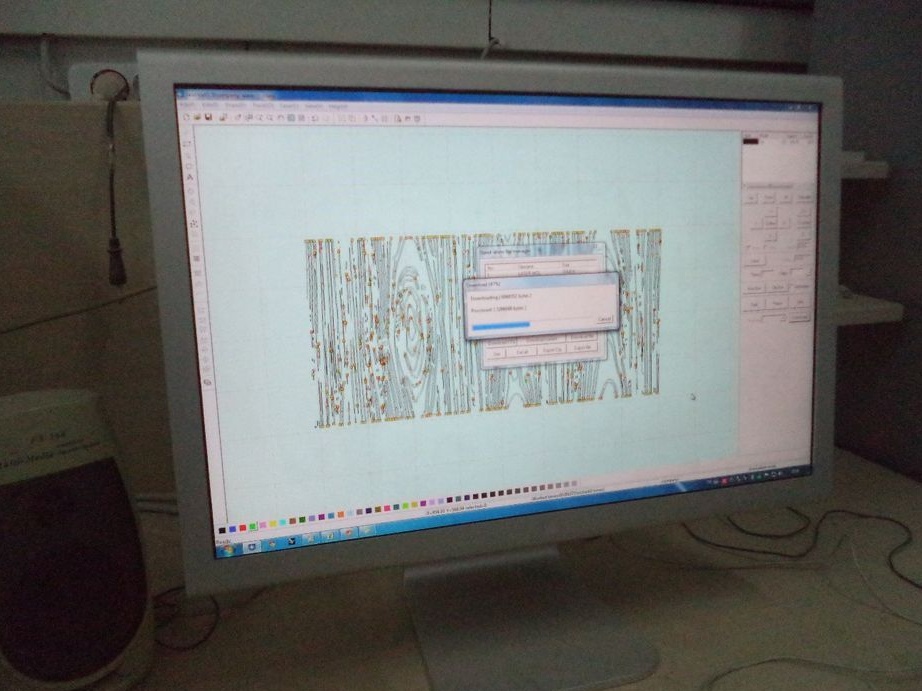
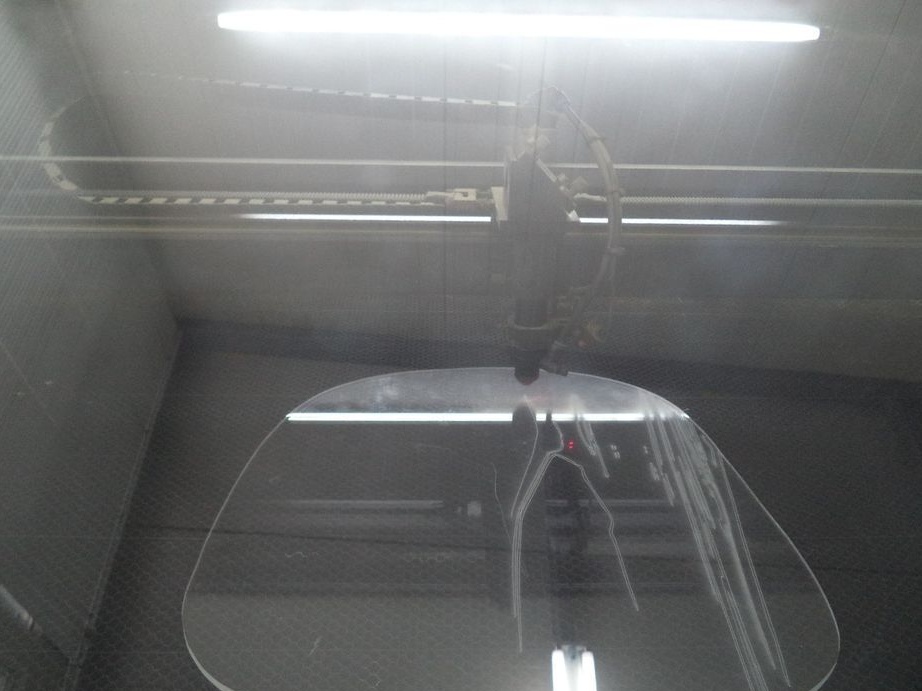
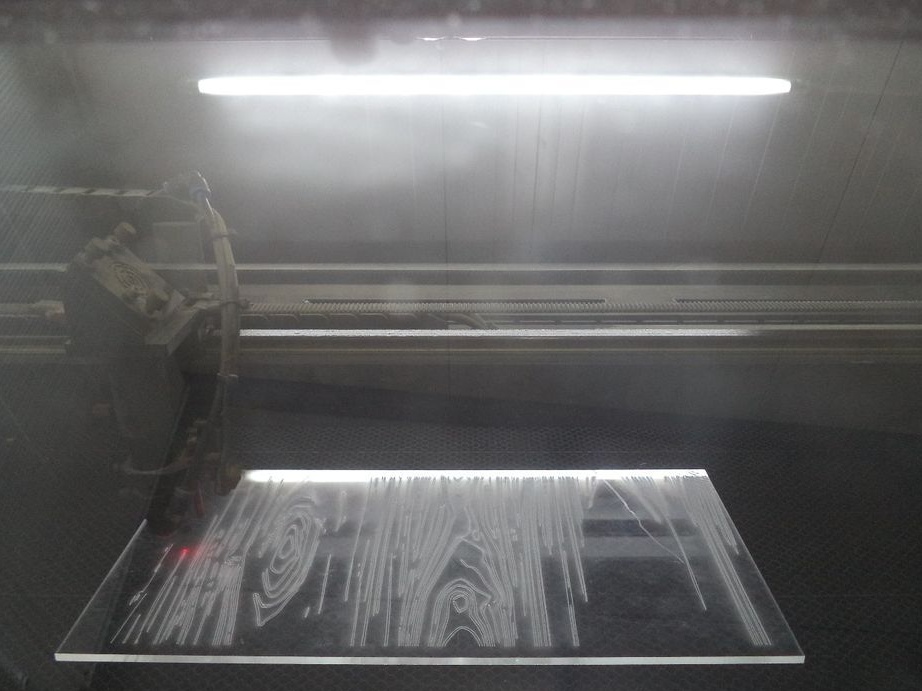
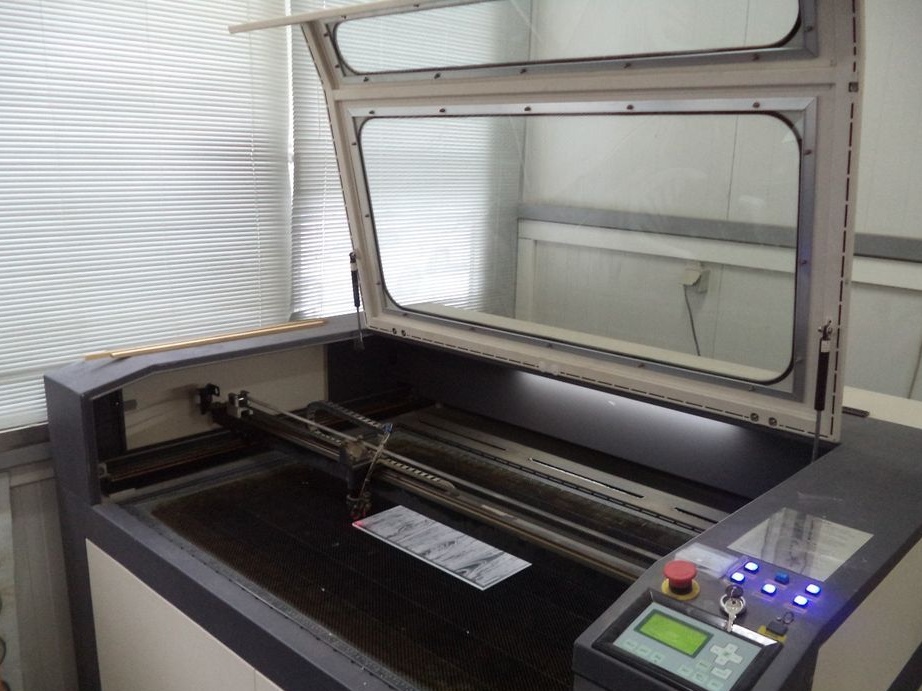
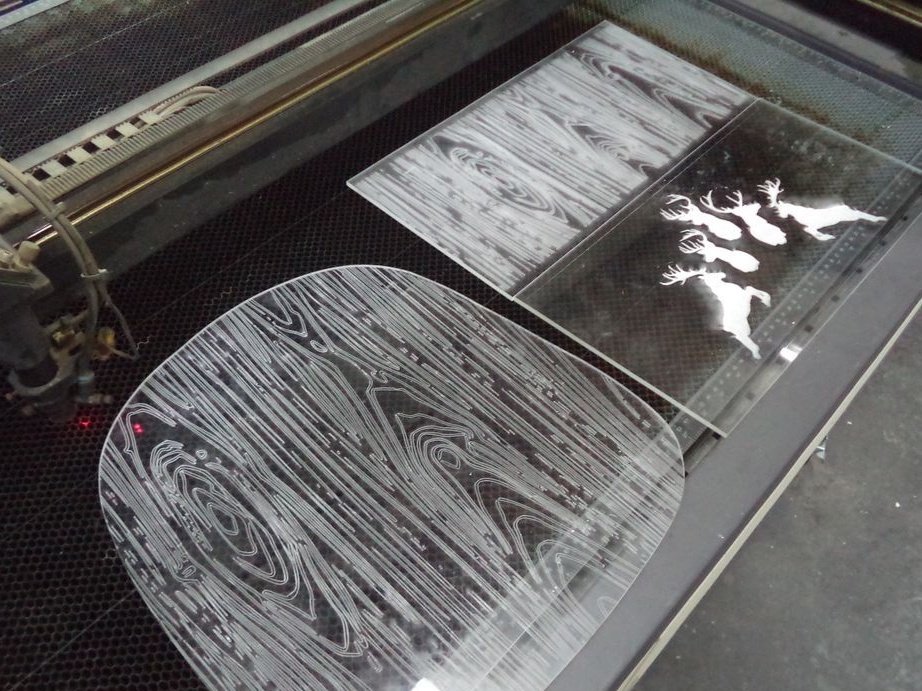
Step 6: Production Process
So the process of laser cutting production has come. The lines on the template should not be close to each other. This will allow you to scale the drawing in the drawing phase.
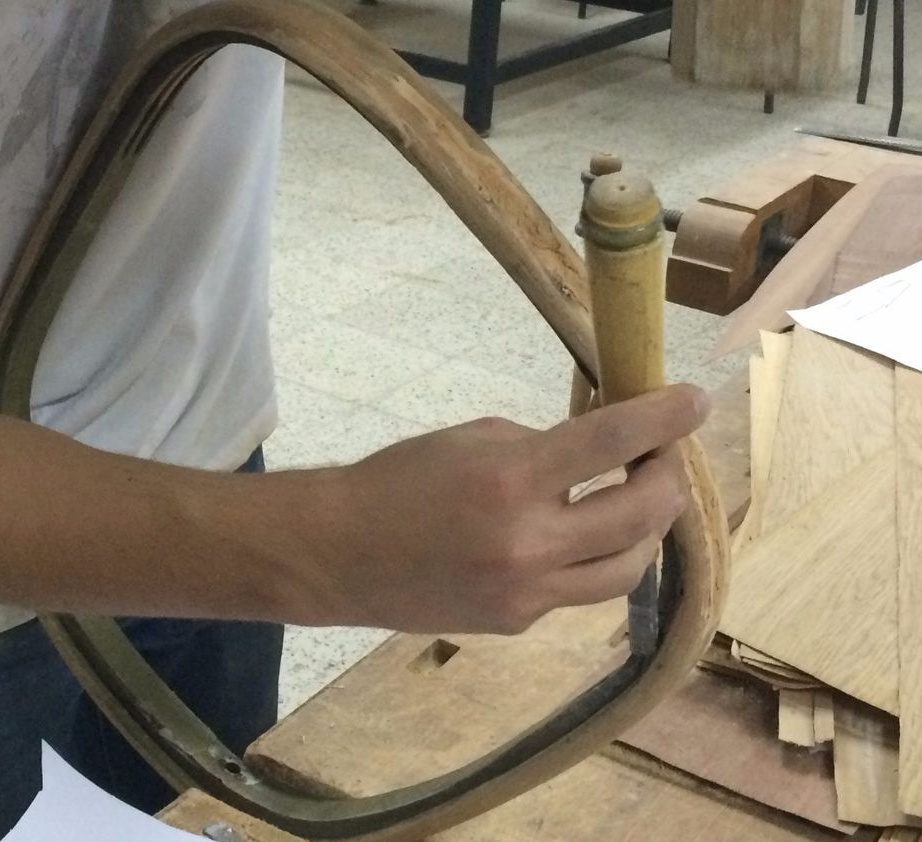
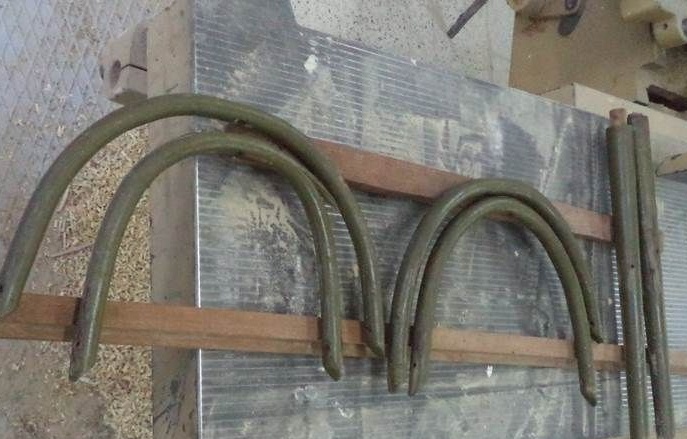
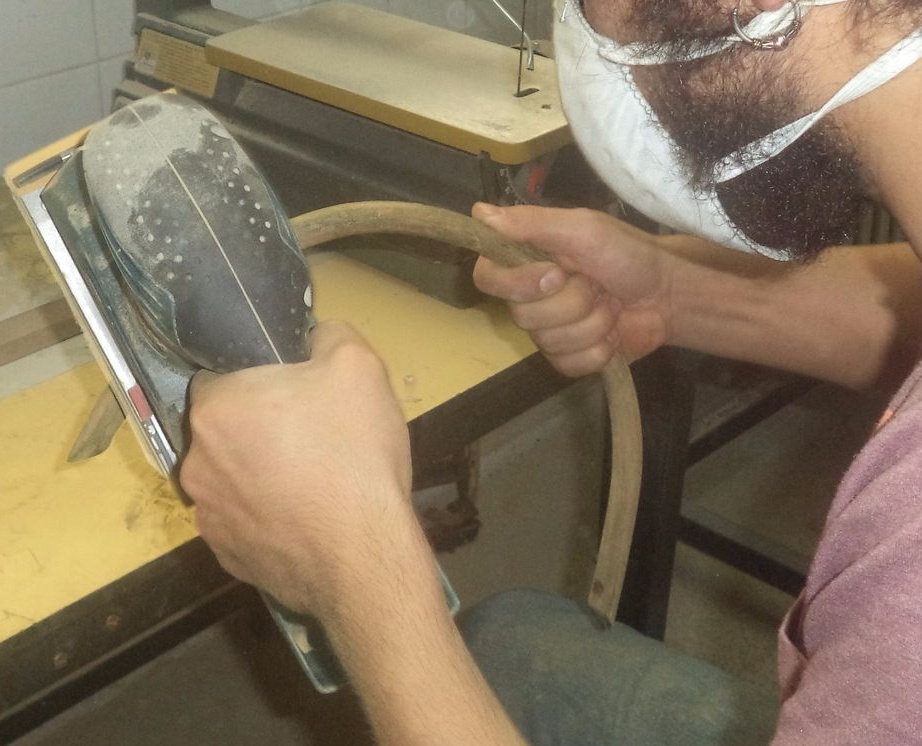
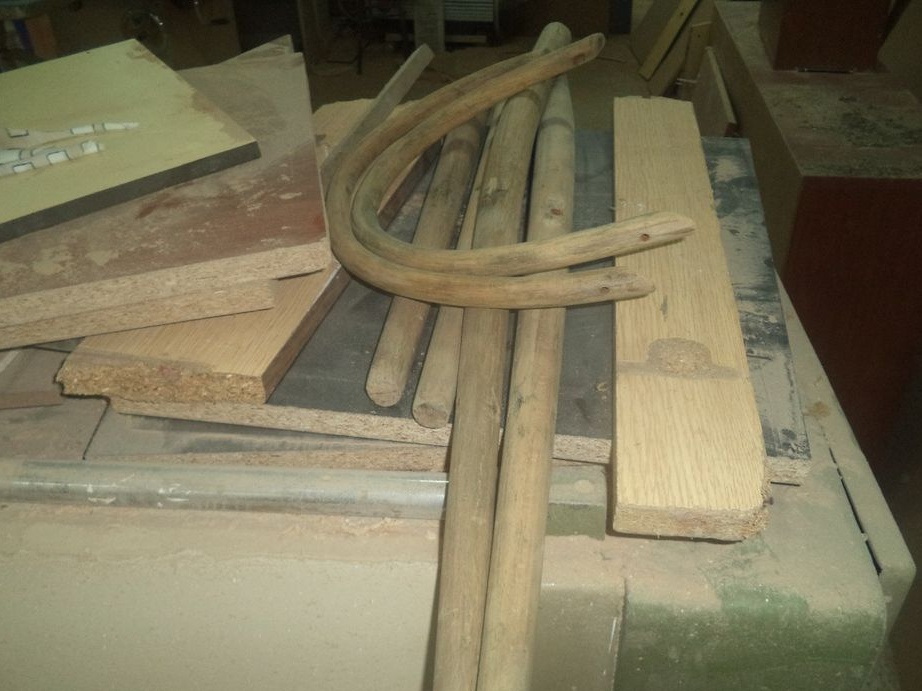
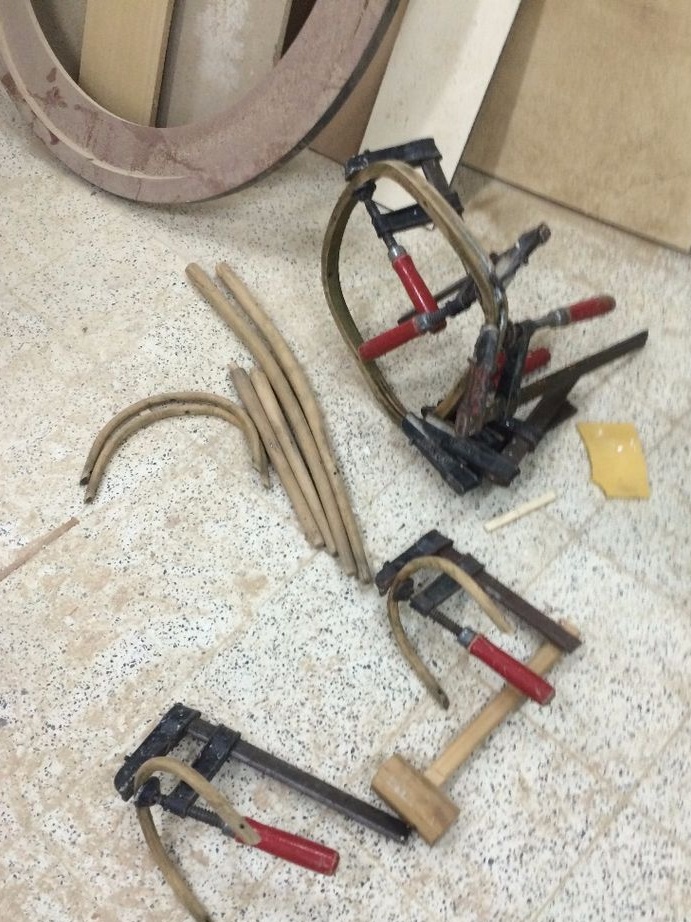
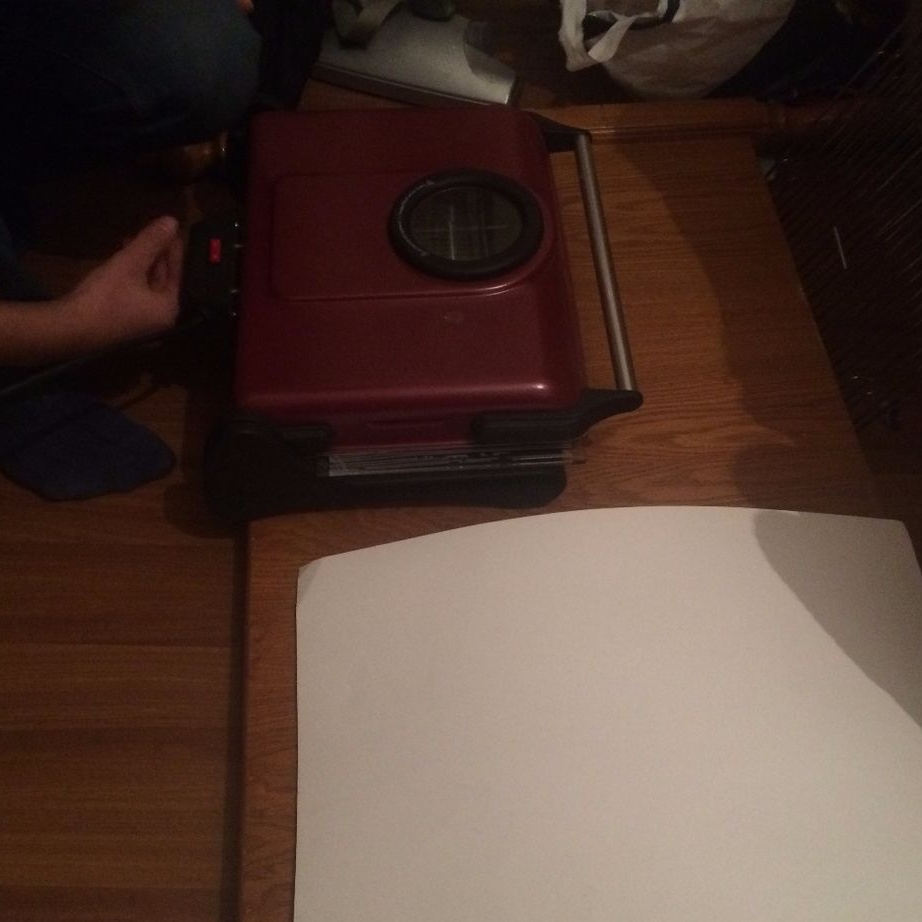
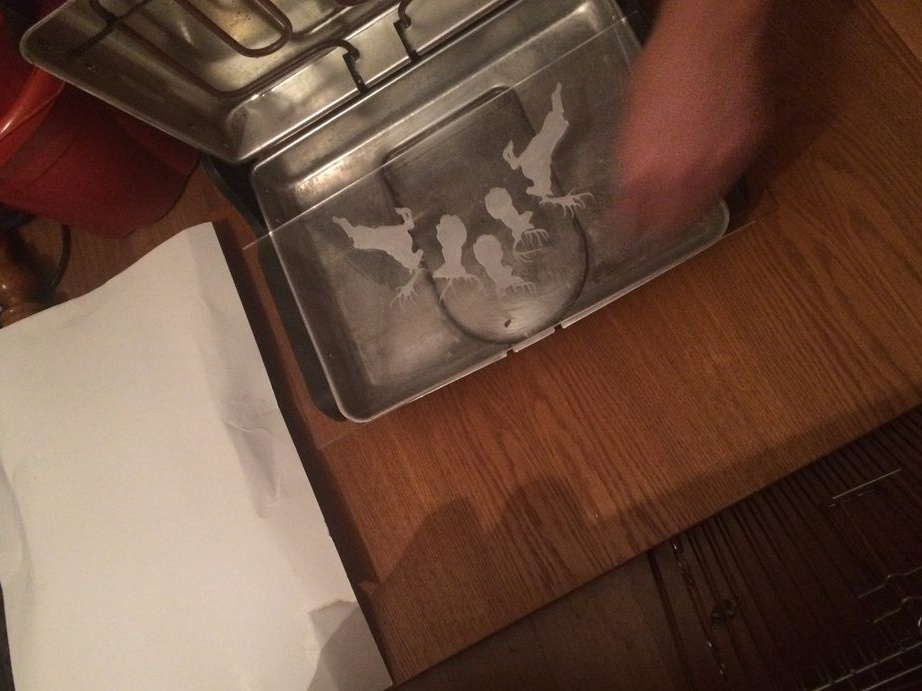
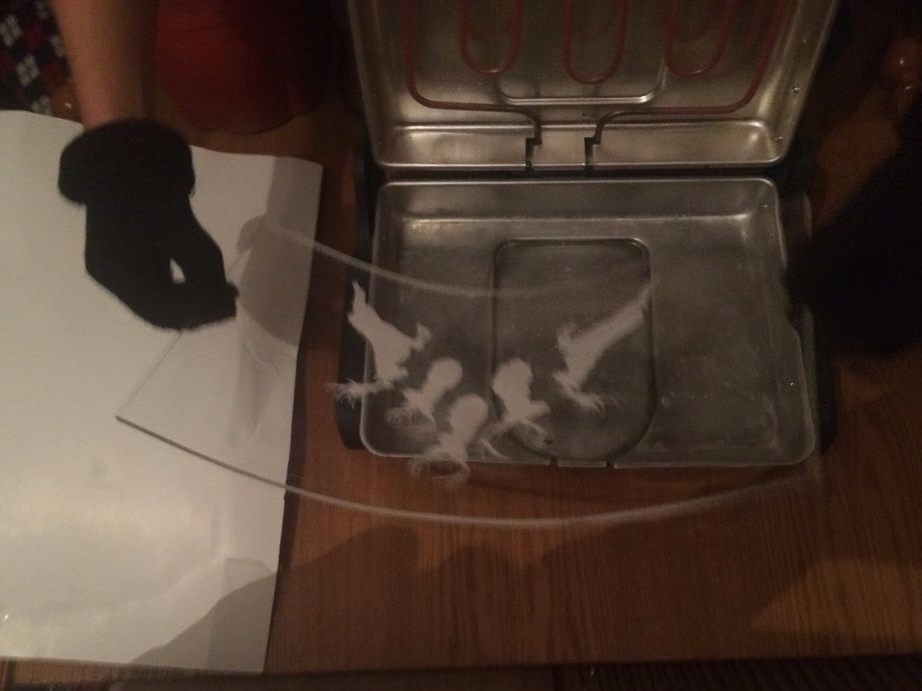
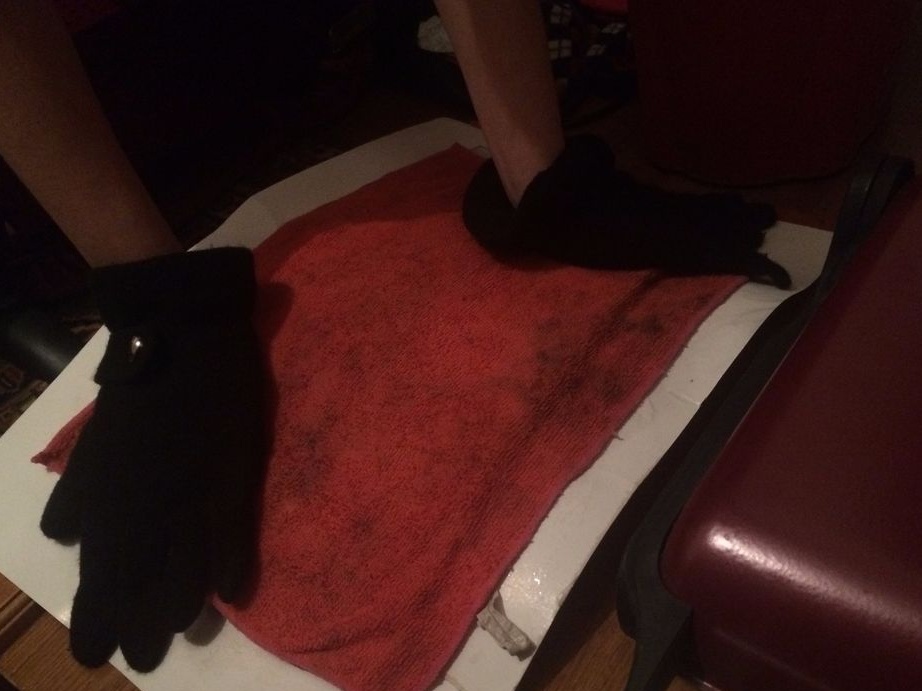
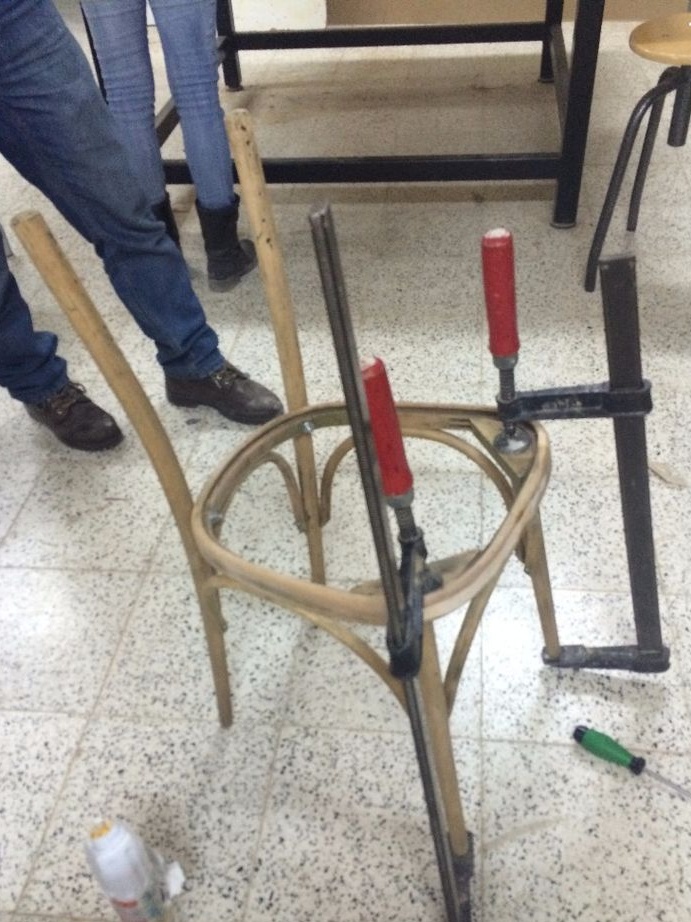
Step 7: Production and Ergonomics
Since the back has a bent-curved shape, you will have to work extra. Adjustment of the template will help you here. And the electric oven will allow you to work with a slope. It is necessary to heat the workpieces for three minutes and put them under pressure on curved surfaces. Next we apply cold fabrics.

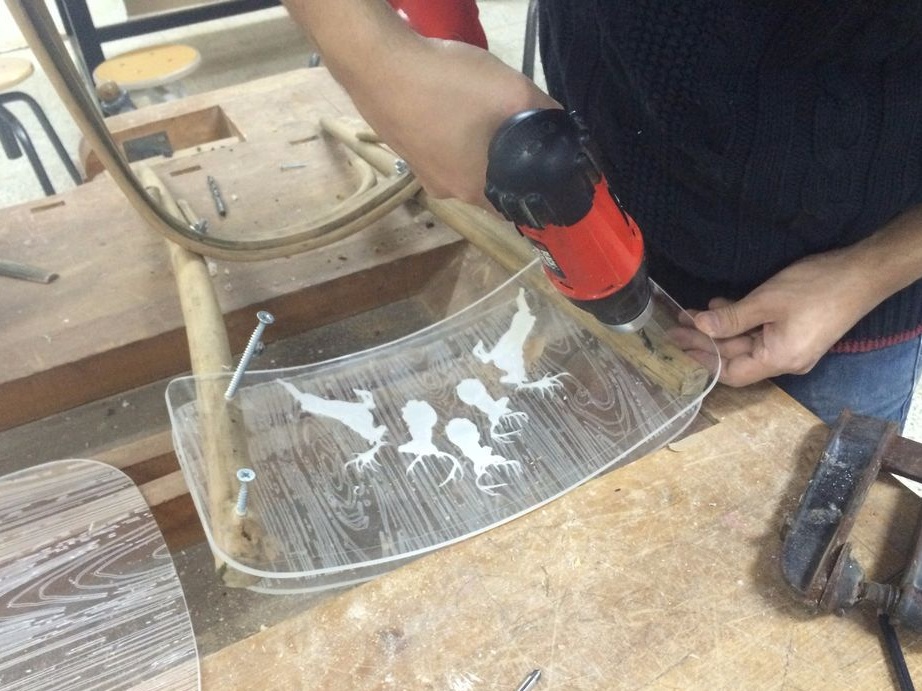
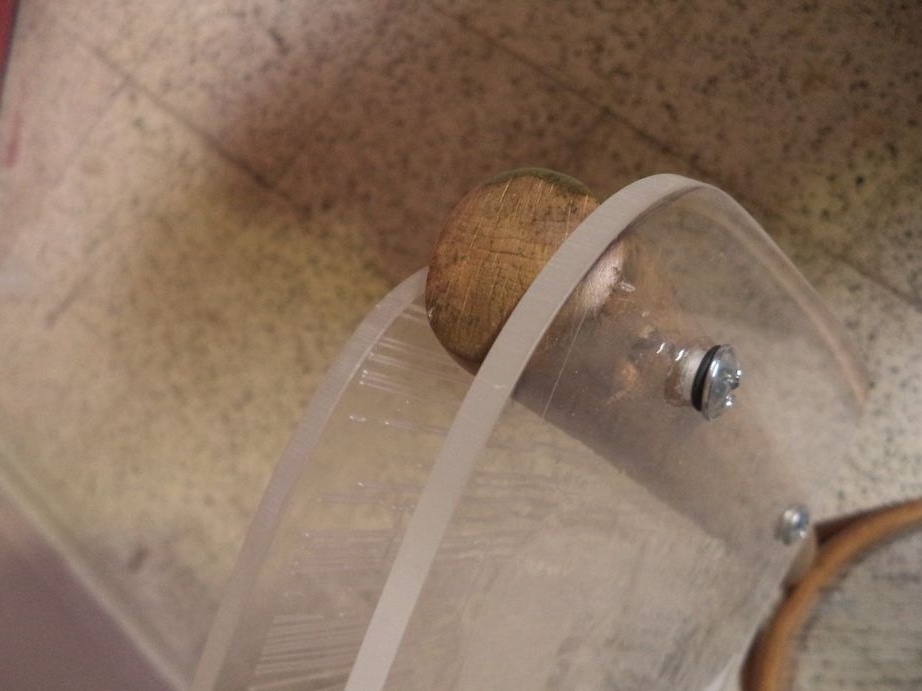
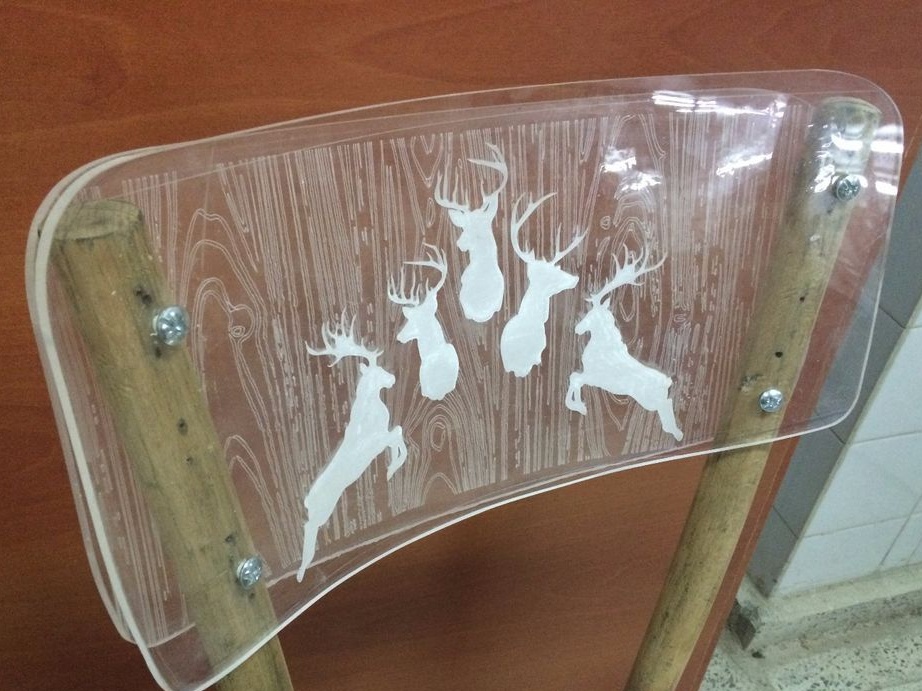
Step # 8: Connect all parts of the chair
We need a drill and screws to connect all the parts into the finished composition. Thin work on joining wood with glass must be carried out carefully, plastic nuts are perfect for bonding such materials.
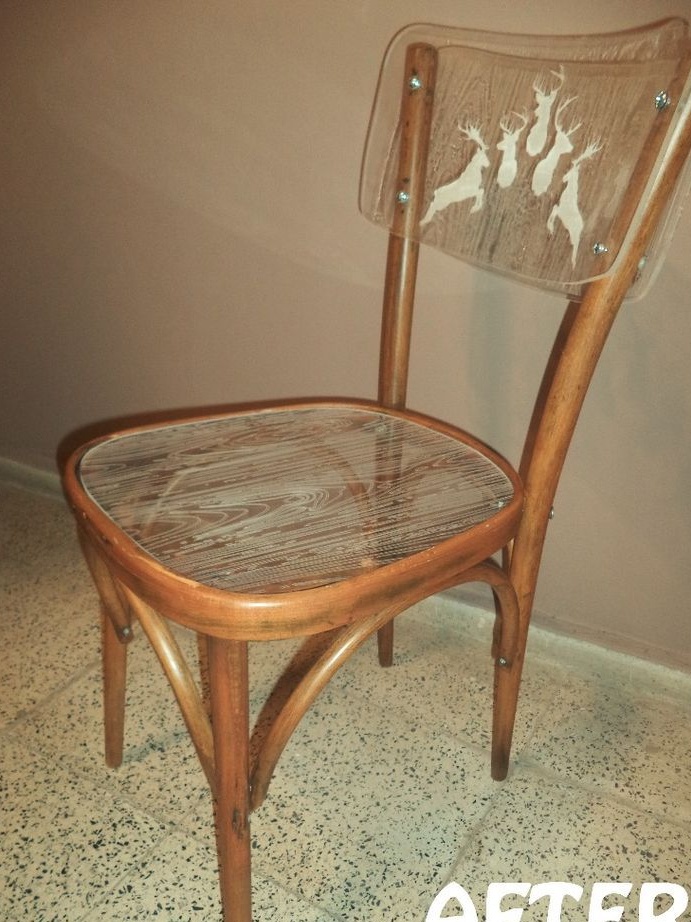
That's all. The chair is ready.