This small project began with the fact that I got a board and a transformer from an uninterruptible power supply unit. There were several burned tracks in it, as it turned out later, there was a short circuit from metal chips getting into the power supply unit. After fixing this small problem and assembling all the circuits, it turned out that it was working. But in this state it was dangerous to put it into operation, and there was nothing to assemble a new building, and I didn’t really want to bother with it. And I thought, why not mount it in the system unit itself? It will not be necessary to assemble an additional case, plus obvious space savings (the computer is in the garage, there’s not so much extra space).
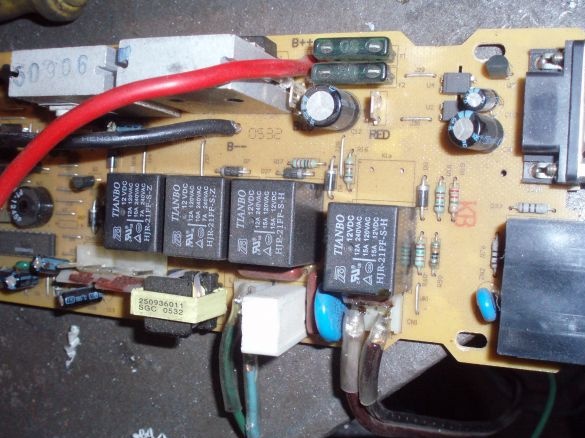
The board itself looked like this:
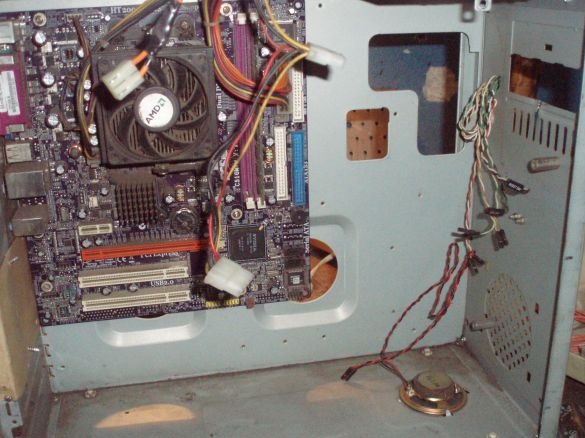
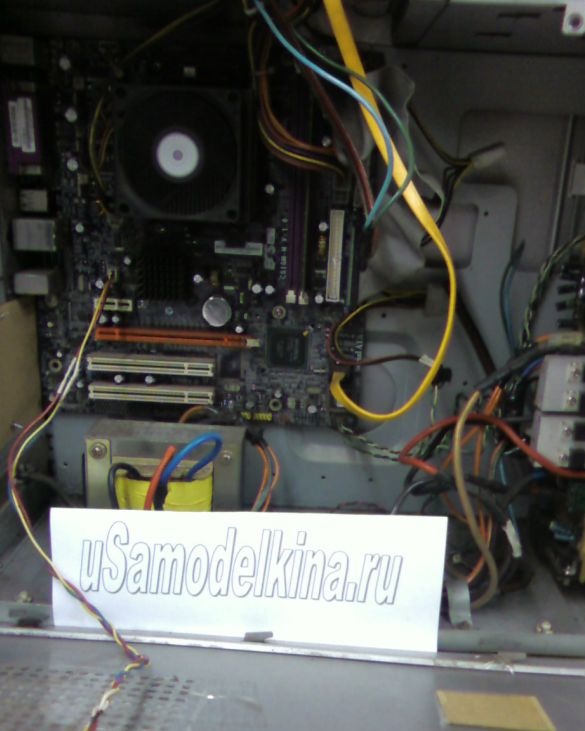
Unscrewing the cover of the system unit and looking inside, I came to the conclusion that there is enough space for installing an additional device with my head:
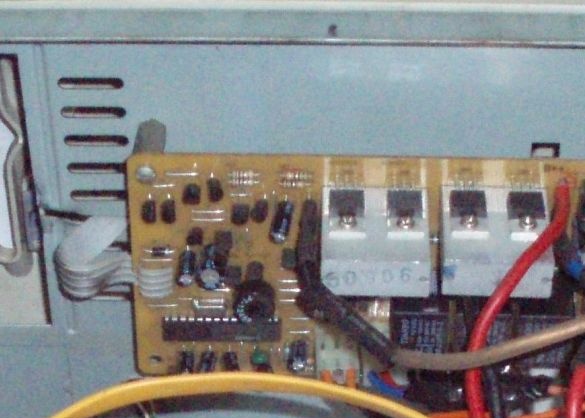
To fasten the board to the case, I used bolt racks (like on the motherboard mounts, only longer), so I did not have to isolate the metal part of the system unit from the back of the board, the distance between them turned out to be about a centimeter.
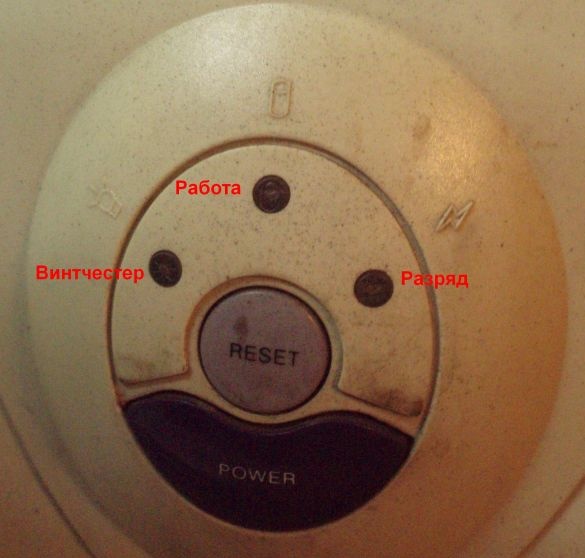
I also decided to leave my native button, brought it out. Since it was without a case, I had to make an additional platform for it. Appearance turned out not bad.
Beacon signals (operation and battery discharge) I decided to bring to their native panel instead of “turbo” and “work”
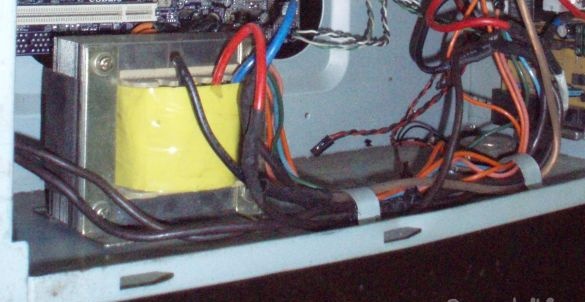
I installed the transformer in the back lower part of the case and for a reason. (For this I had to look for additional pieces of power wire for a long time). The fact is that I had concerns that the electromagnetic field of the transformer could adversely affect the operation of the hard drive, even to the point of failure. Therefore, I decided to place these two enemies at the maximum possible distance from each other, diagonally on the system unit. I fixed the Winchester in the compartment for the CD-ROMa.
I led the wires for the battery to the back of the unit. I pulled them and the wires of the transformer together and fixed them with metal clamps to the bottom of the unit, it looks more neat. I decided to leave the battery outside, since it seemed to me to bump it into the system unit. Although a 3 - 4 ampere battery would fit in without problems.
According to the connection diagram, everything is simple: four wires go to the power supply from the uninterruptible board. In the power supply unit, 220 volts of the power wire are soldered from the input and soldered to the uninterruptible output. On the vacant place, we feed on the uninterrupted battery itself.
Here is the result:
This assembly during operation did not express any problems, the hard drive and other components of the PC were not harmed, in general, I was pleased with the design.

