
Many hunters will surely find ski houses. A wonderful bow can come out of an unnecessary pair of skis, which will have a number of advantages - ready-made curved ends and the same bend of both shoulders.
Materials and tools:
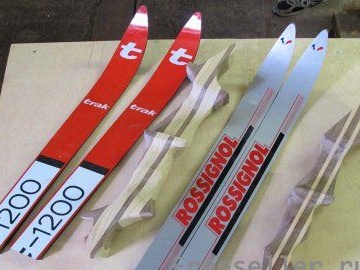
1. Ski pieces for making shoulders. It is preferable to choose skis for highlands, as they are quite rigid and have a bend angle of 20-28 degrees.
2. Large beam format 8x8x50 or small bars for the handle.
3. Washers, bolts, wing nuts.
4. Nylon thread or some string that stretches a little.
5. Clamps.
6. Hacksaw.
7. Hand drill with a set of drills.
8. The hammer.
9. Chisel.
10. File or rasp on wood.
11. Sandpaper of different textures.
12. Glue.
13. If there is a goal to make a complex handle, it is recommended to stock up with a table and band saw, a drilling machine, a plane, a belt or disk grinder.
Operating procedure:
Any work of this kind begins with a sketch of the design on a piece of paper. It is important to remember that the main thing in the bow is not aesthetics, but practicality. It must meet the following requirements: to have a completely stiff handle, to which two shoulders will be fastened with nuts, on the handle you need flat surfaces for the shoulders, you also need a place for hand grip and a shelf for the arrow to pass. These conditions are basic, the design does not really matter.
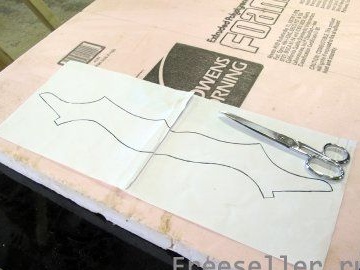
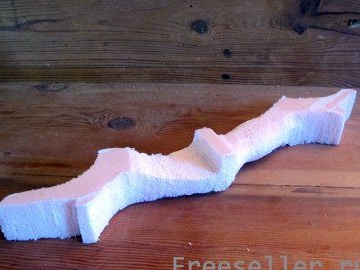
If the bow is made for the first time, you can try to cut model from foam. This is not necessary, but may be useful for further work with the tree. It is recommended to make a copy of the drawing, leaving the original for the finishing version. You can cut the foam model with a knife or a rasp. The advantage of this extra work is that on the foam you can combine the appropriate option in three-dimensional format for the part that the hand will hold on to.
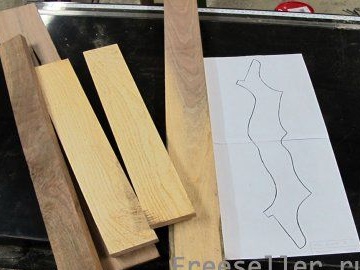
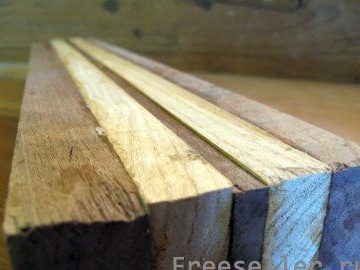
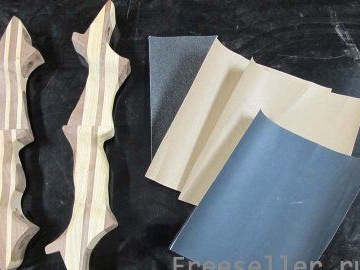
Now you can take on the tree, starting the manufacture of the handle. If a whole piece is not available, several can be used. In this case, you can even get a multi-colored unusual product. Oak, walnut are best suited. Using a table saw, they can be given along the fibers the desired uniform width. At the same time, the width of the blanks should initially be 5 mm larger than the ski in its widest part. The boards are cut with a circular saw. Evenness is achieved with a planer, surface gage or sandpaper. If you still find a solid bar, you need to try to give it a square section.This is done with the help of a jointer, a saw, a plane.
The resulting boards can be glued. If in the future the product will be coated with polyurethane, the use of waterproof glue is not necessary. You do not need to squeeze out a lot - just squeeze out a couple of drops and spread them on the surface, forming an even layer. It is advisable to press the boards with a clamp and leave them in this position overnight.
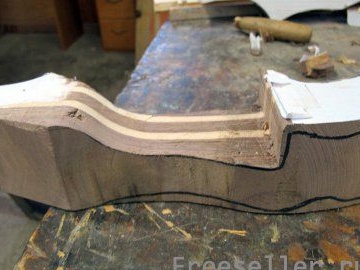
A band saw or jigsaw is used to cut the handle. First, cuts are made from the edge of the workpiece to the template edge. After that, you should cut along the curved lines of the template. Upon reaching cuts, pieces of wood fall off, forming places for stopping the cut. After that, you can turn the workpiece of the handle sideways and mark the contour of the shelf for the passage of the boom. It should be noted that a chisel may be needed for a jigsaw. It is also recommended to use a clamp, making a vertical cut.
The shoulder of the bow should not be too long, otherwise part of the power is lost. To determine the length, it is worth putting the ski to the handle. If necessary, the excess must be cut off. For a straight line, you need a square, and for a cut - a bench saw.
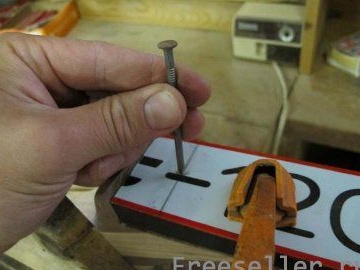
When fastening parts, the number of bolts depends on their diameter. The drill must also fit the diameter. Threads should not crash into wood. The ski is pressed against the handle with a clamp so that the planes are perpendicular to the drill. Holes are marked in the middle of the ski and 3 cm from the edge. The bolt head must be recessed.
Now all scratches and marks are carefully removed from the handle thanks to sandpaper. Polyurethane paper is also suitable for finishing.
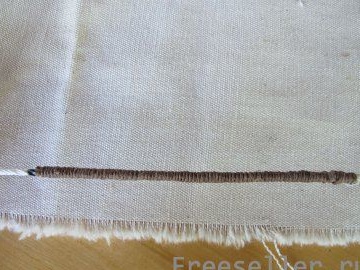
Next, for the bowstring, grooves are cut. The edges must certainly be rounded so that the bowstring does not get puzzled about them. For a light bow, you can choose a nylon string as a bowstring. To create a groove, it is too thin, so you should twist it a little, increasing the thickness. To strengthen it is recommended to make an additional filament layer.
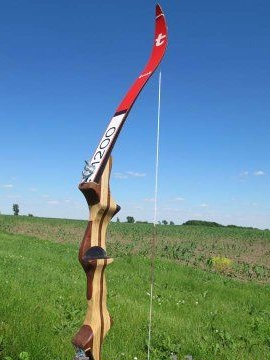
As you can see, for the manufacture of onions do not need to have special skills. But the result from such a product will exceed all expectations.