
Today we will tell you how to make a beautiful mini-pond with elements of landscape design, as well as with an artificial spring in the country. For this you do not need a lot of experience and a lot of effort. Everything is done quickly and easily. And in the end, you get such beauty.
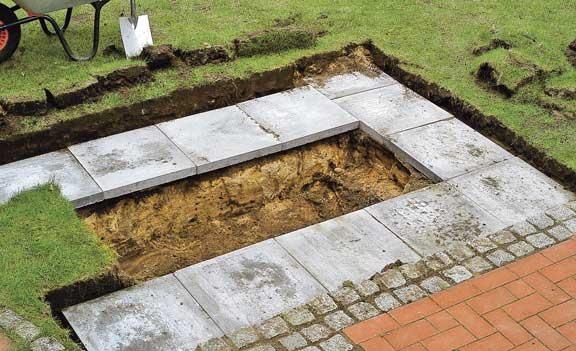
1. The first thing we must do is determine the size and shape of our pond. I have a rectangular shape. After you make your choice, start picking the soil with a shovel. No need to make the pond too deep. You don’t swim in it. Fig. 2
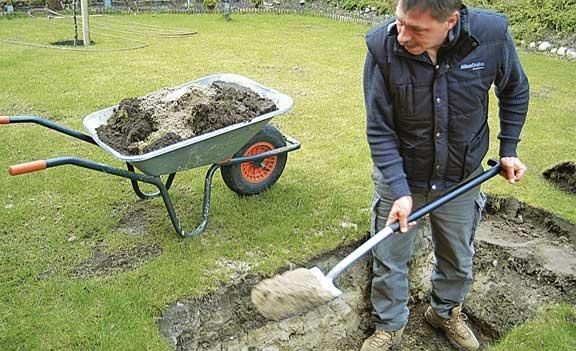
3. Now around the perimeter of your future pond you need to carefully and evenly lay out large-sized tiles. Note one more nuance: the photo shows that the soil was chosen over a larger area than the pond itself is planned to be built. Therefore, follow the same instructions. Fig. 3
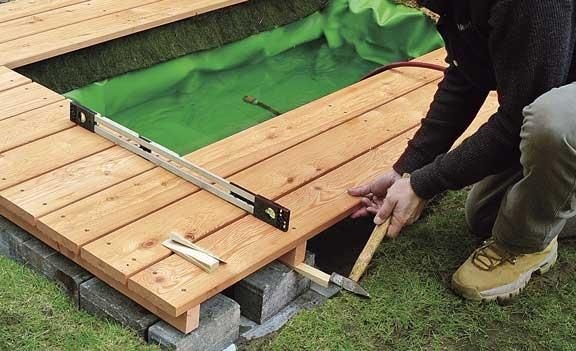
4. After laying out part of the plates, check their position using the building level. Fig. 4
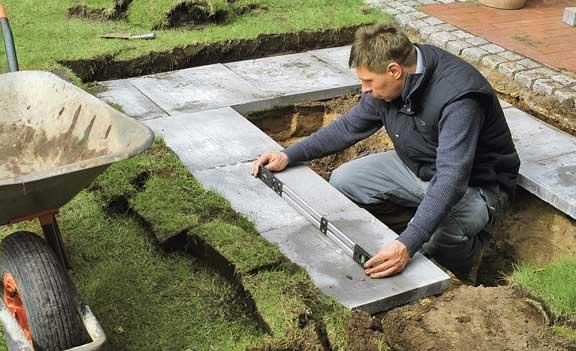
5. When all the plates are correctly laid, you will receive (if you look from above) a certain letter “P”. Fig. 5
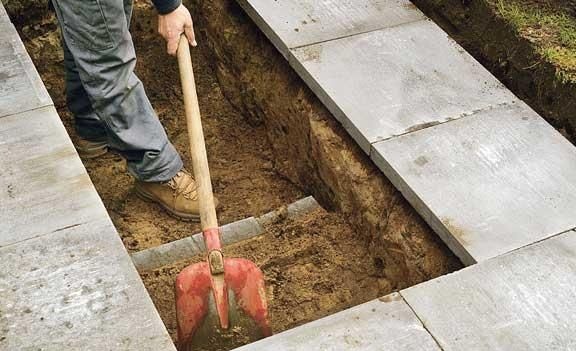
6. Then trim the soil again to fit your slabs. So that the edges of the plates and the walls of the dug hole practically coincide. Fig. 6
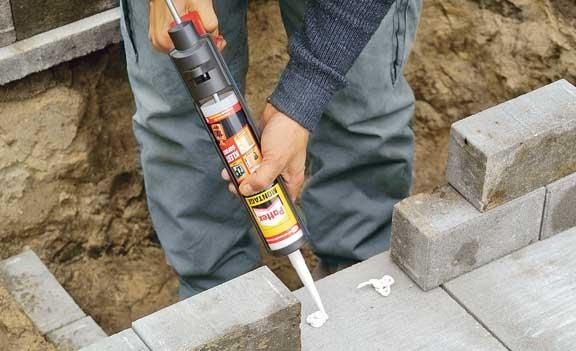
7. Now you need to glue your improvised rim with paving tiles in the form of a parallelepiped. Fig. 7
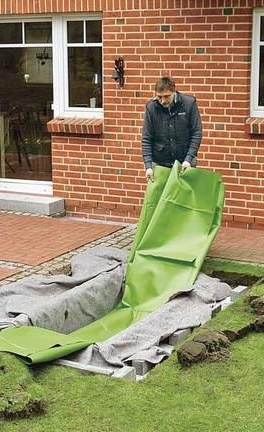
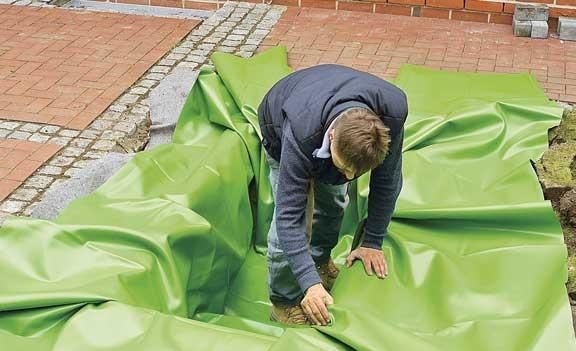
8. The next stage is the laying of a special water-retaining fiber on the bottom of the pond. But before that, under this canvas, you still need to lay a soft canvas. This procedure is necessary in order not to tear the water-retaining canvas with sharp edges of the entire surrounding material. Fig. 8.9
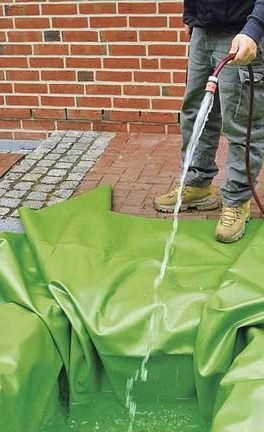
9. Now that the preparatory work has been done with a bang, start pouring water into your pond. Fig. 10
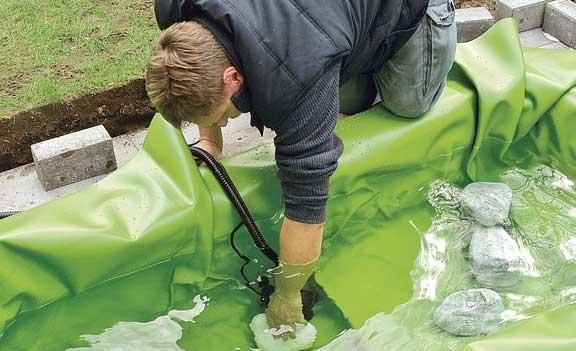
10. To the bottom, simply submerge the water pump. Fig. eleven
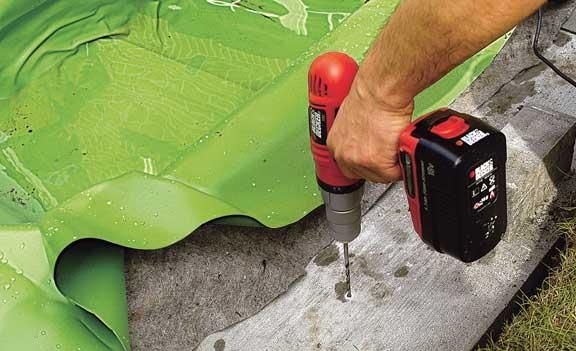
11. Now use a screwdriver and dowels, and fasten tightly all the edges and sides of your pond. Fig. 12
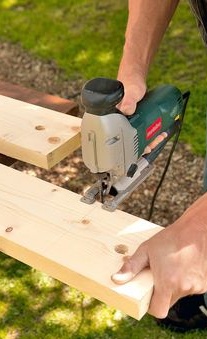
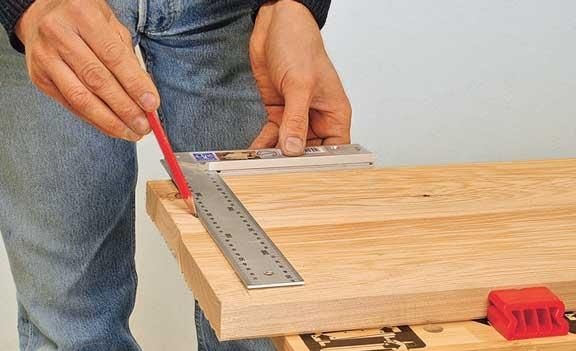
12. But in order for your pond to look aesthetically pleasing and beautiful, you still need to make a wooden crate. To do this, measure the required dimensions (here at your discretion, but try to fit the size of the plates). Fig. thirteen
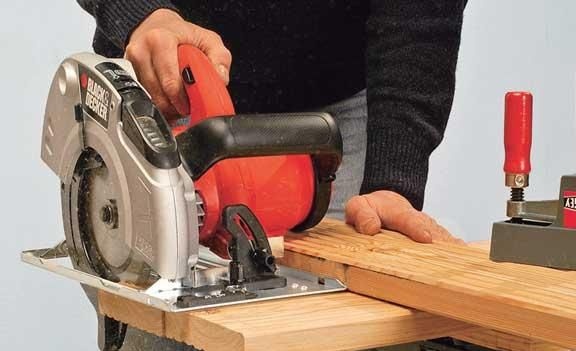
13. Now with a circular saw you need to cut all the prepared material. Fig. 14
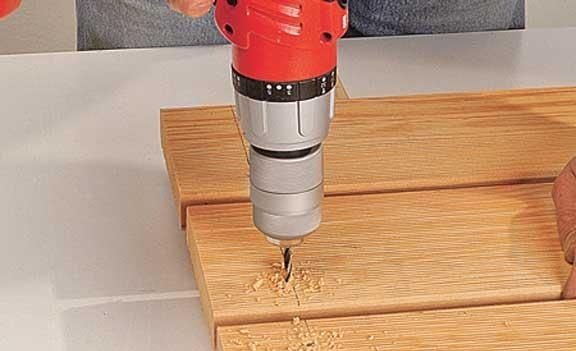
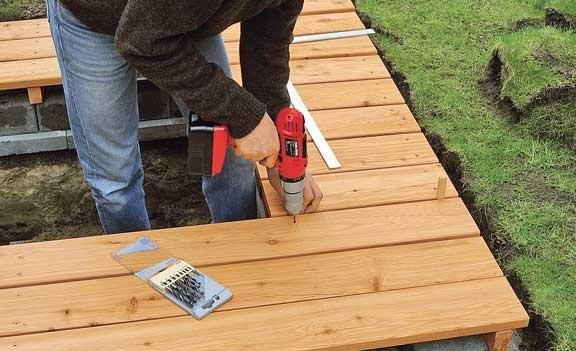
14. Drill through holes strictly at a certain distance. Fig. fifteen
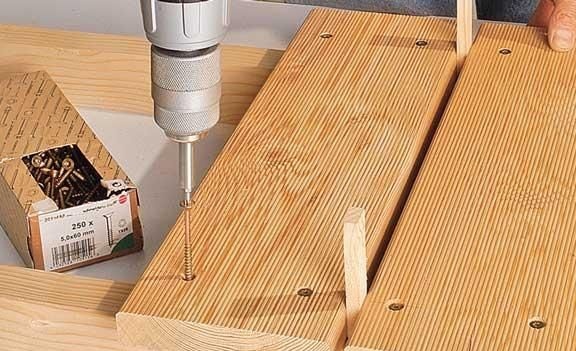
15. Next, drill holes for the head of the self-tapping screw or screw and start twisting the crate. Fig. 16
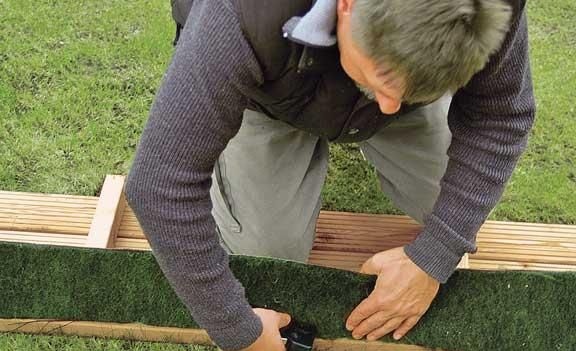
16. After the crate has already been placed around the perimeter of your future pond, complete all the necessary work with a hand-held electric circular saw and an electric screwdriver. Fig. 17
17. Use a stapler to attach a strip of landscape material. Fig. 18
18. In the next photo, see how to strengthen the edges with a crate (masking material is laid under it). If necessary, then adjust the position you need with pegs. Fig. 19
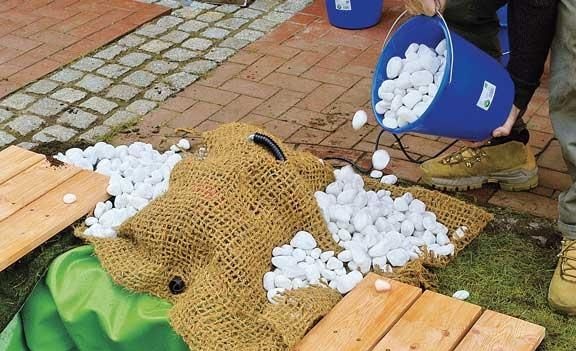
19. To disguise the outlet hose, use burlap and lay light pebbles on it. Fig. 20
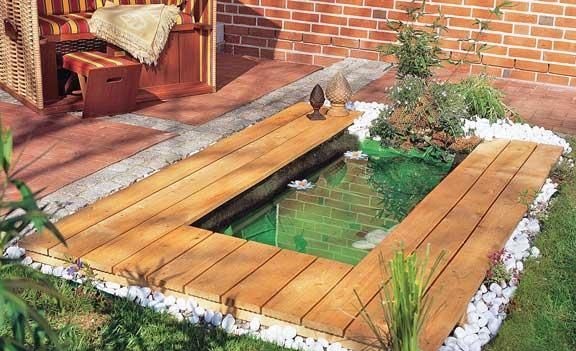
20. As a decor, you can add figurines, flowerpots, decorative algae and more. That's all! Your pond is ready.