Having a good, high-quality tool the garage or workshop significantly facilitates the work and allows you to enjoy working with him. The same applies to drills. But even the most expensive of them eventually become dull or break. But not everyone, especially novice masters, have the skill to sharpen drill bits properly, and constantly buying new ones is pretty expensive. For such cases, you can collect a special device for sharpening them. This stanochka is quite simple, but can still greatly facilitate this process.
It is especially convenient for working with small diameters, since they are the most difficult to sharpen.
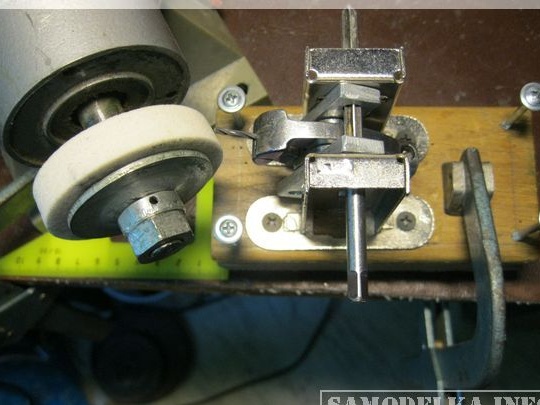
The machine consists of a grinding machine and a device for attaching the drill.
The principle of its operation is as follows: The drill is rigidly fixed to the coil part in special vice. Their angle with respect to the grindstone is set using a square, for metal drills it is 60 degrees. Thus, one of the faces is sharpened, then the tool is turned over and the other face is sharpened.
The difference between this project and the many that are posted on the network, according to the author, is the use of these jewelry jewelry blocks as a fixative. They are commercially available and cost little.
Here's what they look like:
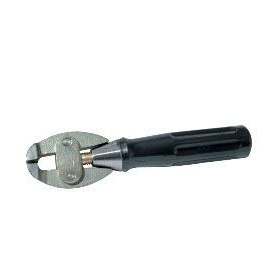
The principle of their work, as with ordinary yews: the handle rotates in one direction - the lips are unclenched, rotated in the opposite direction - the lips are clamped, you can fix the workpiece or part.
For use in the machine you need to remodel them a bit. Native rivets are removed, such homemade plates are installed and riveted again.
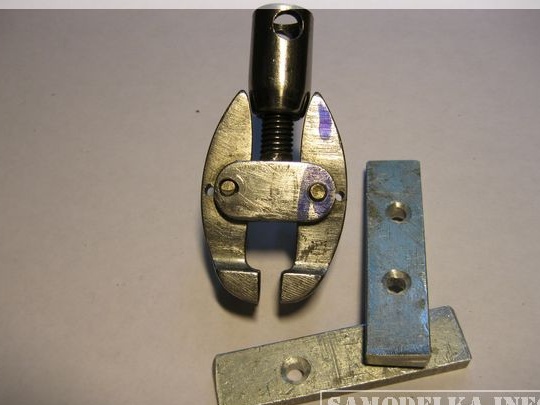
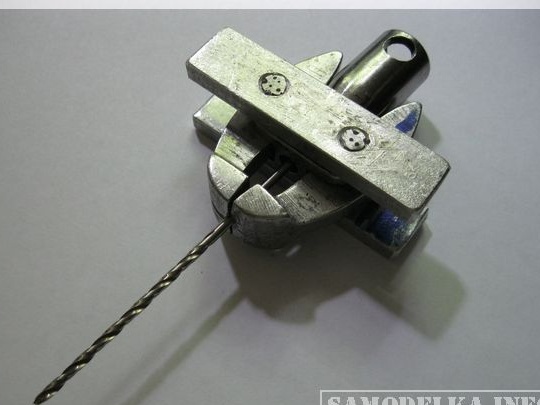
When clamping the drill, the cutting edges should be parallel to the jaws.
Further, in the newly attached plates, four holes equally spaced from their center are drilled. They should be located at an angle of 90 degrees with respect to the drill clamped in a vice.
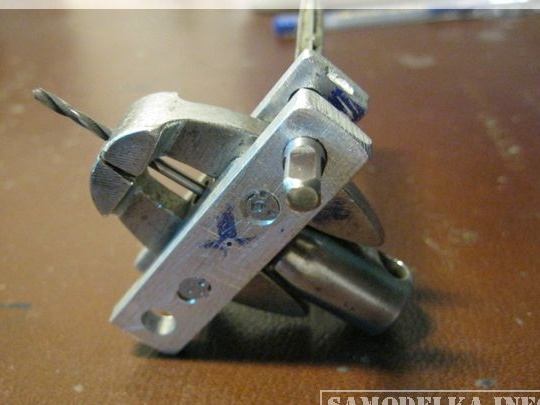
Later, alternately (for each face), an axis will pass through these two holes, which will fix the entire system. The result is a "swing" effect. Much attention should be paid to hole marking, since the quality of drill sharpening depends on their location.
The supports of this “swing” in this case are two cases from under gutted door locks, but they can be made from scratch by cutting racks from metal or wood.
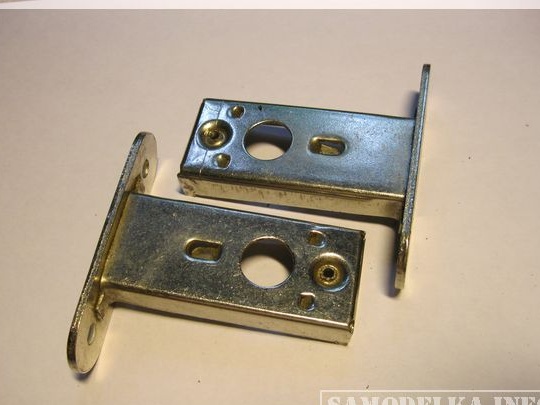
They are rigidly attached to a wooden platform.
On its four edges, four screws are screwed in to adjust the desired height.
It would be best to place the grinder and rocking chair on one panel.
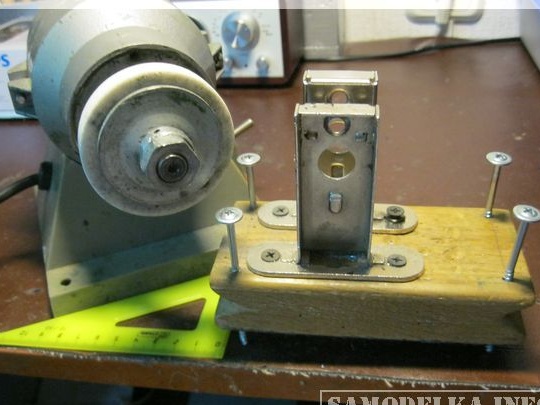
Vise are installed between the racks and hung on the axis.
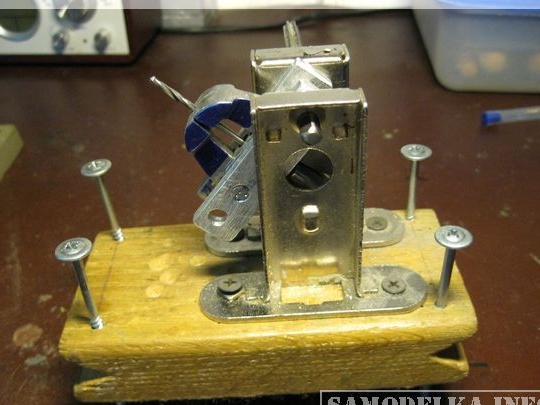
The device is installed at the desired angle (60 degrees) to the surface of the circle and one of the faces is sharpened.
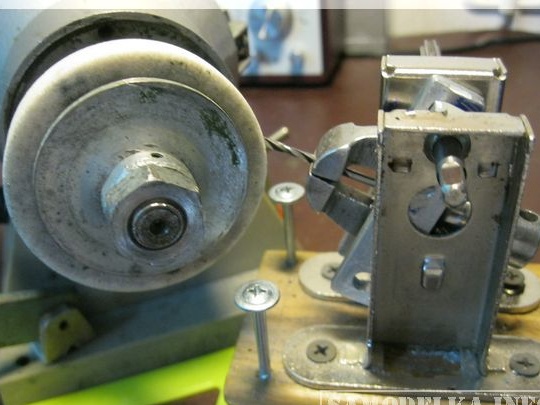
We turn the vise 180 degrees, the axis is threaded through the opposite holes, another face is sharpened.

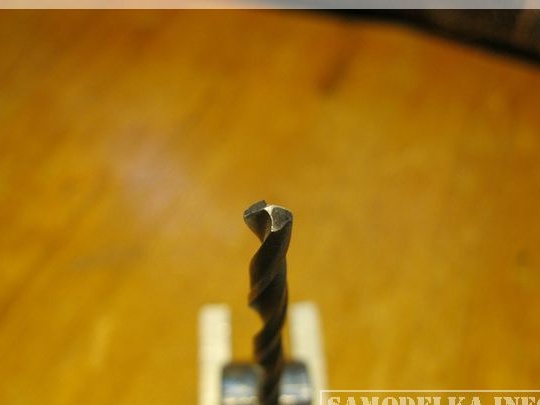
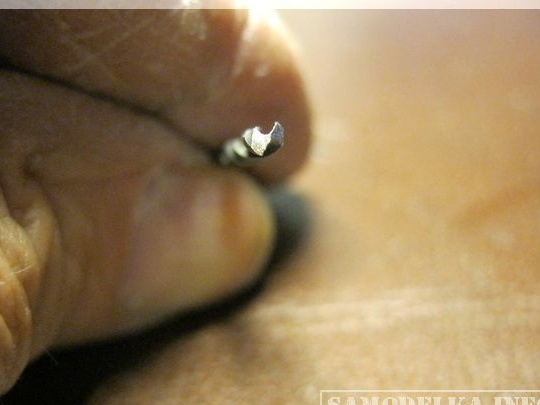
The finished result was pretty good, given (according to the author) a lot of wear and tear on the old vise. In the photo, a drill with a diameter of 1.5 mm.
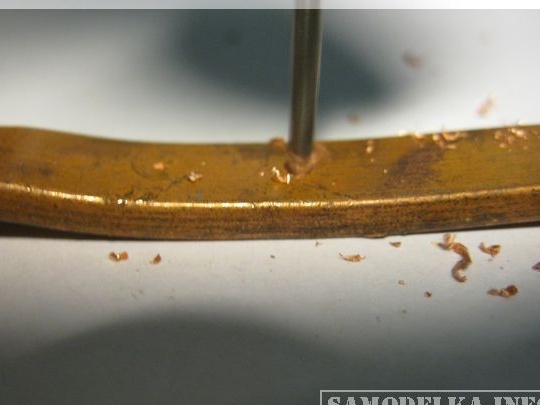
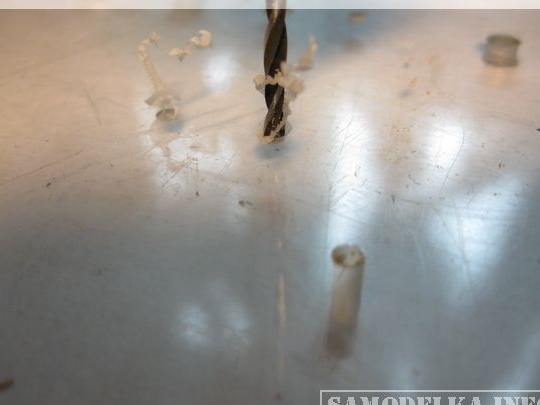
Next is a demonstration of drilling copper and plexiglass. As you can see the drill copes with its task.
