
Almost every house in the pantry or in the attic is lying unnecessary corrugated cardboard boxes. So let them not take up too much space and fall in dust, we will make a wonderful shelf out of them, which is simply impossible not to fall in love with. In addition, such a shelf will leave a minimum of costs and time.
Now we will arm ourselves with the necessary material and tools and get to work.
For the shelf you need:
- corrugated cardboard,
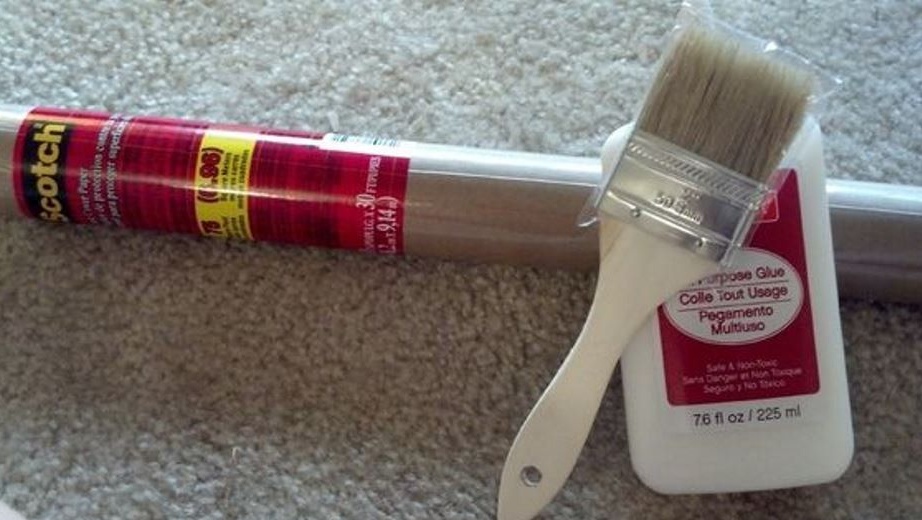
- paper for wrapping,
- Styrofoam,
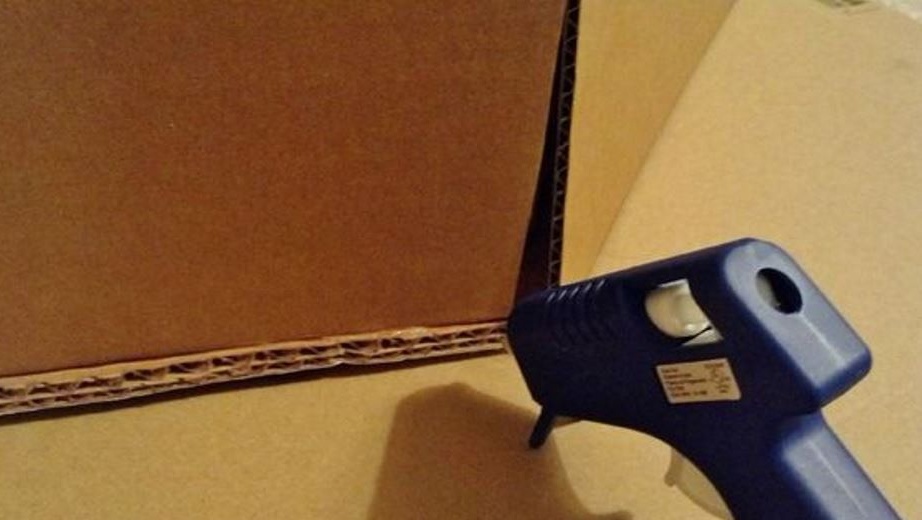
- hot glue or duct tape,
- supports (needed to mount the shelf on the wall),
- stationery knife,
- blades for a knife,
- scissors.
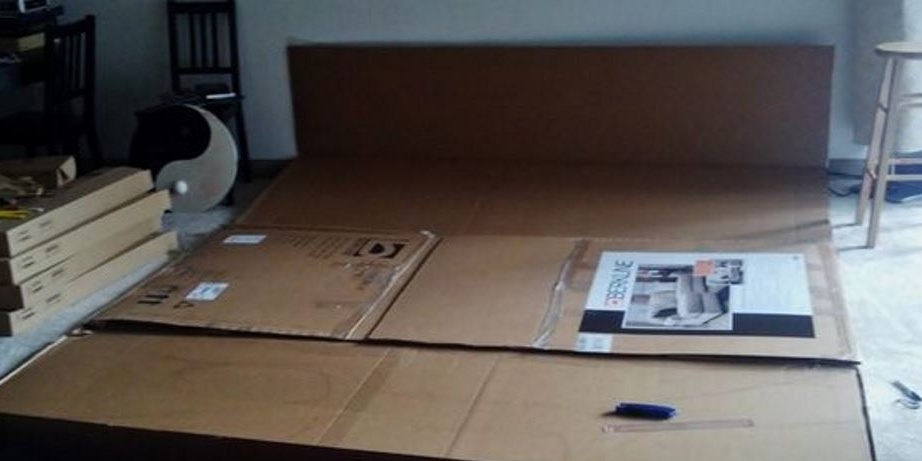
All stocked up? Now we begin to design. First of all, you will need to straighten your cardboard box as much as possible and real. If you succeed, then you can make one solid side for the front side and for the back. In addition, you will not need any patches that do not disfigure the creation. Fig.2
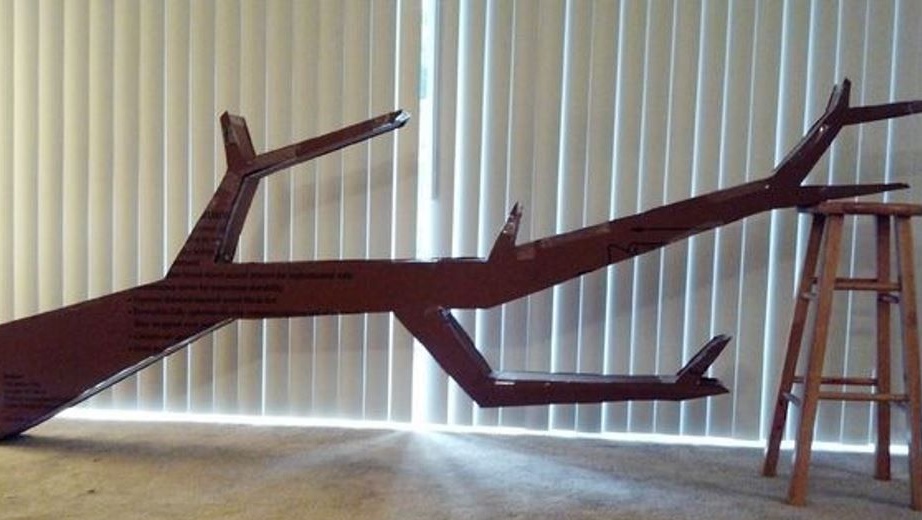
As for the design of your shelf, then fantasize to the maximum. You can, of course, stop on straight lines, you can make curved. Try also to draw small twigs, which will be a good complement and will mark the end of the shelf. Fig. 3
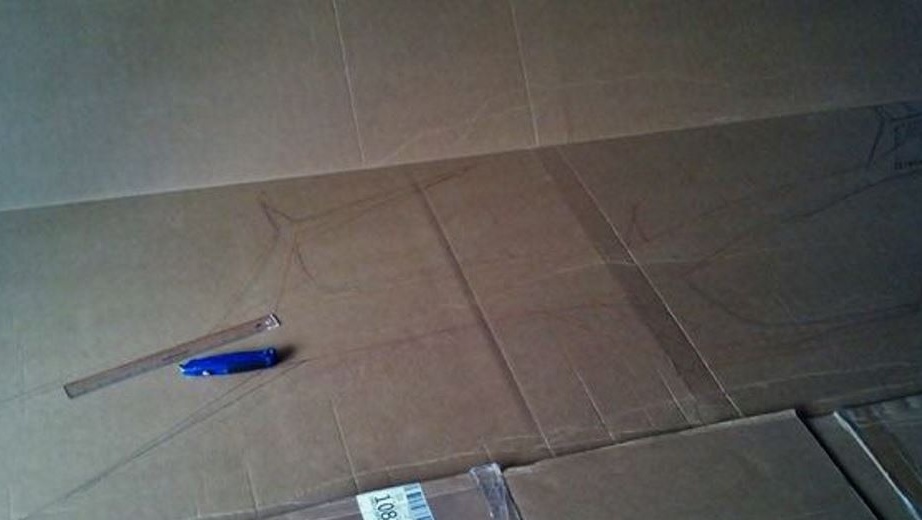
After you decide on the design and already throw it on cardboard, arm yourself with a clerical knife or scissors and start cutting. Change the blades in the knife more often, because cardboard dulls such knives very quickly.
Now take and glue the resulting model to the wall with tape. Thus, you can already see how your shelf will look in the near future. Now proceed to cutting the front and back sides. To make them the same, outline one model. And then cut the turns.
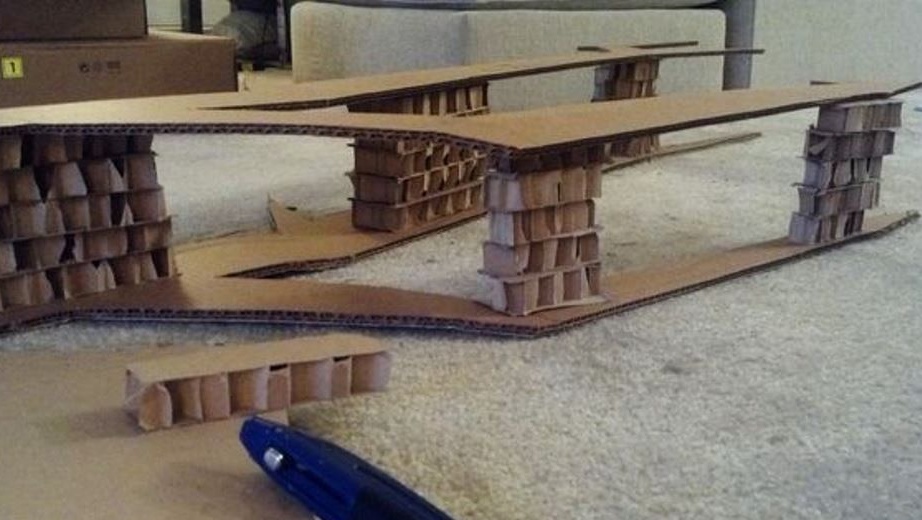
If you have already cut two sides of the shelf, start modeling the structure itself. If you use polystyrene, it will be able to give thickness to your shelf and also be able to perfectly fit two parts. Choose the width yourself. You can make it thin, or it can be thicker to put books, CDs, and other objects on it.And now, when it is the turn to glue all the ends together - call your friends or relatives for help. Fig. 4, 5, 6

If you have no desire, you can leave the shelf coarse and rough, or you can give it a more sophisticated look. To do this, use wrapping paper to glue the shelf (the color can be any). If you use a brush during gluing, the glue will be distributed evenly and thinly on the patches. It should be noted that if you work with one strip, then the other is overwritten (it becomes like a papier-mâché). Fig. 7, 8
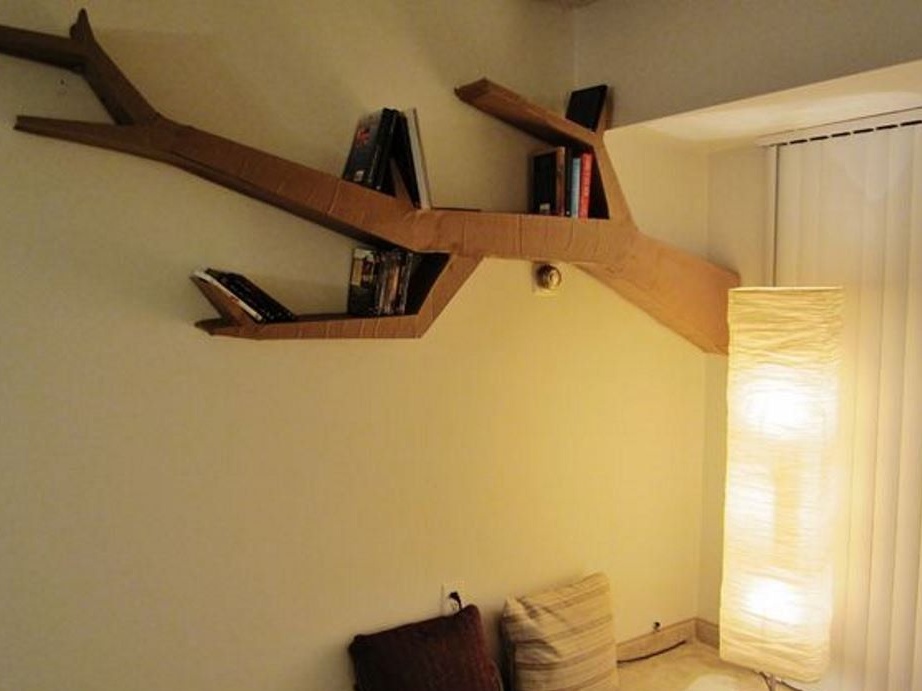
There is very little left: fix your shelf-branch on the wall. To do this, use pairs of ZL supports. Well, the shelf is ready, fill it with books and rejoice at your creation.