
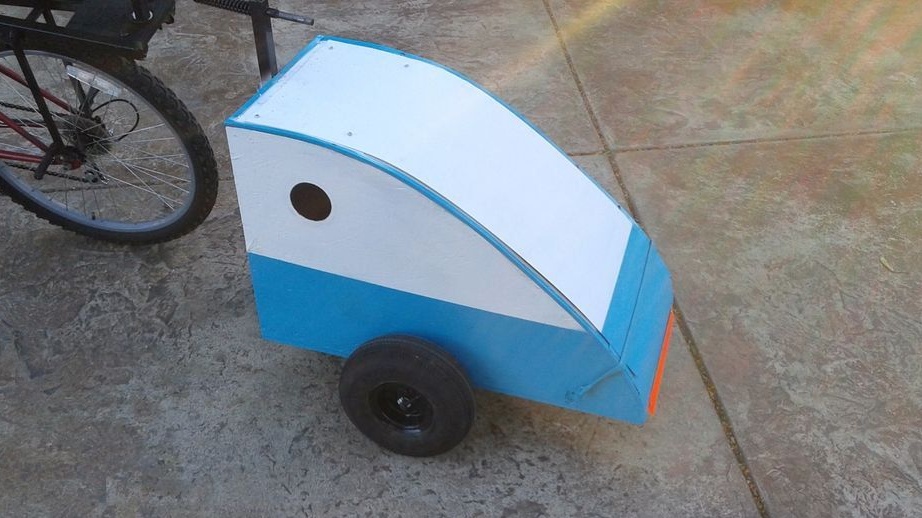
We offer you a master class on how to do trailer for bicycle. This trailer will not only be a useful device for two-wheeled vehicles, but will also look vintage and original. In addition, he will be able to withstand up to 20 kg of any cargo.
All measurements are in feet or inches. To your attention: 1 foot - 30, 48 cm, 1 inch - 2, 54 cm.
Now let's define the tools and fixtures that you need:
- 2 wheels (diameter 10 inches),
- plywood panel (4x4 feet),
- thin plastic / board,
- 2x4 boards (8 feet long),
- putty,
- glue,
- square steel pipe
- PVC pipe,
- fixing tools,
- paint (several colors to choose from),
- a working tool (circular saw, drill, etc.).
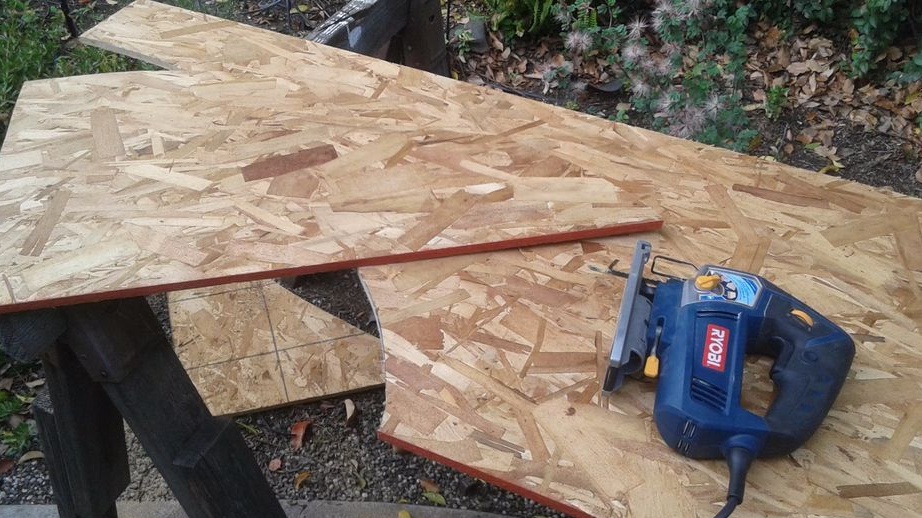
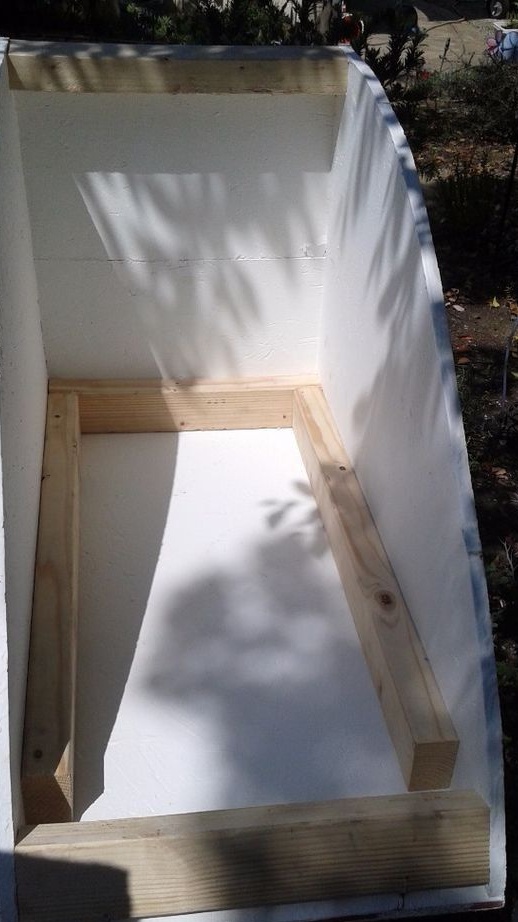
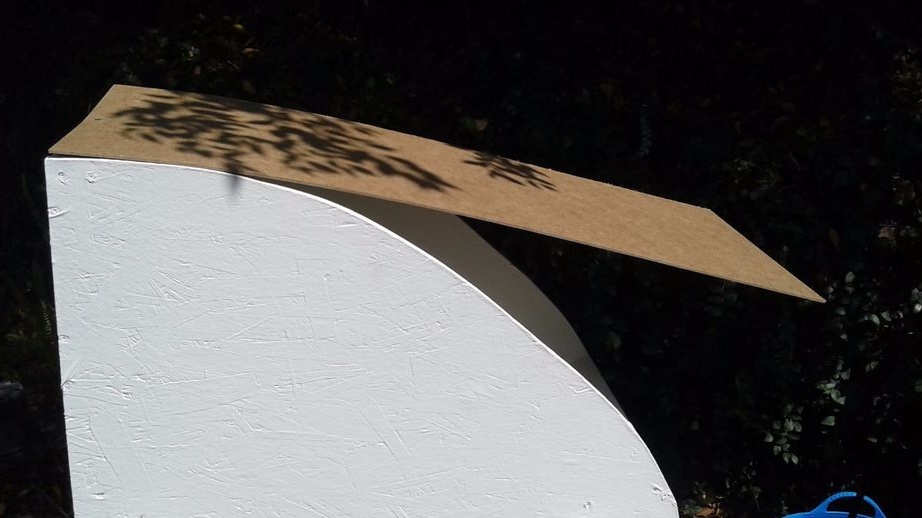
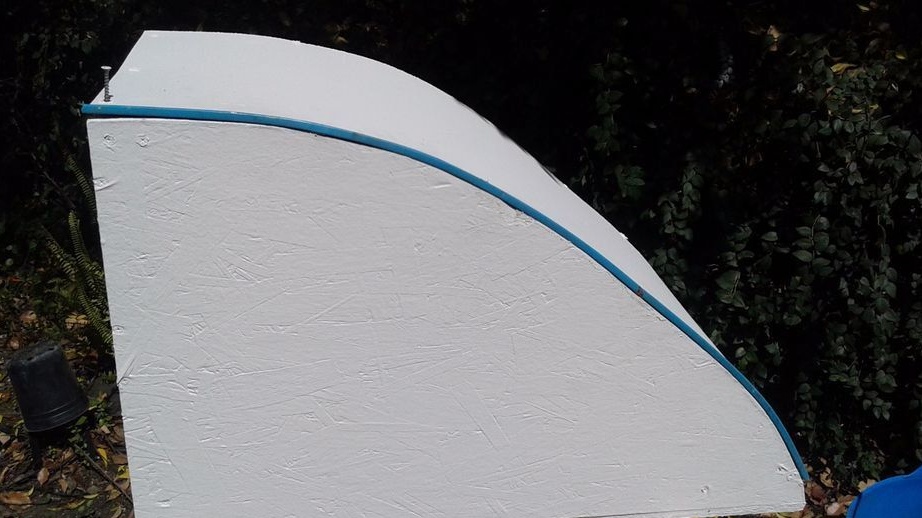
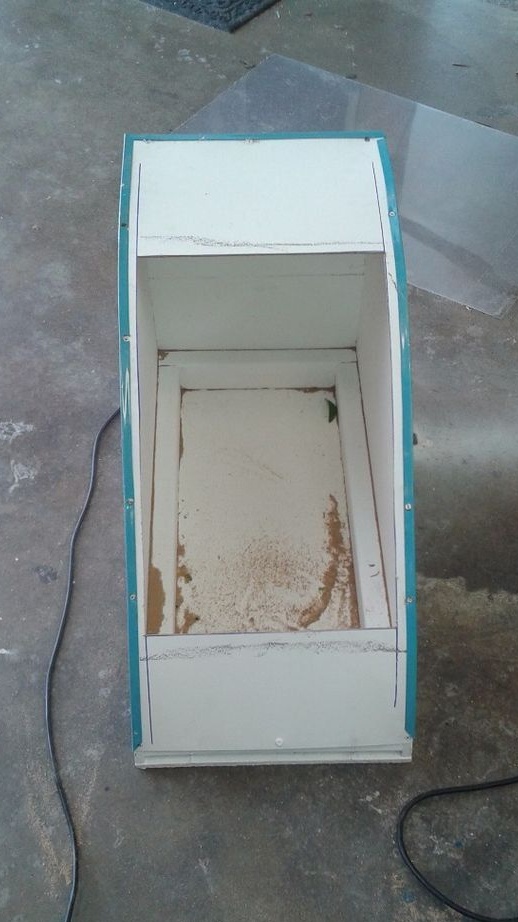
Now we begin to design your trailer on bike. You must cut out the side panels and the bottom of the trailer from the plywood of the appropriate size. The walls should be semicircular. The bottom panel is 15 inches (this is the width and the length), the side panels are 31 inches. Fig. 2
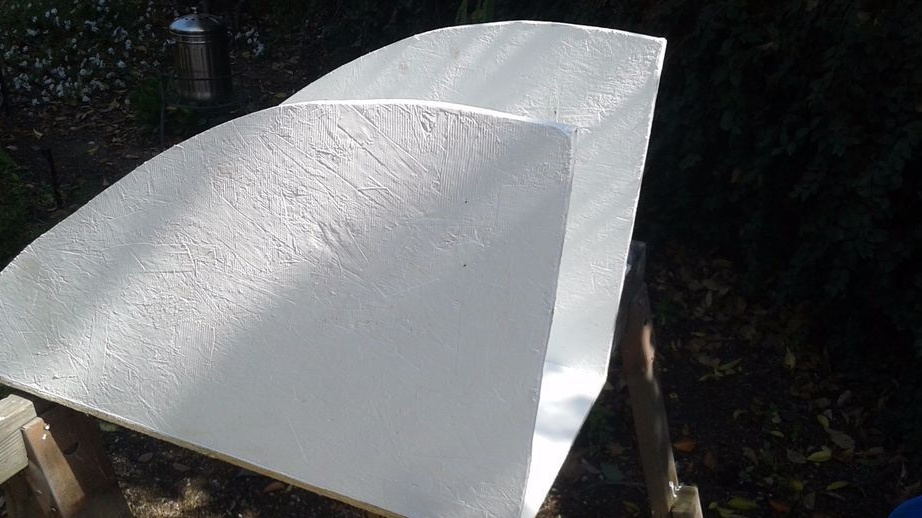
After all three parts have been cut, fasten them with screws. But for this, drill holes with a smaller diameter in advance. Paint the surface with white paint. Fig. 3
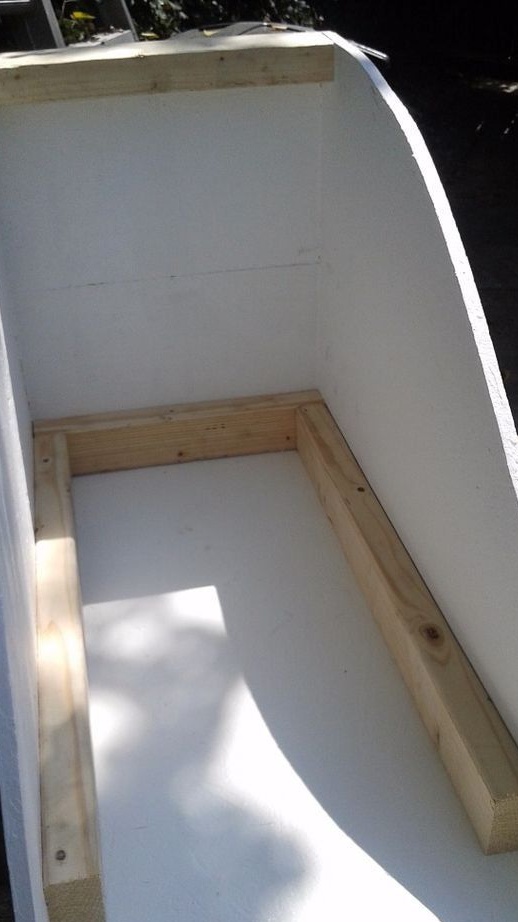
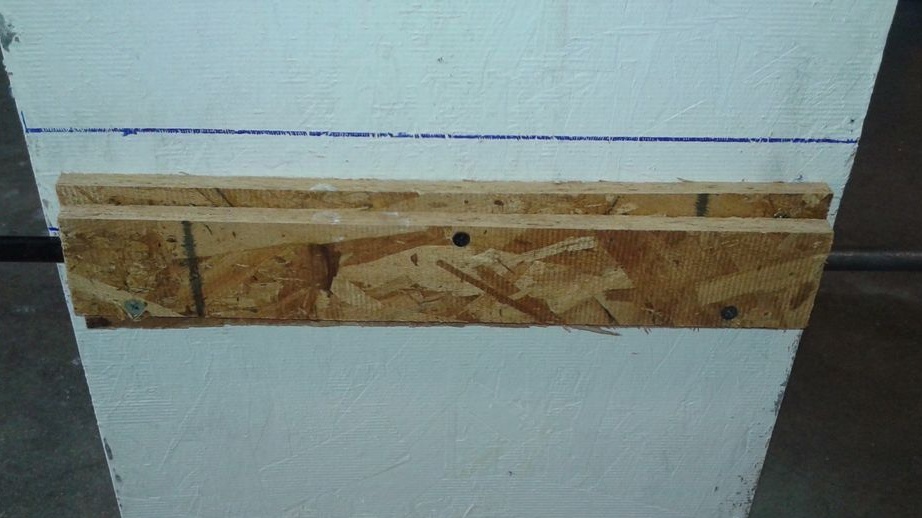
Now you need to strengthen the foundation well, because it will experience the greatest load. Remember, the main thing is not to rush. If you assemble all the parts correctly, your trailer will not deform under any load. In order to strengthen the bike trailer, you need to place two long boards (size 14 inches) on the front panel in the lower and upper parts. Attach the same board to the bottom on the opposite side. All boards are fastened with three screws to the floor and to the side panel. Fig. 4, 5
So the turn came to make the trailer roof. It should be made of flexible material. A plastic panel is ideal, but if not, use a thin board. The size of the cover should be 14.75x36 inches. It can be cut with a knife, as it is not very strong. Now cover the panel with primer paint and attach the cover to the trailer. Paint the corners from the frame in the desired color.They must also be attached to the trailer roof using self-tapping screws. Keep about 6-8 inches of space between them. Fig. 6, 7
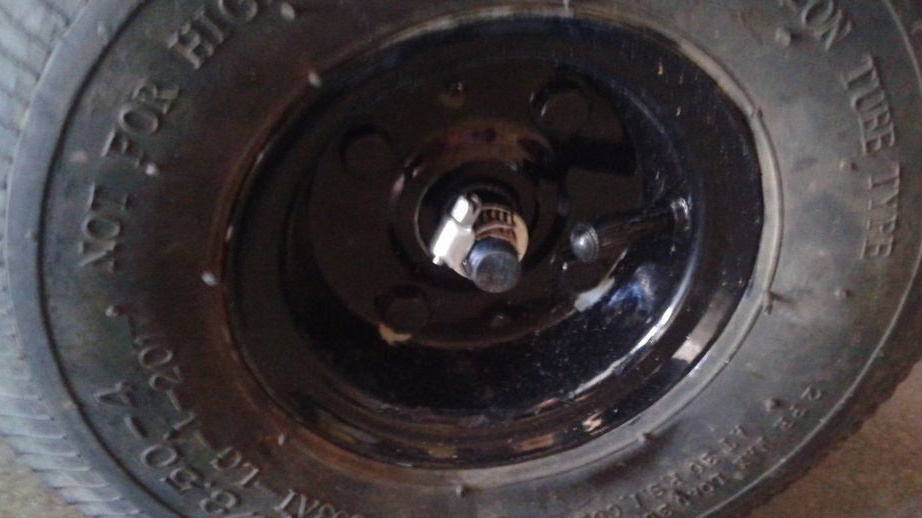
Now you need to make a mark at the bottom of the trailer. This will be the place where you place the trailer axle. Cut 2 pieces of plywood (each 15 inches long). One split in half (2.5 inches wide). Fasten those segments that are smaller in size to the bottom with screws on both sides of the axis. Attach a larger section at the top. As lining between the wheel bearings and the body, you can use a piece of PVC pipe. And so that the wheels are held on the axis - use clamps. Fig. 8, 9
In the roof, cut a hole for the door. Leave 0.5 inch holes on each side. The piece that remains will fit as a front bumper. Attach it to the roof with glue. While the glue will dry, fasten with duct tape, and then paint the bumper with paint. Fig. 10, 11

Make the door itself out of plastic. Fasten it to the trailer roof with screws. Then paint. Fig. 12

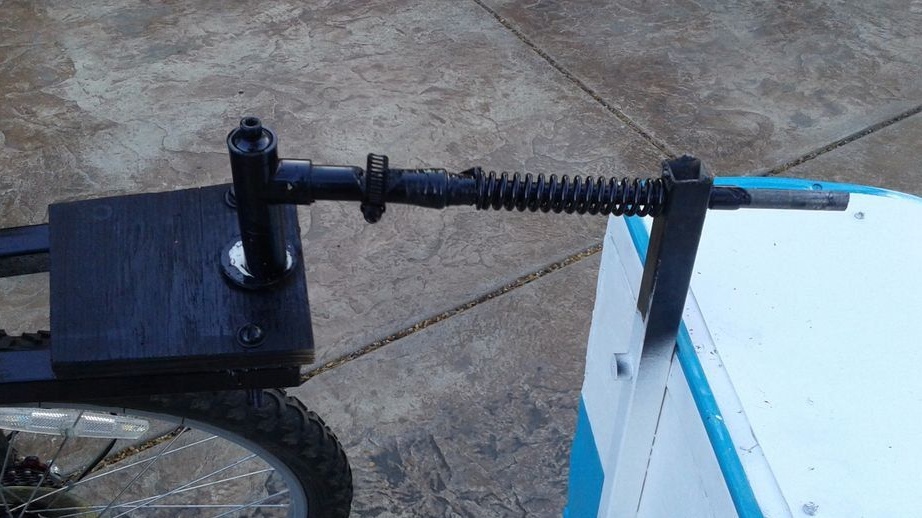
To make your trailer really become a trailer - attach a piece of steel pipe to it. Fasten with screws to the brackets. Attach the spring axis to the pipe. Fig. thirteen
Now your trailer is ready. You can load the necessary cargo into it and go on a long journey.