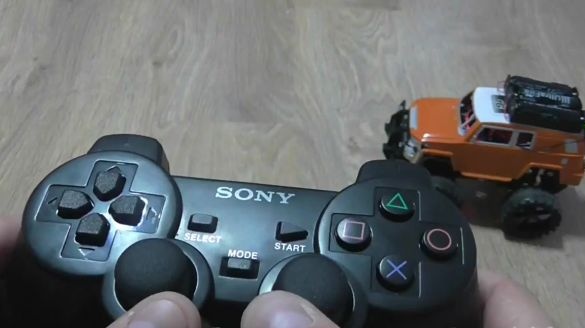
In this review, we suggest learning how to make another radio-controlled machine, but this time it will be possible to control the wireless joystick of the Sony PlayStation.
We recommend starting with watching the author’s video
We will need:
- machine;
- a wireless joystick from the above set-top box and a receiver for it;
- 8 resistors per 330 ohms;
- 12 volt motor;
- engine driver L298N;
- Arduiono Uno board;
- servo drive;
- connecting wires;
- rechargeable batteries;
- battery compartments;
- switch;
- 6 red LEDs;
- 2 white LEDs;
- furniture corners.
The first step is to take care of the mechanics. To do this, we disassemble the machine.
In the front part we cut out two holes so that the corners fit in them.
In the front wheels we make holes along the diameter of the screw.
You also need to do two additional holes in the corners.
Clamp the screw in the front wheels with two nuts.
We twist the corners in the lower part of the machine body, also holding two nuts.
We fasten two pieces of plastic with holes in the middle and along the edges to the servo nozzle.
We attach the servo drive to the bottom of the machine body, insert the screws from the extreme holes of the corners in both parts into the holes on the plastic parts. The swivel system is ready. According to the author, the rotary system is the most complex element of a home-made radio-controlled machine, so after that the work will be easier.
To attach the engine you need to make an additional hole in the back.
The engine gearbox has two holes for mounting, so you also need to make two holes on the walls of the machine body to attach the engine.
The wheels can be connected to the engine using gears, which are provided on machines with an automatic forward system after pulling it back.
You can start programming the board Arduino Uno. To do this, you need to download a program for programming and fill in the necessary code on the board.You can learn how to do this from our past materials on the manufacture of radio-controlled cars, where the entire process is described in detail. A link to the code can be found at the end of the article.
Now you need to put everything together according to the scheme that is presented below.
The radio-controlled machine from the Sony PlayStation joystick is ready. If you collect everything according to the author’s scheme and code, then the headlights provided on the typewriter will be turned on by the “Zero” button, and turned off by the “Triangle”. Turn signals light up directly at turns. Four LEDs are installed on the back, two of which light up when moving backward, and the second pair is turned on by the “Square” button and turned off by the “Cross”. This pair can be used as marker lamps. According to the author, the range of the joystick reaches 10 meters.
Link to the driver in case of using the Chinese Arduino Uno board:
Link to firmware code:

