I bring to your attention how to make simple electronic digital microscope from the phone. To do this, you need to find an old unnecessary phone (preferably a smartphone), preferably with a larger screen and a better camera. Everything else is a technical matter. We will still use a laser pointer or lens. I want to note that the magnification of your new microscope can be up to about 375 times (it all depends on the class of lenses and their number).
As for the lenses themselves, you can take them from the old laser pointer. If not, they are sold at any Chinese online store (and also very cheap).
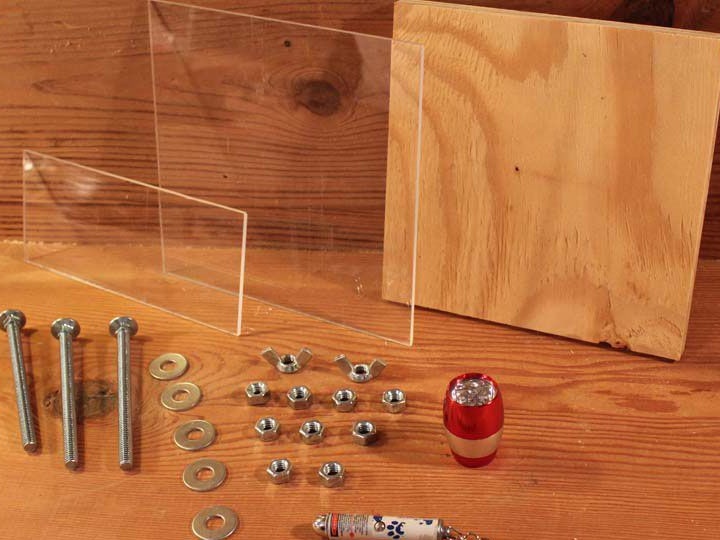
The following is a list of all the materials that are needed for a microscope:
- a piece of plywood (7x7 cm),
- a piece of plexiglass,
- laser pointer / lens (2 pieces),
- diode small flashlight,
- bolt M8 (10-12 cm) 3 pieces,
- M8 nut with a lamb (2 pieces),
- M8 nut (9 pieces).
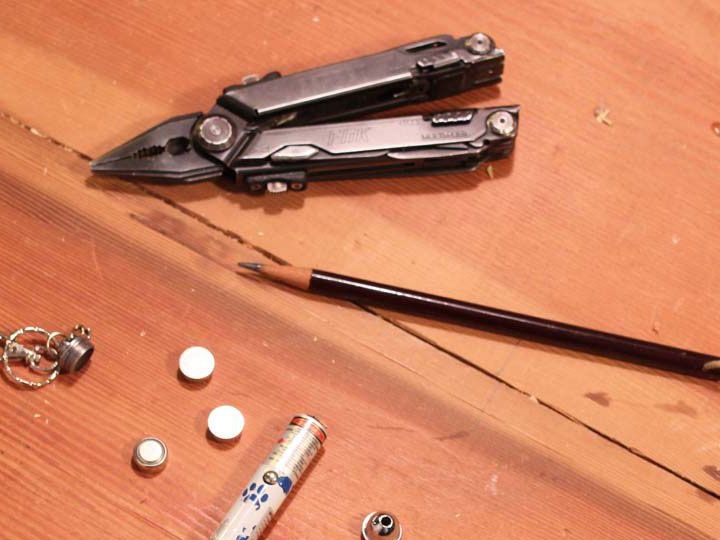
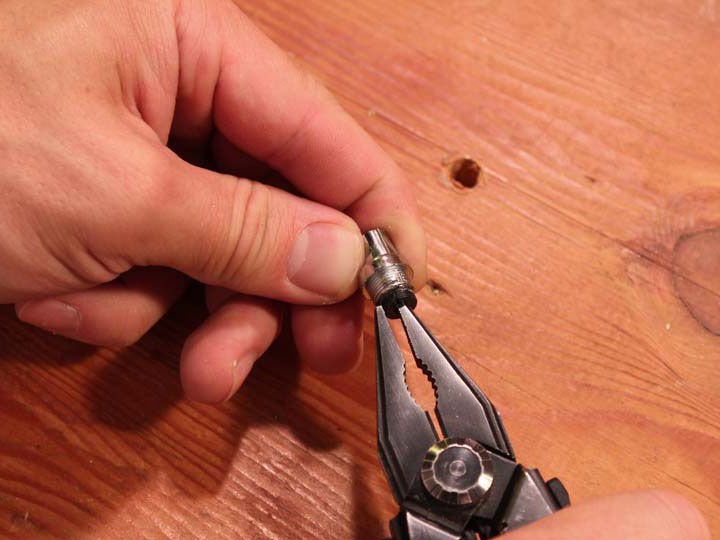
First you need to disassemble the pointer and remove the lens (if you have not purchased the lens separately). To do this, take the most ordinary cheap laser pointer, unscrew the back cover and remove the batteries. To extract all the insides from the pointer, use an ordinary simple pencil and eraser. The lens itself is in the lens. You can get it if you unscrew a piece of a black little eraser. Fig. 3, 4, 5
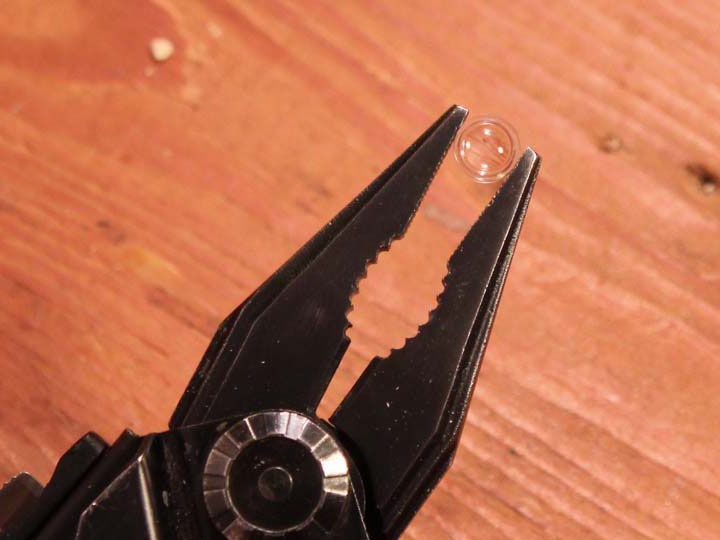
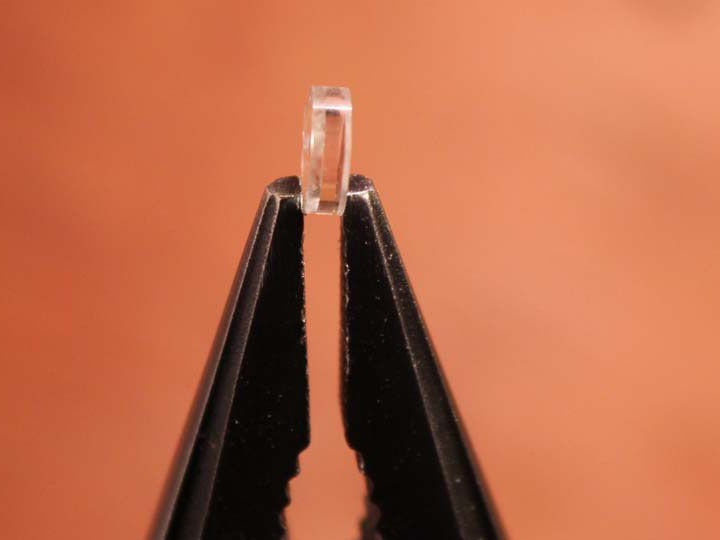
You will see that the lens consists of a translucent, sufficiently thin glass (approximately 1 mm thick). Fig. 6
I want to note that it is very difficult to make a high-quality photo, so I recommend making a stand-lock for a microscope.
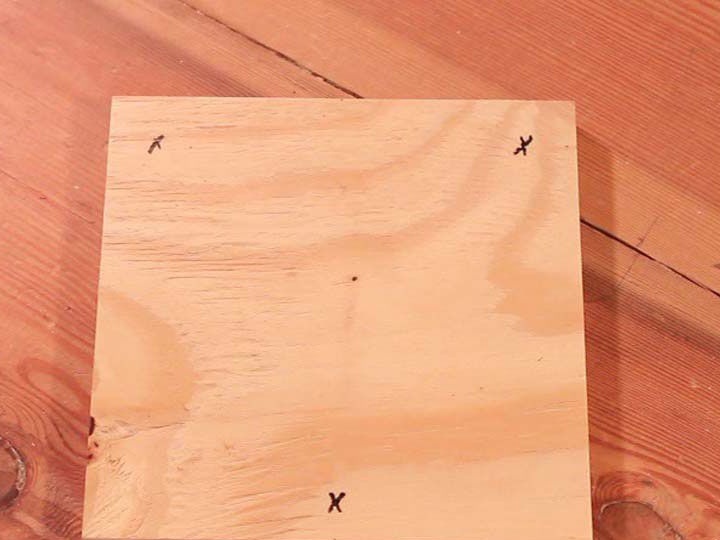
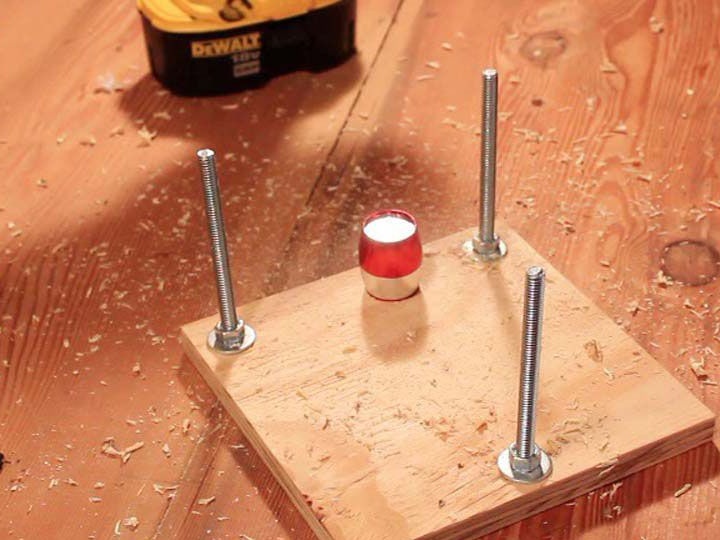
To make the rack, use a piece of plywood (7x7 cm), in it you drill 3 holes for the bolts. Where exactly to drill, you can look at the photo below Fig. 7, 8
Now cut out 2 pieces of glass (one piece measuring 7x7 cm, the second - 3x7 cm). on the first piece, drill 3 holes in the same way as on plywood. This will be the top of the rack housing. On the second piece, you need to drill 2 holes according to the plywood template (this is an intermediate shelf of a digital microscope). As you drill plexiglass, do not press hard. Fig. 9
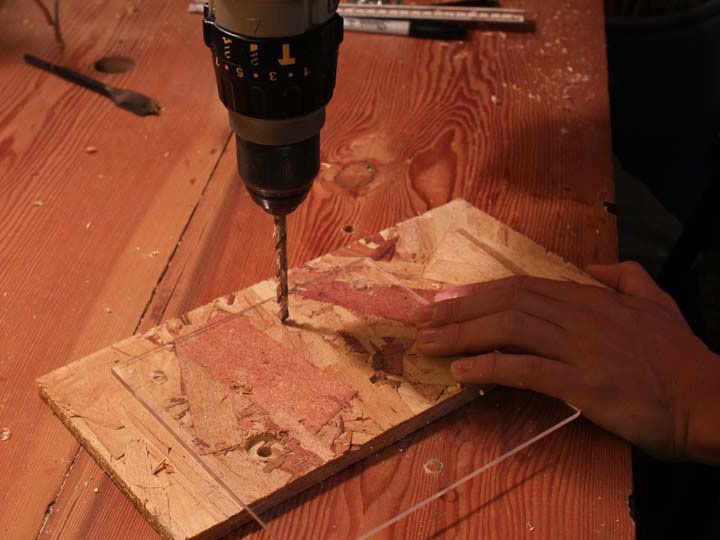
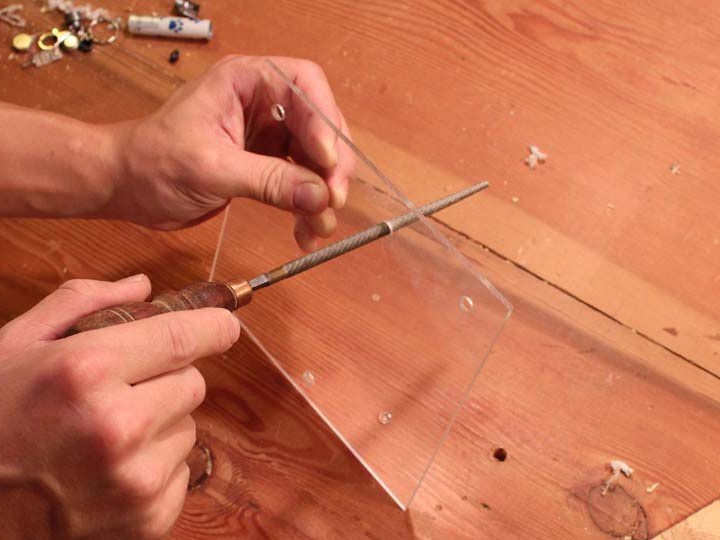
Now drill holes in the plexiglass that are required for the lens and for the lens.Use a drill D = D lens (possible a little less). Use rasps or round files to finish fitting the holes. Fig. 10
Insert lenses in both windows into the drilled hole.
Start assembling your microscope. But before that, drill another hole for the diode lamp. It will be the light source from below for the microscope. Fig. eleven
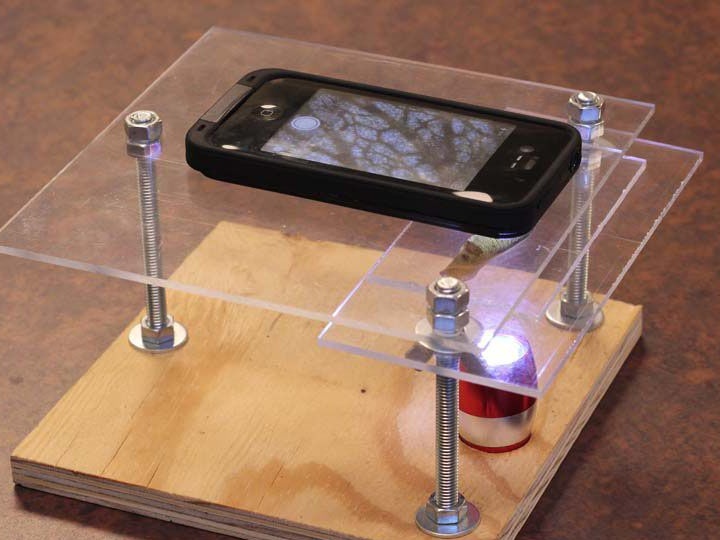
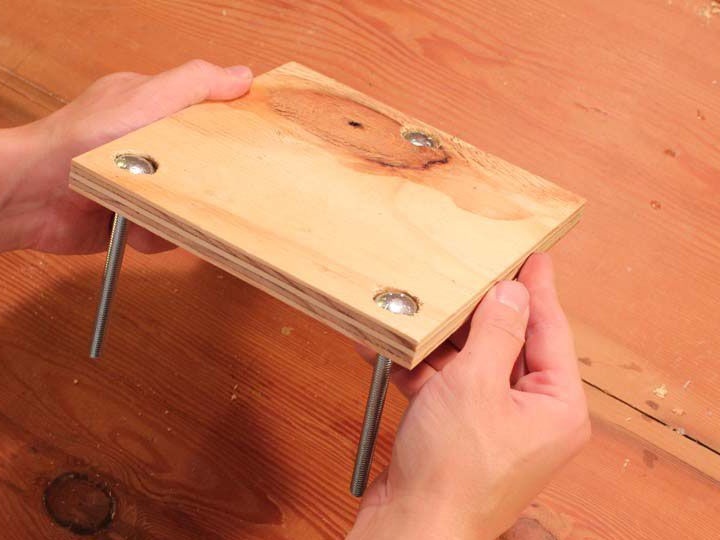
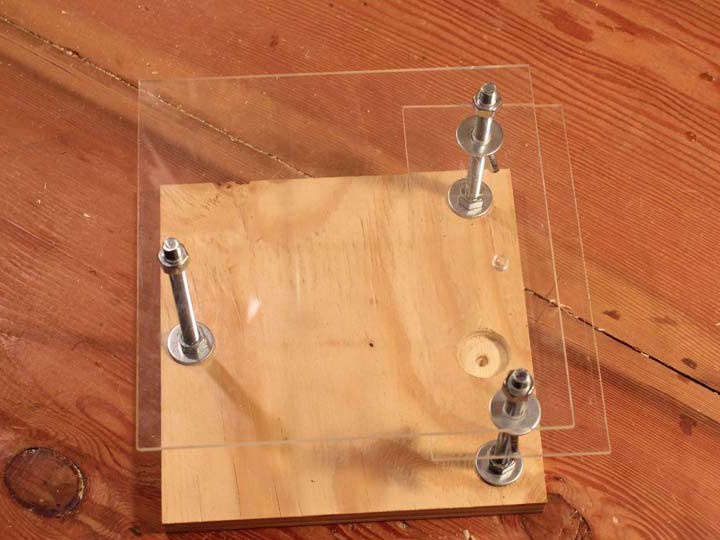
Now start the complete assembly of your new appliance. To begin, tighten the screws sufficiently tight to the base. An intermediate stand with a 2nd lens should fit both up and down. This is necessary so that you can adjust the size of the increase. To do this, just take on 2 bolts, tighten the wing nuts, two washers and mount the glass already with a glued lens. Fig. 12
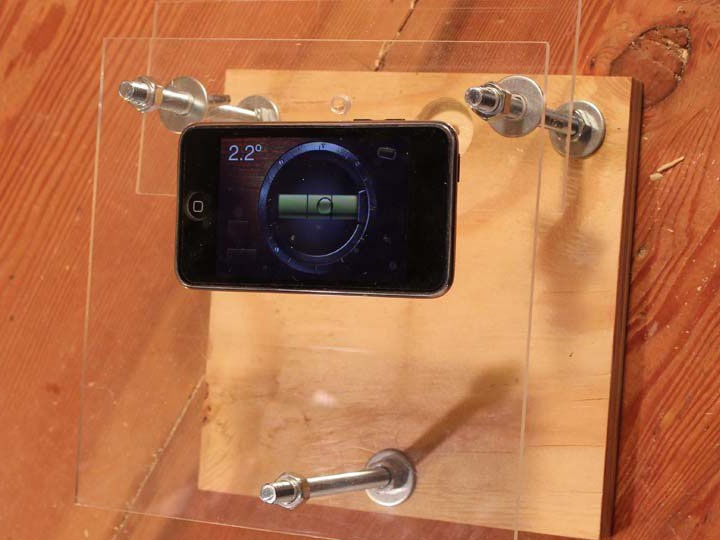
You can install the top cover. Here you can use ordinary nuts, but you need to fix them both from above and from below. Fig. thirteen
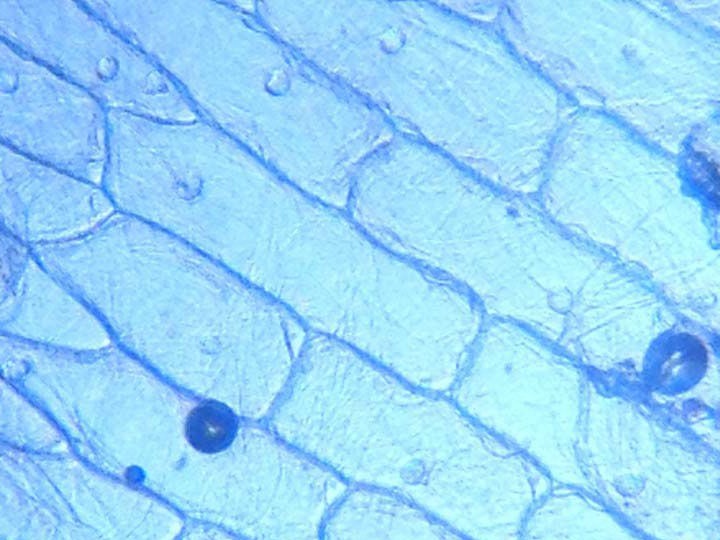
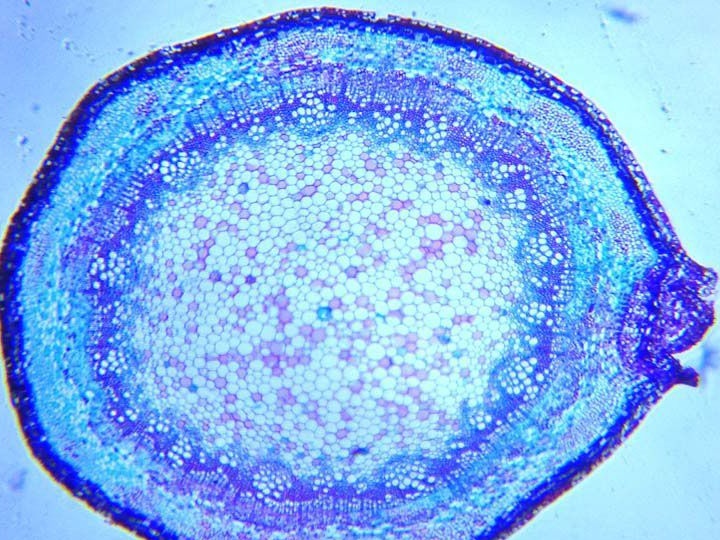
That's all! Work is done! Your cheap digital microscope is ready to use. Below are the photos that were taken using this fixtures. Fig. 14, 15