Many people who have their own workshops, garages or just country houses, install the so-called stove stoves there. This stove acquired this name in 1917, during the revolution. She received it for her “gluttony” and unpretentiousness to the combustible materials used for the furnace. This furnace undoubtedly wins in the simplicity of its design, its relatively low cost, but it has such a serious drawback as low efficiency (efficiency), which is about 15 - 20 percent. Also, not very thick metal walls of the stove accumulate heat poorly and when it burns fuel, it cools quite quickly, since the main heat generated by the stove just flies into the pipe and “warms the street”. To increase the efficiency, you can increase the area of the heat-conducting surface. For this, a so-called heat exchanger is useful. It is installed in the place of the highest concentration of heat and can significantly increase the efficiency of the furnace.
To create a heat exchanger you will need:
- A pipe with a diameter of 32 mm, a length of about 2.5 meters;
- Pipe 57 mm, length 300 mm;
- Sheet metal 1 mm thick, two squares of 350 mm each;
- A metal bucket of 20 liters;
- Drill, grinder, welding machine (preferably semi-automatic);
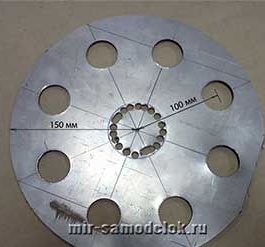
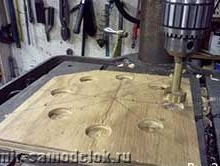
Step 1. Production of end caps.
To do this, in the squares of sheet metal, a hole is marked in the center. A circle with a radius of 150 mm is marked from it. This will be its outer radius. Next, the center of the holes for the 32 mm pipe is marked, along a radius of 100 mm, and a distance of 45 degrees between them. The center of the sheet is marked under a 57 mm pipe.
In order to drill such holes, it is necessary to drill a small diameter to drill holes (with a margin) around the circumference, remove the middle and bore to the desired diameter with a file.
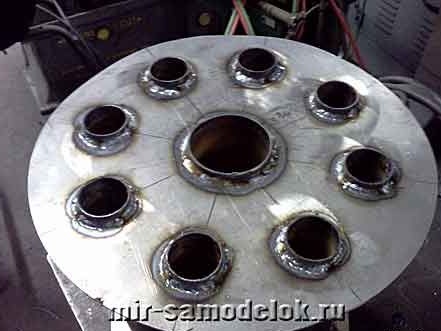
Here's what you should get:
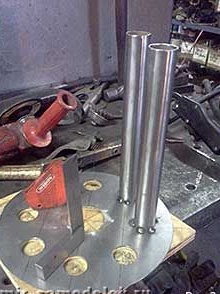
Step 2. Assembling pipes and plugs.
A pipe of 32 diameters is cut into 8 parts, each of which has a length of 300 mm. To simplify the assembly process, we use here such a template made of 22 mm plywood:
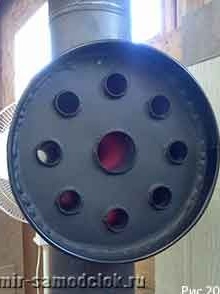
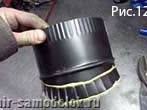
Then the cut pipes are inserted into the template, a cap is put on top and grasped at 5-6 points. Fully scalded will be outside.
Both Stubs fall into place:
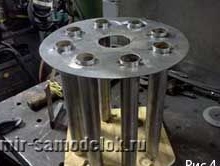
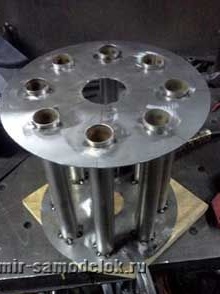
The seam must be tight so that the heat exchanger does not "etch":
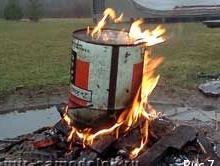
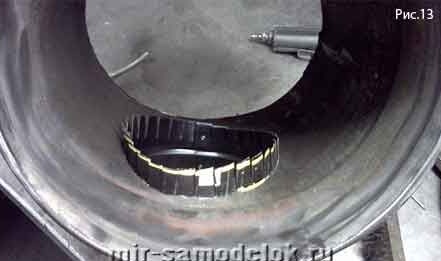
Step 3. Case.
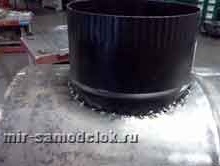
The case is made of a round bucket of 20 liters. To remove the paintwork, it is scorched in a fire.
Remaining coating and soot should be removed with a wire brush. The bottom of the bucket is cut off by a grinder.
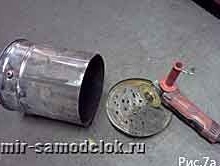
Next, you need to make two holes at the entrance and exit of the chimney pipe. Their diameter is selected depending on its size. In this case, a standard pipe purchased at a store was used.
Here is the build process:
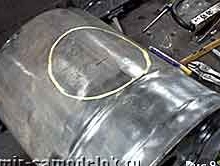
Small notches are made along the edges of the pipe and bent in the inner part of the body:
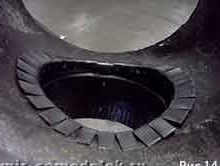
On the outside, the pipe is picked up by the points:
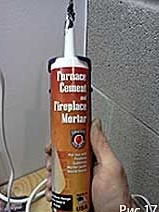
Since the metal thickness is not enough for full penetration, the joint is sealed with a refractory sealant:
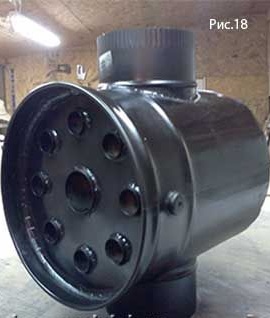
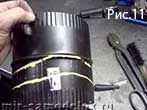
Step 4. Painting.
Painting is carried out with refractory paint.
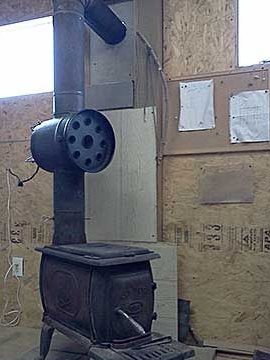
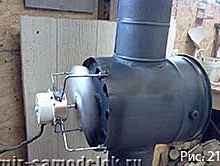
Step 5. Installation.
The finished design is installed on the chimney. To increase the efficiency of its work, on the one hand a fan is installed that will blow air into the heat exchanger. At the exit from it, it will be much warmer. The fan must be installed on metal or other heat-resistant mountings.
Conclusions.
After such refinement, the time required for complete heating of the room was significantly reduced. The consumption of the furnace also decreased.