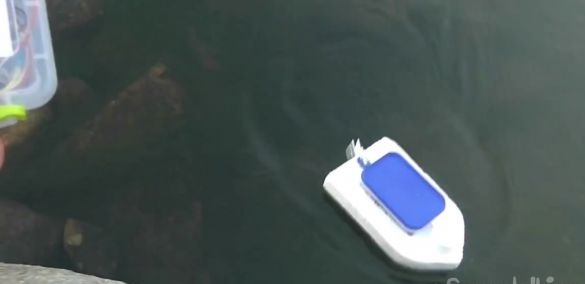
We continue to bring to your attention materials for the manufacture of radio-controlled toys. This time, we propose to find out a way to independently manufacture a radio-controlled boat.
Let's start, as always, by watching the author’s video
We will need:
- 2 radio modules NRF24L01;
- 2 boards Arduino Uno;
- engine driver L298N;
- servo drive;
- analog joystick for Arduino;
- 2 buttons on and off;
- 6 volt engine;
- a piece from a can;
- plastic case for joystick;
- plastic sealed containers for electronics;
- 2 finger batteries;
- 2 battery compartments;
- bicycle spitz;
- a piece of polystyrene measuring 26x15 cm.
First of all, it is necessary to give the foam the appearance of a boat. With a knife, cut out the bow of the ship.
Next, with the help of sandpaper we round the lower corners.
In front of the boat you need to make a little indentation. Deepening closer to the edge is necessary for the engine, the middle is for sealed containers, and the rear is for the servo drive.
We take the spitz and cut it into two.
We take a piece of plastic and make a hole in it with a 2 mm drill.
This piece of plastic is needed in order to connect the motor shaft and the spitz.
Next, from a piece of metal cans you need to make a screw.
Cut off a piece of the can, put it on the spitz and clamp it with a nut. To clamp the blade, the nut must first be cut in the middle.
We assemble the mechanical part of the radio-controlled boat with a glue gun.
Below is a diagram of the boat transmitter.
As well as the receiver.
Now you need to program the receiver and transmitter boards. How to do this, you can learn from our past materials on the manufacture of home-made radio-controlled toys. As always, links to sketches and drivers can be found at the end of the article.
It is important to put the cover on the engine so that water does not get on it. An excellent solution can be a cover from spray paint or any spray.
The swivel system can be made from pieces of plastic.
Our radio-controlled boat is ready to conquer the seas and oceans.
Link to the program needed to fill the sketch on the board:
Library for joystick:
Driver required when using a Chinese board:
Sketch for receiver
Sketch for the transmitter

