In this material, we propose to find out how you can independently make a rocket with water traction.
Let's start by watching the author’s video
We will need:
- 2 1.5-liter plastic bottles;
- ball for table tennis;
- glue gun;
- several sheets of landscape cardboard;
- cardboard;
- quick connector for garden hose;
- adapter for the connector;
- a nipple from a tubeless tire;
- a bucket;
- wooden plank;
- jigsaw;
- wooden planks;
- bolts;
- metal corners.
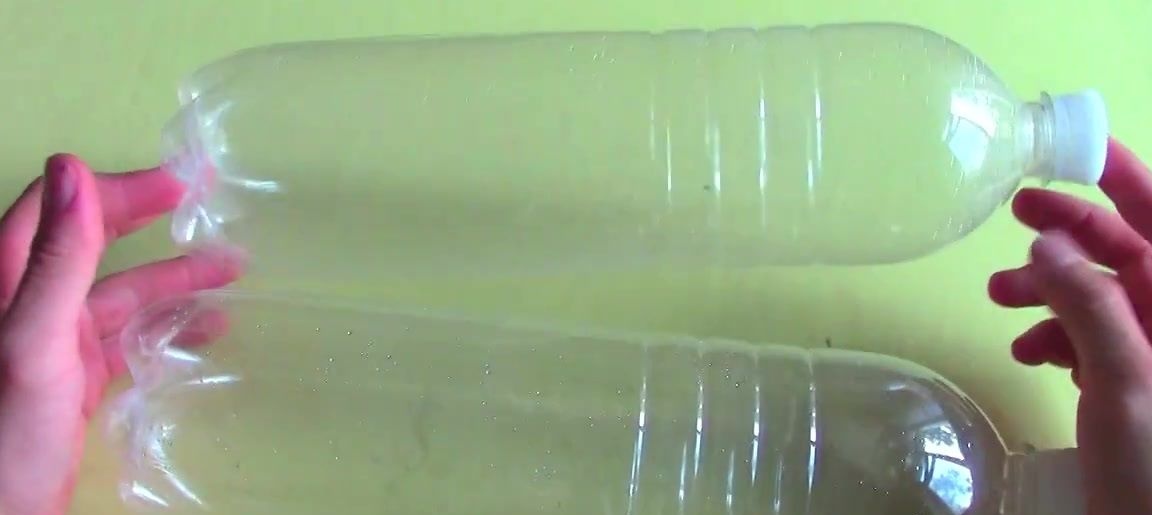
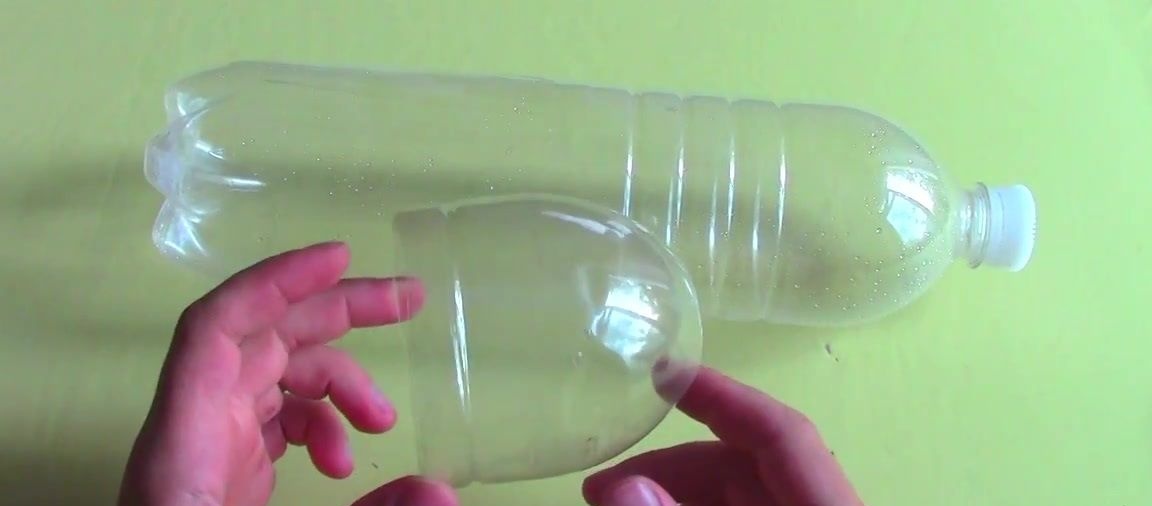
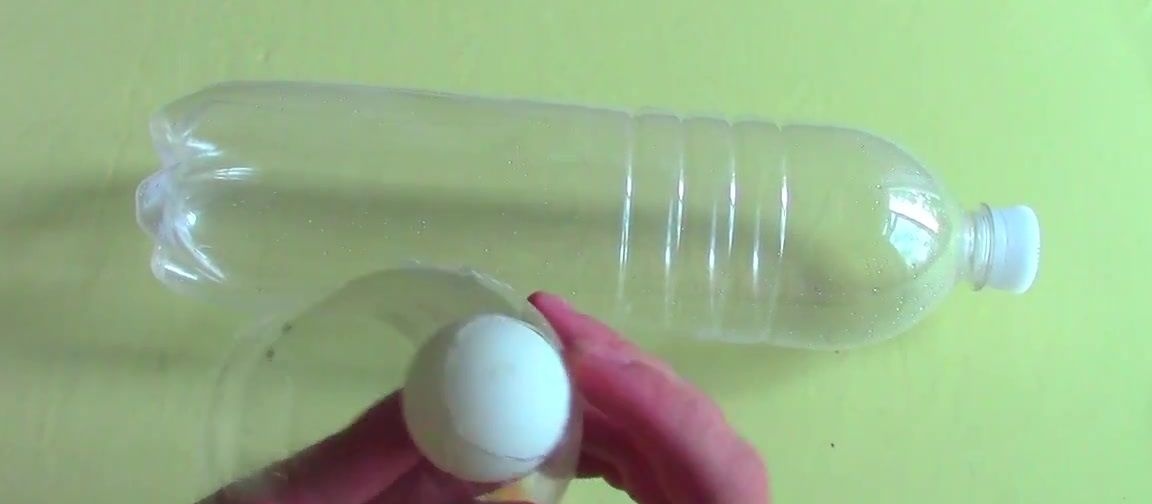
With one of the plastic bottles, you need to cut out the top to get a workpiece similar to the one shown in the figure below.
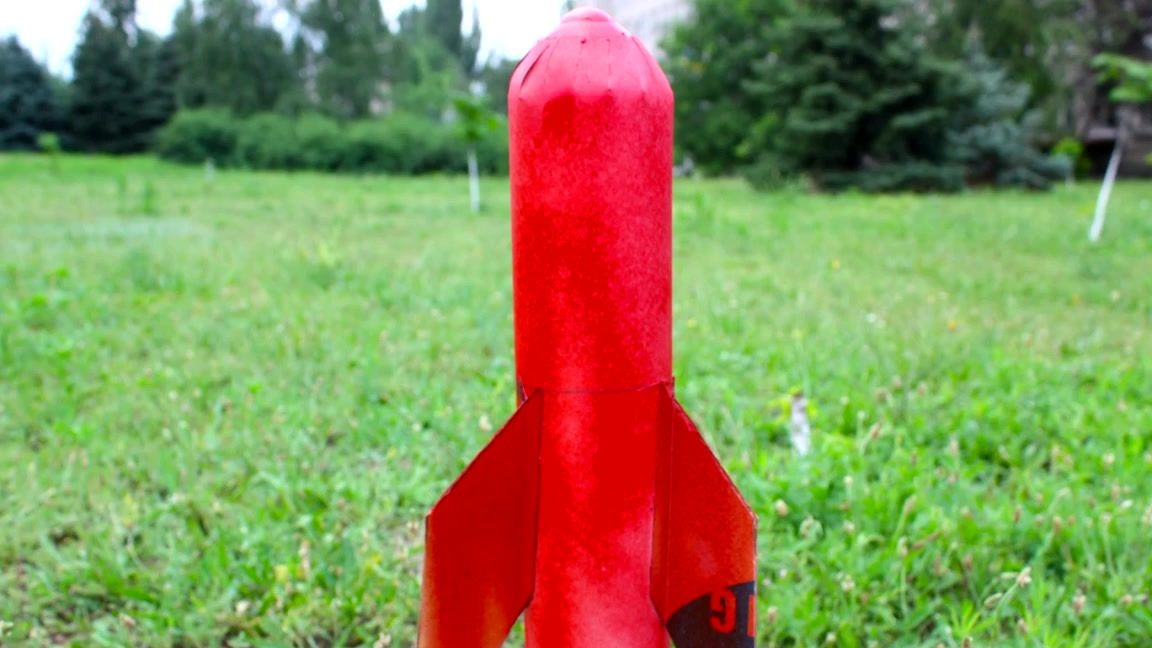
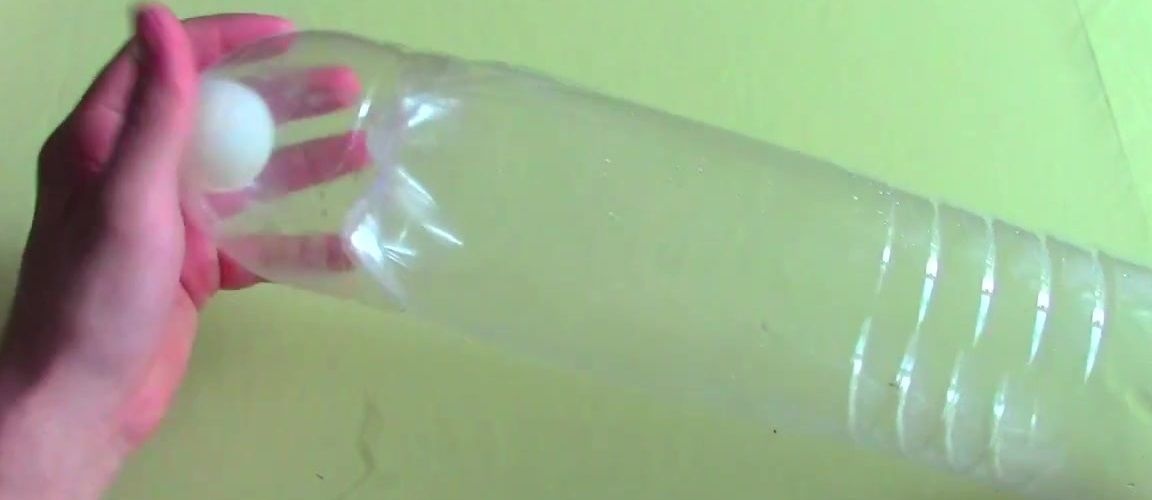
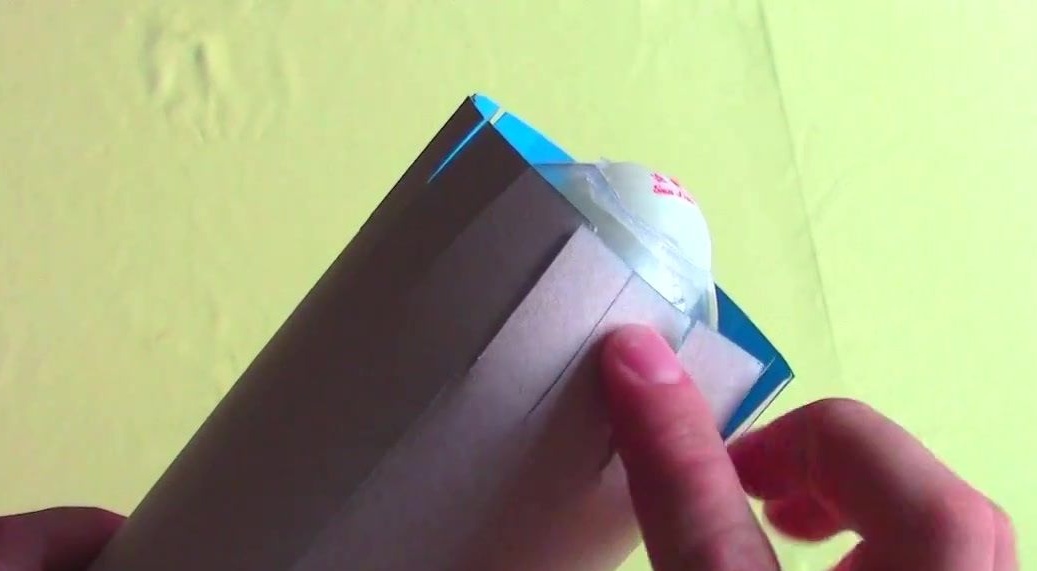
In the small hole left after cutting the neck, we glue the ball for table tennis. The ball in this case will serve as the upper fairing of the rocket.
We fix the resulting blank to the bottom of the second bottle with a glue gun.
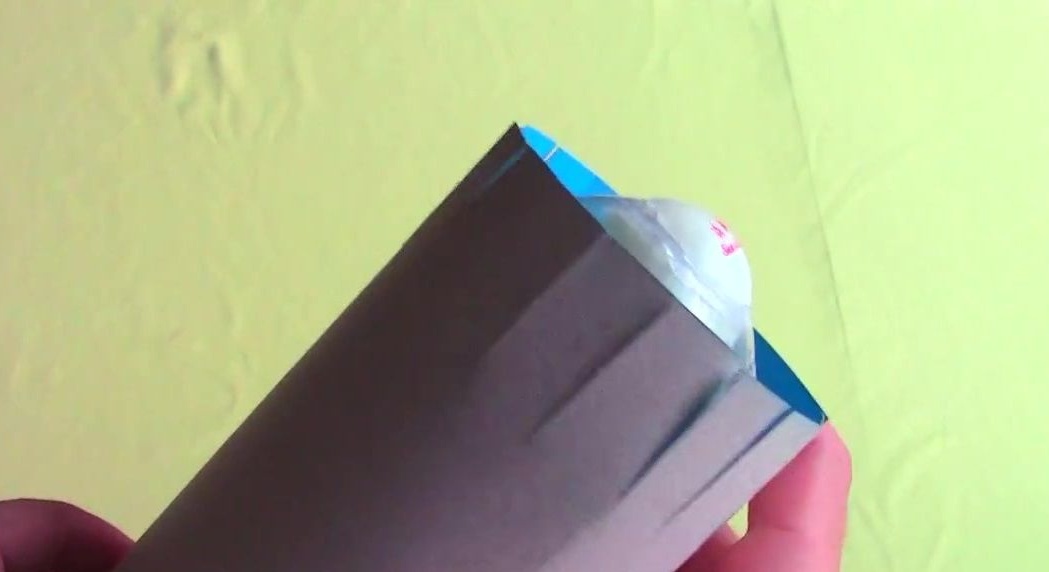
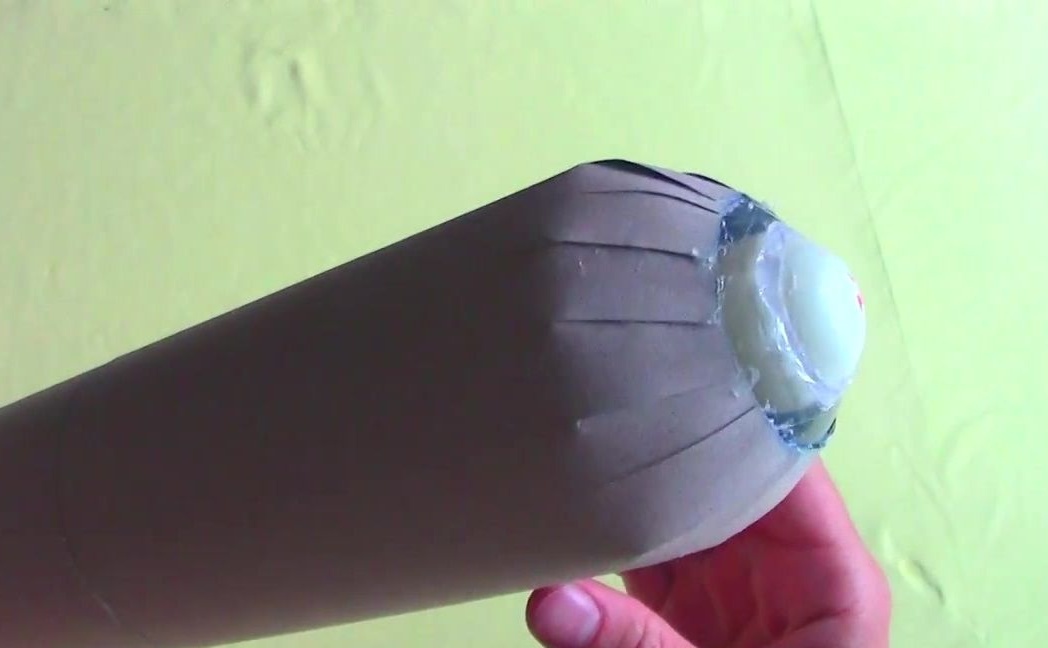
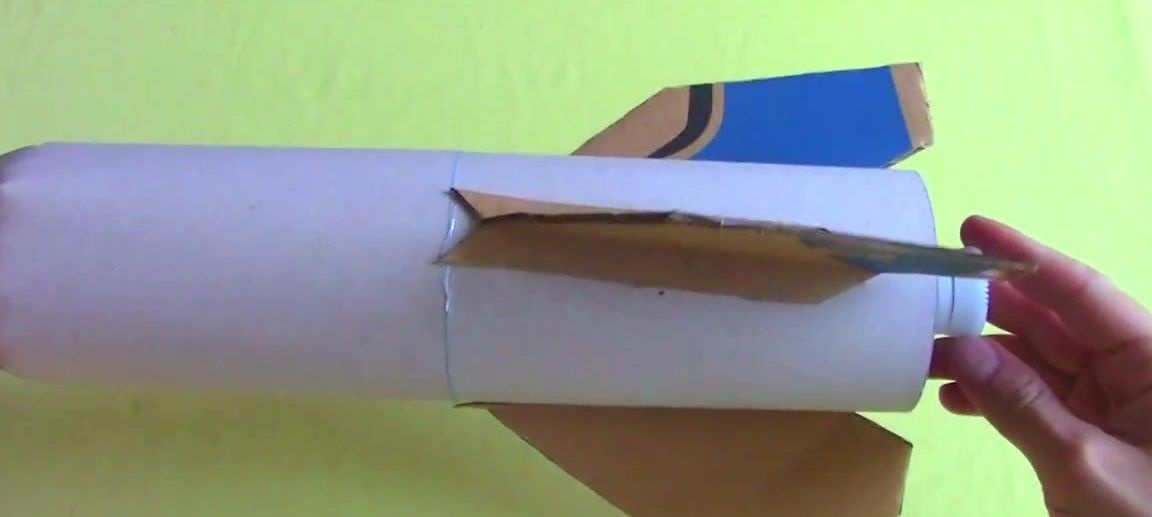
Next, we take the sheets of landscape cardboard and wrap them around a future rocket.
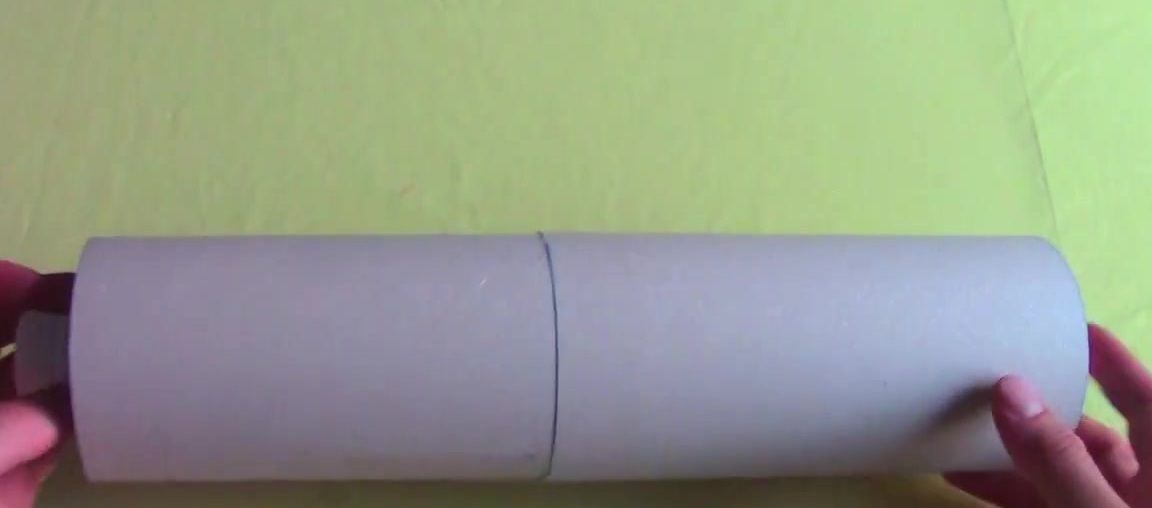
We make cuts on cardboard in the upper part of the future rocket and smooth them along the bottle with glue.
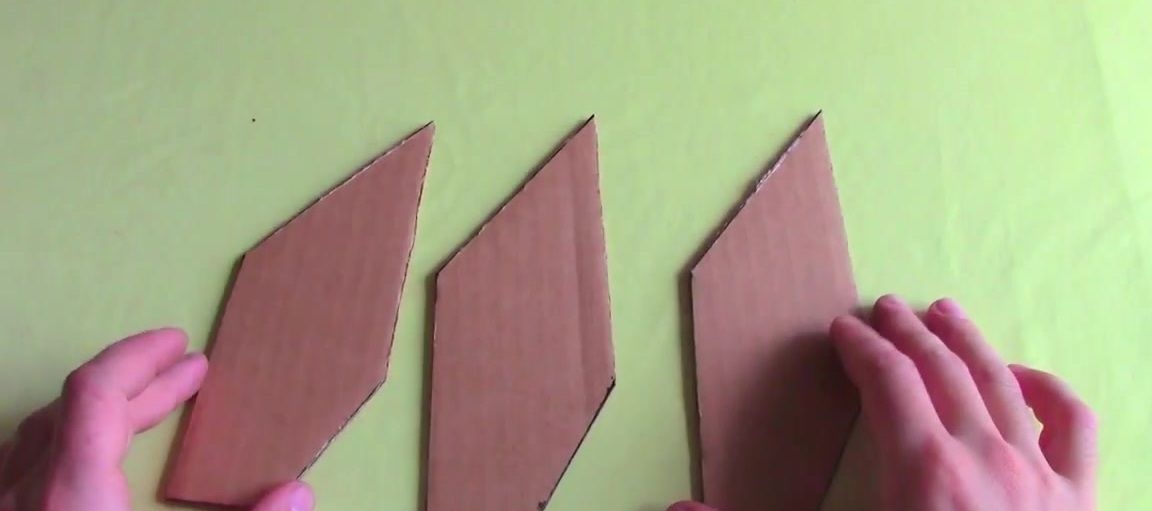
The next step is to take care of the stabilizer for the rocket. To do this, take cardboard thicker and cut out blanks from it in the shape of those that can be seen in the image below. There are three such blanks.
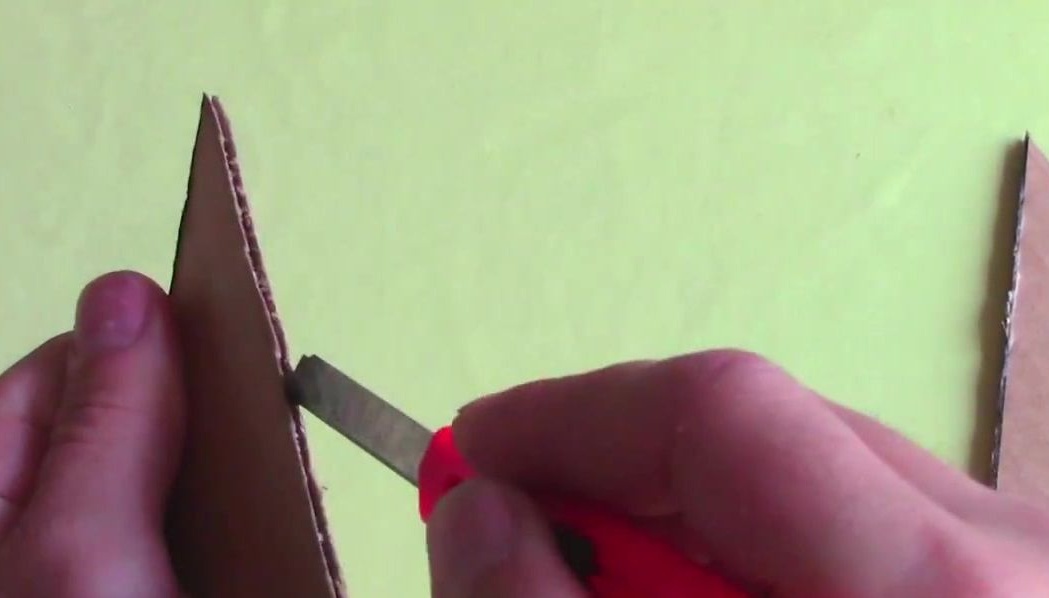
Now you need to divide the stabilizers along at the attachment point using an office knife.
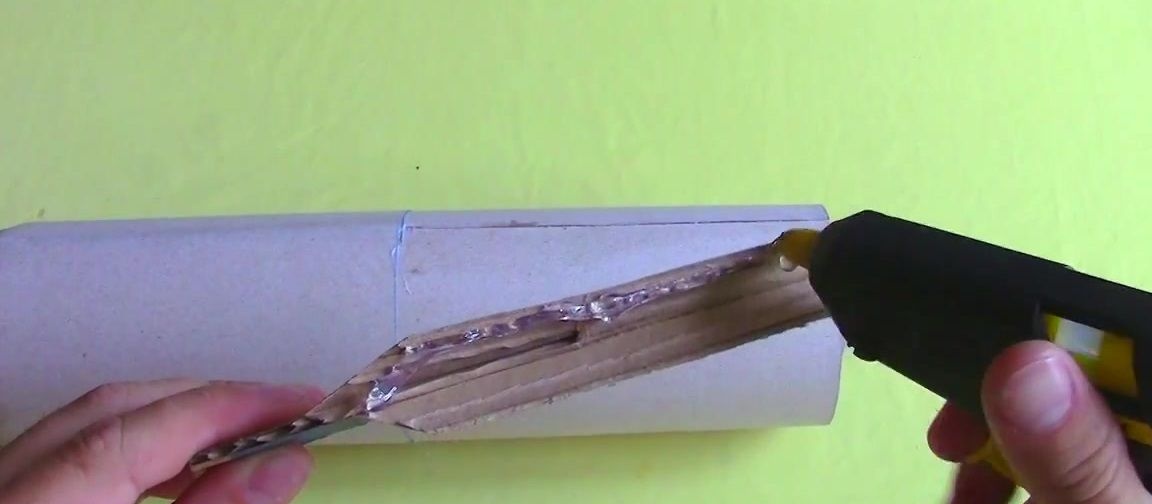
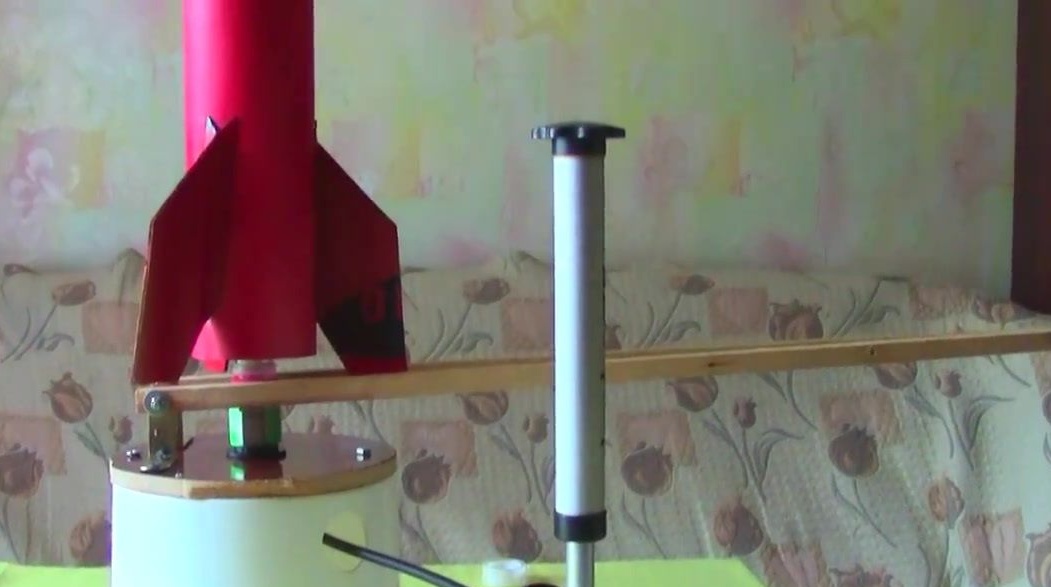
Using a glue gun, we fix the stabilizers at the bottom of the rocket.
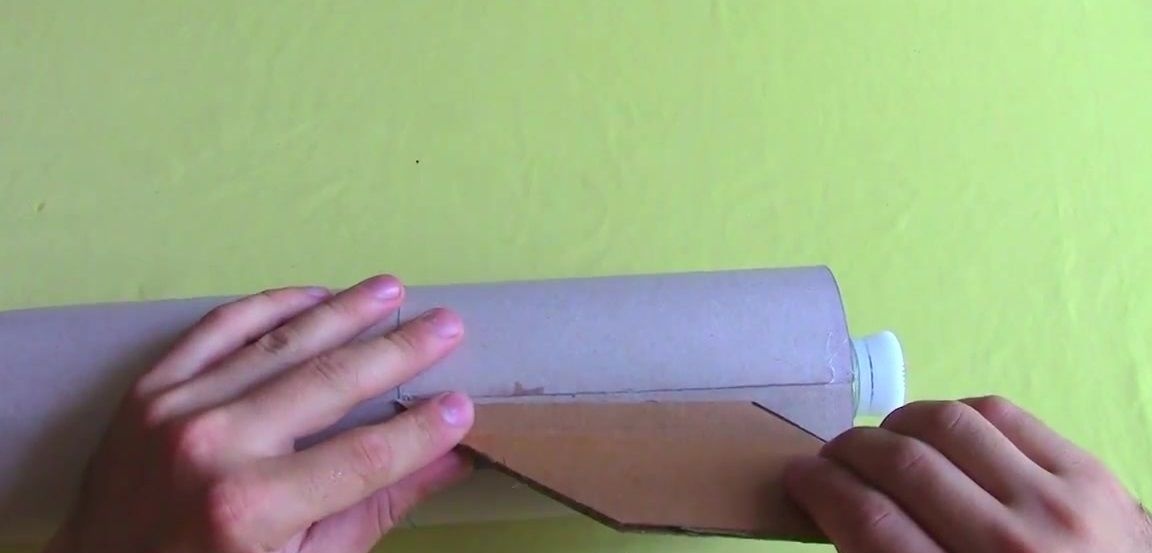
If you stabilize the stabilizers at a small angle, the rocket will rotate during flight.
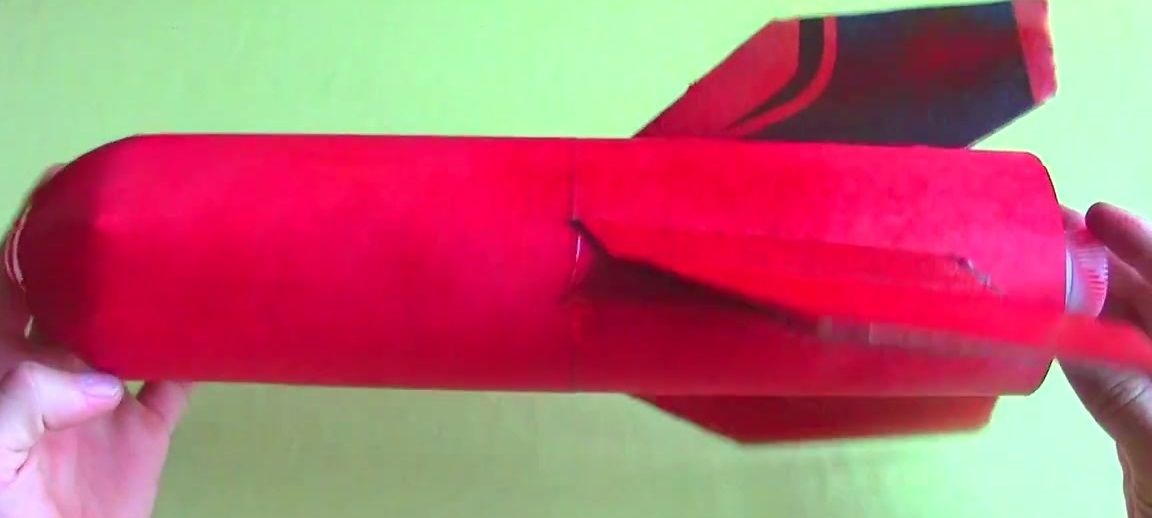
At the end, you can paint the rocket with spray paint.
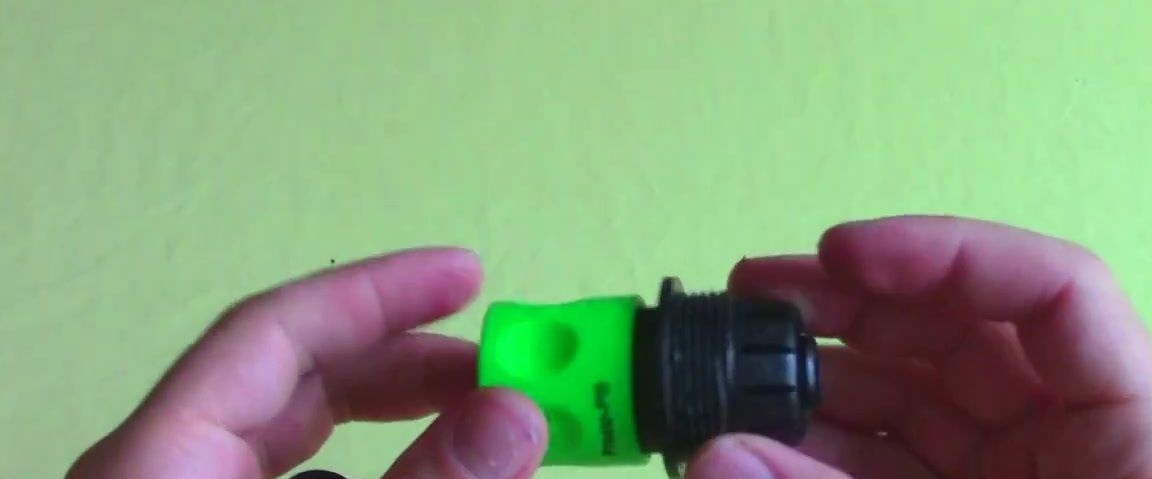
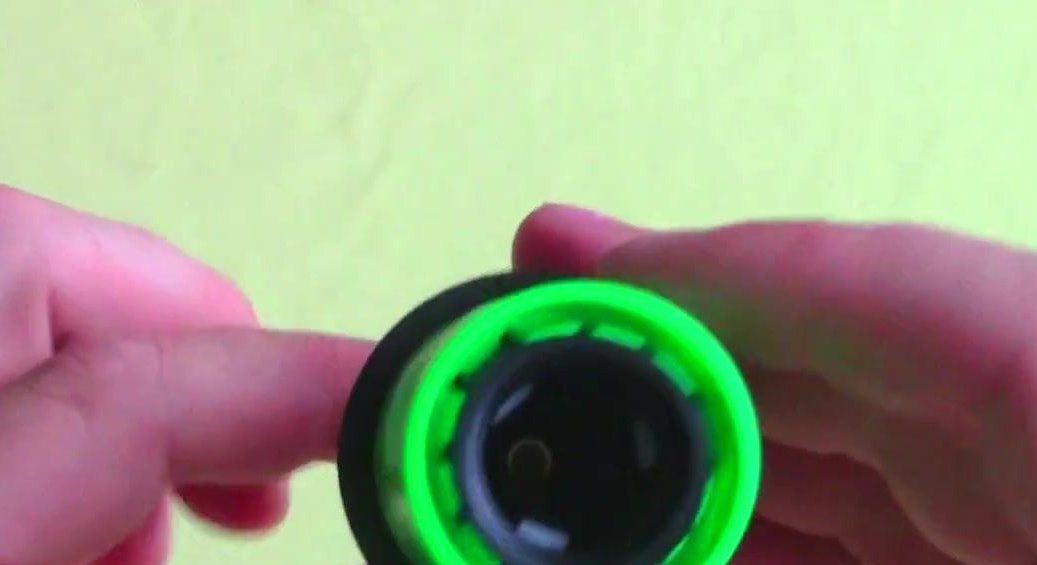
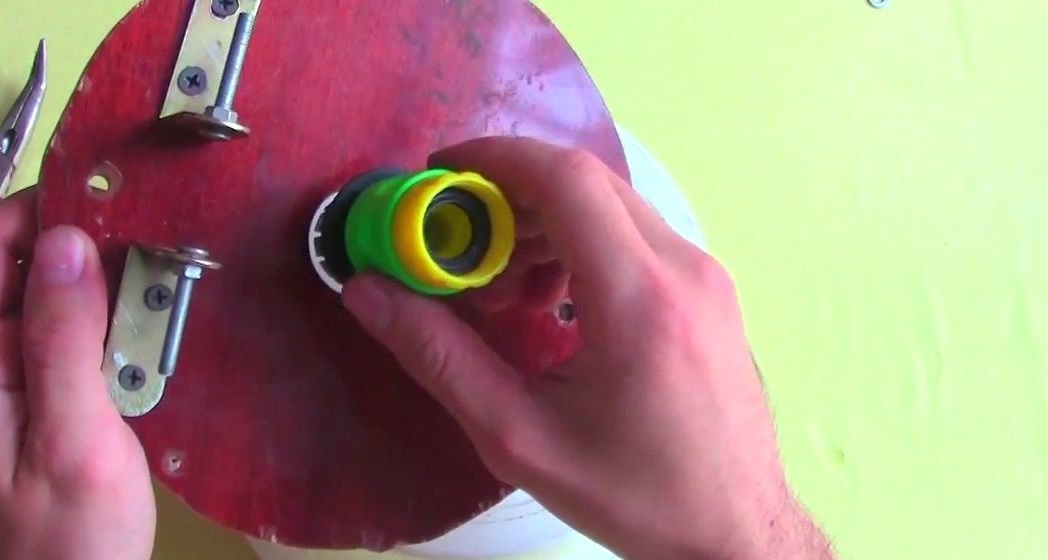
Now you can begin to manufacture the trigger. To do this, take a quick connector for a garden hose and an adapter.
Cut off the top of the adapter.
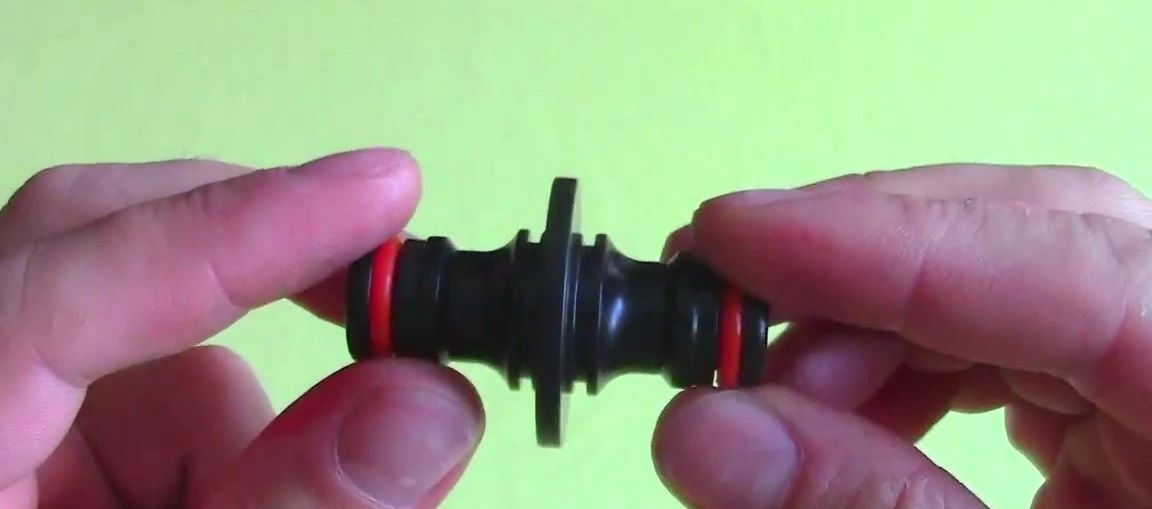
According to the author, in order to prevent the rocket from breaking off under high pressure, it is necessary to sharpen the groove remaining on the adapter using a file.
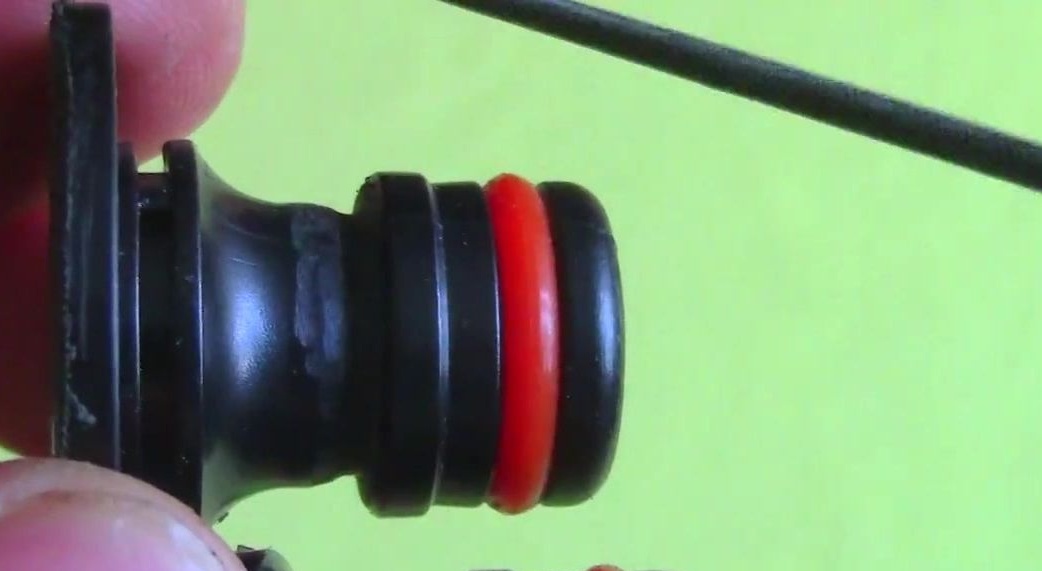
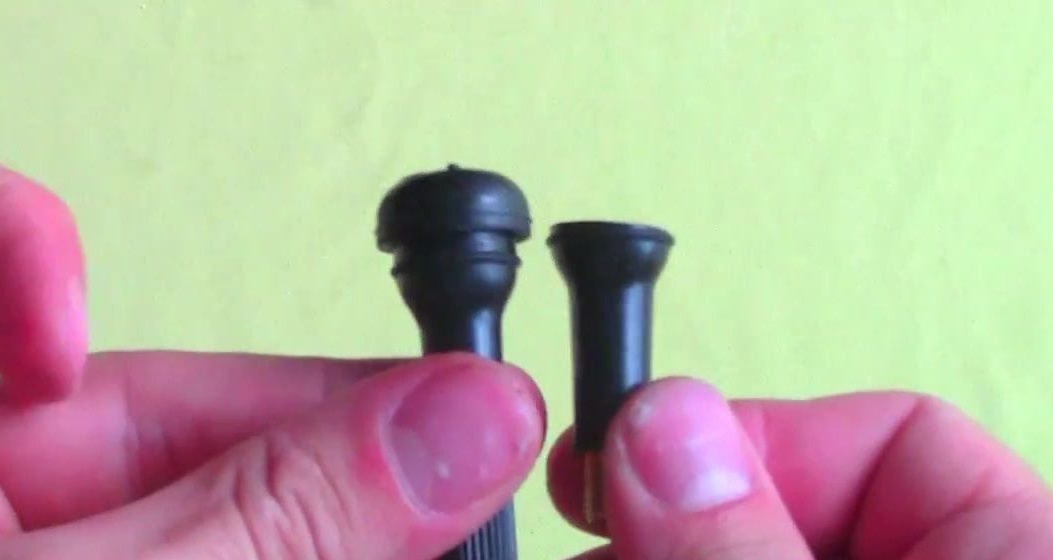
Next, we take the nipple from the tubeless tire. Cut off the top.
We insert into the hose connector.For greater certainty, you can fix it by cold welding.
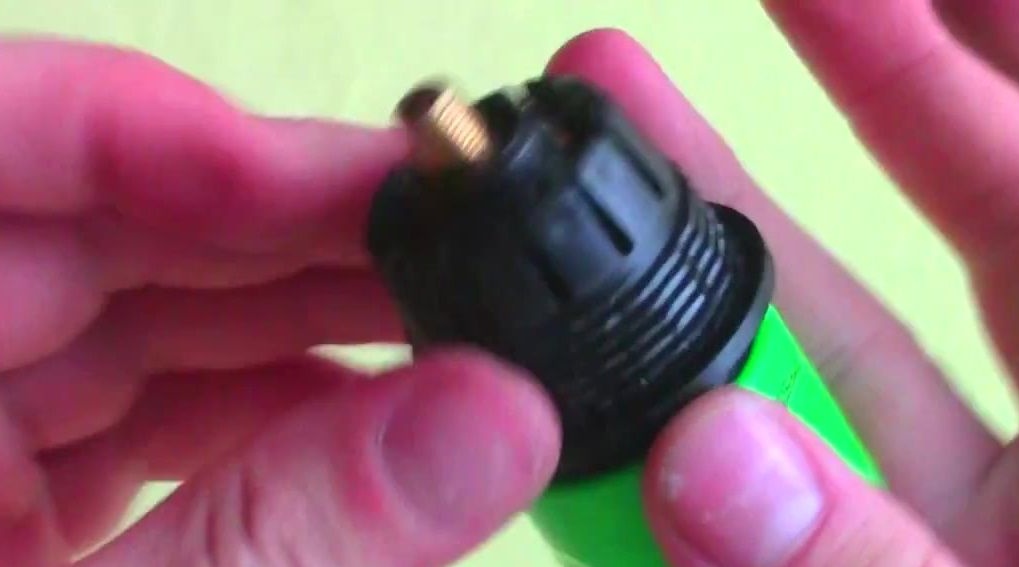
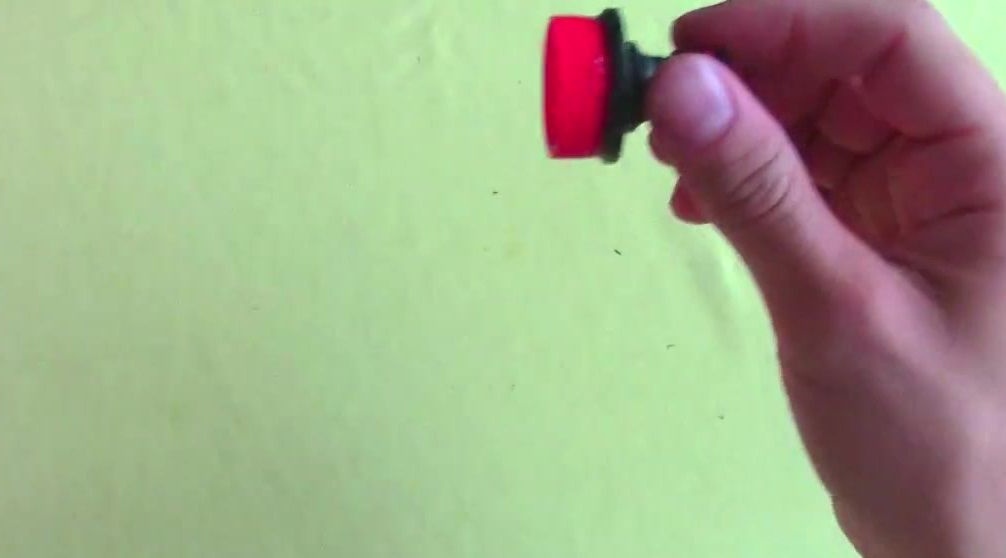
Next, take the bottle cap and make a hole by the diameter of the hole in the adapter.

Glue the cap to the adapter using cold welding.
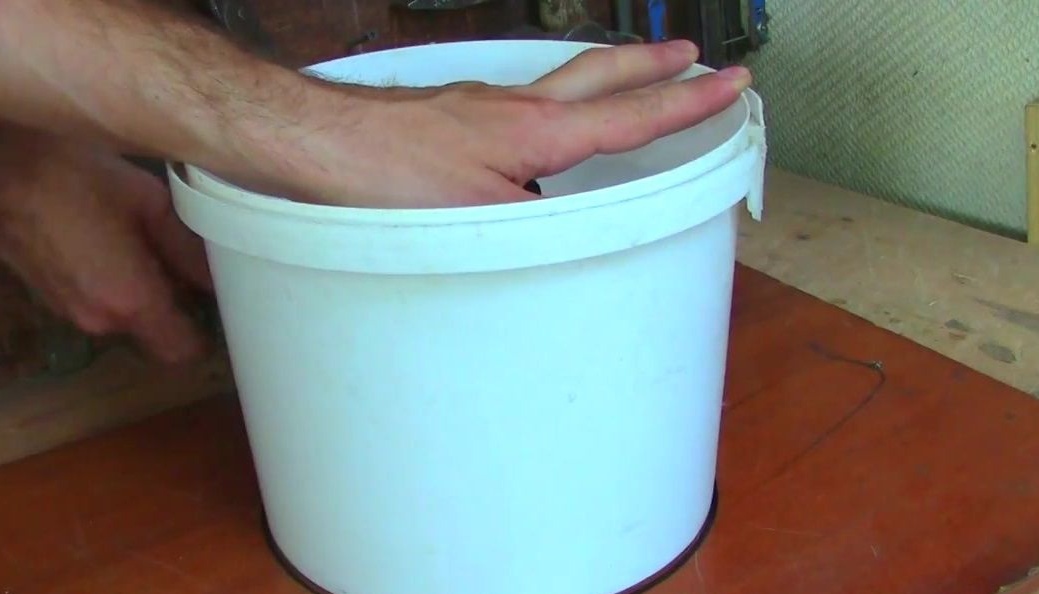
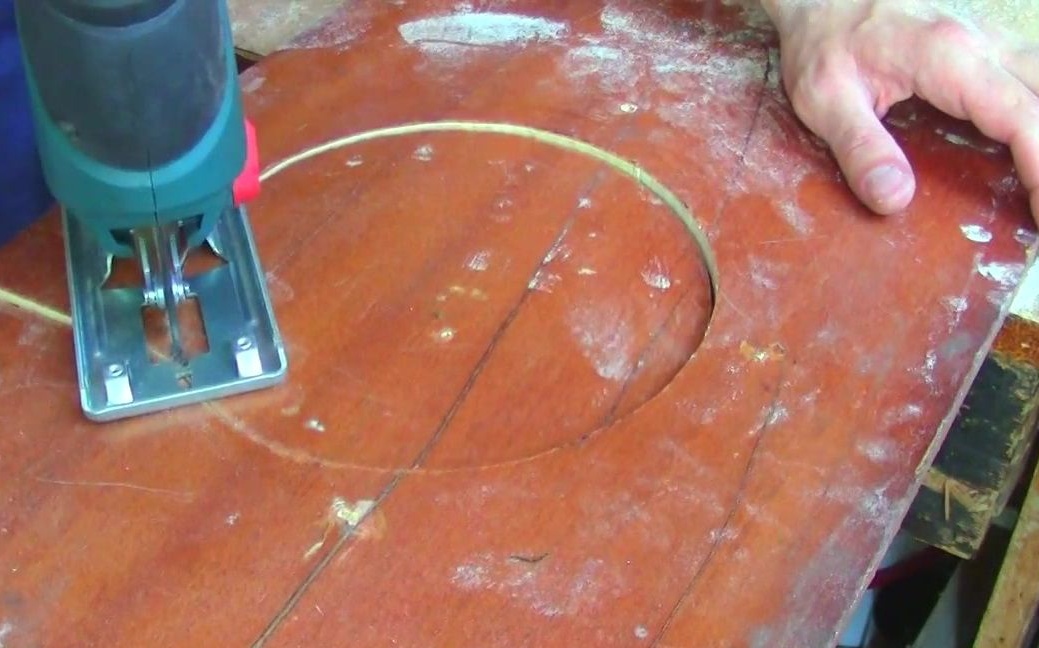
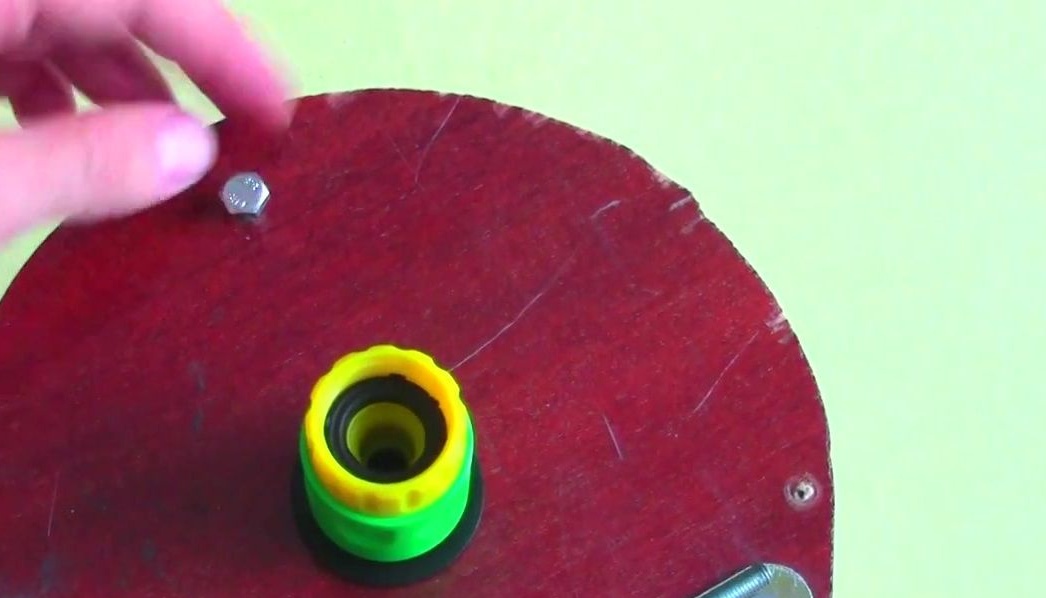
Next, you need to take care of the launch platform. To do this, take a bucket on a wooden board.
Put the bucket on the board and draw a marker around the bottom.
The resulting circle is cut out with an electric jigsaw.
We make a hole in the middle of the wooden circle along the diameter of the quick connector.
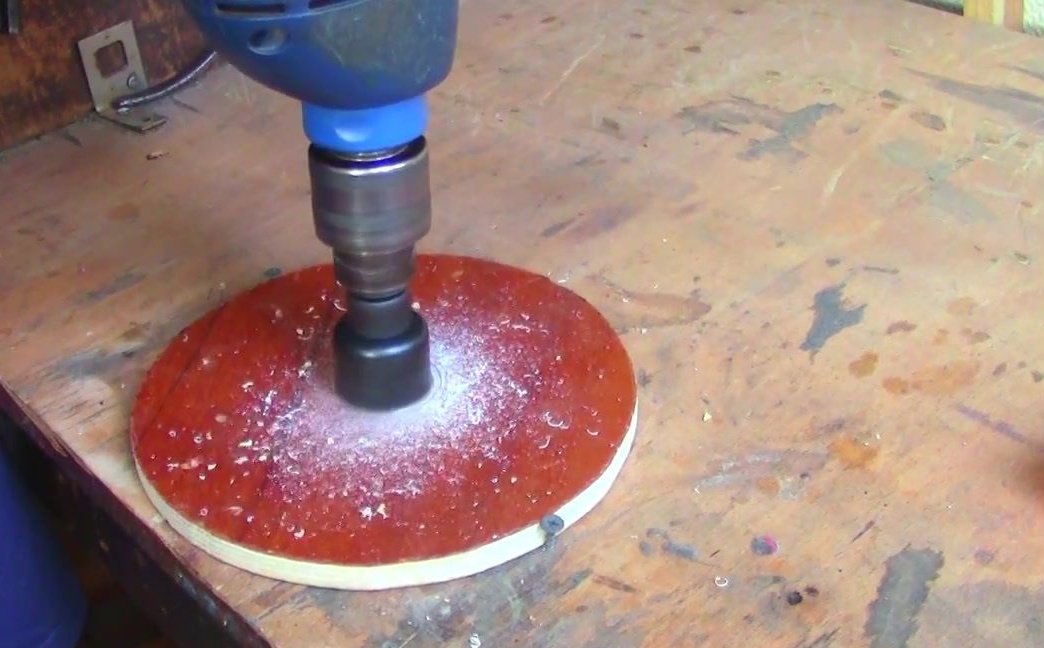
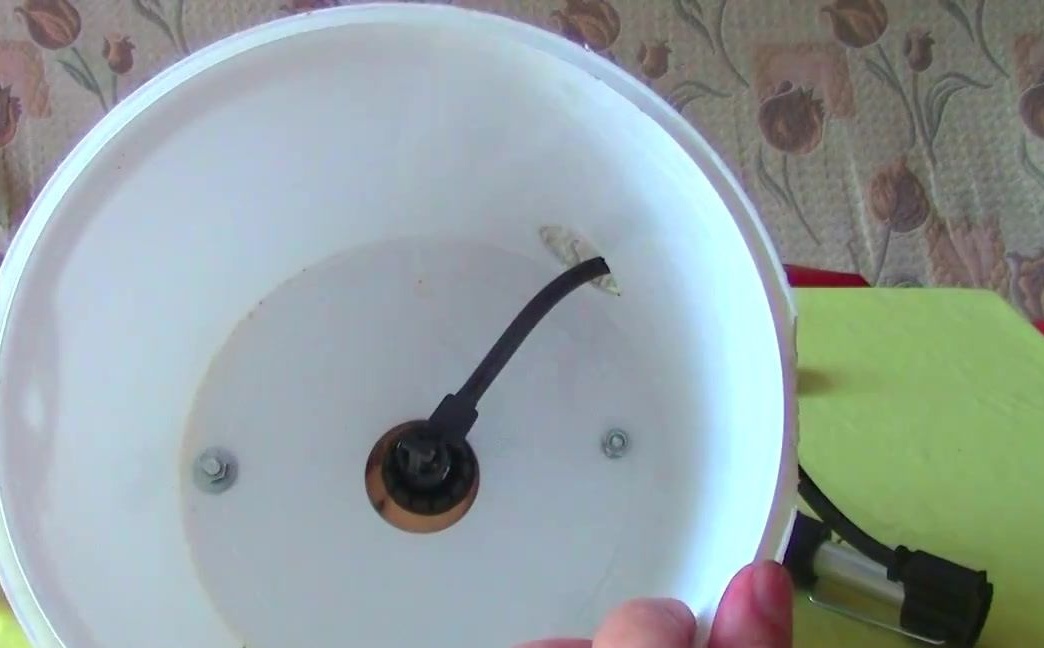
It is also necessary to make a hole in the bucket itself.
Next, we fix the corners at the edge of the round board and fasten two wooden planks with bolts.
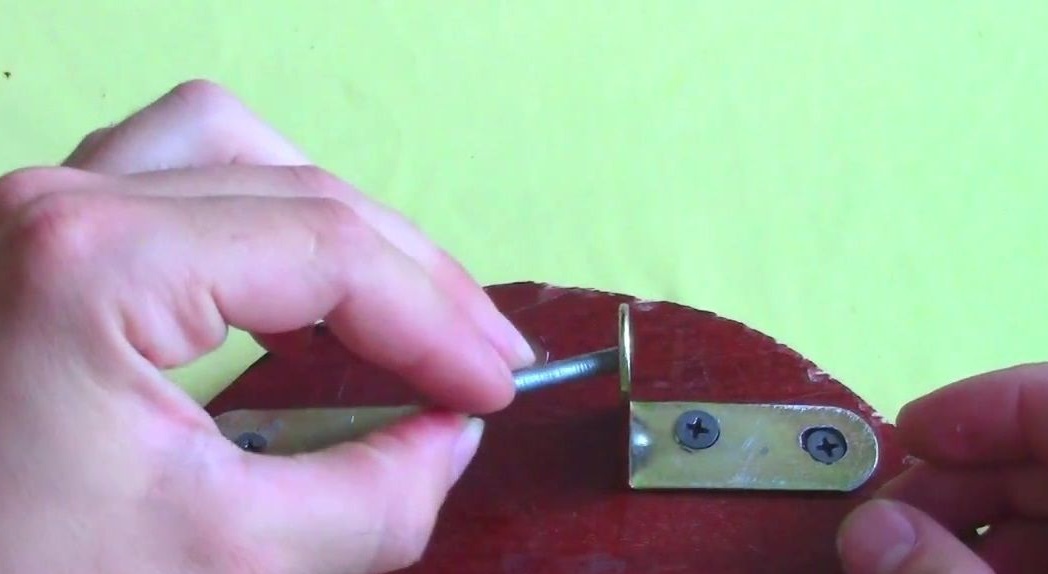
Fasten the board to the bucket with bolts.
Now we take 2 other corners and fix them on the moving part of the connector with adhesive tape.
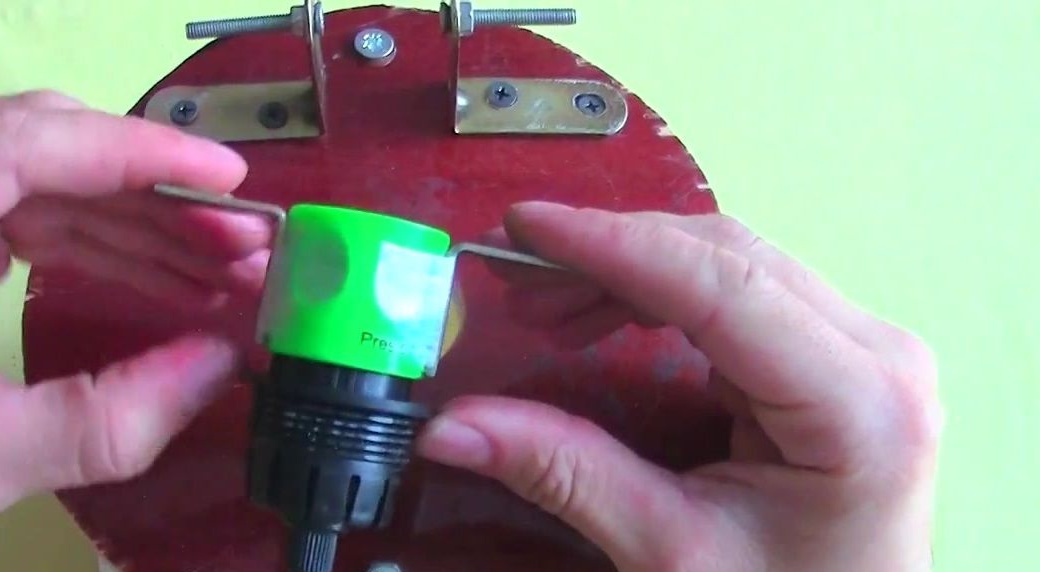
It turns out a mechanism that releases the rocket when lowering the slats.

Finally, we take a suitable pump and connect it to the nipple, through which we pump air into the rocket.
In order for the rocket to take off, you need to fill the bottle by about a third, close the lid and pump air into it. According to the author, the resulting rocket can fly up to 50 meters.