
We were all children and at a young age loved to play "war games" ... Today, the author of the video will tell us about how you can yourself in home conditions and from home appliances to make a machine that will shoot. By the way, the process of making the machine is quite simple, so you can do it together with your "little soldier".
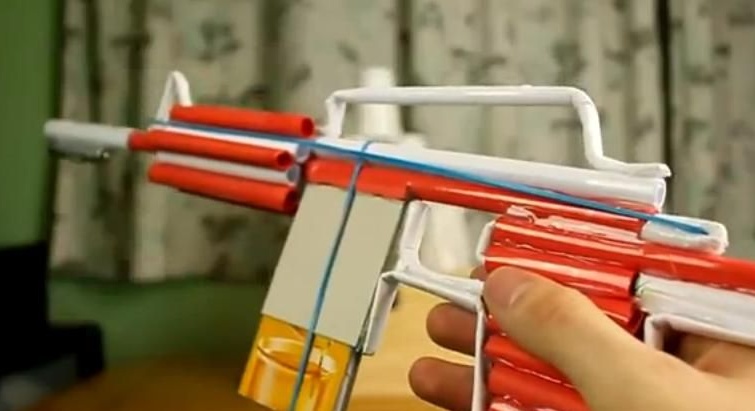
In this article, the author will tell us how you can make an M4 machine from paper yourself.
So, let's start with making the machine.
To begin, I suggest watching a video of this crafts:
[media = https: //www.youtube.com/watch? v = kAYWPRKxdqI]
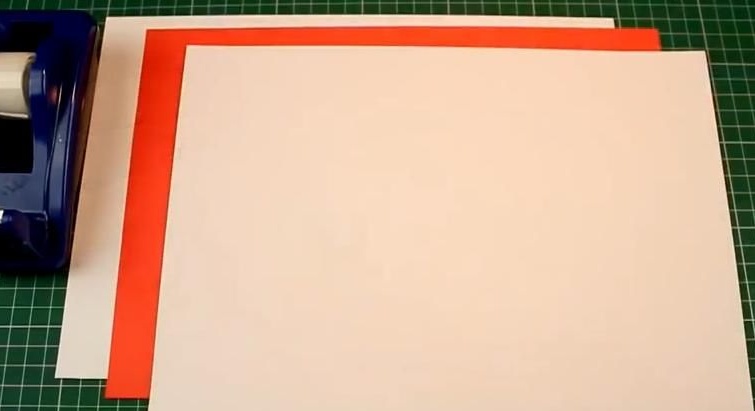
To make the M4 toy machine, we need the following components:
- paper;
- cardboard;
- adhesive tape;
- glue;
- sealant;
- gum;
- laser (if you want to improve the machine more, you can attach a laser sight).
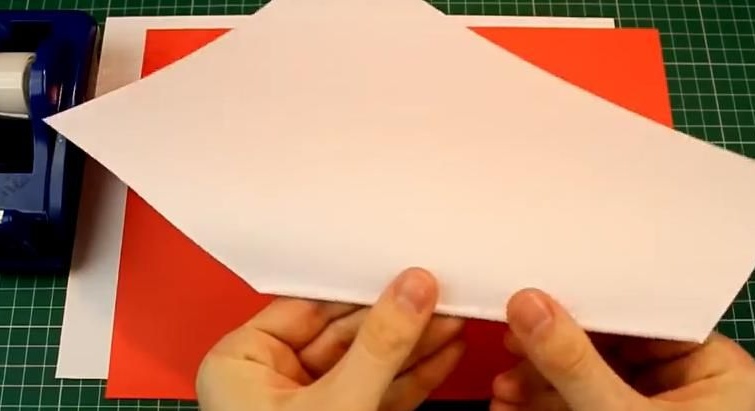
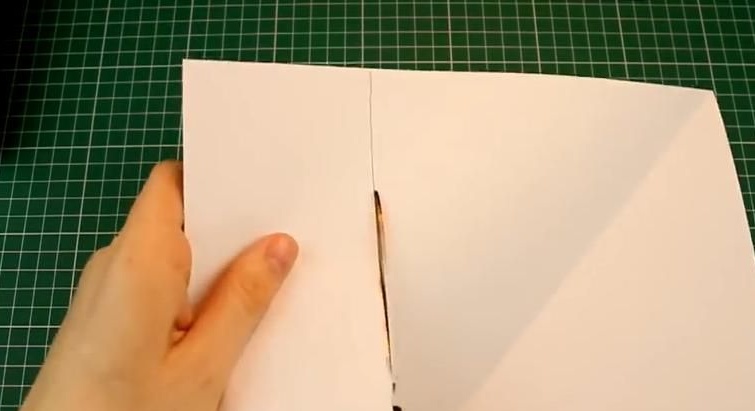
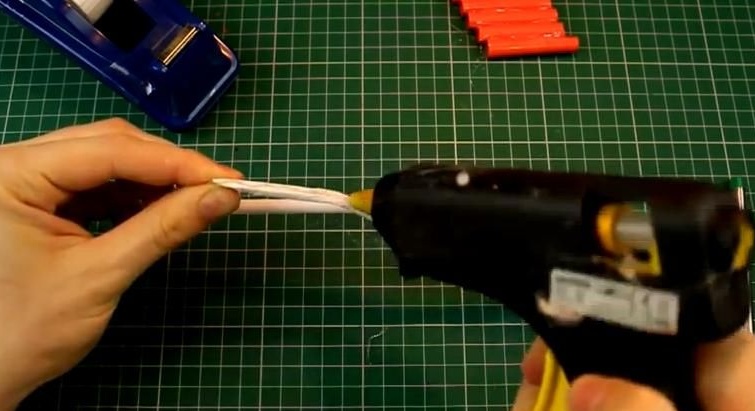
First, take a sheet of A4 white paper and, starting from the corner, carefully fold it into a tube:
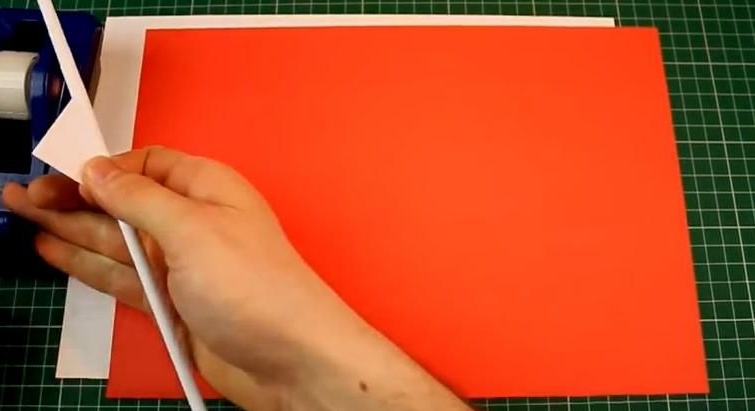
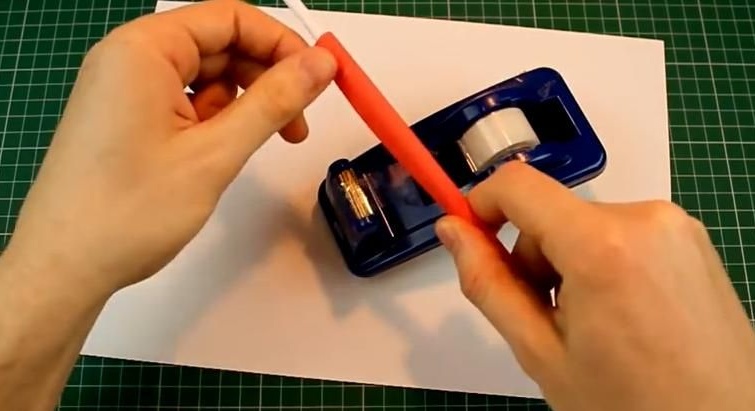
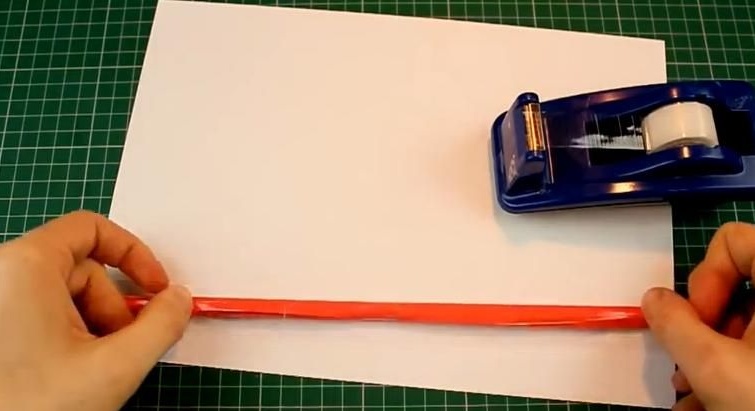
At the end, we fix the paper tube with tape:
After that, we take a sheet of colored paper (thick), in our case, orange-colored paper, and carefully wrap the white paper tube we made earlier in colored paper:
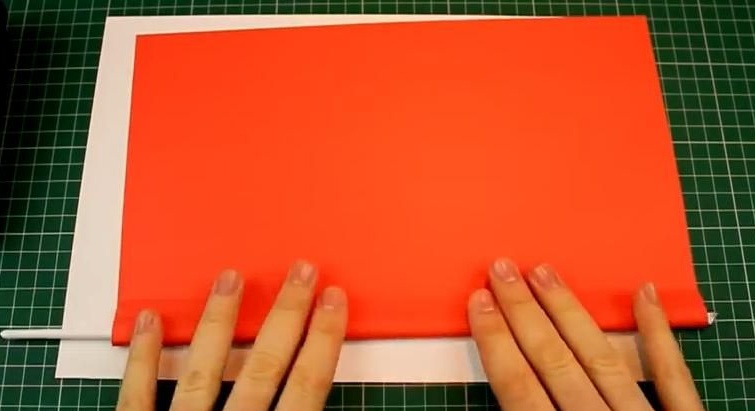
We fasten the tube with tape and pull the white tube from the finished orange tube:
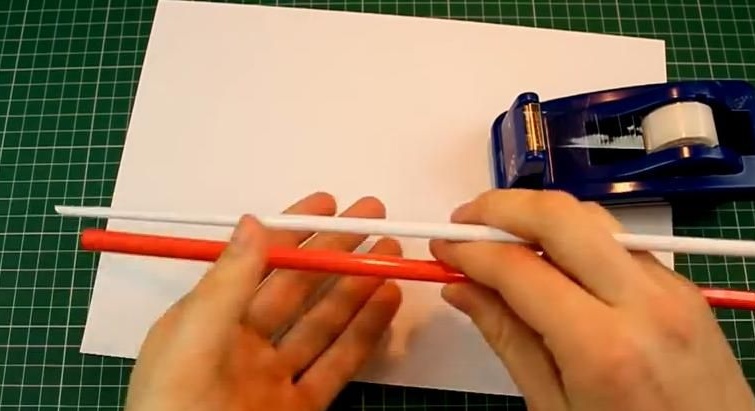
We got two paper tubes of white and orange colors with different diameters:
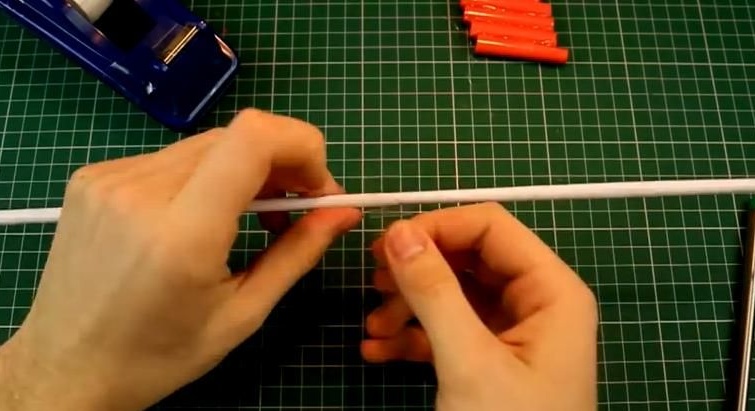
Next, take a white sheet of A4 and make a square out of it:

In the same way, twist this square into a tube and fasten it with tape:

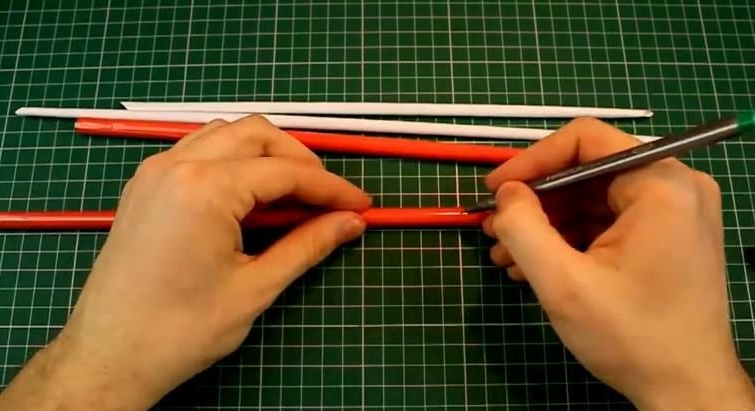
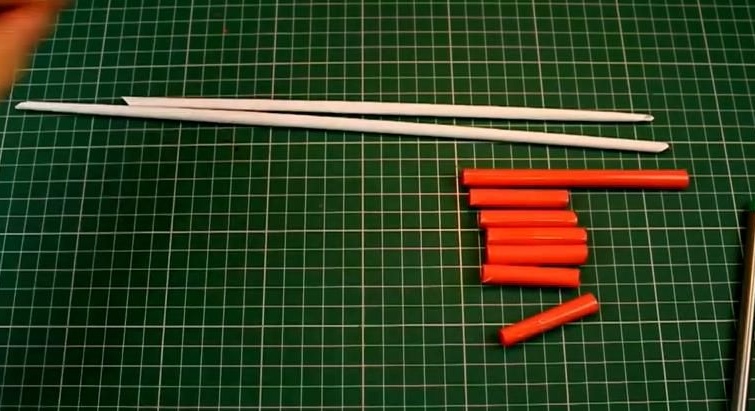
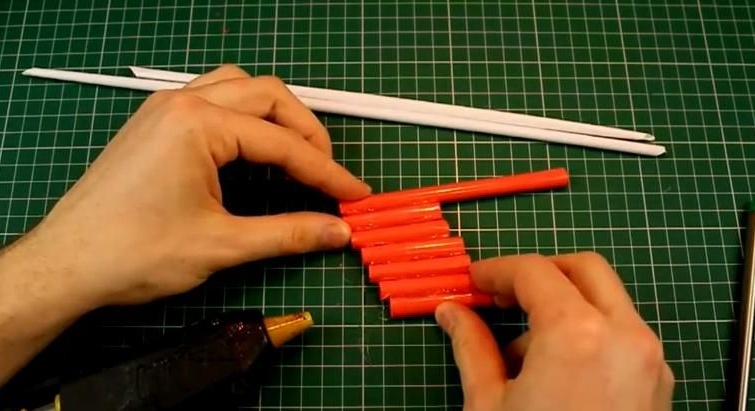
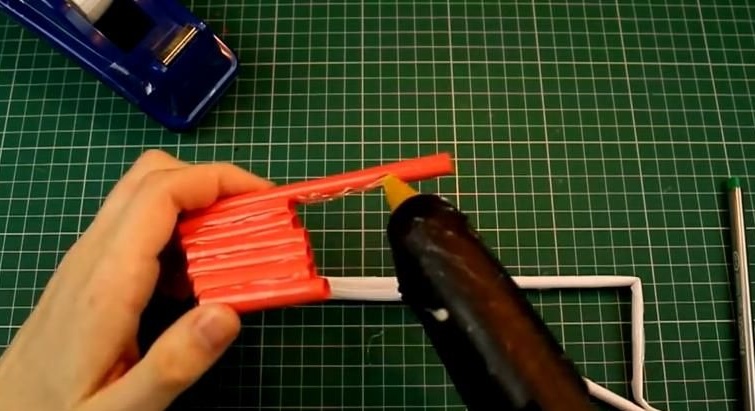
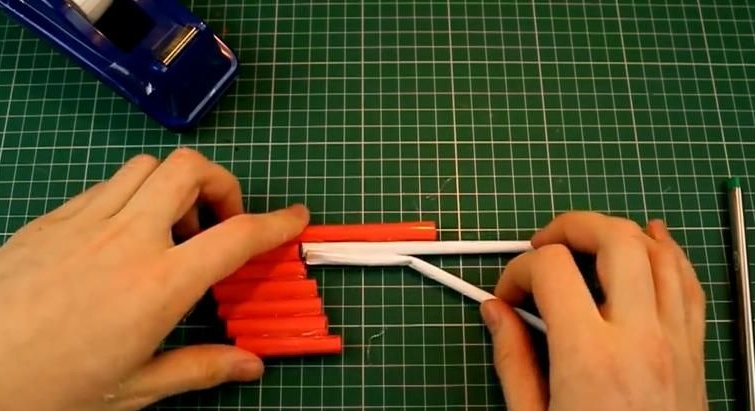
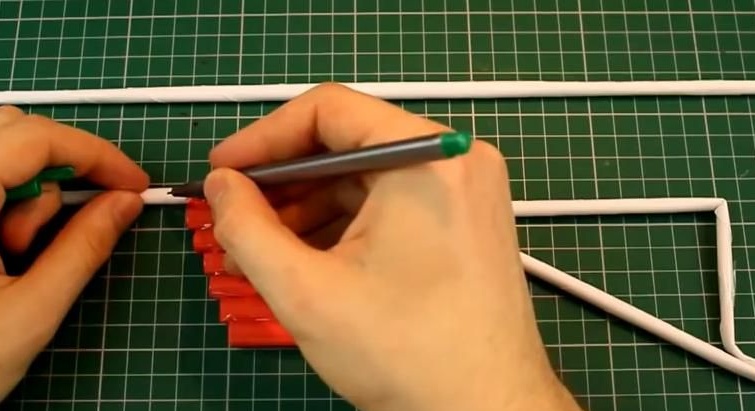
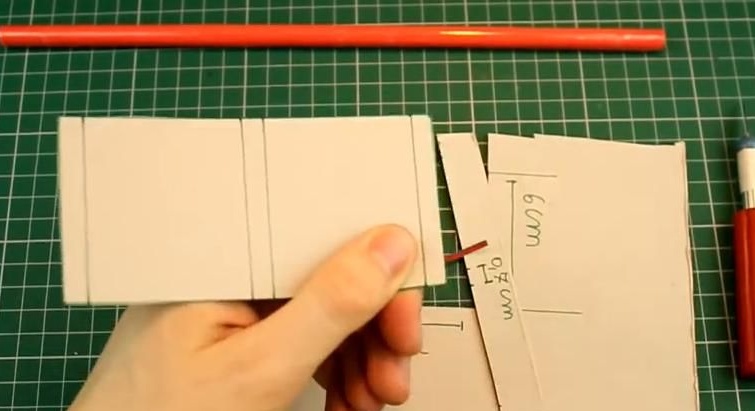
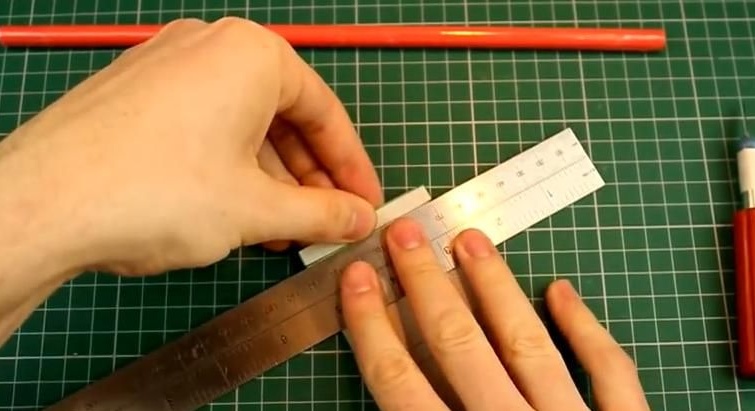
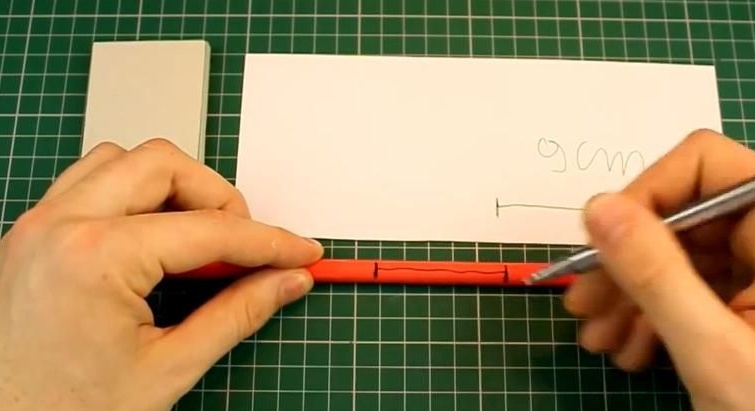
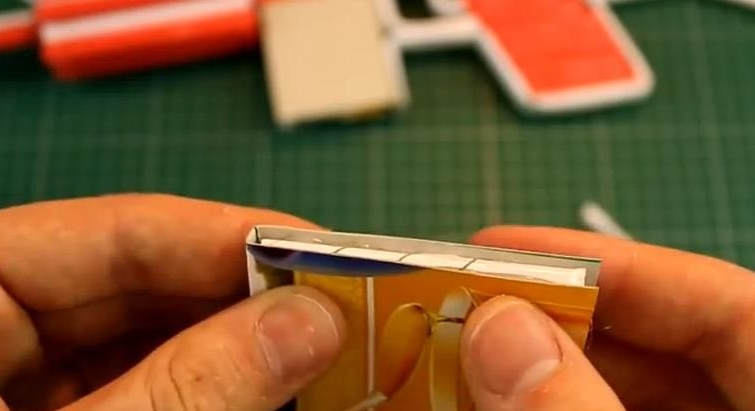
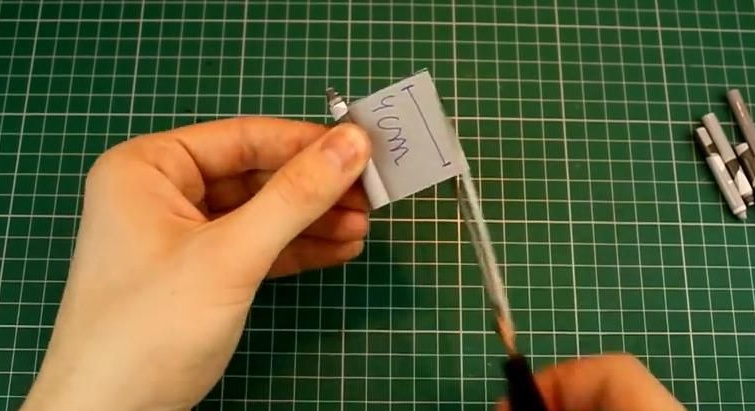
Now we take the already prepared orange tube and divide it into six identical parts of 5 cm each, and cut off the second orange tube until its length is 12 cm:

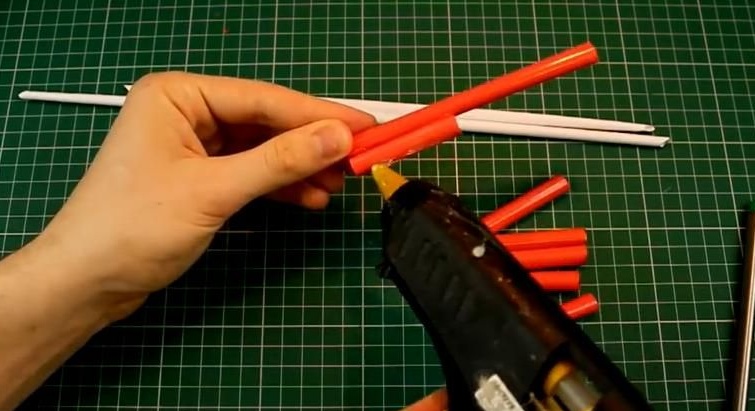
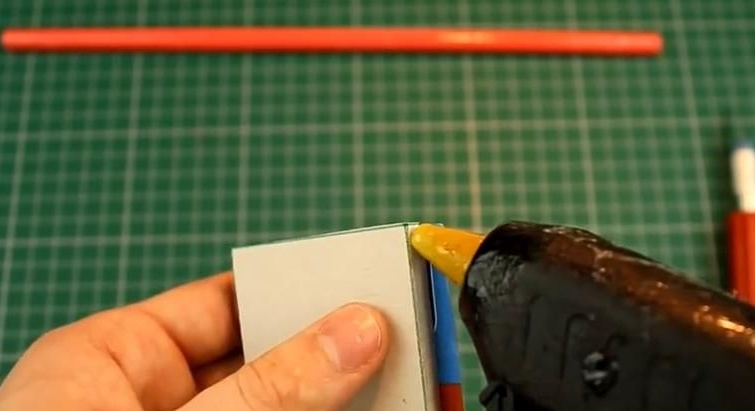
Now we take a 12 cm long tube and, from one of its edges, glue 6 parts of the orange tube with glue-gun and glue it down:
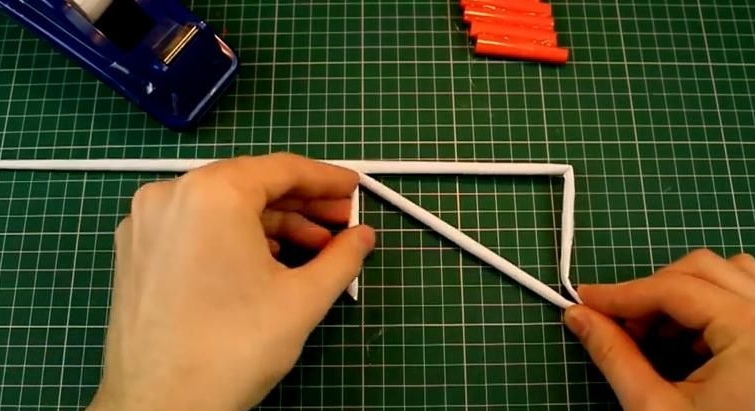
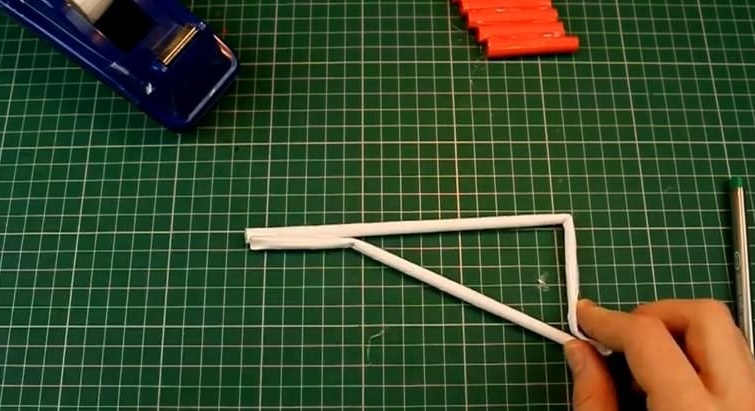
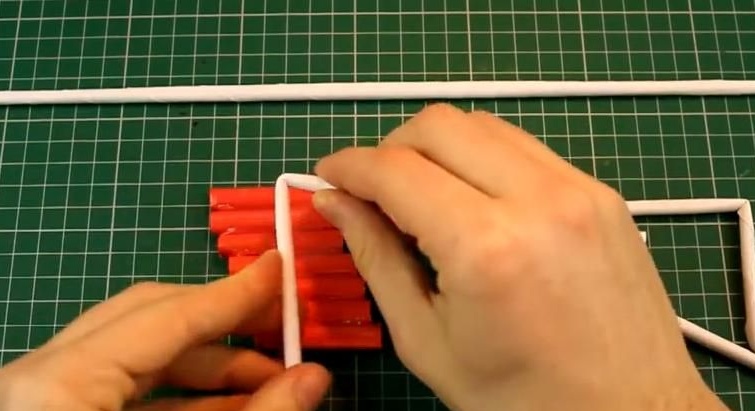
Next, take two white tubes, put one into the other and carefully bend, thereby simulating the design of a real M4 machine:
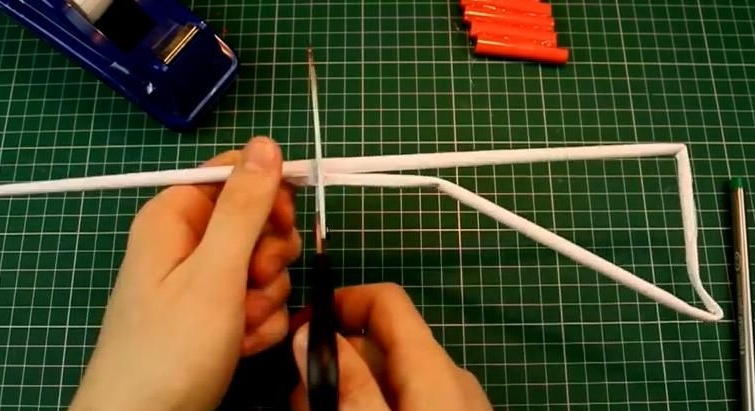
After that, we cut off the unnecessary parts of the tube and gently glue it with a glue gun:
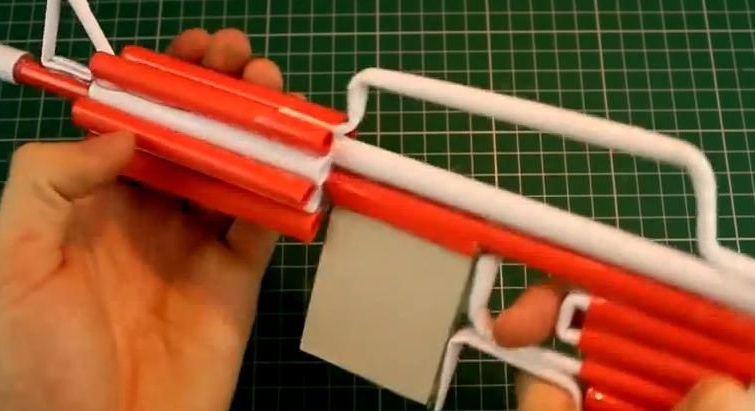
Now gently glue the orange design to the white one:
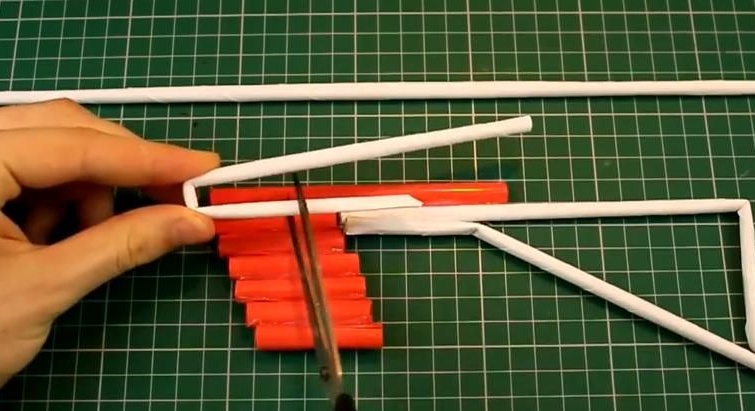
Now do the trigger. To do this, take one white tube and insert it into the orange tube so that the white peeps about 1 cm. The excess part of the white tube must be cut off.Then we bend the tube in the appropriate places and insert it into the structure made by us earlier:


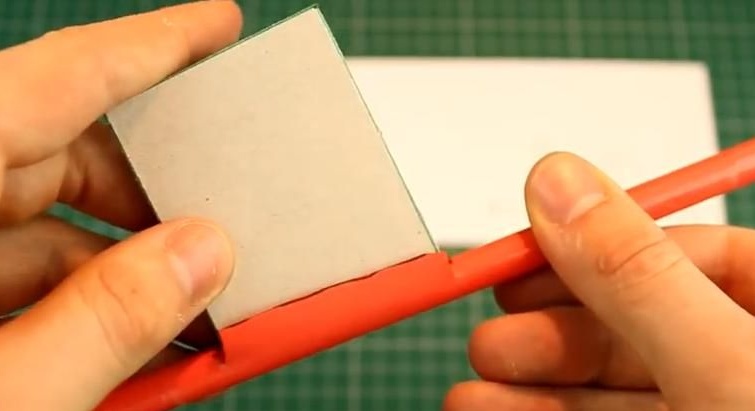
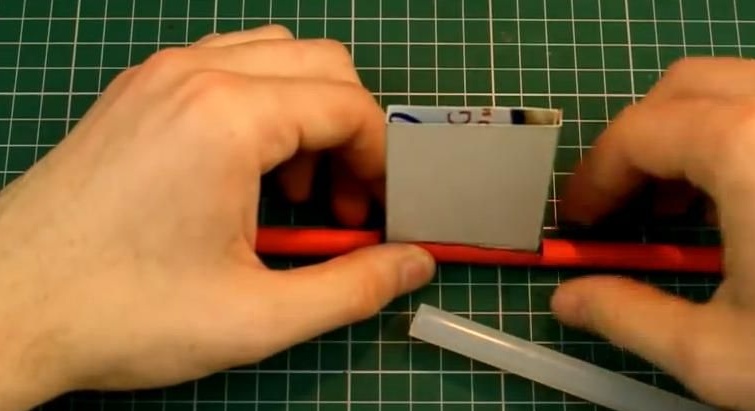
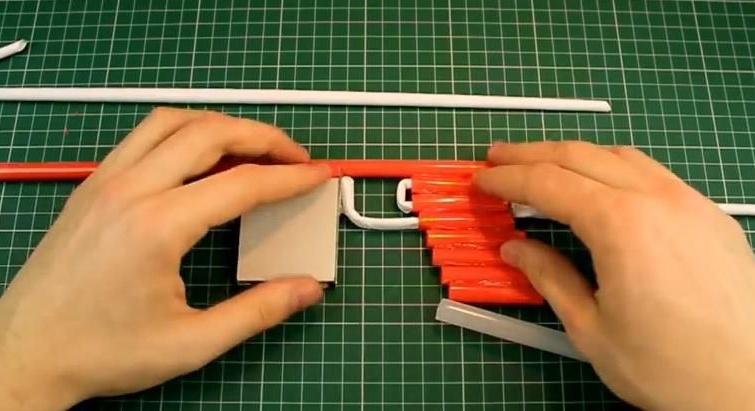
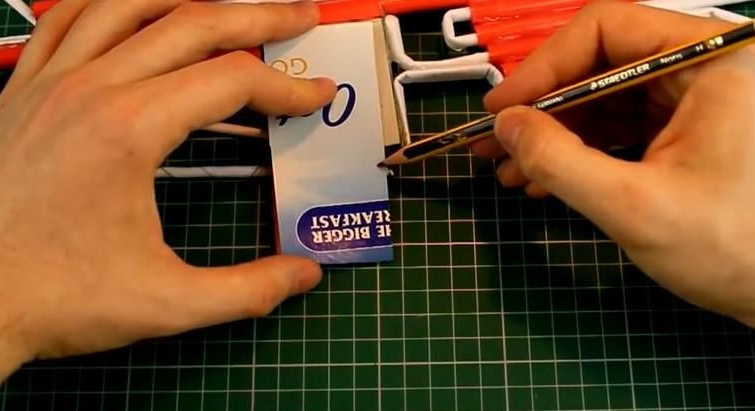
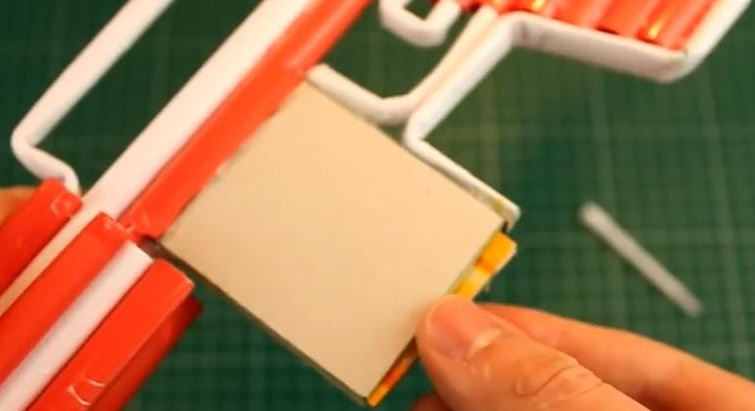
Now we take a piece of cardboard, mark it in this way and carefully cut it out:
After this, we bend the lines on the cardboard using a ruler and fix the structure with glue:
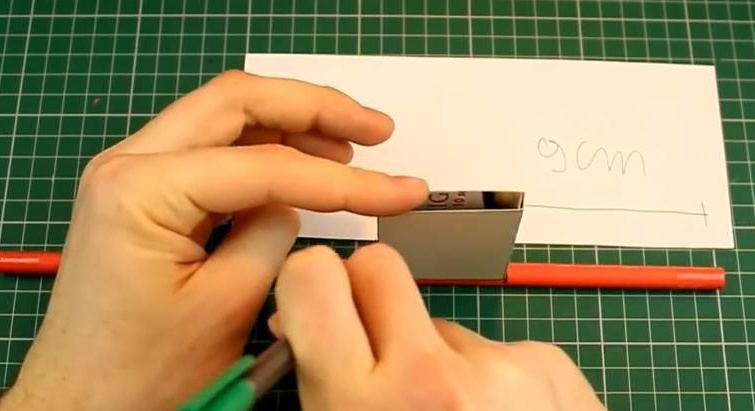
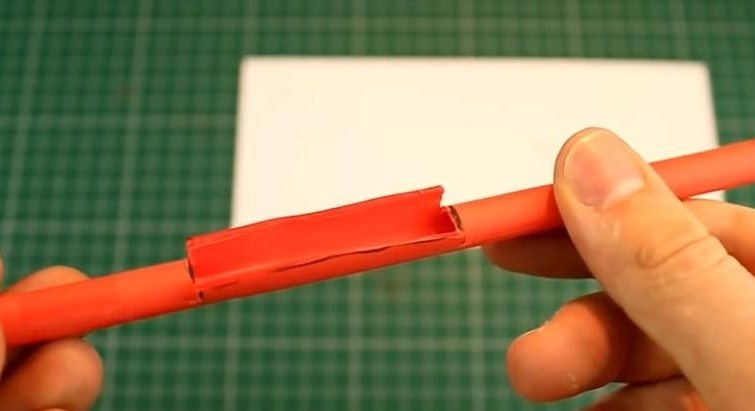
Next, take an orange tube and measure 9 cm from one of its ends (make a note). After that, from the marking we measure another distance of one width of our “box”:

We make cuts to half the tubule and unbend the upper part:
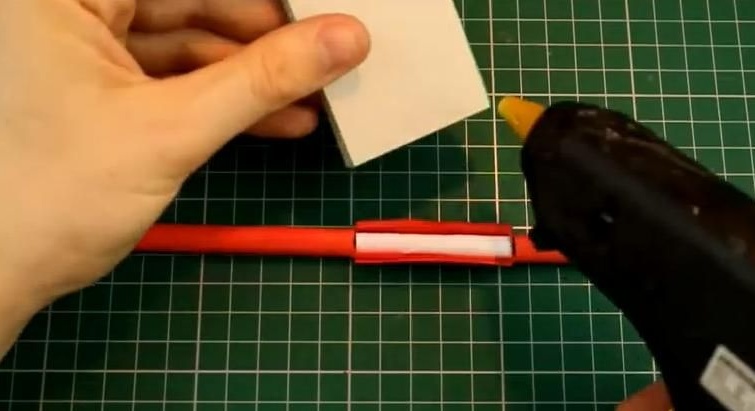
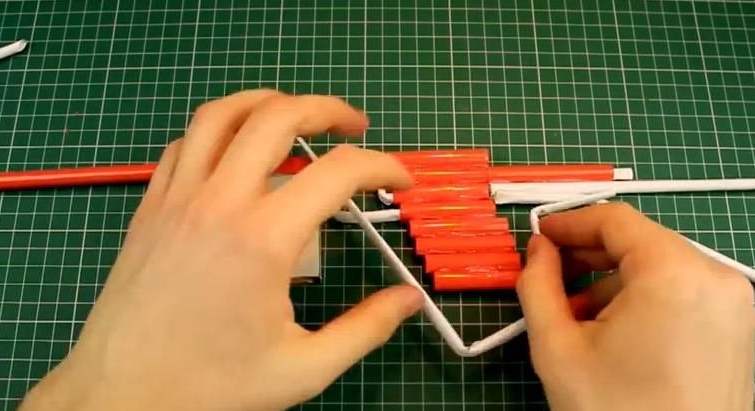
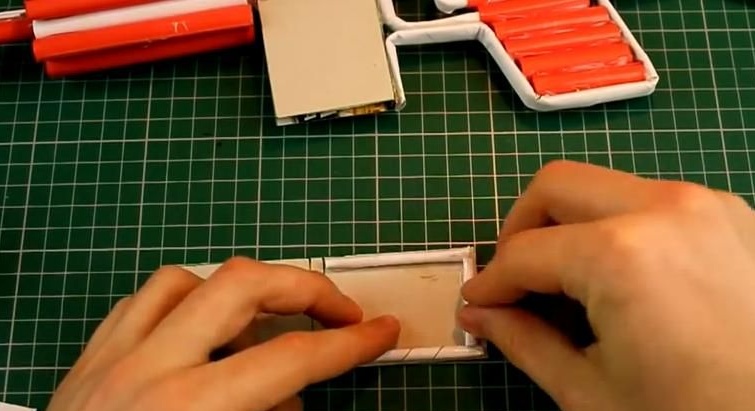
After that, insert the same, but white, tube into the incised orange color and carefully glue our “box” into the incision that we made earlier:
Glue this design with a “box” (“store”) to the design with the trigger:
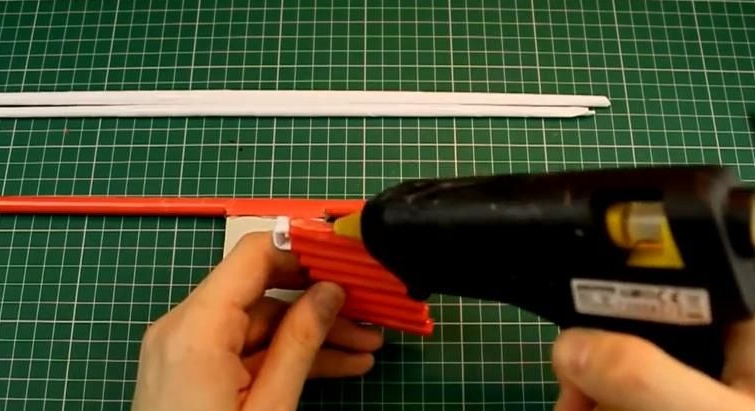
After that, we make a border around the trigger from the white tube and glue it with a glue gun like this:
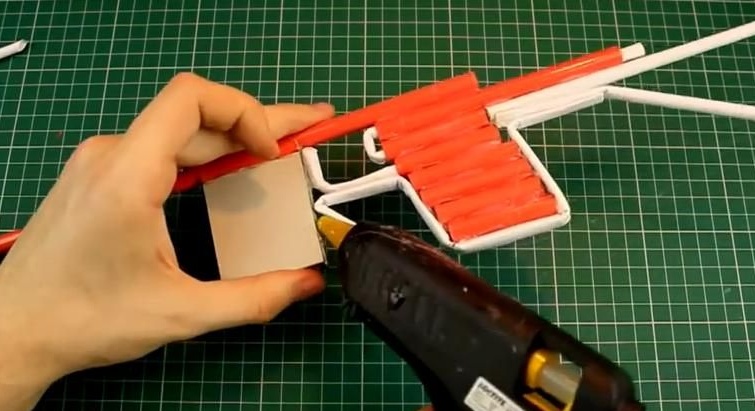
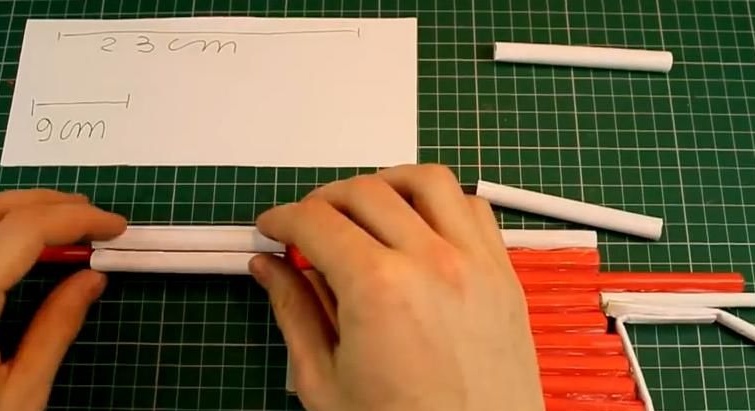
Now glue the white tube 23 cm long onto the orange tube:
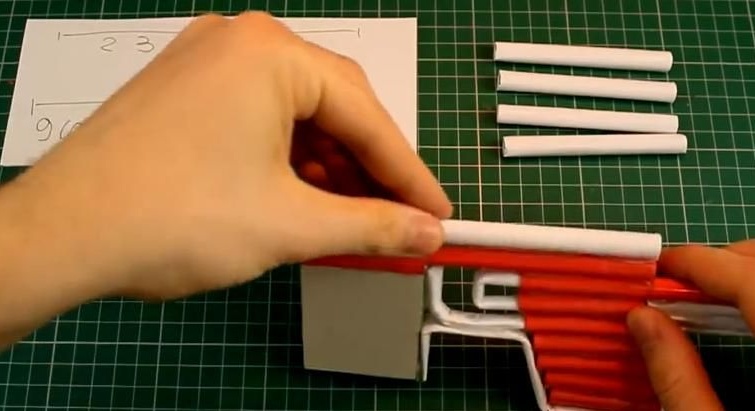
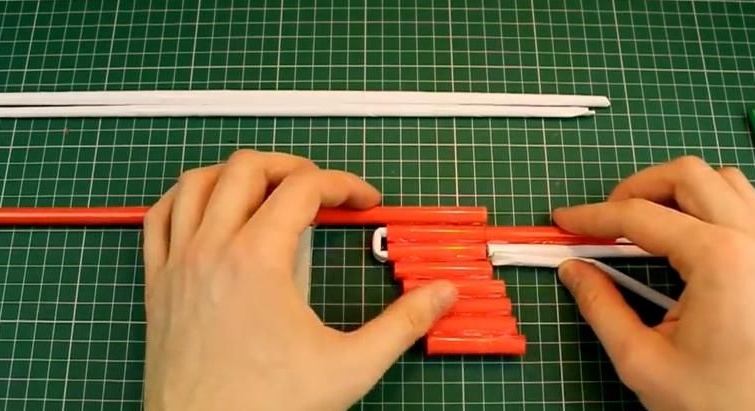
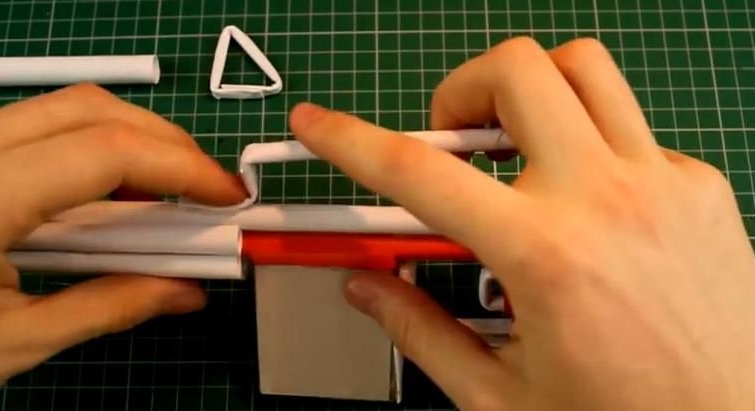
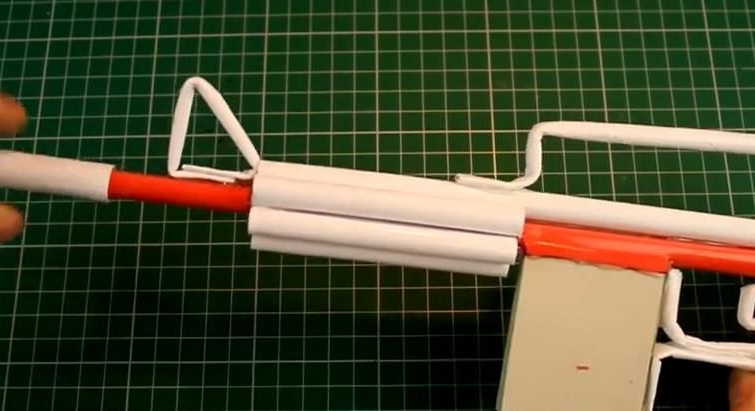
And now we make white and orange tubes of 9 cm each and carefully glue the muzzle roundly. Also glue the front sight, holder and silencer:

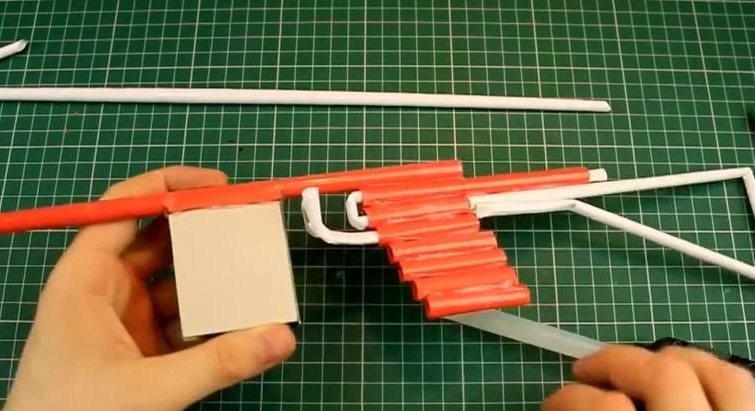
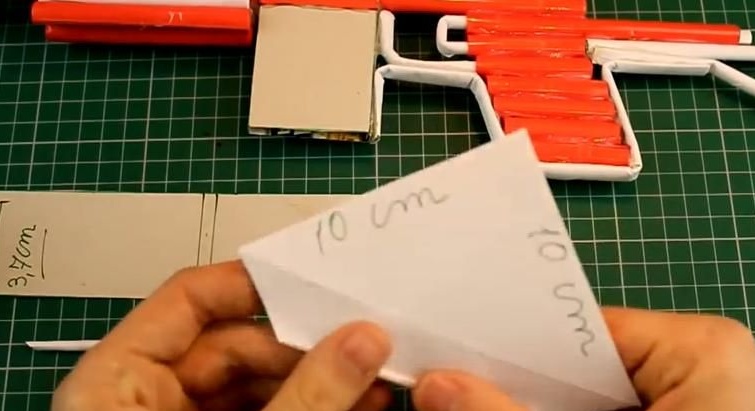
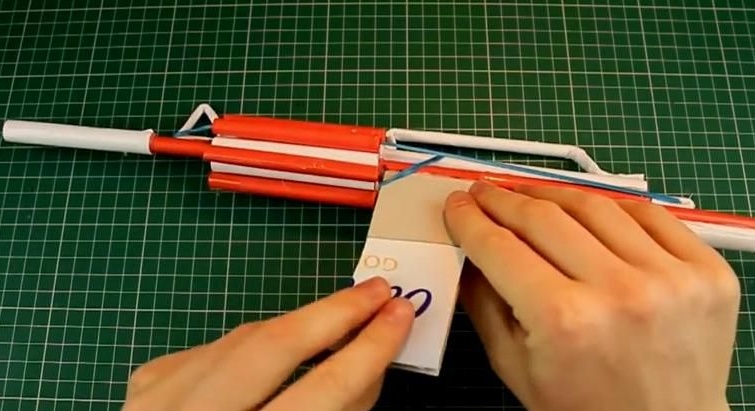
Next, we take a piece of cardboard, mark it up as shown in the photo and carefully bend it according to the marks using a ruler. We cut off unnecessary parts. We make a tube of white paper 10X10 cm and glue the boxes:


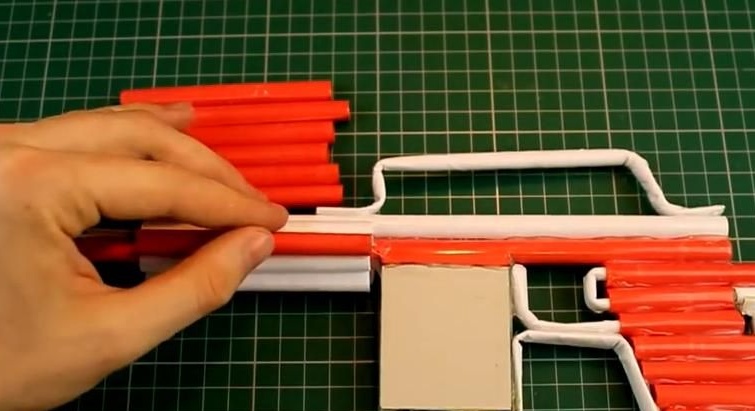
Carefully thrust the design into the "store":
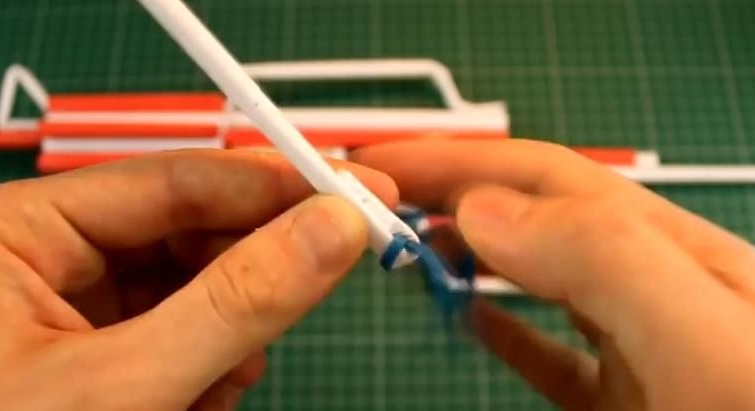
Now we do the "striking mechanism" itself. To do this, measure out the white tube and bend it at the end, after having “hooked” the gum over the edge. We fix everything with tape:
Now we process the tubes with the sealant, which will directly participate in the “bullet flying out”. This is done so that the paper hardens from the sealant and is less exposed to mechanical damage during the “beating” of the mechanism:
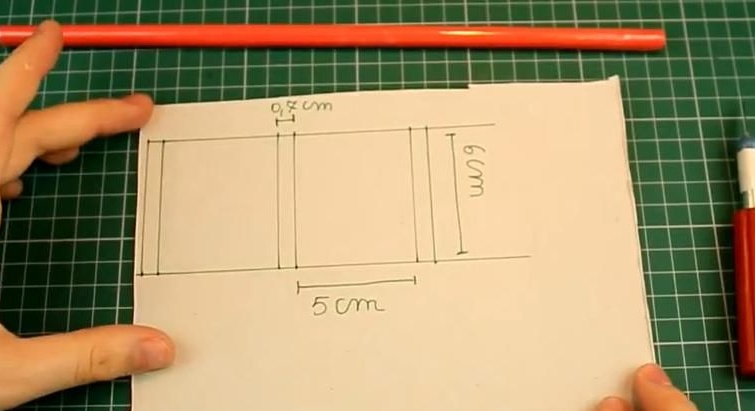
Well, that’s the principle! Now we begin to manufacture "bullets". To do this, take thick paper, mark it up and gently twist it, fixing it with tape at the end. "bullets" are obtained (I don’t know the truth which caliber
 ):
):
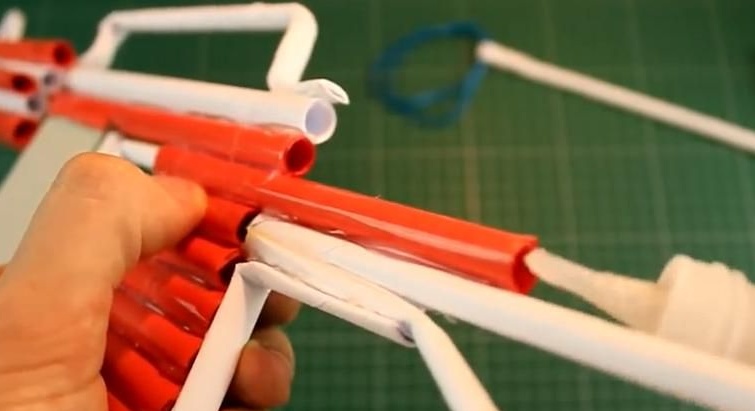
Now we insert the “beating mechanism” into the corresponding tube and hook the gum to the front sight:
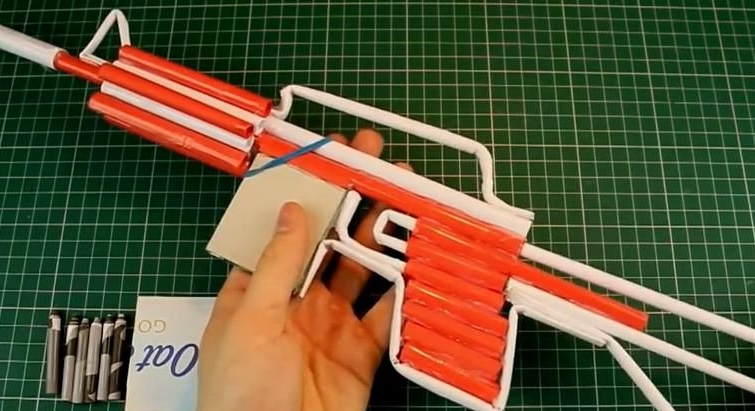
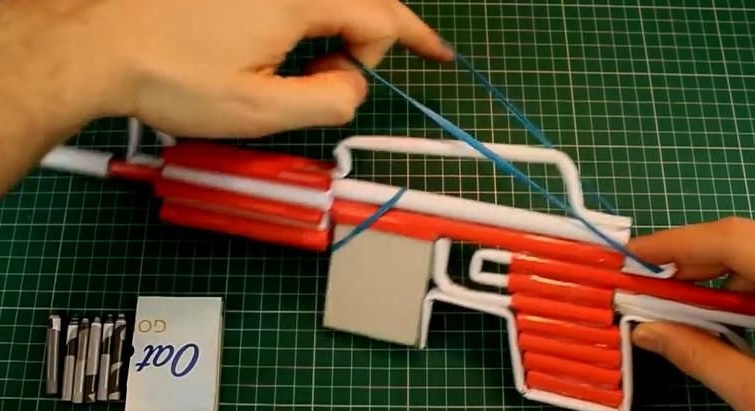
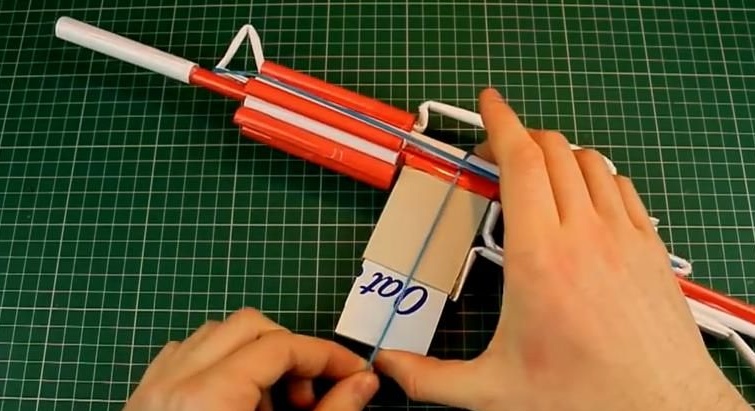
Carefully put the "cartridges" in the "store" and insert the "boxes". After that, we put on another elastic band, which covers this box and the barrel itself and the design of the machine, which does not allow "to fall out of cartridges from the store":
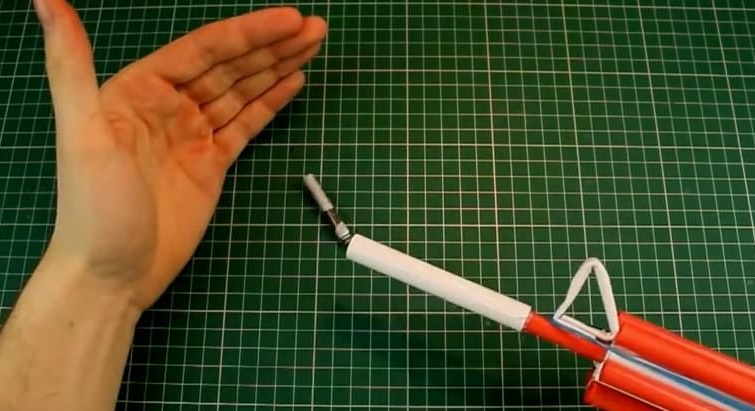
Let's try our "creation".
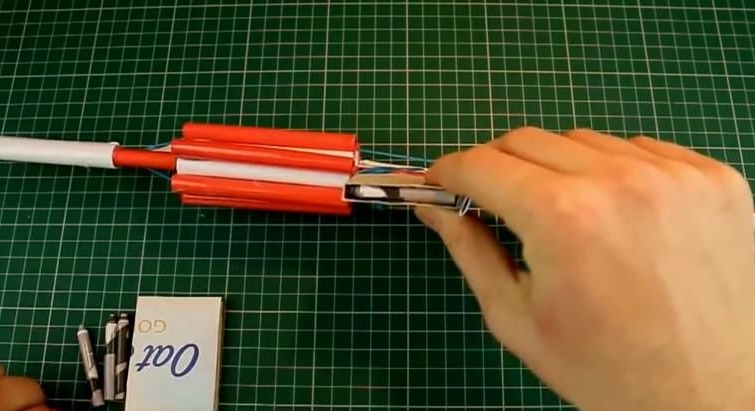
We pull the “beating mechanism” and fix it on the orange tube. Due to the fact that the store is affected by the pressure that we made thanks to the rubber band, the cartridge enters the barrel. Further, when we pull the trigger, the white friction tube “removes” the previously fixed “beating mechanism” and, thanks to the stretched elastic, inertia hits the cartridge that is in the muzzle of the machine. the “bullet flies out”, the magazine rises one cartridge under the pressure of the gum, and the “striking mechanism” returns to its unoccupied state.
For more aesthetic appearance and functionality, you can install a laser sight on the machine.
In this way, today in this article, the author told us about how you yourself can make a toy paper machine that can shoot. In the following articles, I will tell you how to make a light version of the M4 assault rifle - a paper gun that can also shoot. Thanks for attention!!!