

It happens that you need to drill one or more small holes, and there is no drill or drill / drill available, this is especially true for radio electronics in the manufacture of printed circuit boards in home conditions. In this article I will tell and show how quickly you can make a drill from an ordinary sewing needle and attach it to a small electric motor.
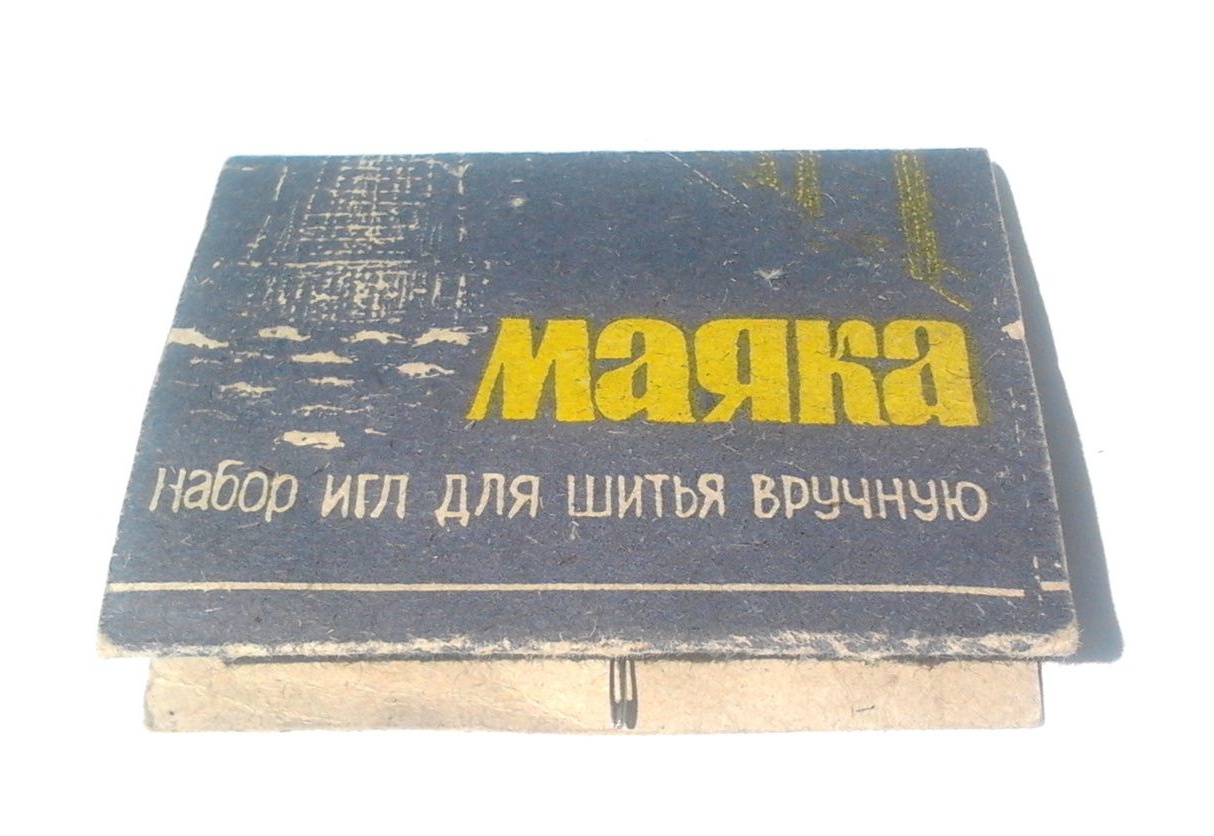
First we need a needle for sewing, it is generally very cheap and they are usually sold in sets of twenty pieces of different lengths and thicknesses. Brand and dear to us there is nothing. Of course, inexpensive needles will be of poor quality, but for our purposes they will also fit well, and it’s not a pity if you break it. The photo below is an example of such a set, a Soviet model.
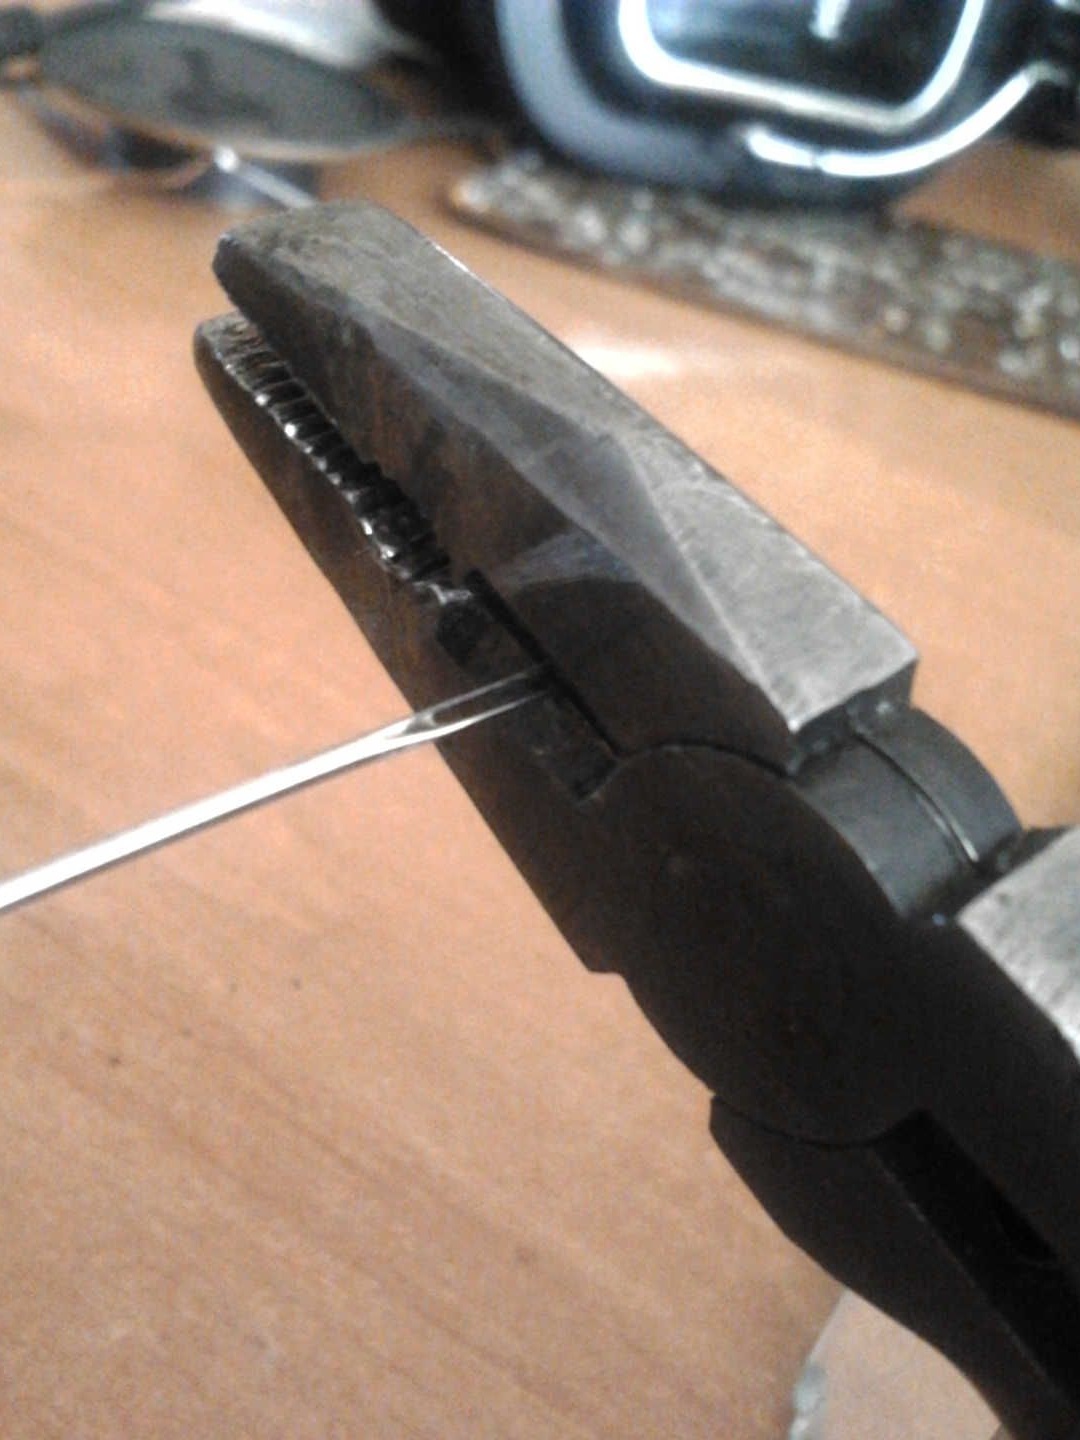
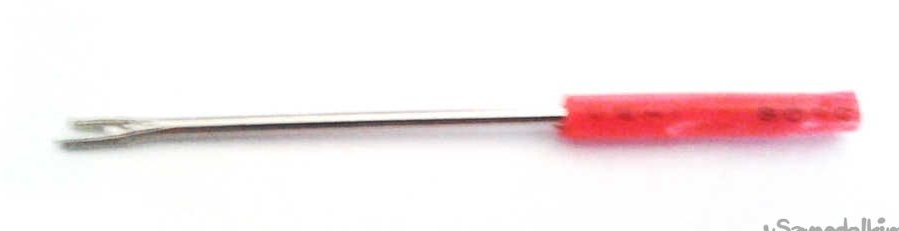
So that with a needle you can drill holes in various non-solid materials, you just need to break off a piece of the eye at the very end (where the thread sticks in). This can be done with pliers, like me. Here, be careful so as not to break off more than necessary - the needle is fragile in that place.
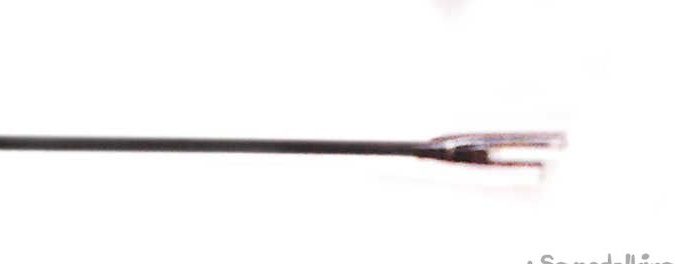
That's it - you can say that the drill is ready to use. If you have a drilling tool, feel free to fasten our newly made drill into a chuck / collet chuck.
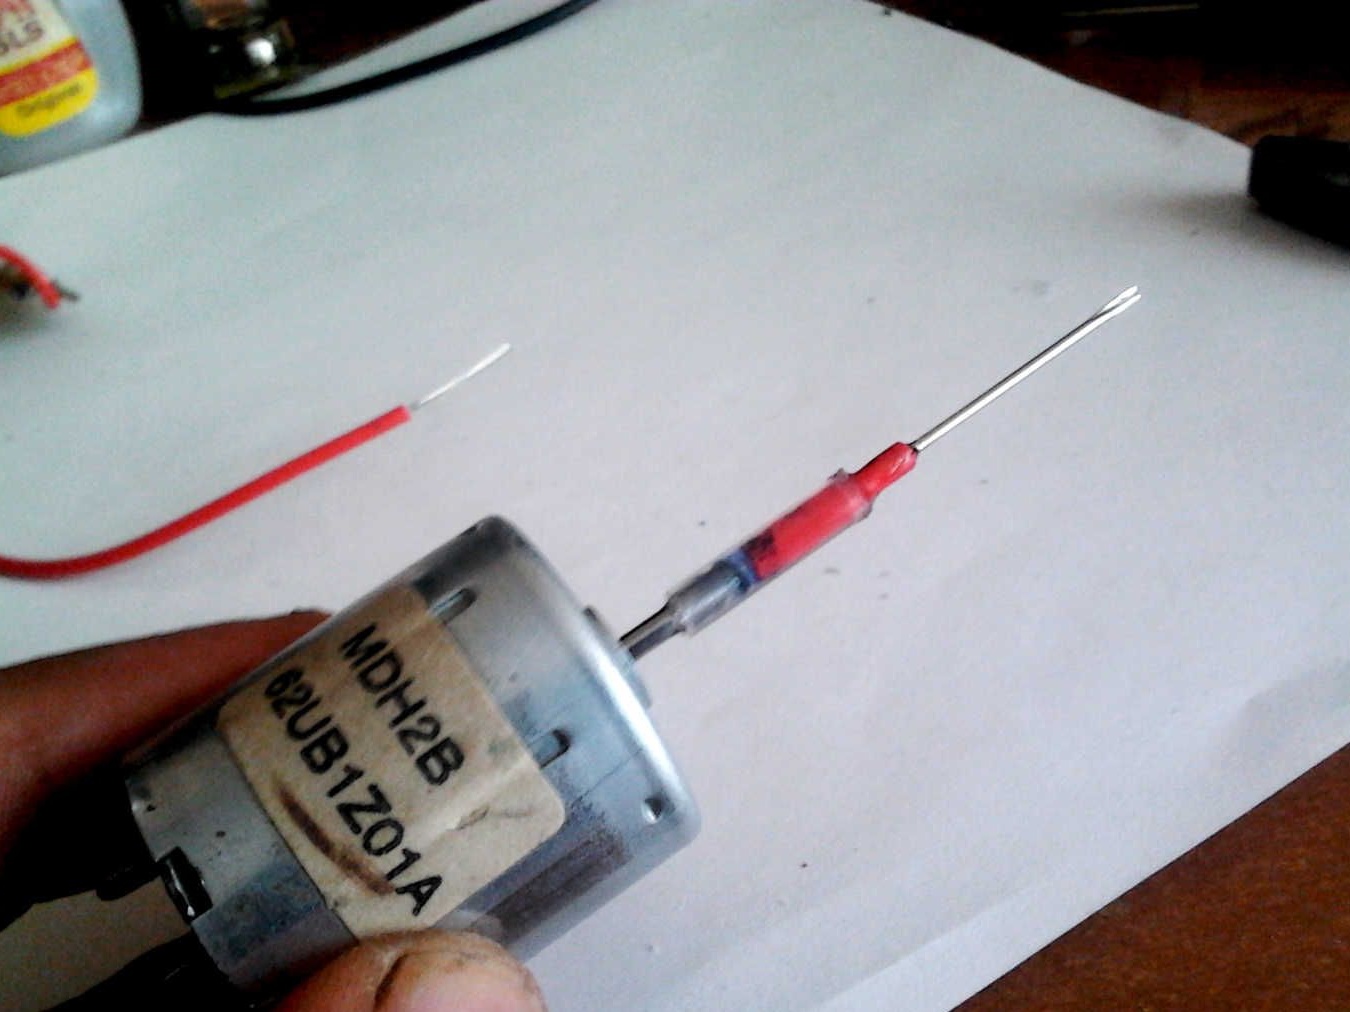
At the next stage, you need to somehow attach a homemade drill to the motor shaft. We will do this using paste from a ballpoint pen, a piece of insulation wire and super glue. To begin with, we are looking for a paste that is suitable in diameter so that it is applied with little effort to the DC motor shaft.
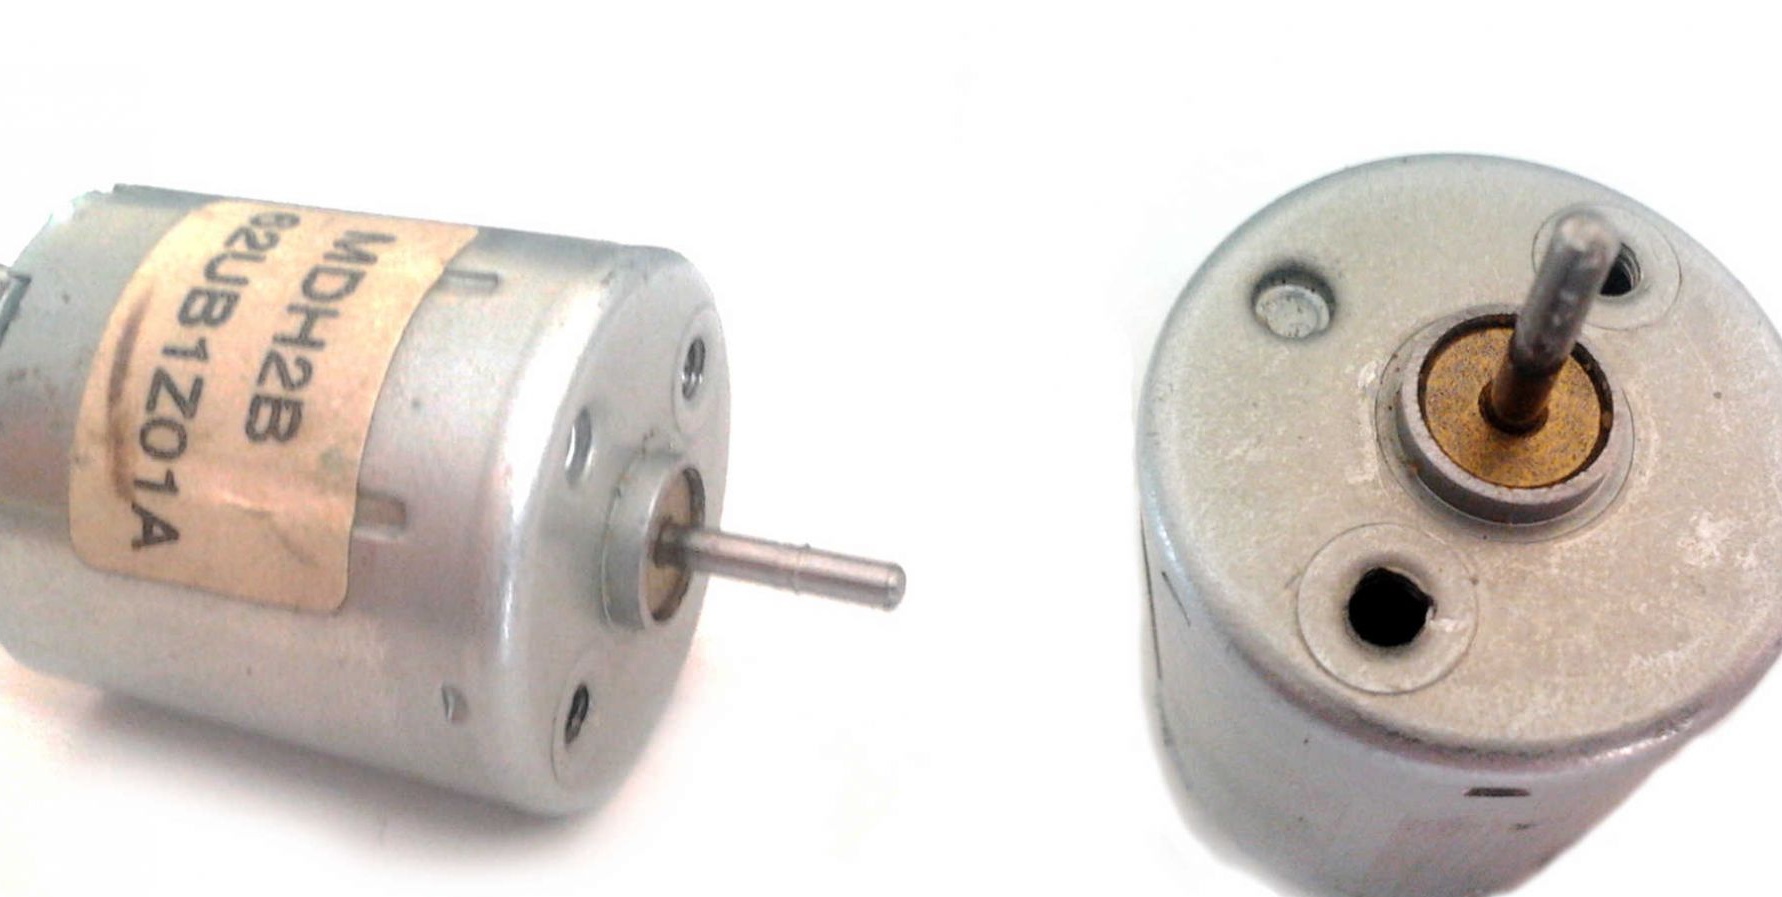
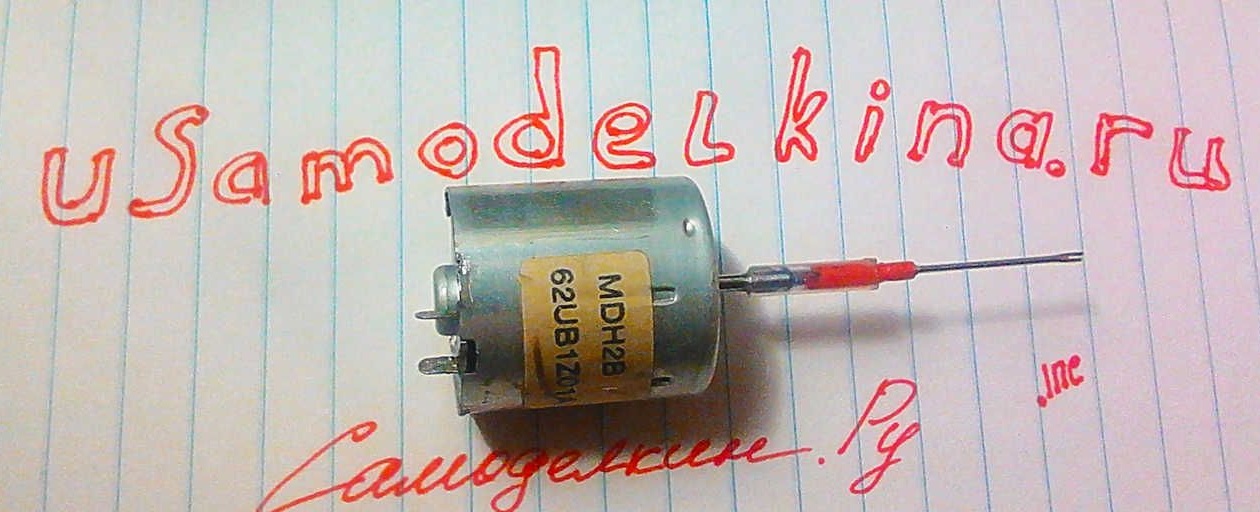
The motor was removed from me when disassembling an old inoperative VCR, it is compact, but made with high quality. The supply voltage of 3-12 Volts is declared, but I supply 20-30 - everything works well, if it is not heated for several minutes, then heating starts. Its power is enough for drilling holes.
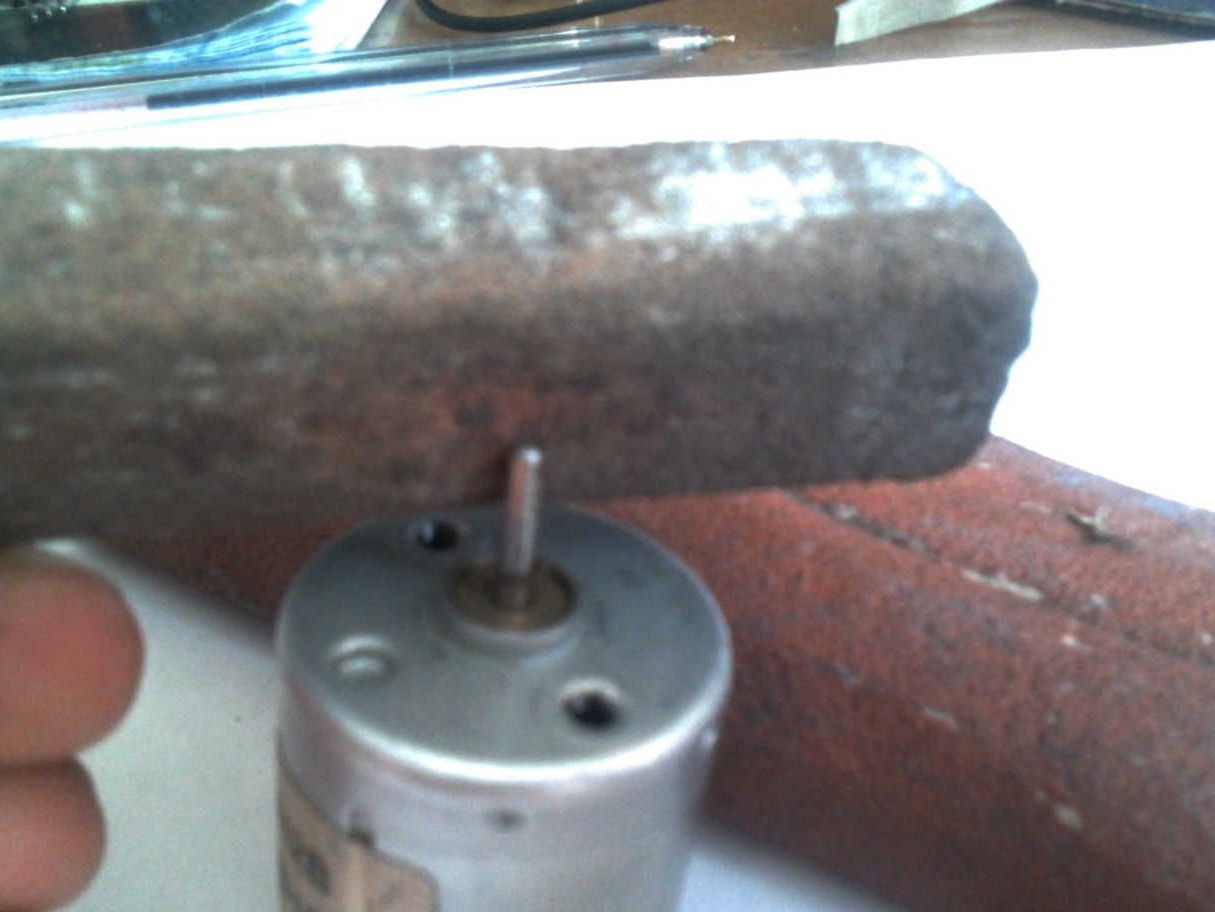
So, first you need to make the shaft a little rough, do it with an abrasive stone or sandpaper.This is done so that the glue better clings to the plastic cylinder.
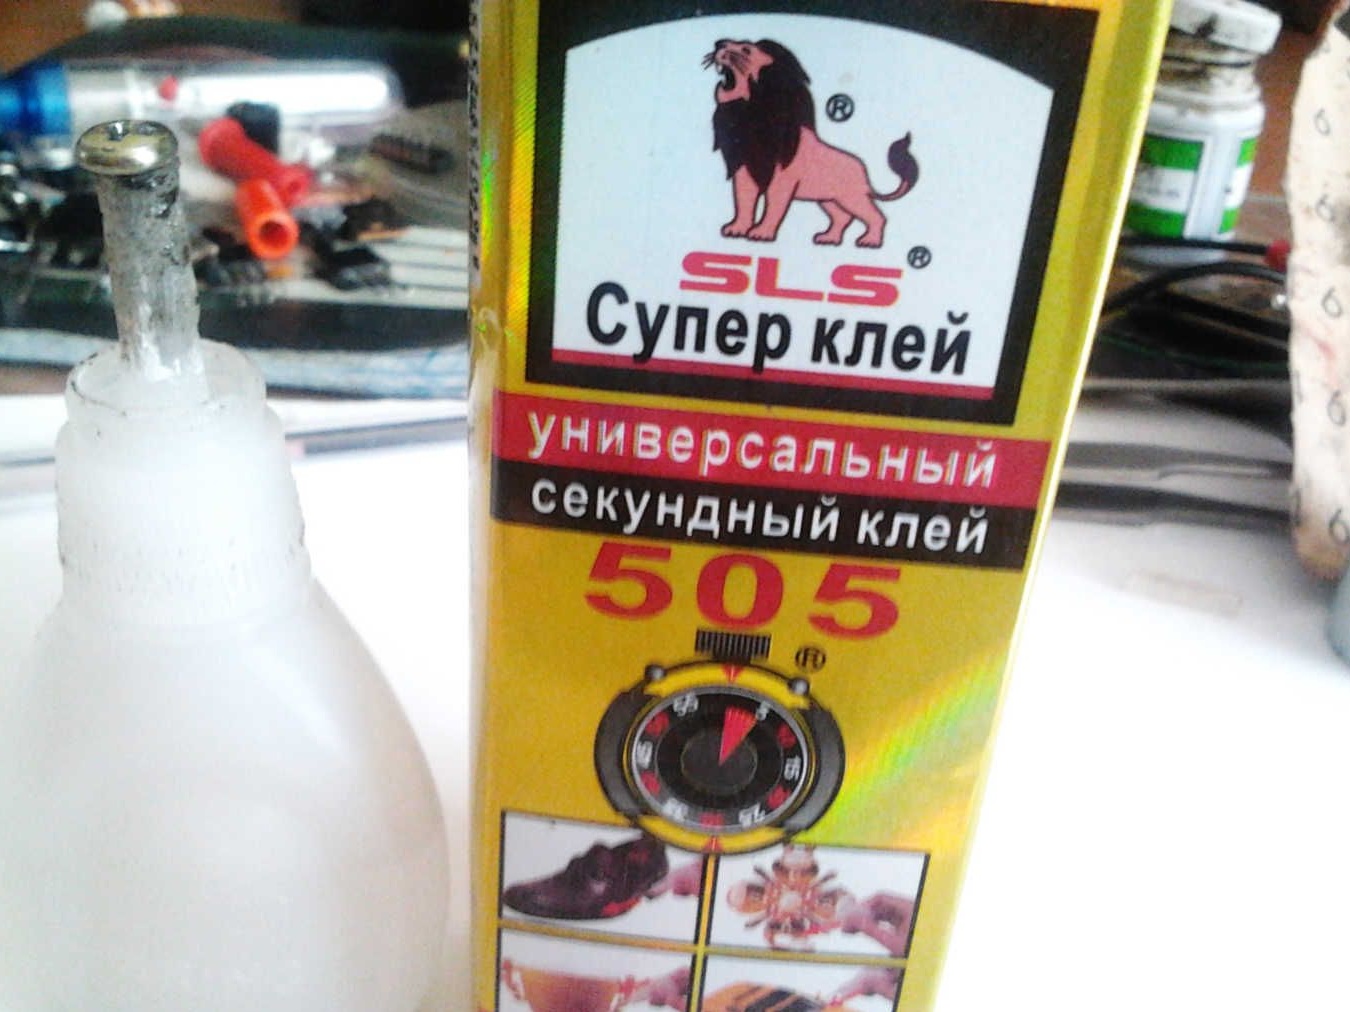
We apply a little super-glue, I have the simplest SLS 505 based on cyanocrylate, it costs a penny, but it lasts a long time. Be careful with this toxic substance, do not breathe vapors, and if glue gets on your skin, wash it off with warm water and soap.
We pull a piece of paste from the handle and wait until the glue dries (about 60 seconds).
Now we are looking for a wire that will go into the paste with a little effort. Gently with scissors or a clerical knife we remove a piece of insulation 1.5-2 centimeters long, we will need it.
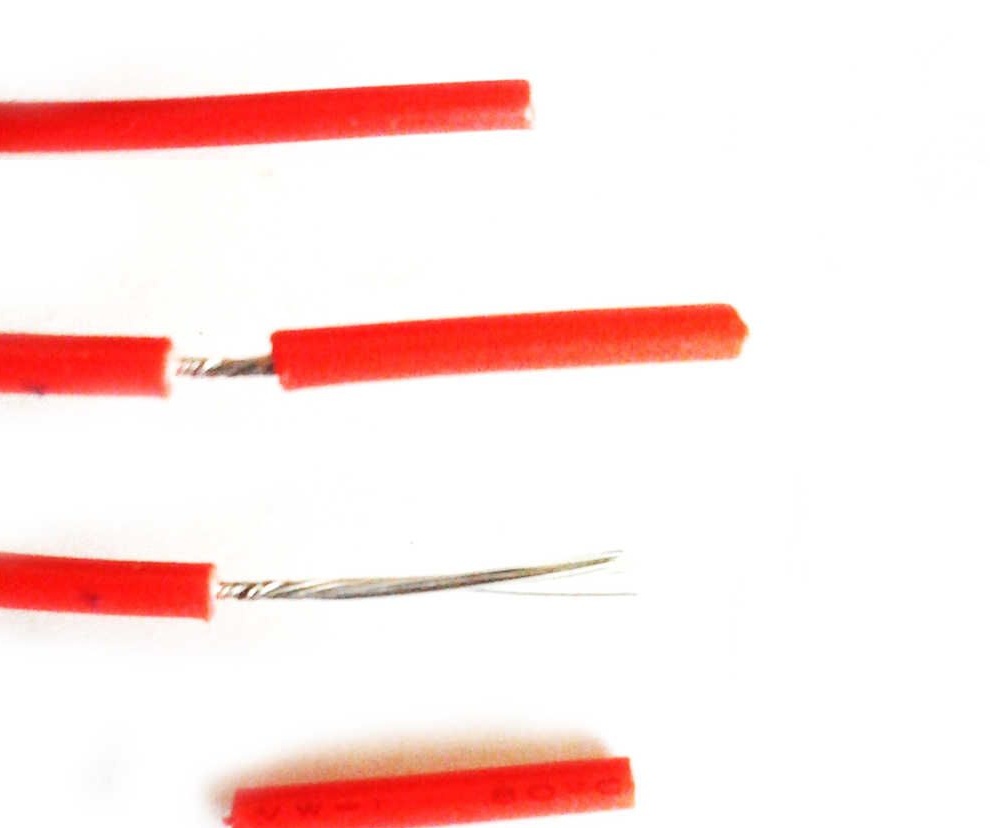
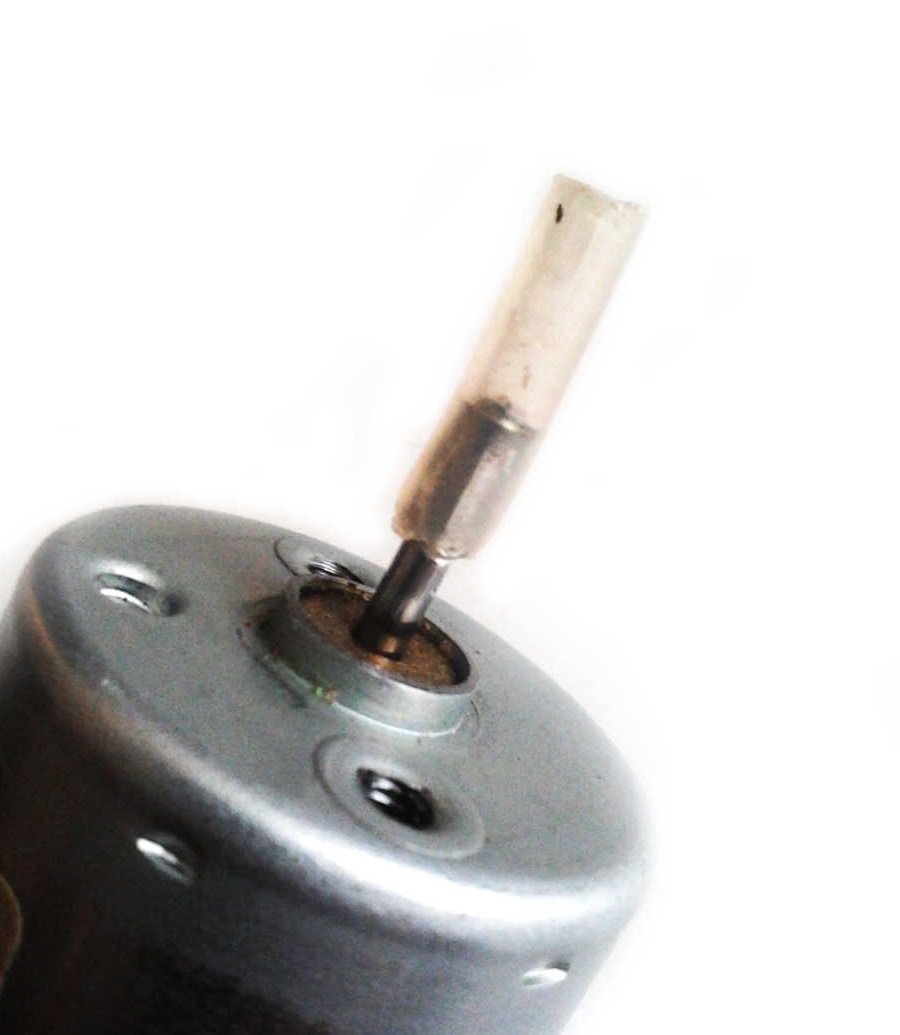
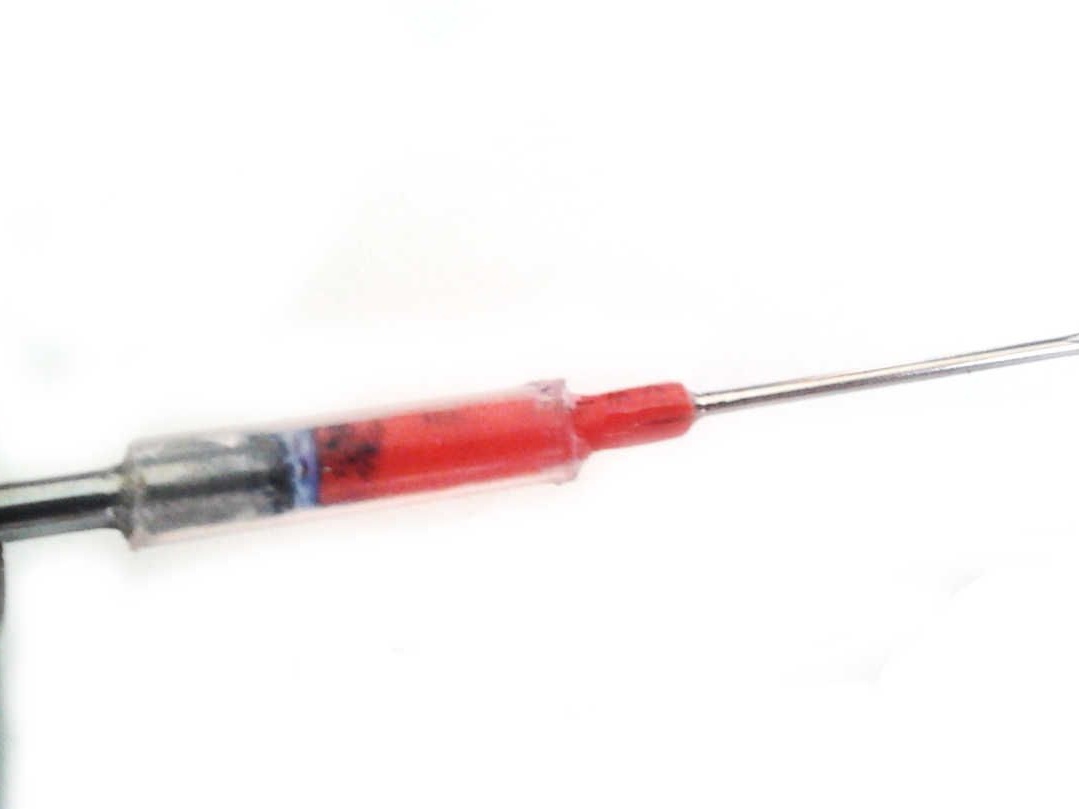
Dip the tip of the drill needle into the adhesive and pull on it the insulation from the wire from the side of the tip. Now, after thickening, you can well attach it to the motor.
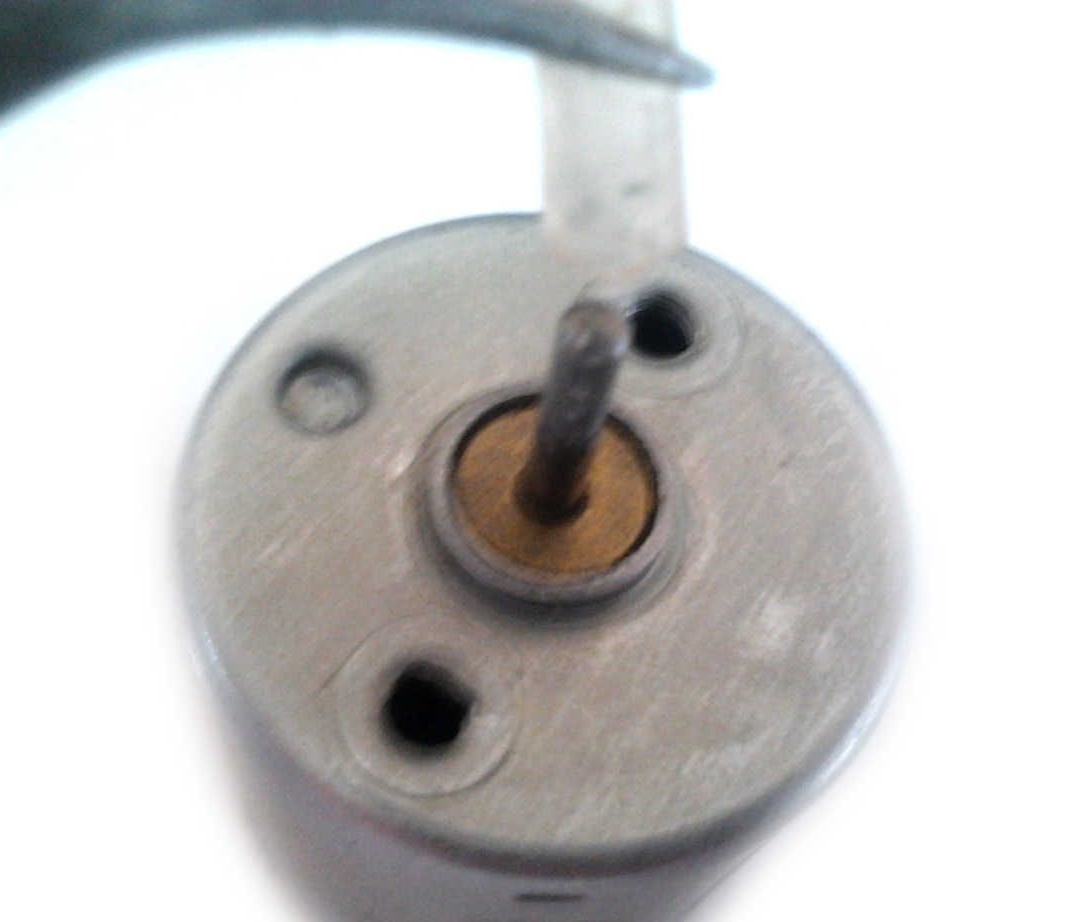
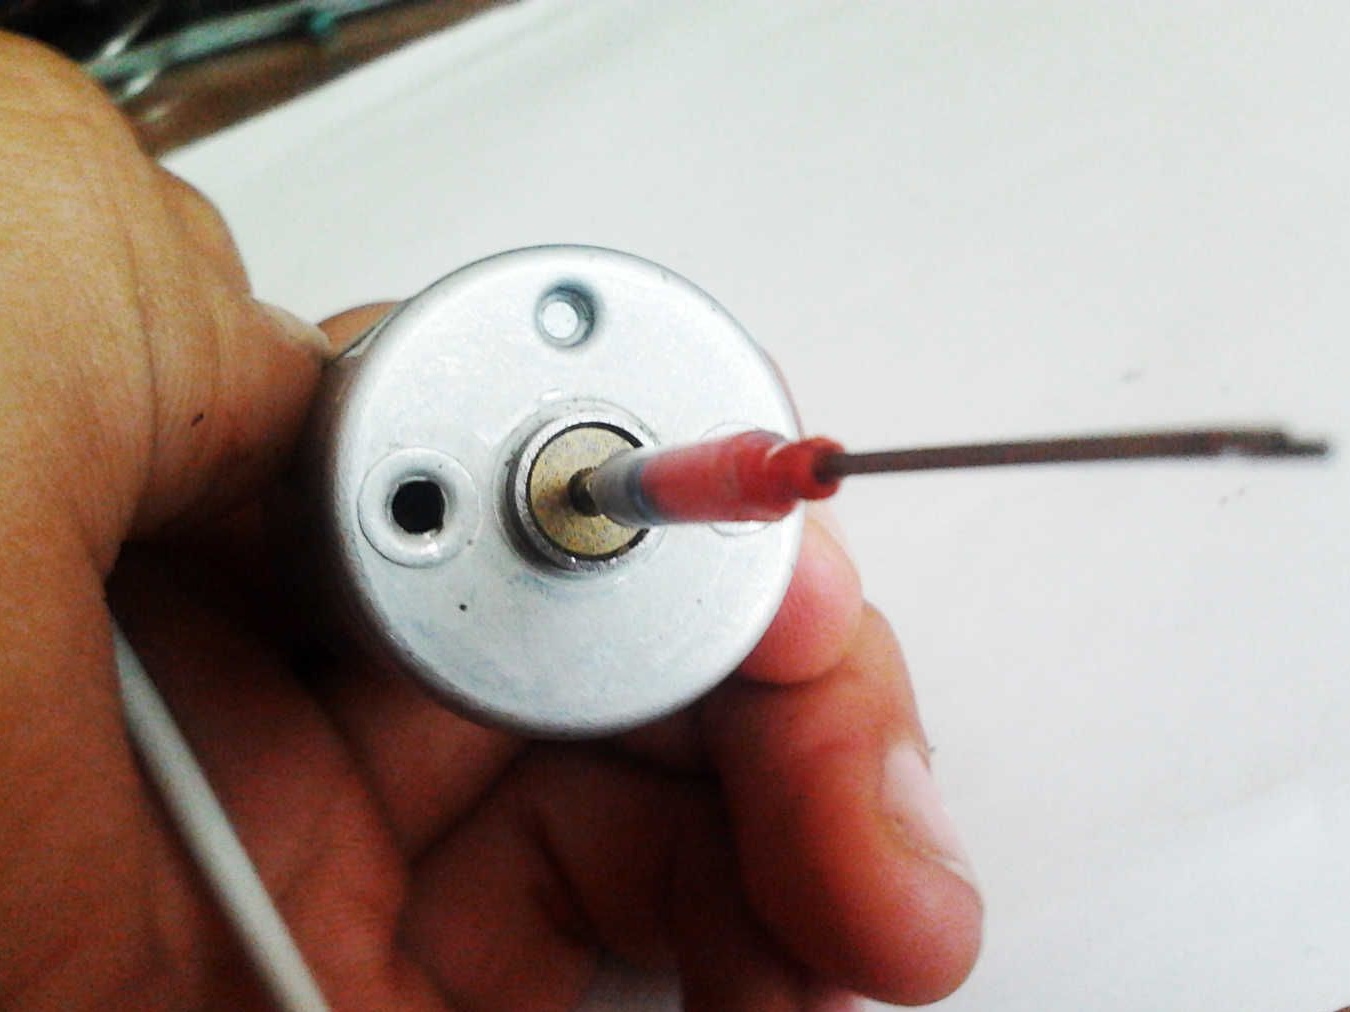
We insert the needle with insulation into the paste fixed on the shaft, after dropping a little glue.
Done! We are waiting a bit for the glue to dry properly. If you need a little more abundant water the structure with even a small amount of glue, but we look so that it does not fall into the middle of the engine. Here are a couple of photos of the finished design.
In the same way, you can fix an ordinary drill of 0.8 mm, which is shown at the end of the video. The tests were more than successful, of course the drill does not spin very straight and waves in all directions, but the main thing is that it drills. If you need accuracy, then just pre-draw the place of drilling with a nail or a self-tapping screw. One millimeter textolite can easily be drilled in a short time, also with a tree. After the drill becomes dull and becomes poorly drilled, we again chop off part of the needle’s ear and continue to work.
Below you can see a video demonstrationhow a homemade drill behaves in business.