

Good day to all the residents of our sites. As usual, in our time, most people use personal computers, but there is one small problem, sometimes it is not convenient to reach the place of USB connectors or they are located on the back side. I thought about it and decided that a USB extension cable would be the best solution.
To make such an extension cord we need:
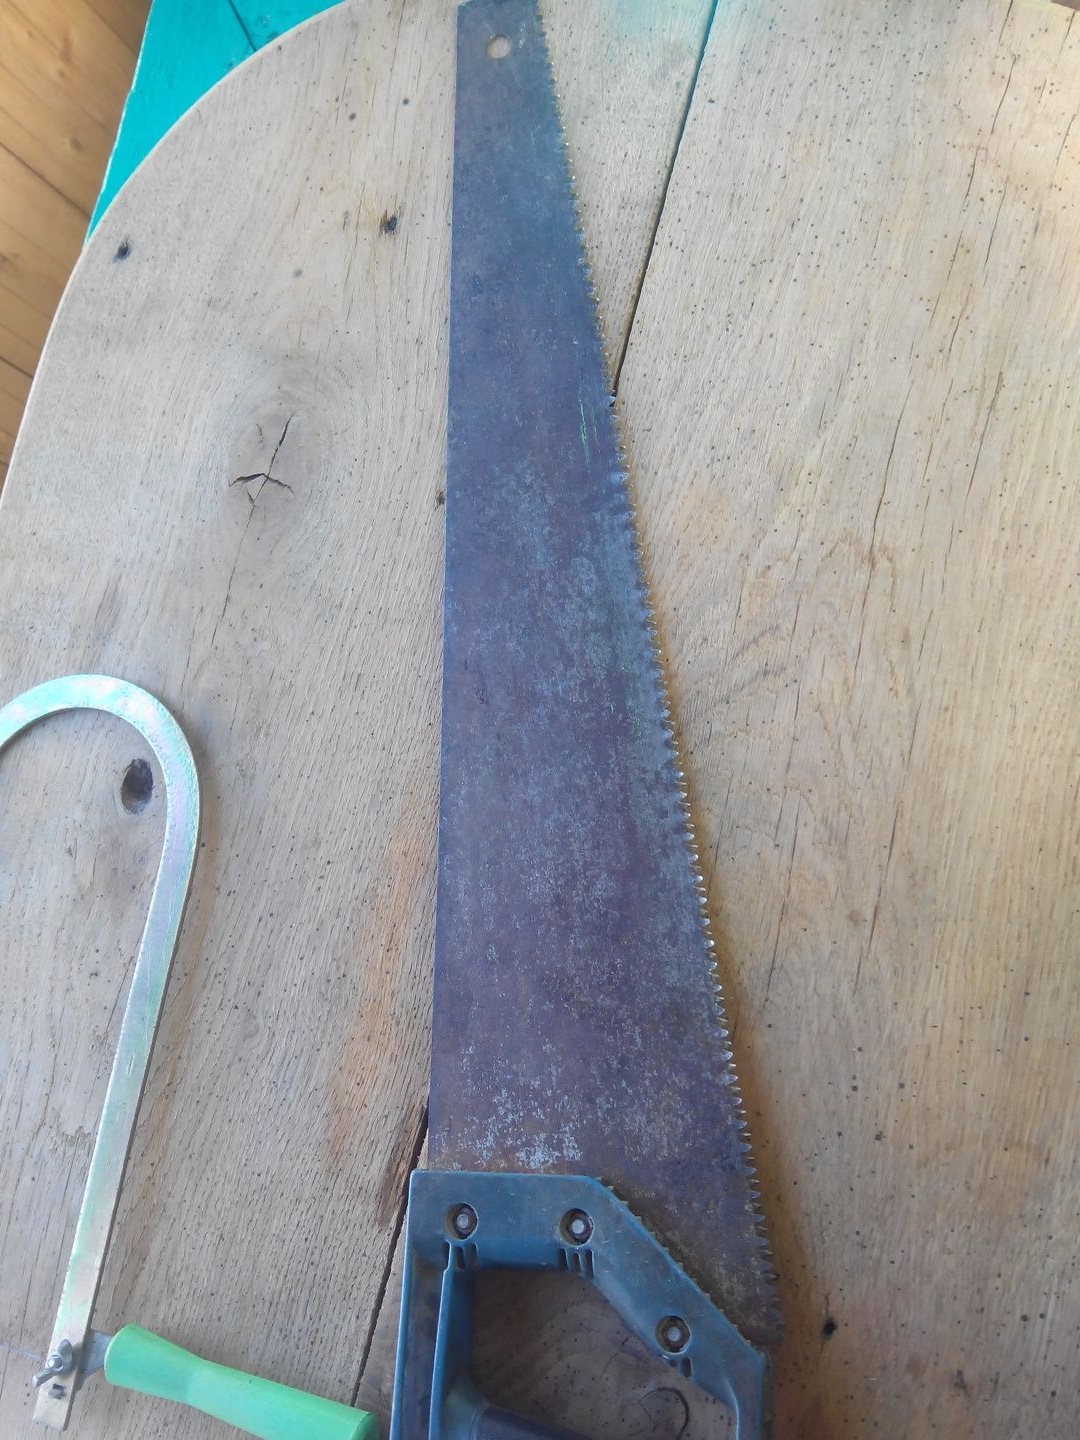
* Wood hacksaw
* Manual jigsaw
* Round file
* 2 pcs self-tapping screws
* Crosshead screwdriver
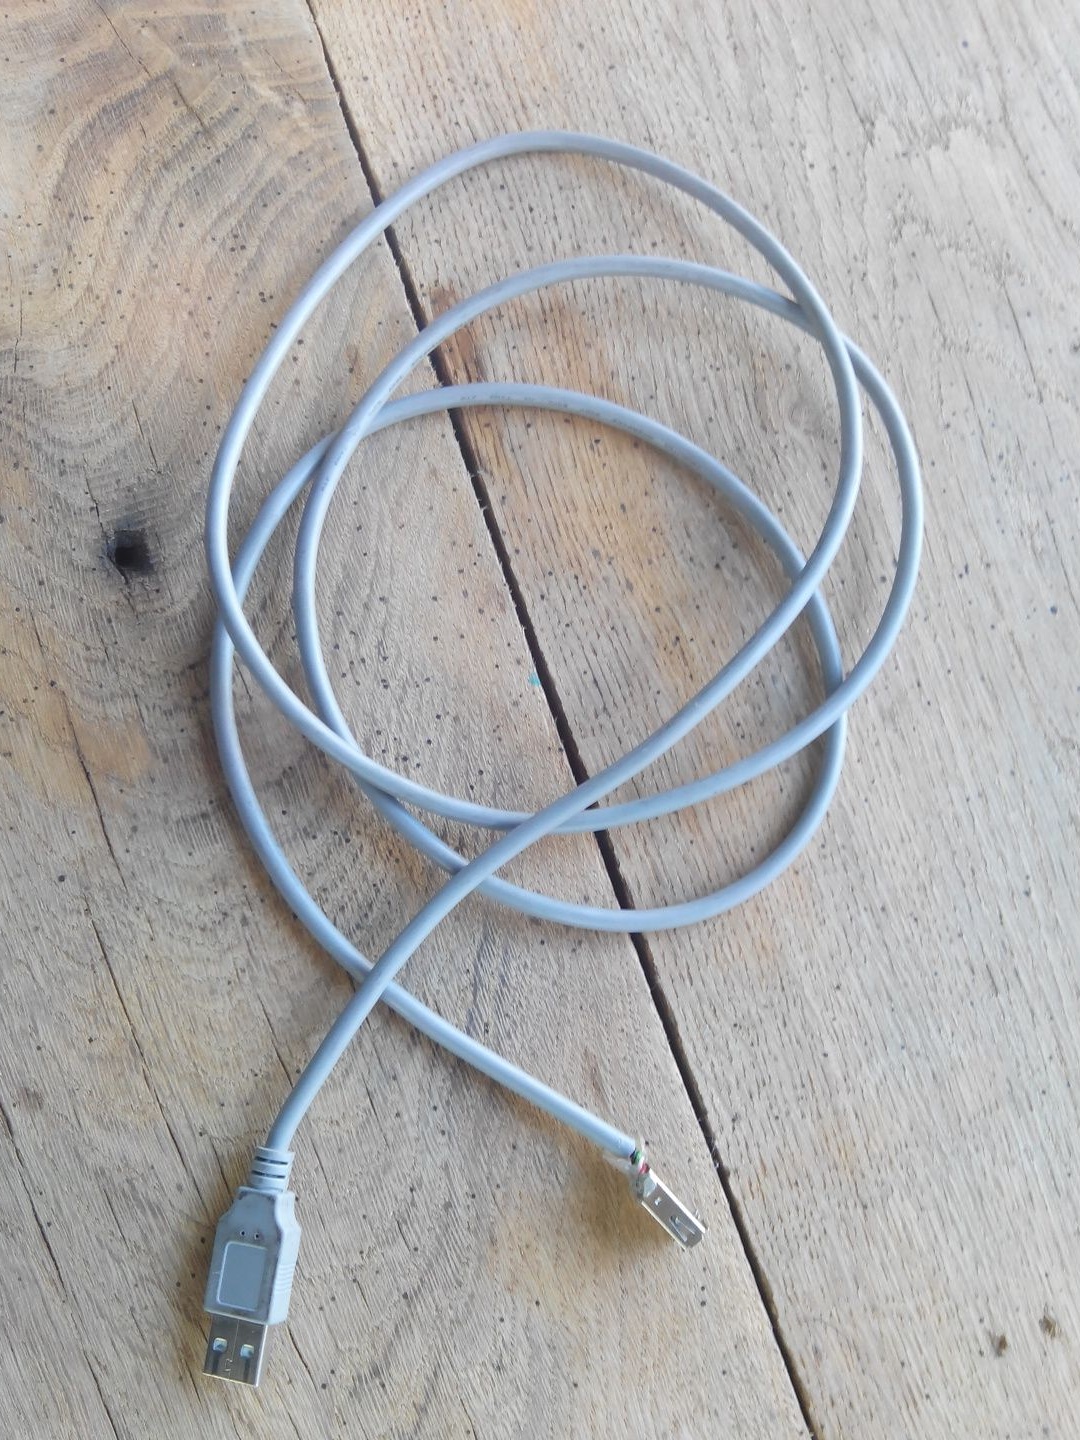
* Old USB extension cable
* 4 cm thick board
* Thin board 1.5 cm thick
* Sandpaper
* Soldering iron.
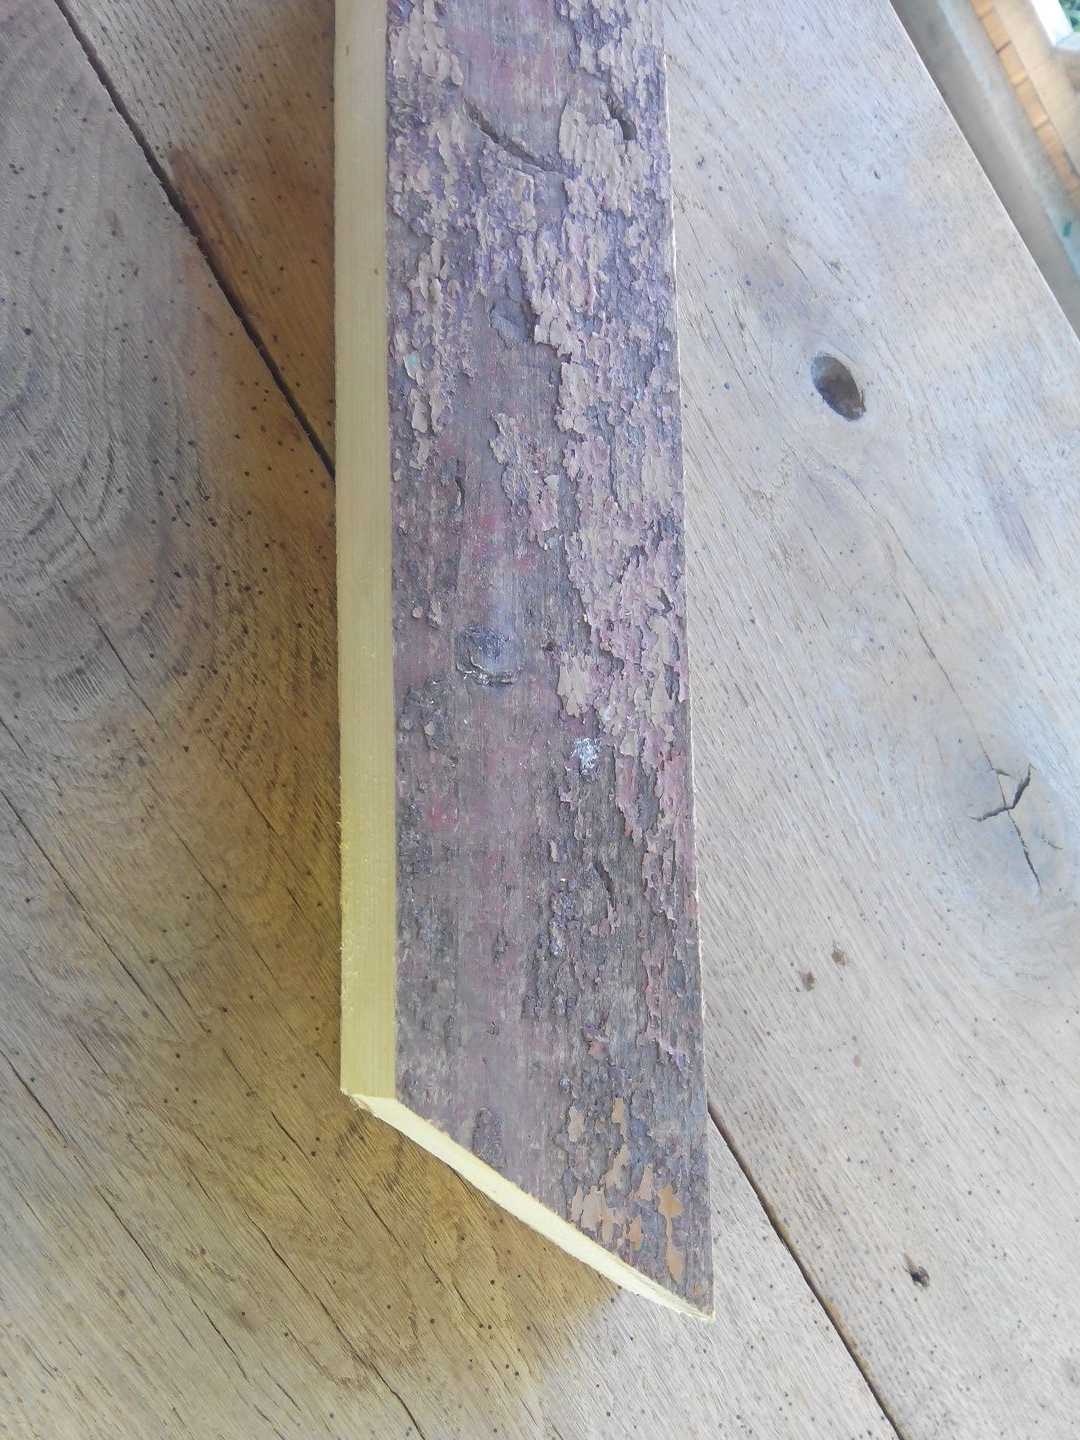
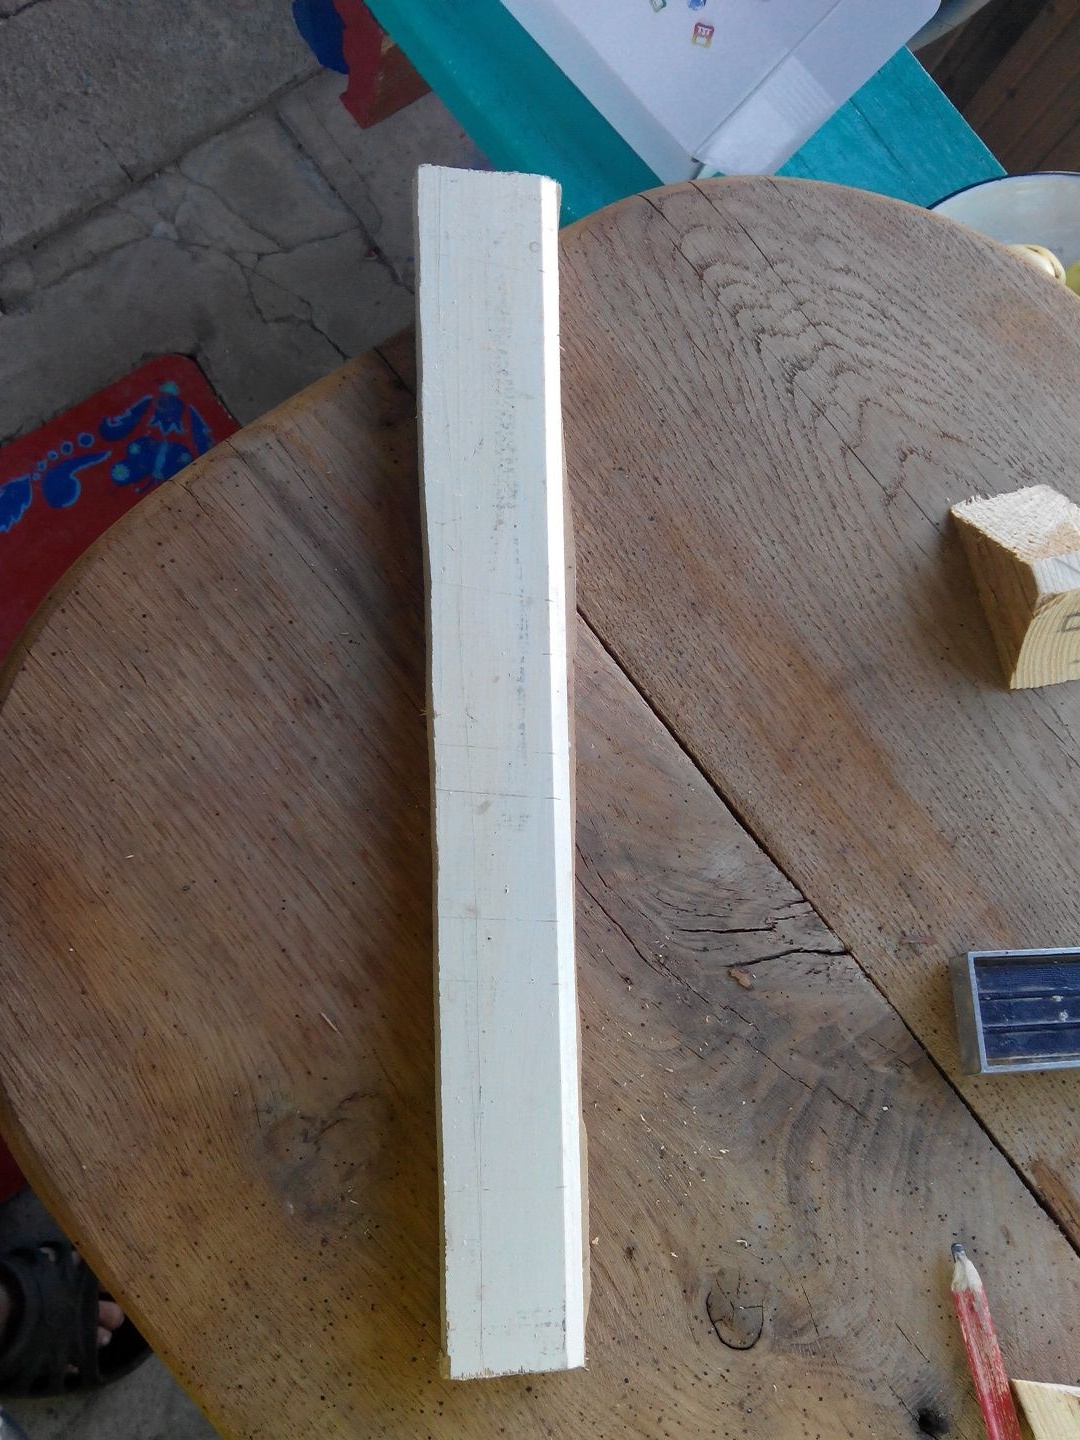
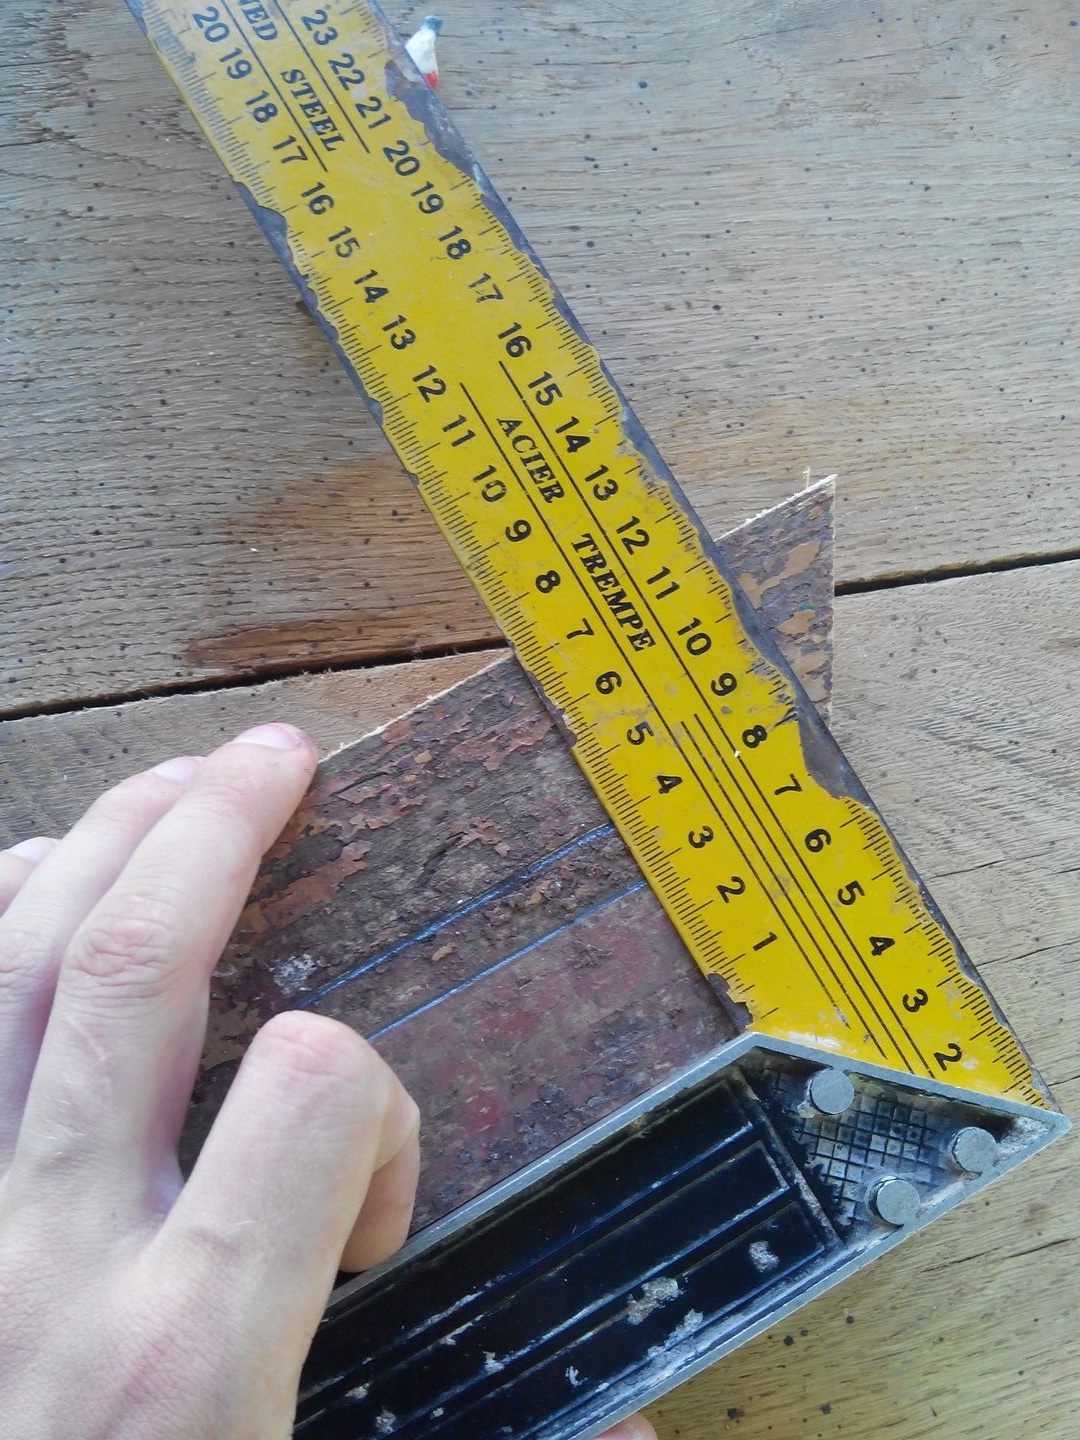
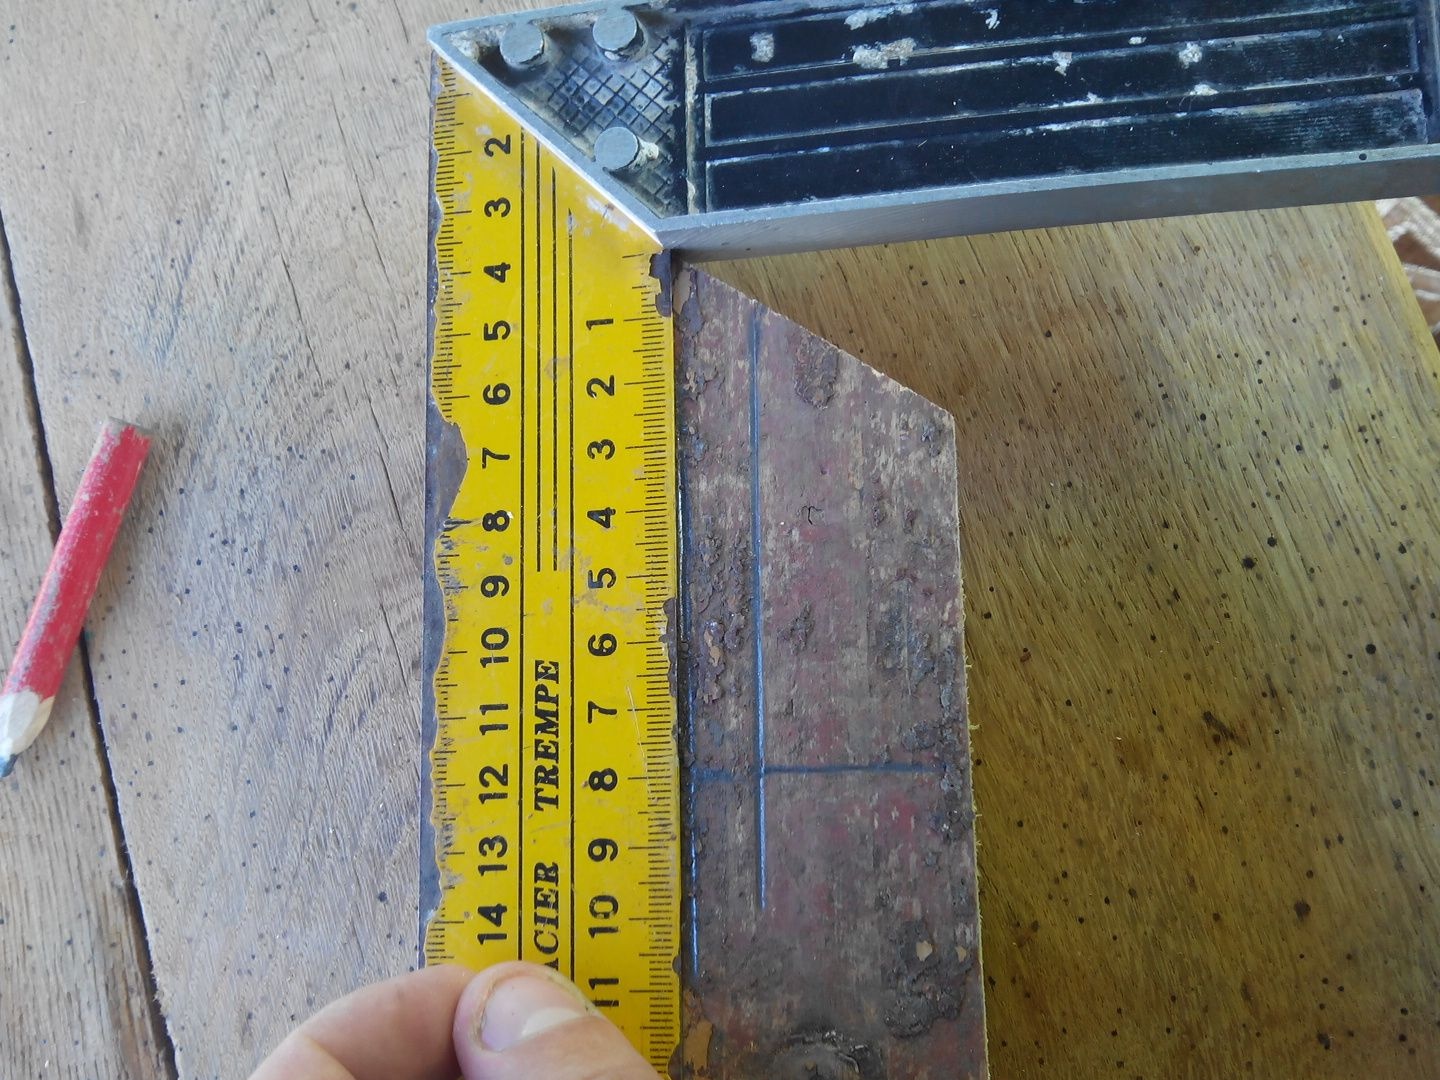
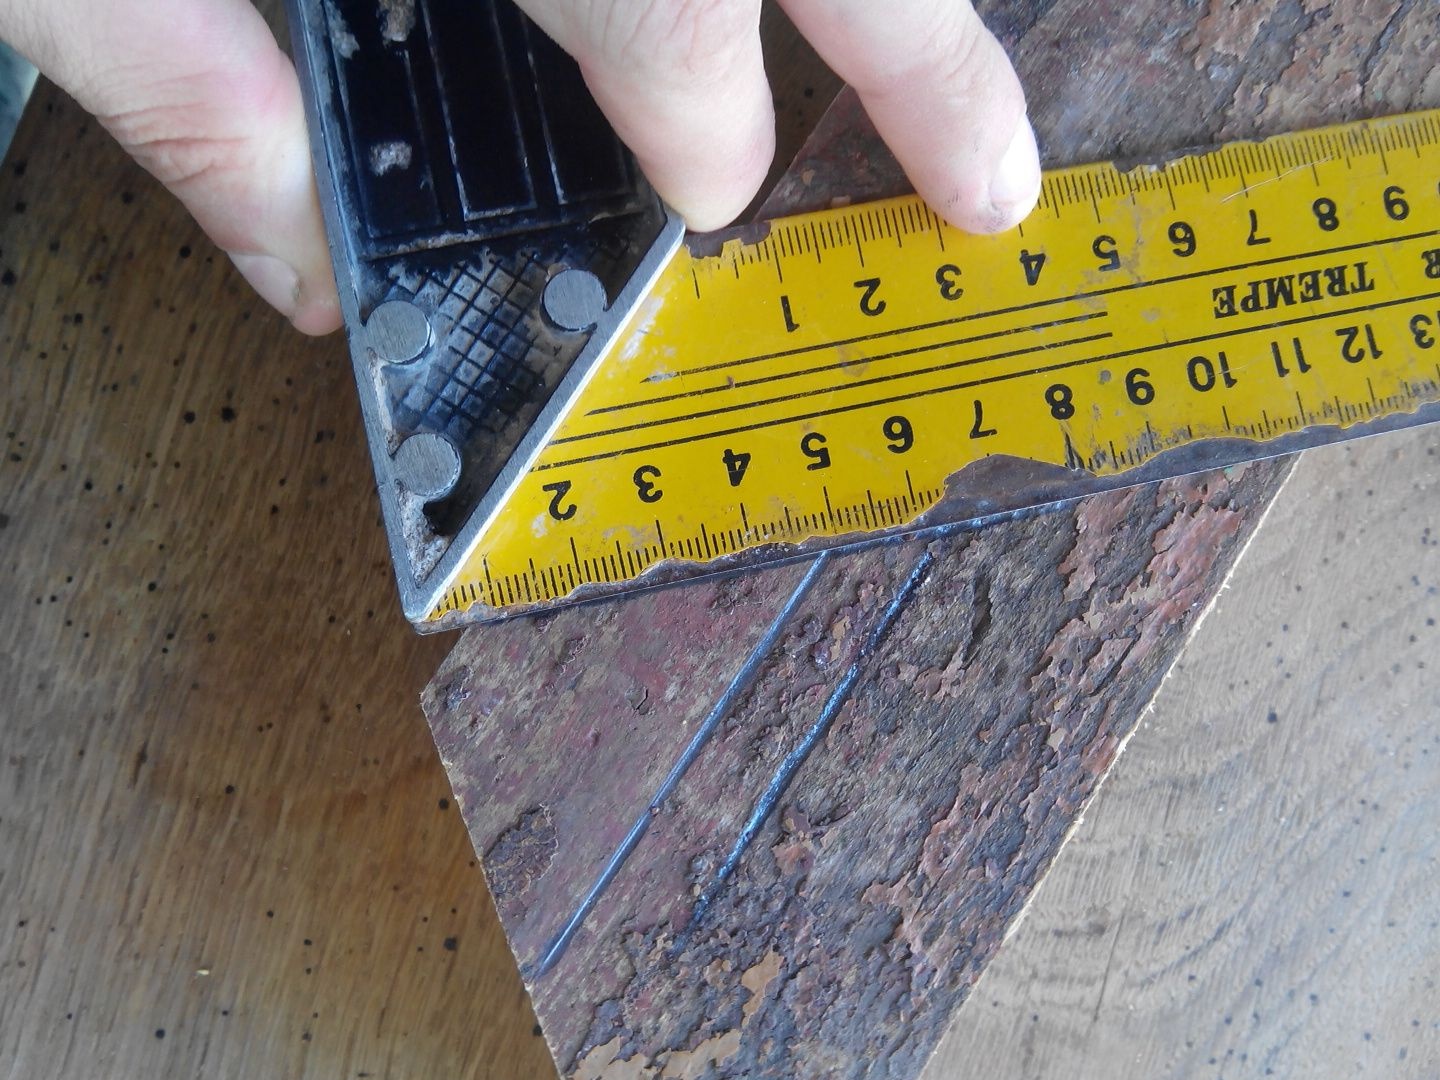
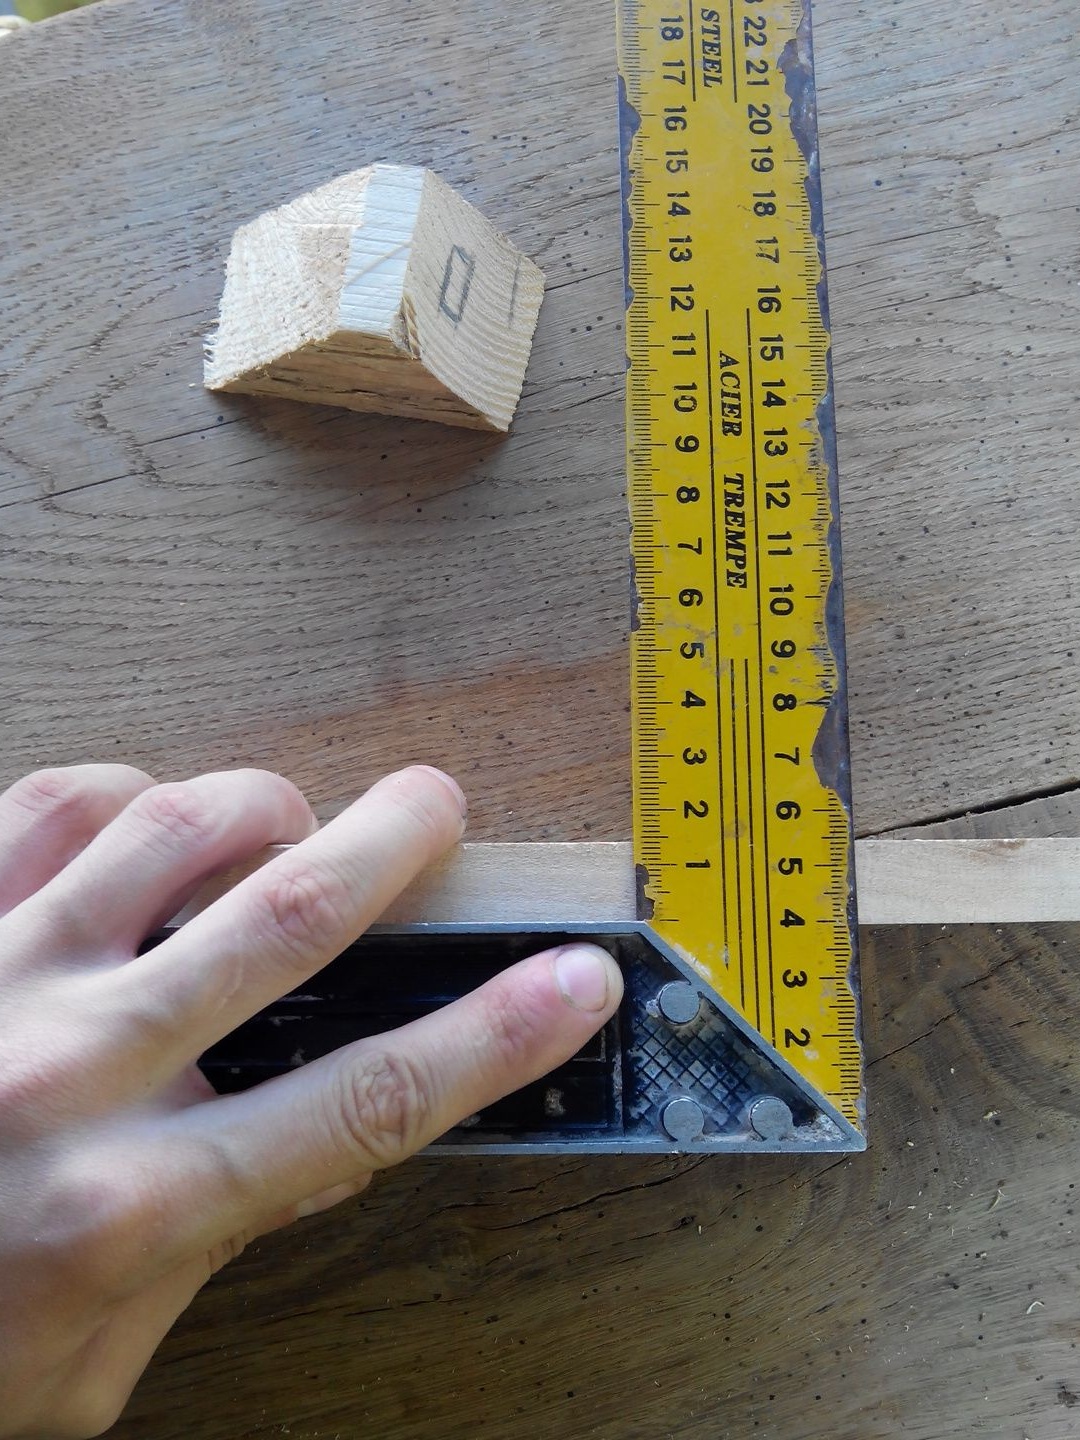
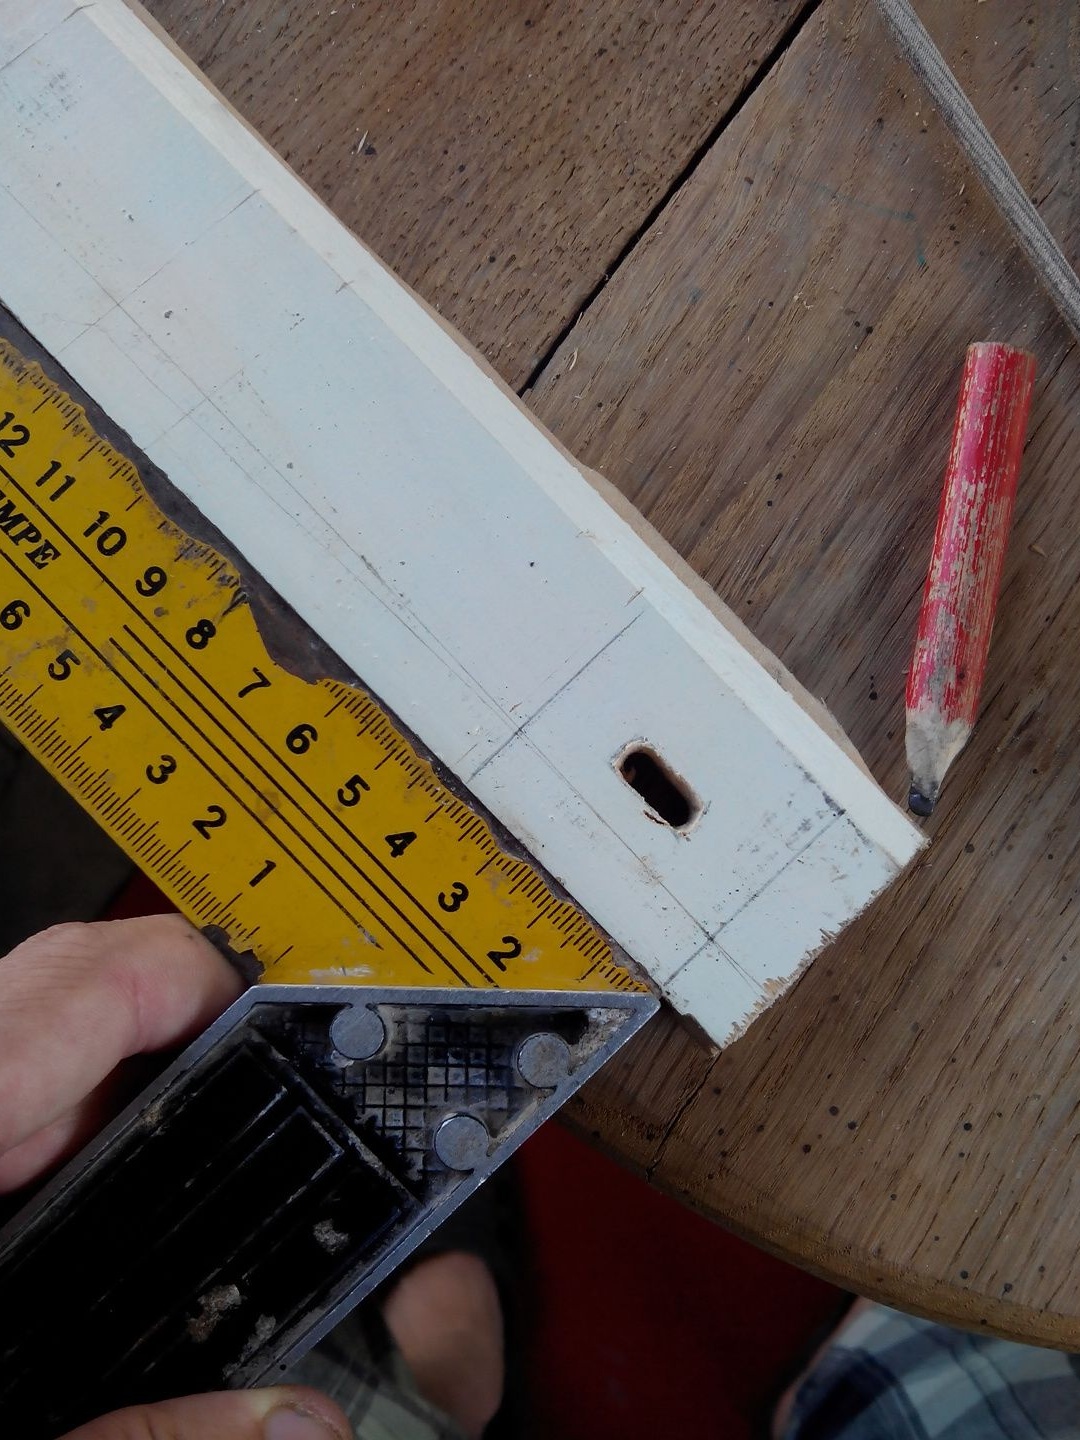
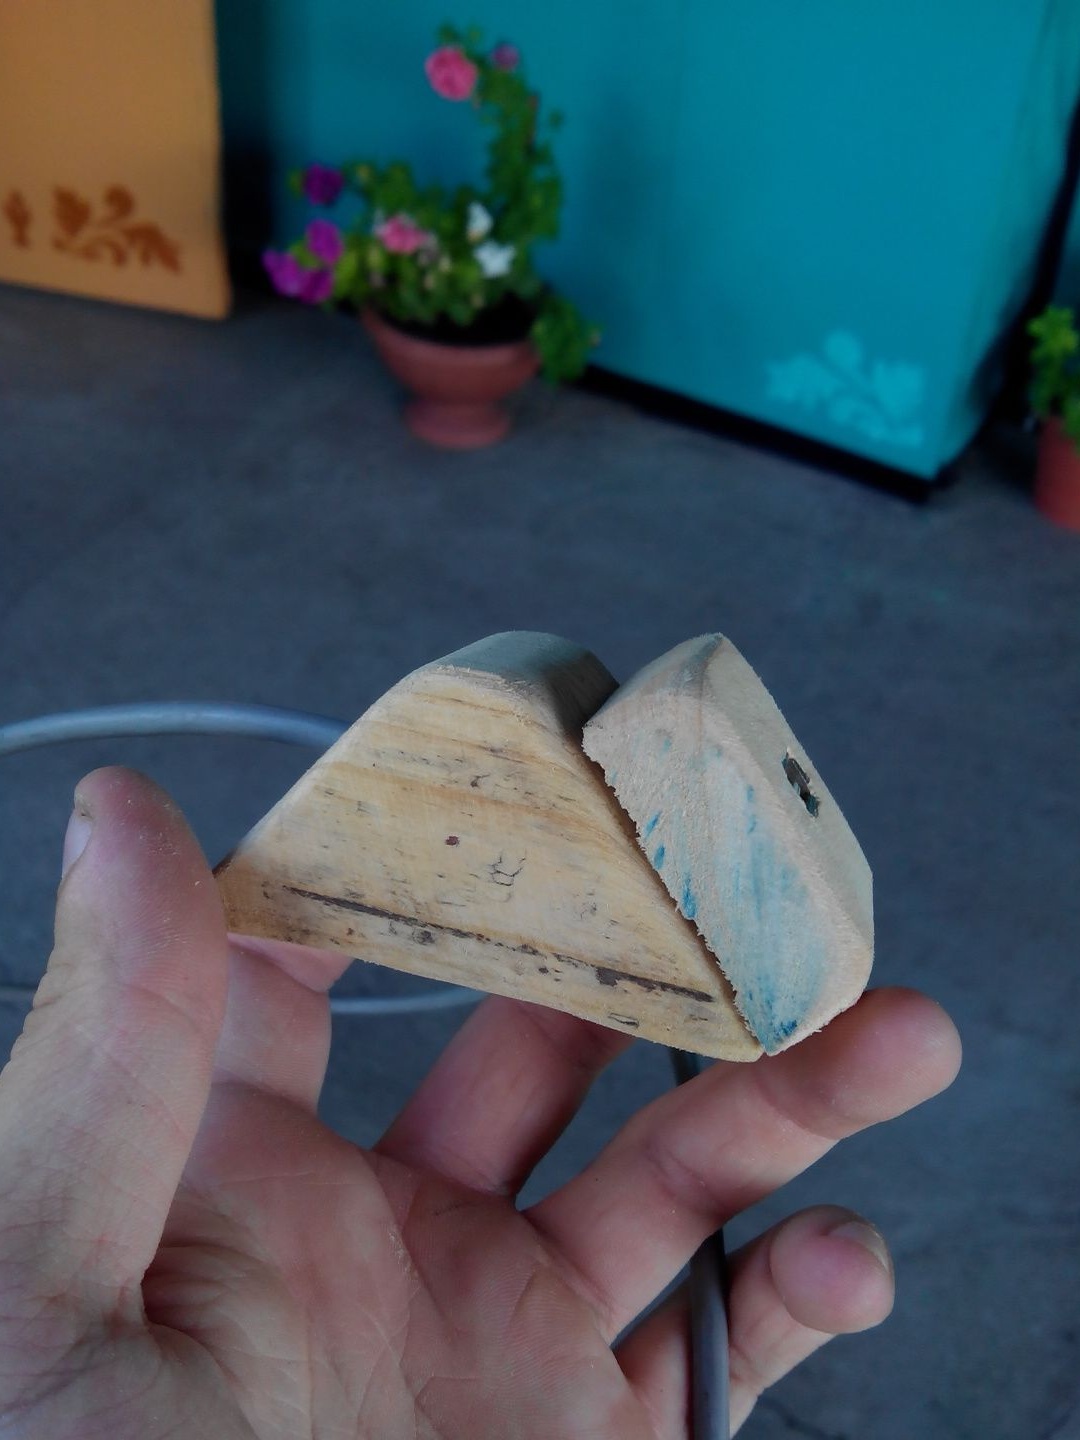
The first step is to saw out the stand from a board 4 cm thick. After measuring 4 cm from the edge of the board, draw a straight line and make a width of 8 cm. To complete the measurements at a 45-degree angle, draw another line connecting the previous one, as in the photo.
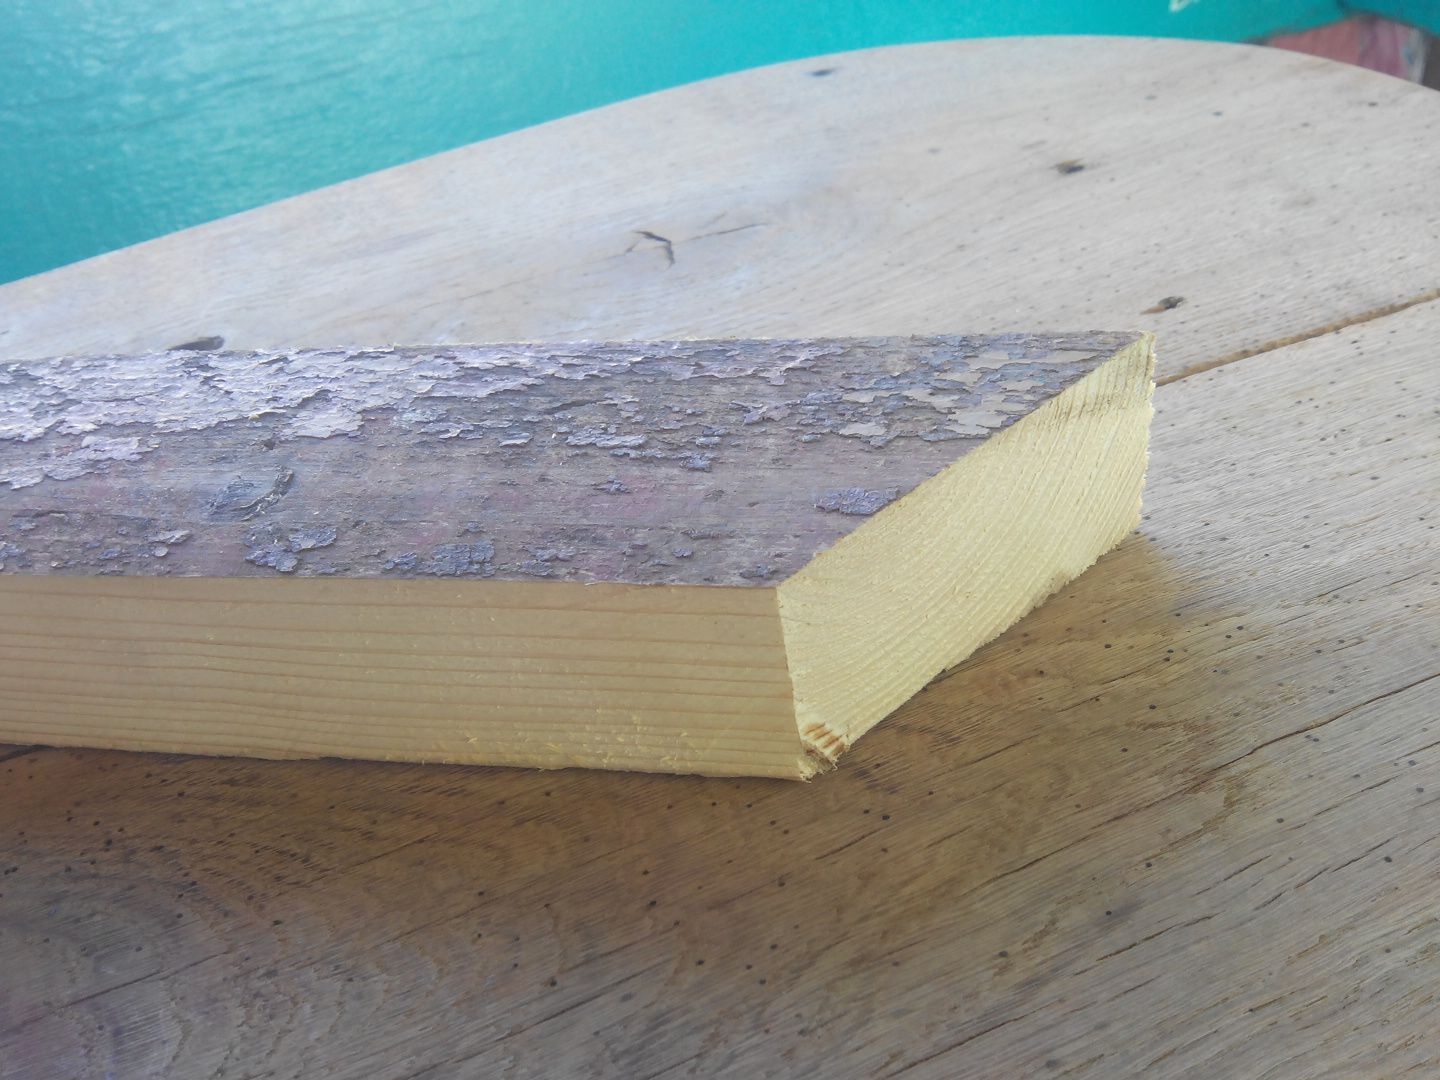
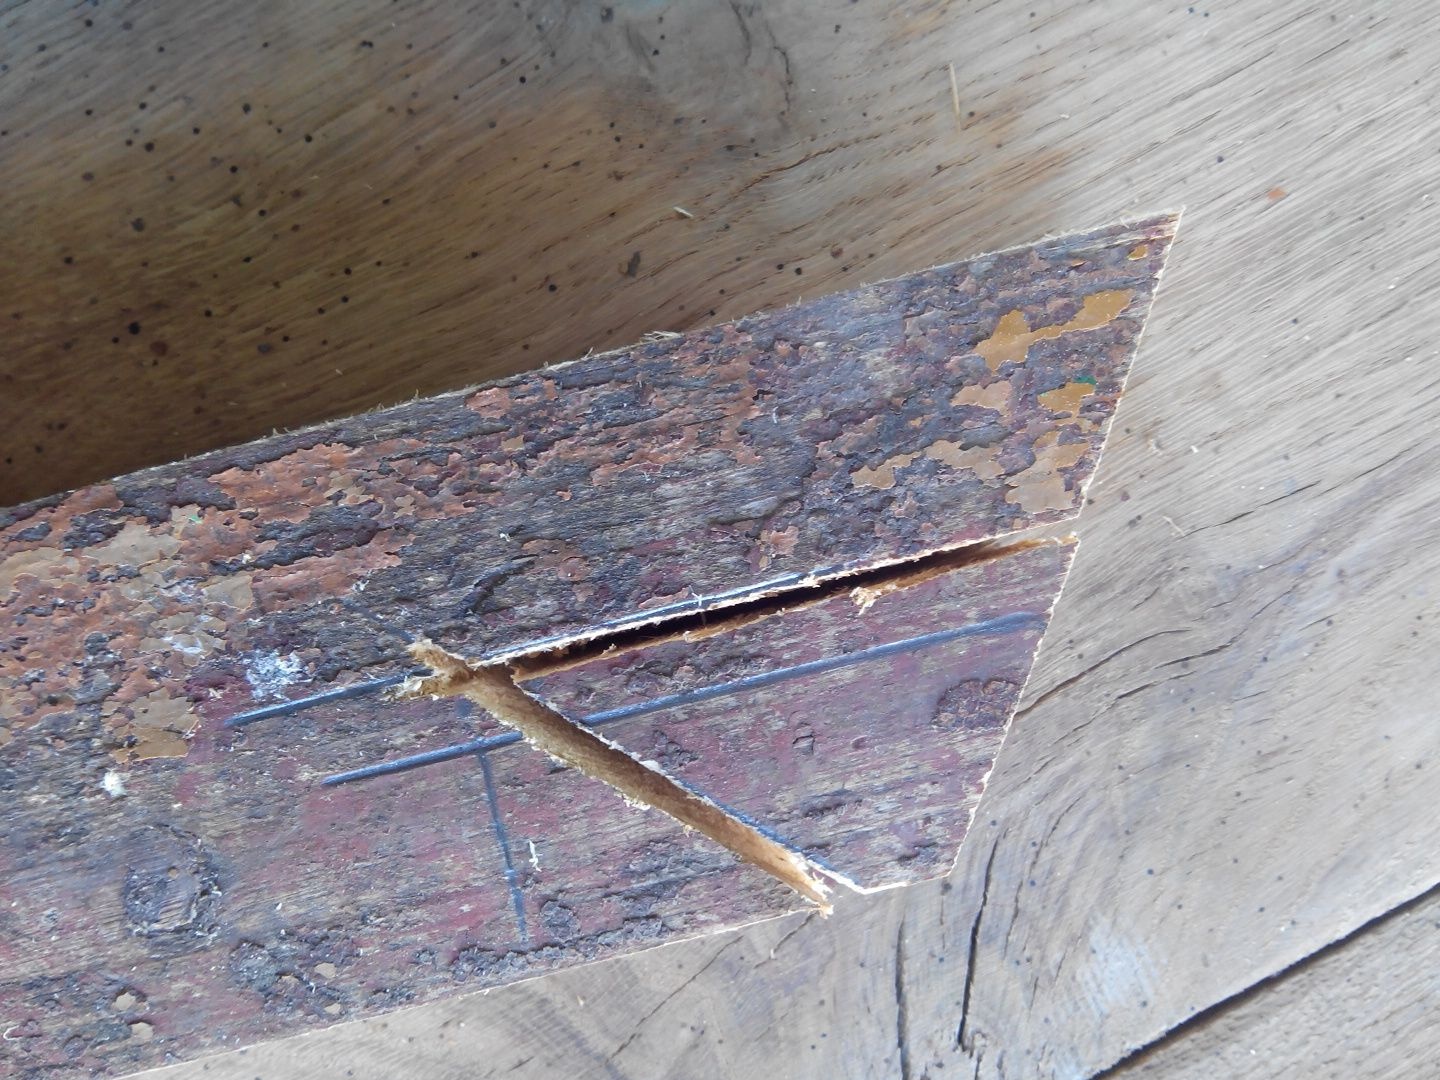
Armed with a hacksaw on a tree, we proceed to sawing, it is necessary to saw evenly, since the stand will be on a flat surface.
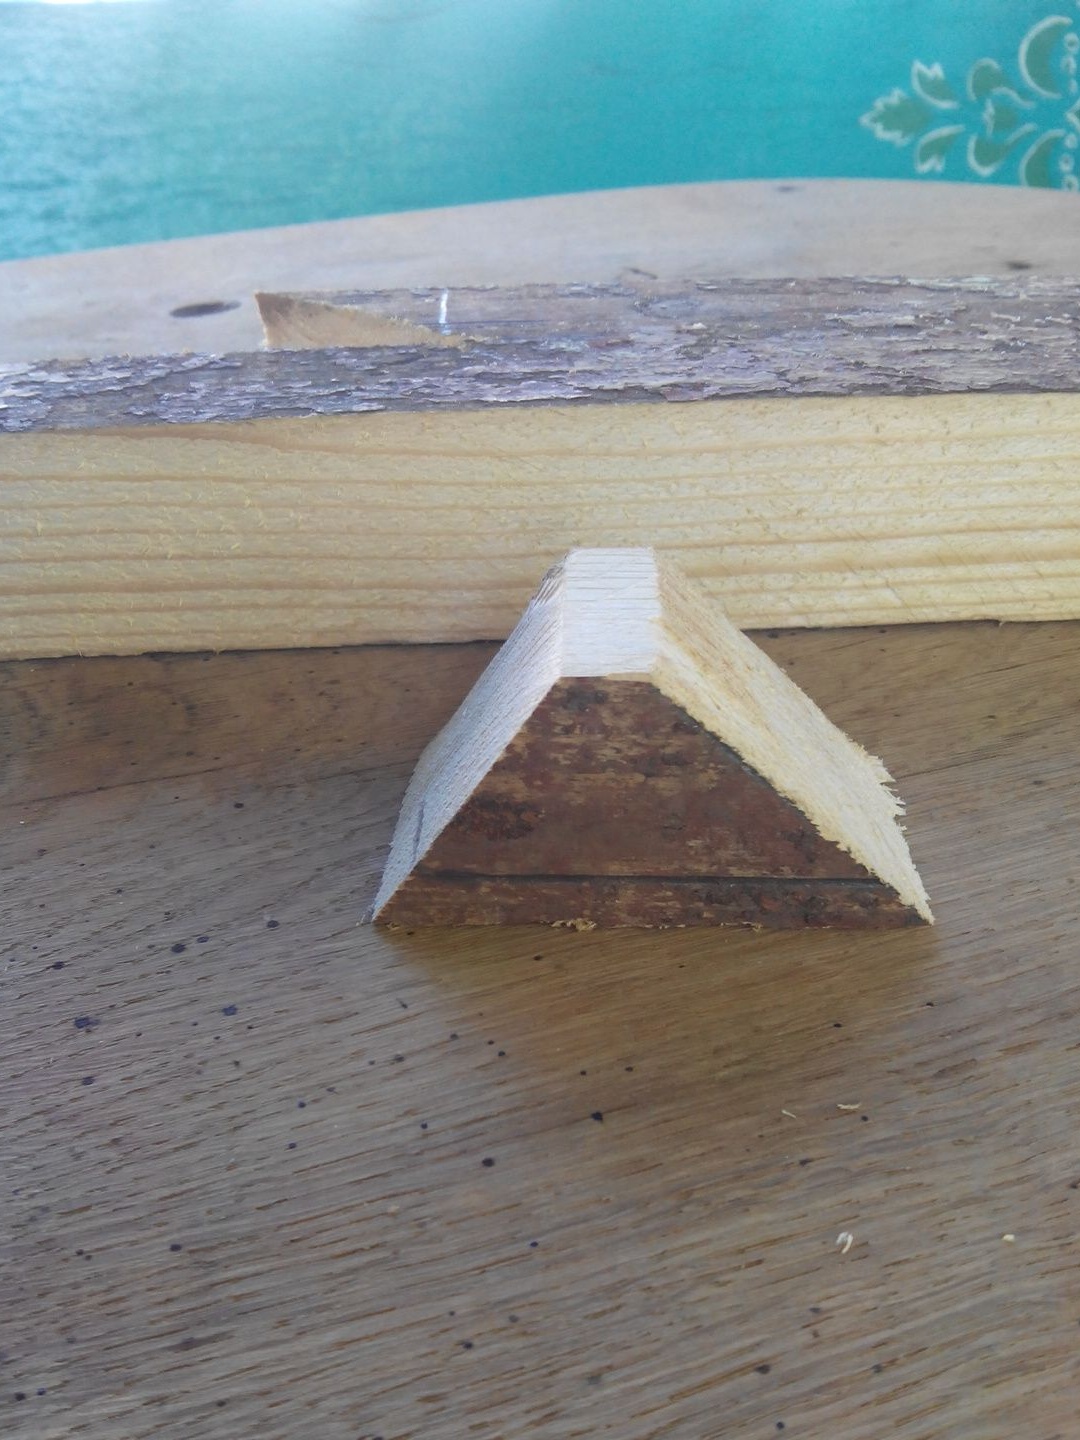
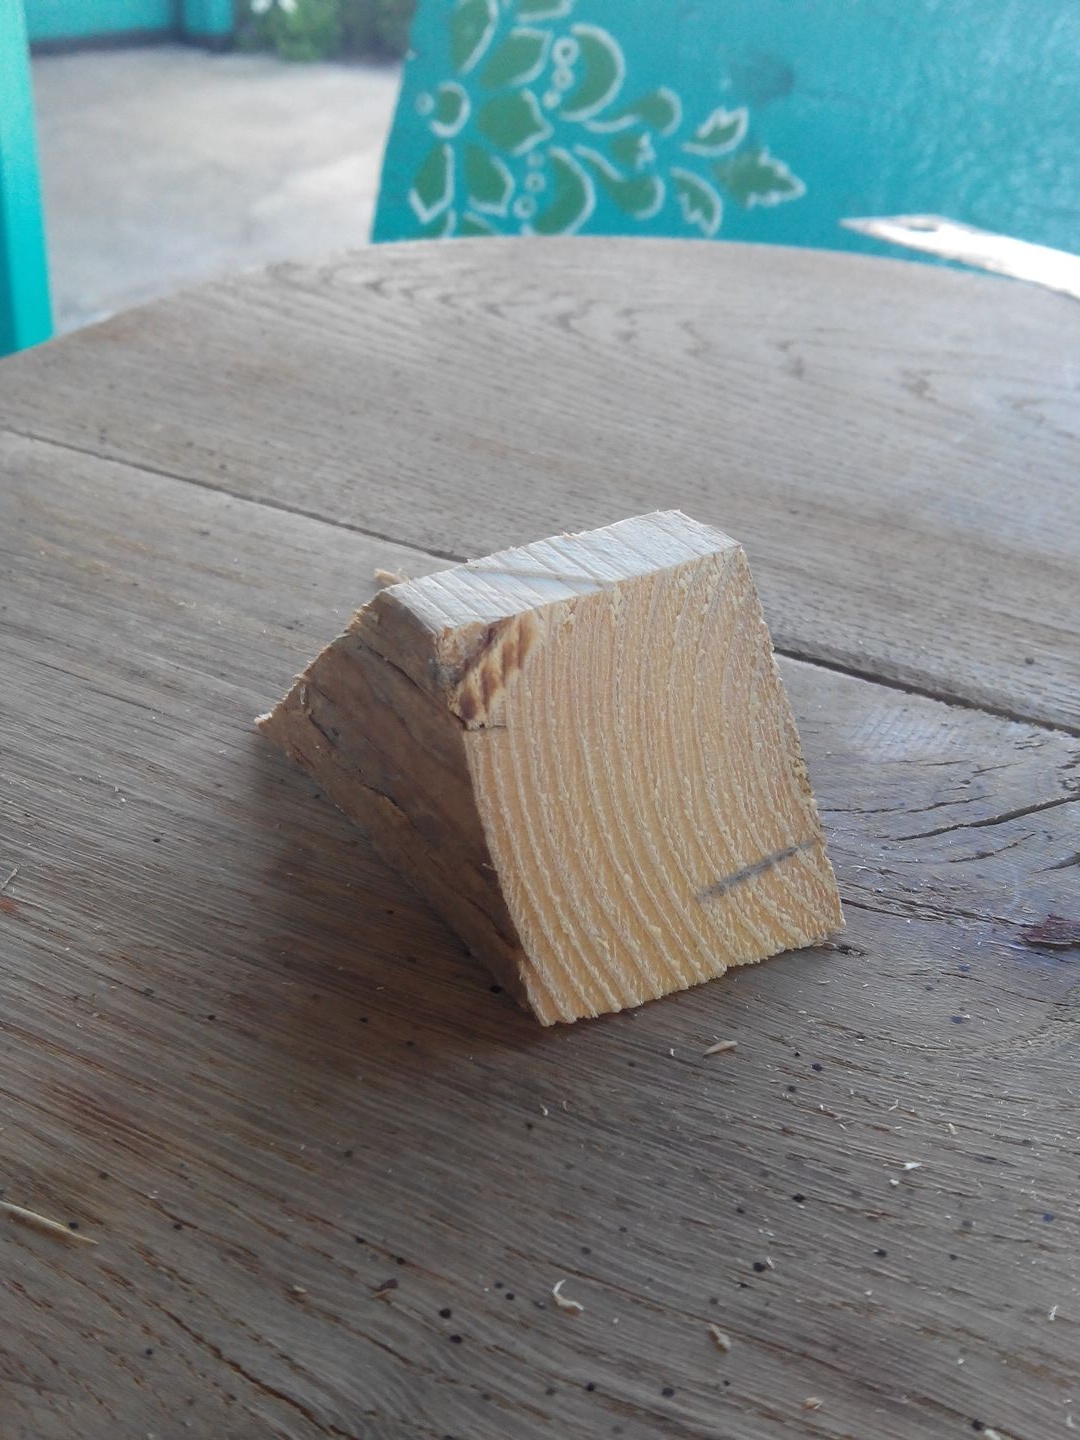
While the finished workpiece can be put aside.
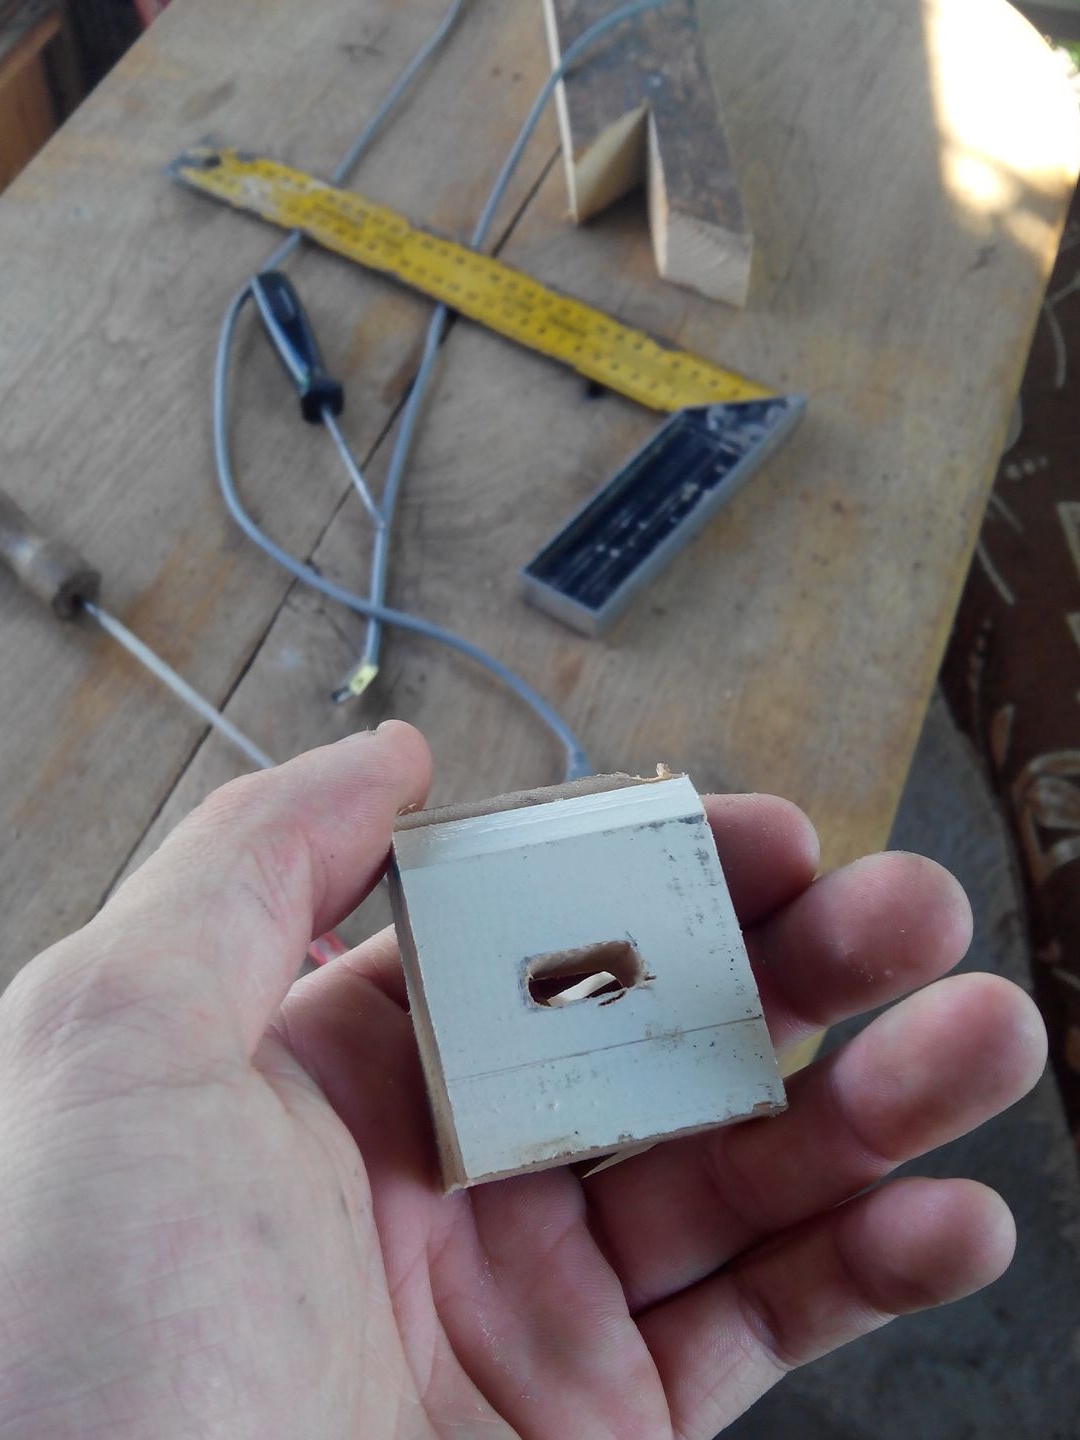
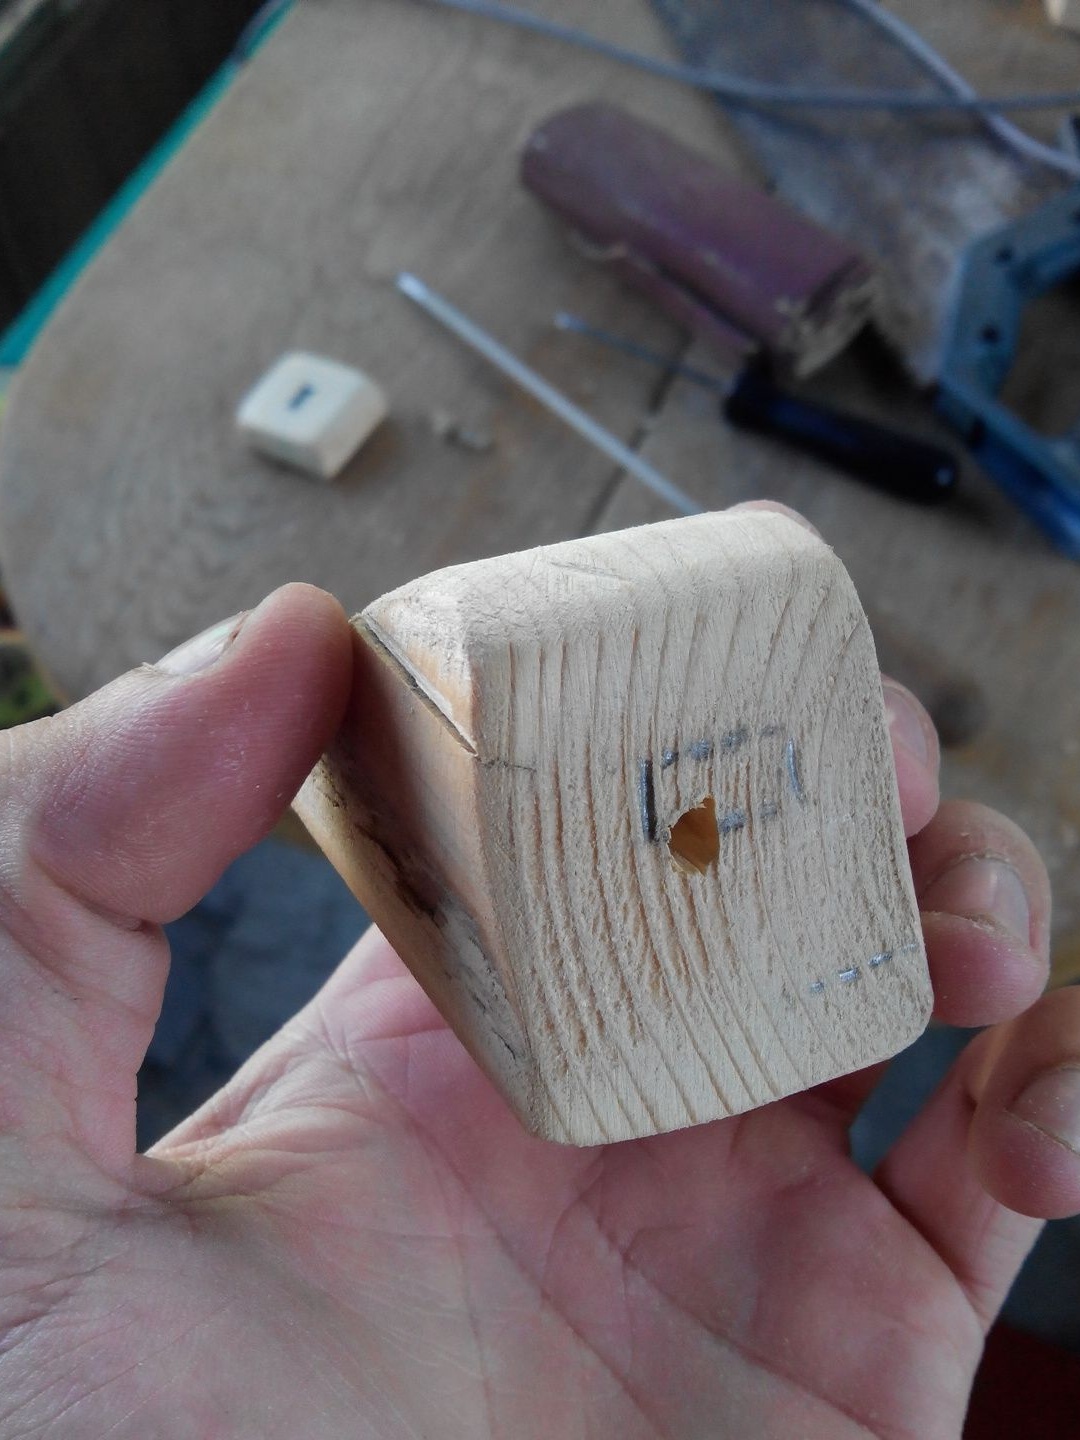
Let's start cutting out the holes for USB in the board, the thickness of which is 1.5 cm.
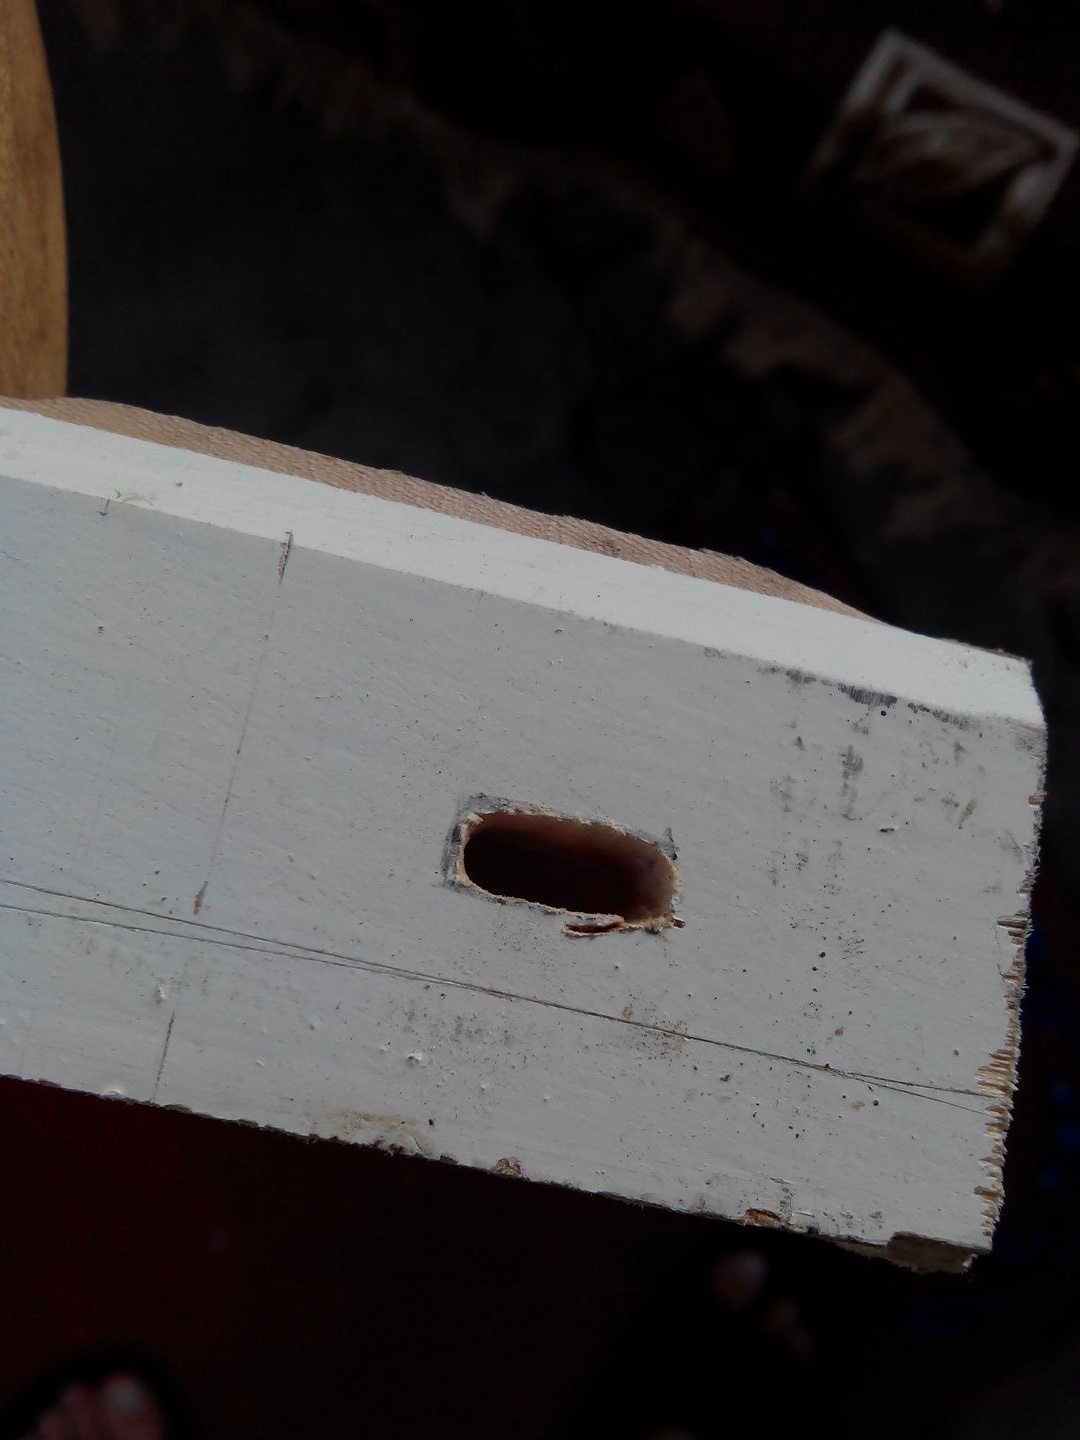
The USB hole has a rectangular shape 1.5 cm wide and 6 mm high.
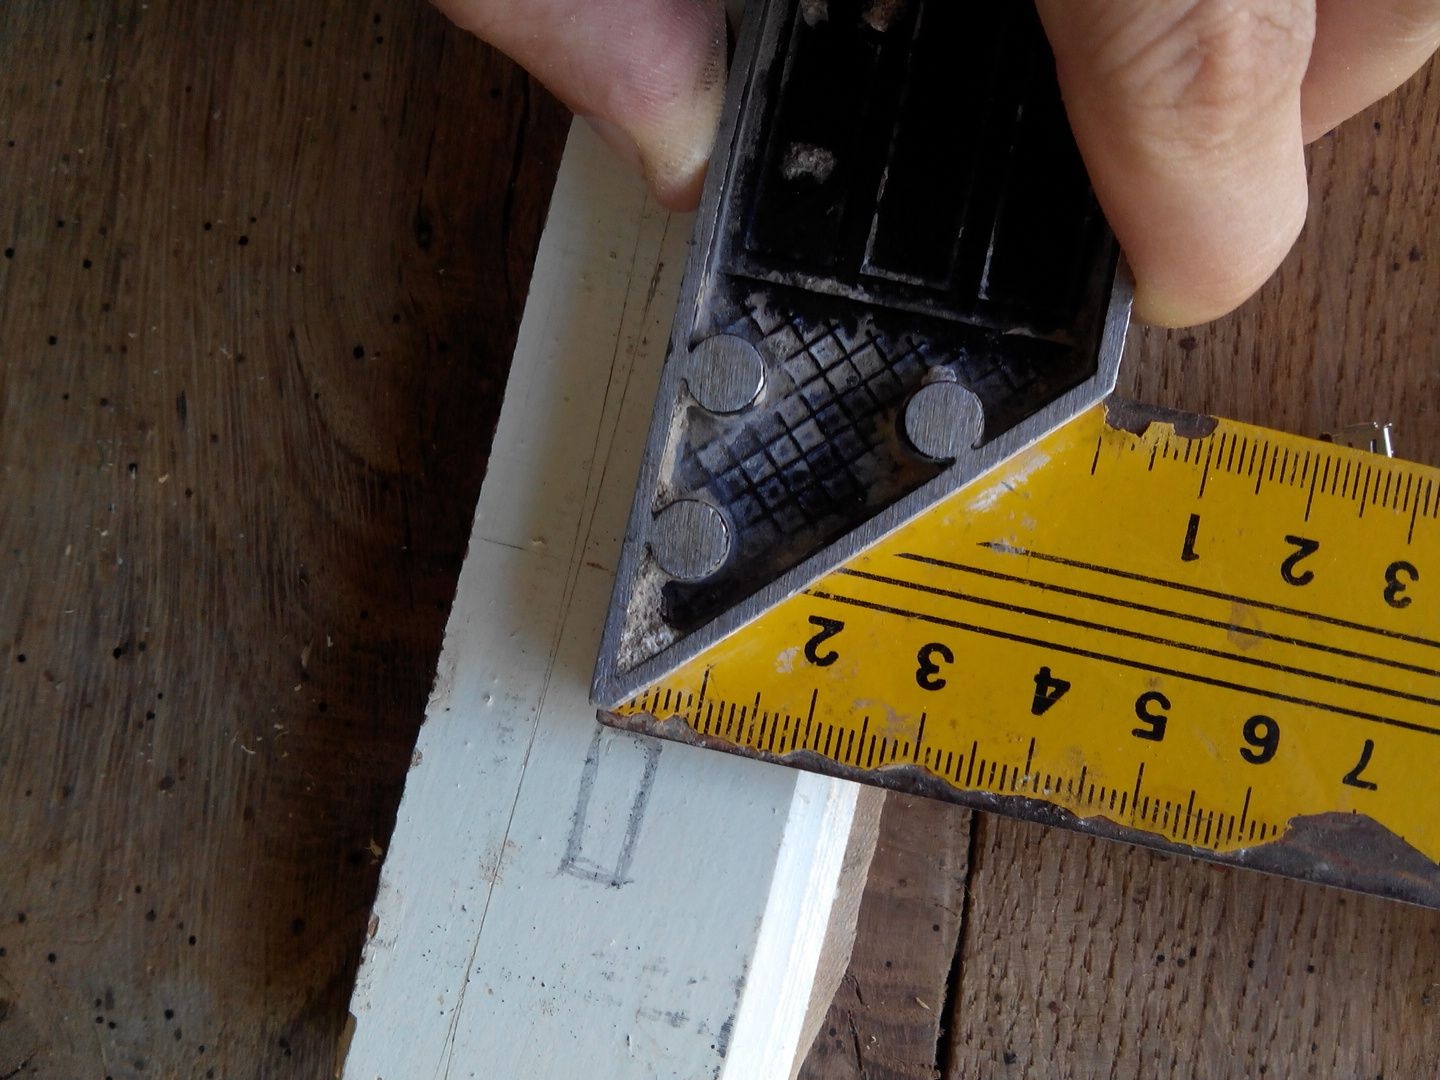
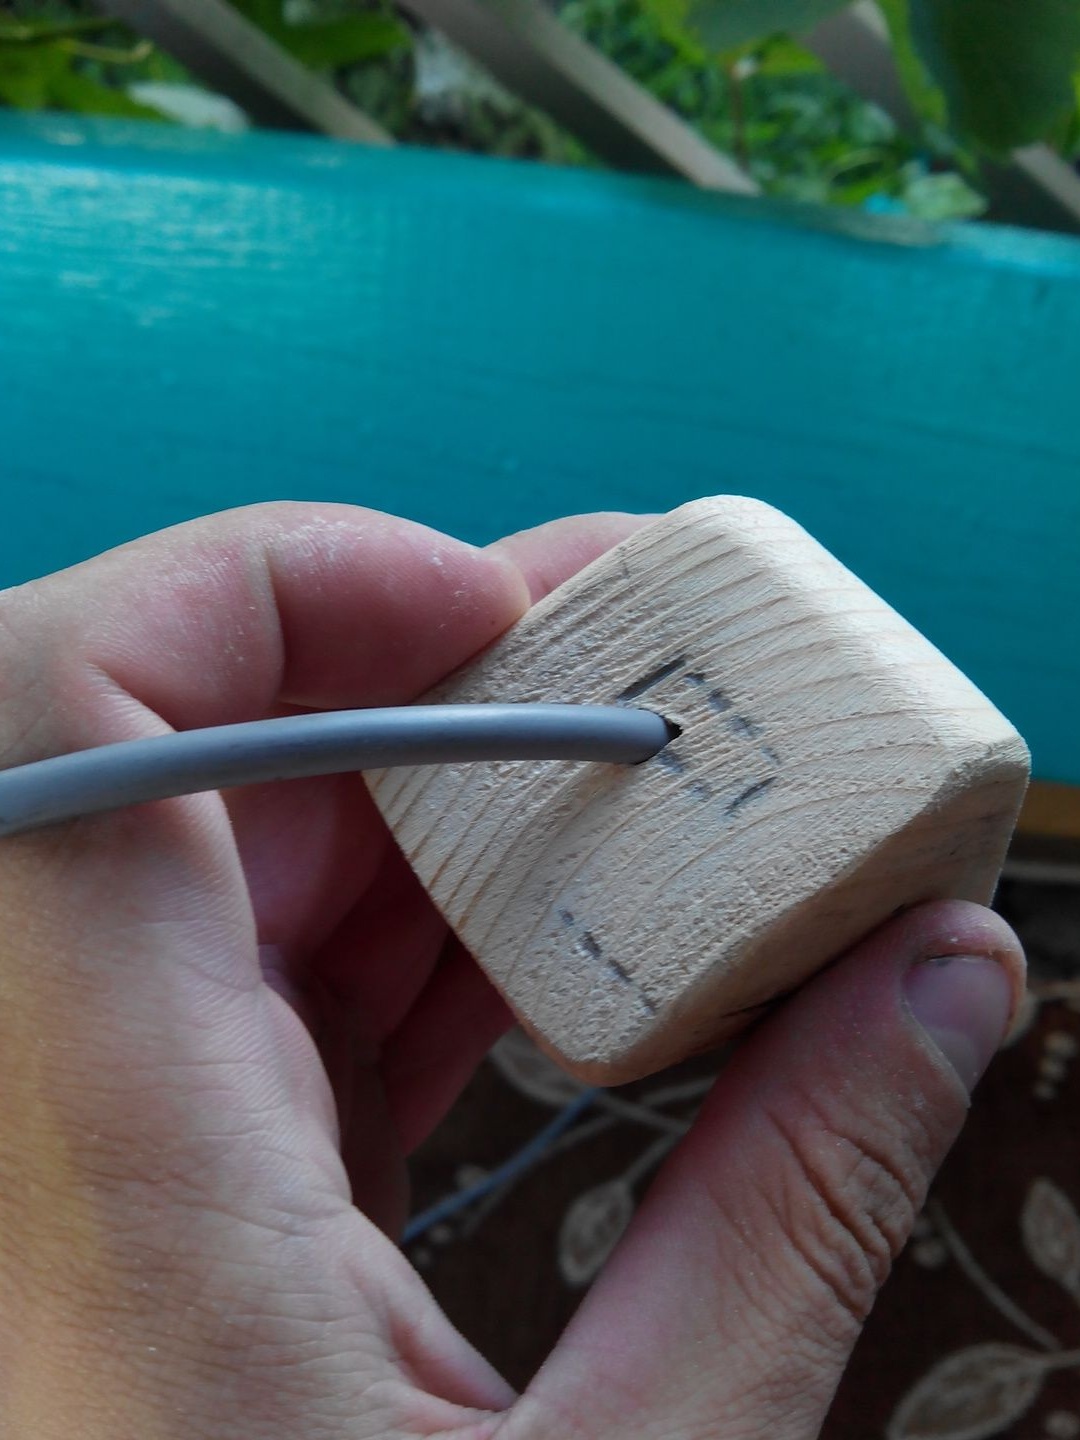
We drill a hole in the place where there will be USB.
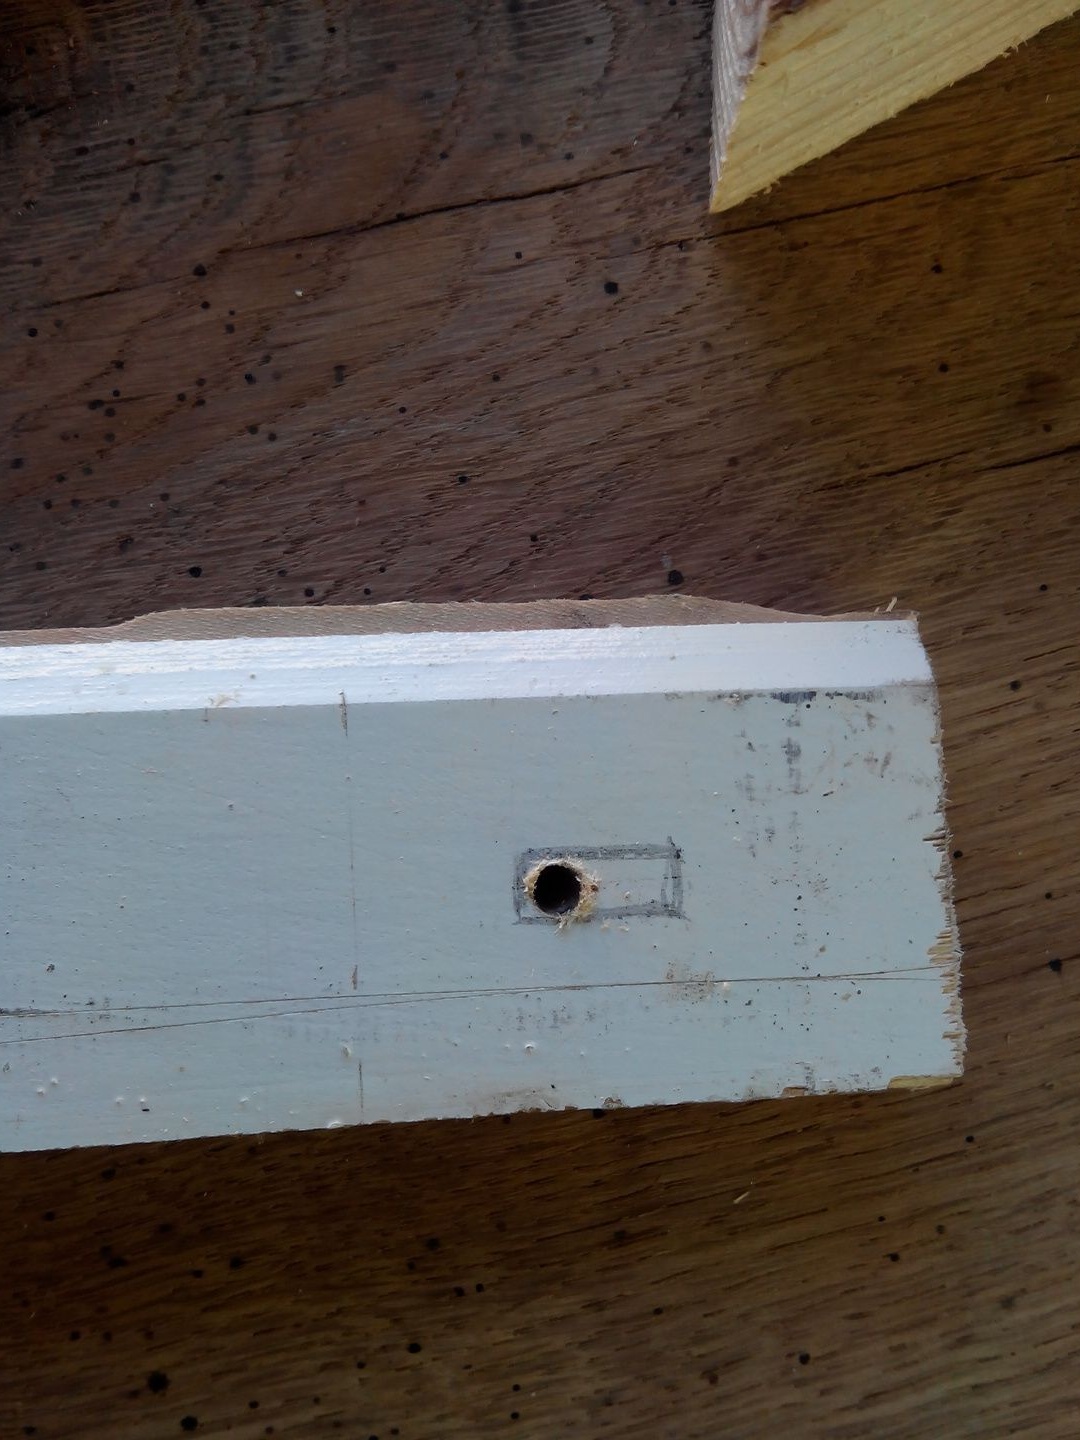
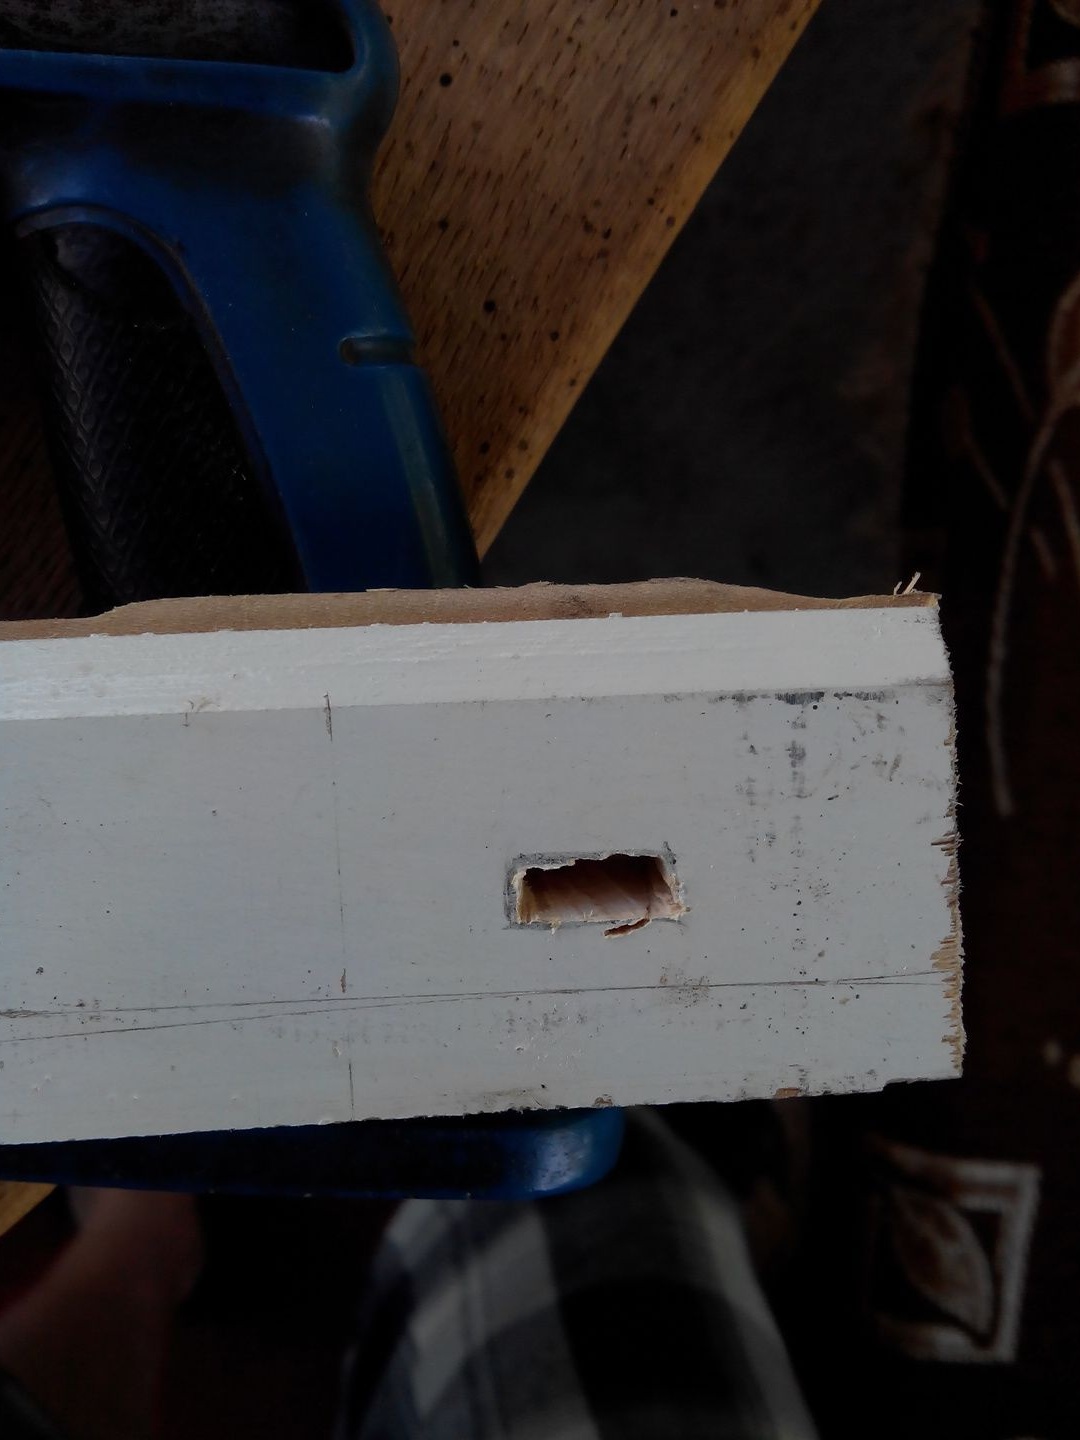
In this place we put a jigsaw file, tightens and saw out according to the template.
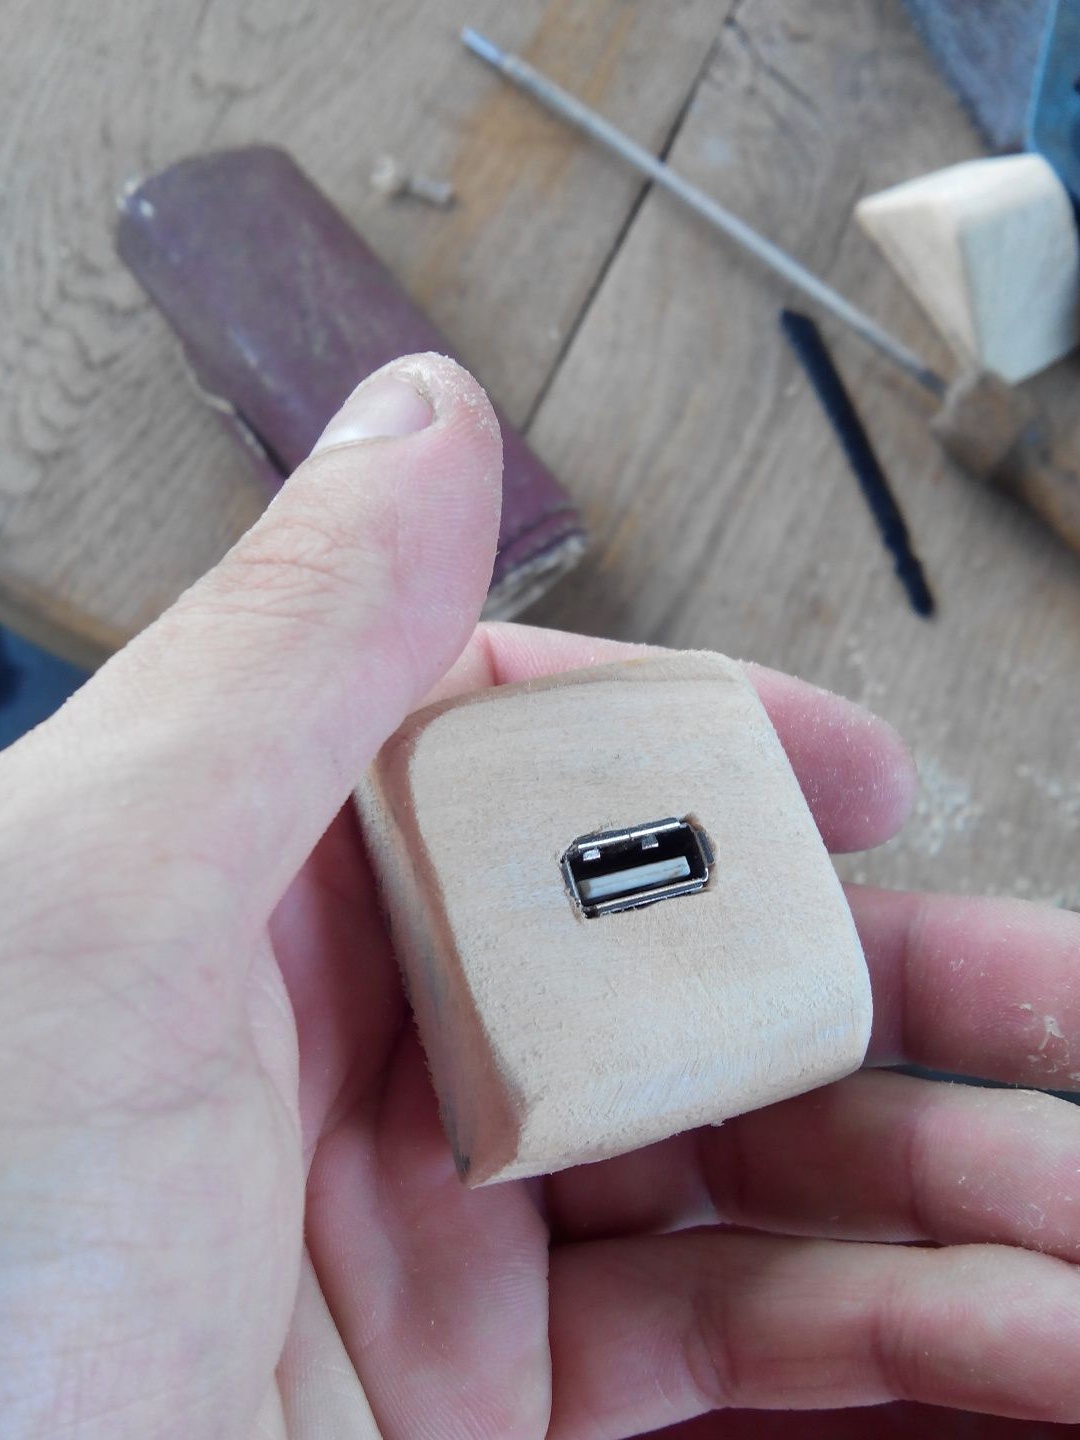
try on USB, if it doesn’t match a bit, then the errors can be modified with a file.
After honing the hole and fitting the USB, measure out 4 cm so that the USB is in the middle.
We cut out the stand with a hacksaw.
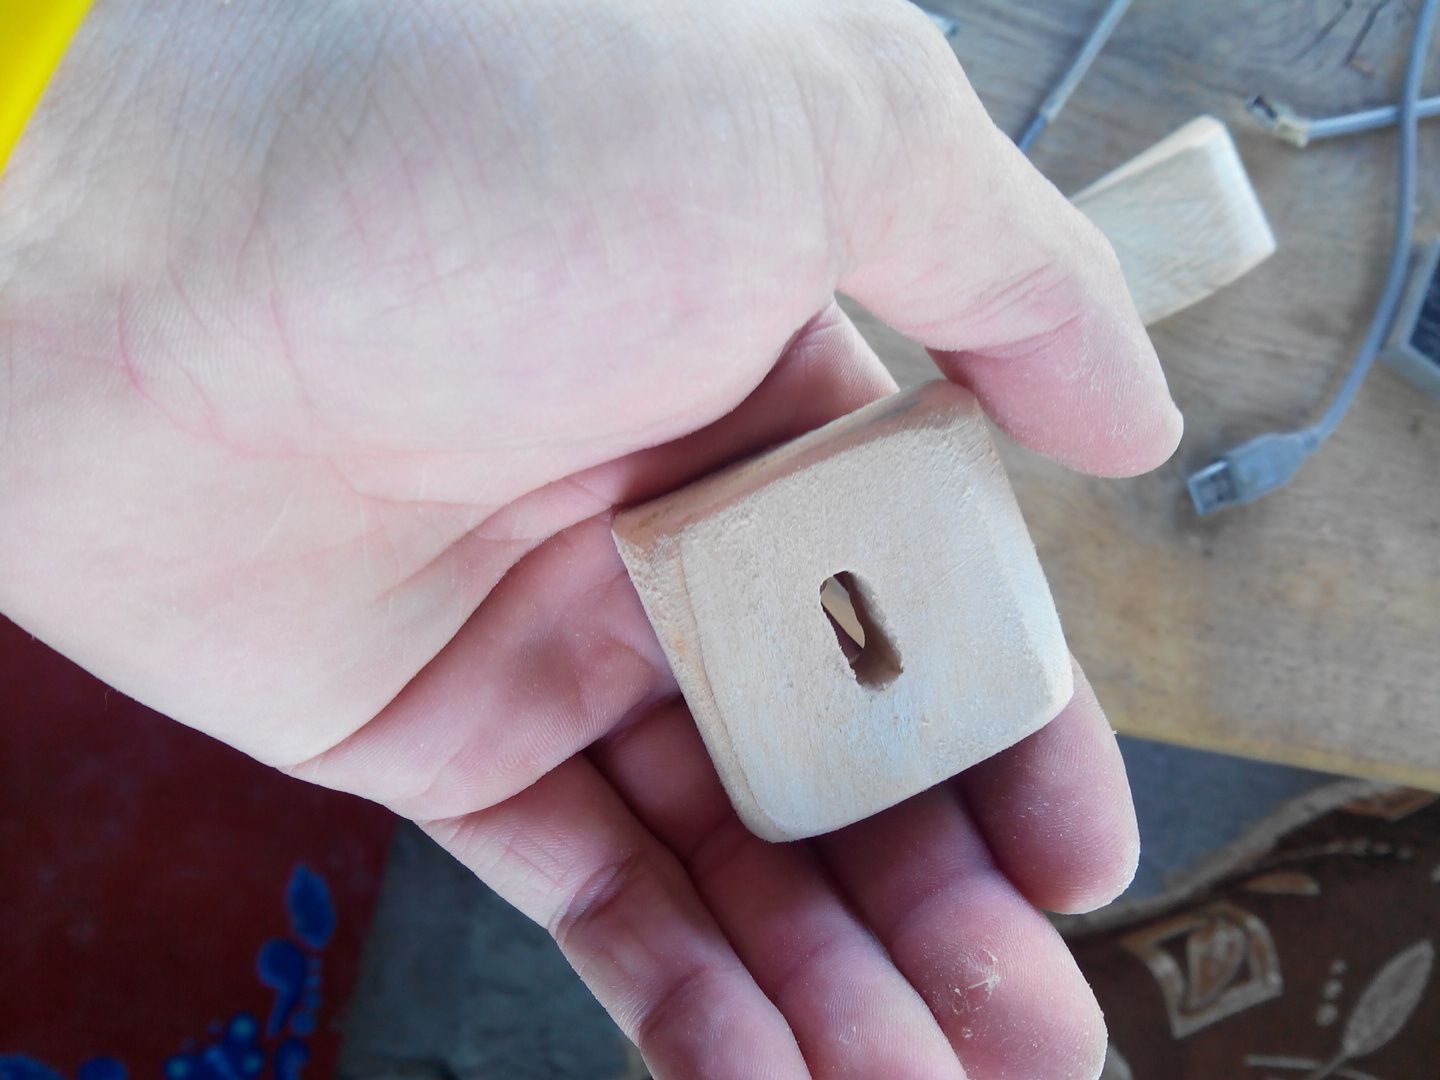
Since our stand consists of two parts, then we need to grind both.

Armed with coarse-grained sandpaper, we proceed to grinding, sharp edges are better to process more than the walls.
In the same way, we grind the part of the stand where there will be a place for our USB input.
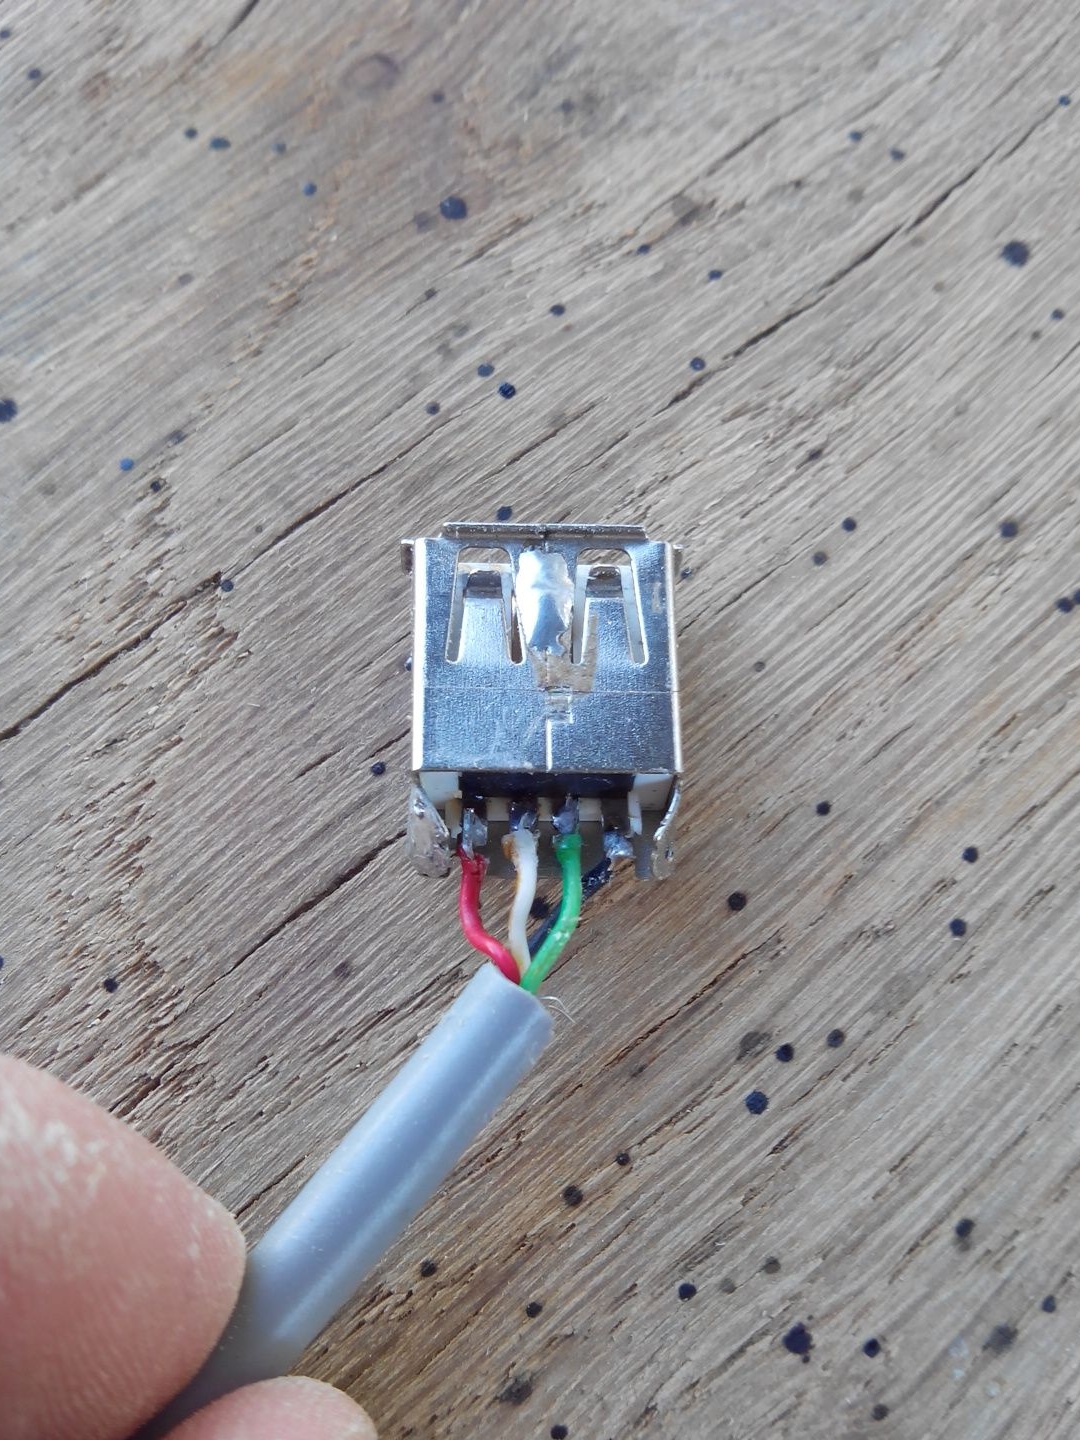
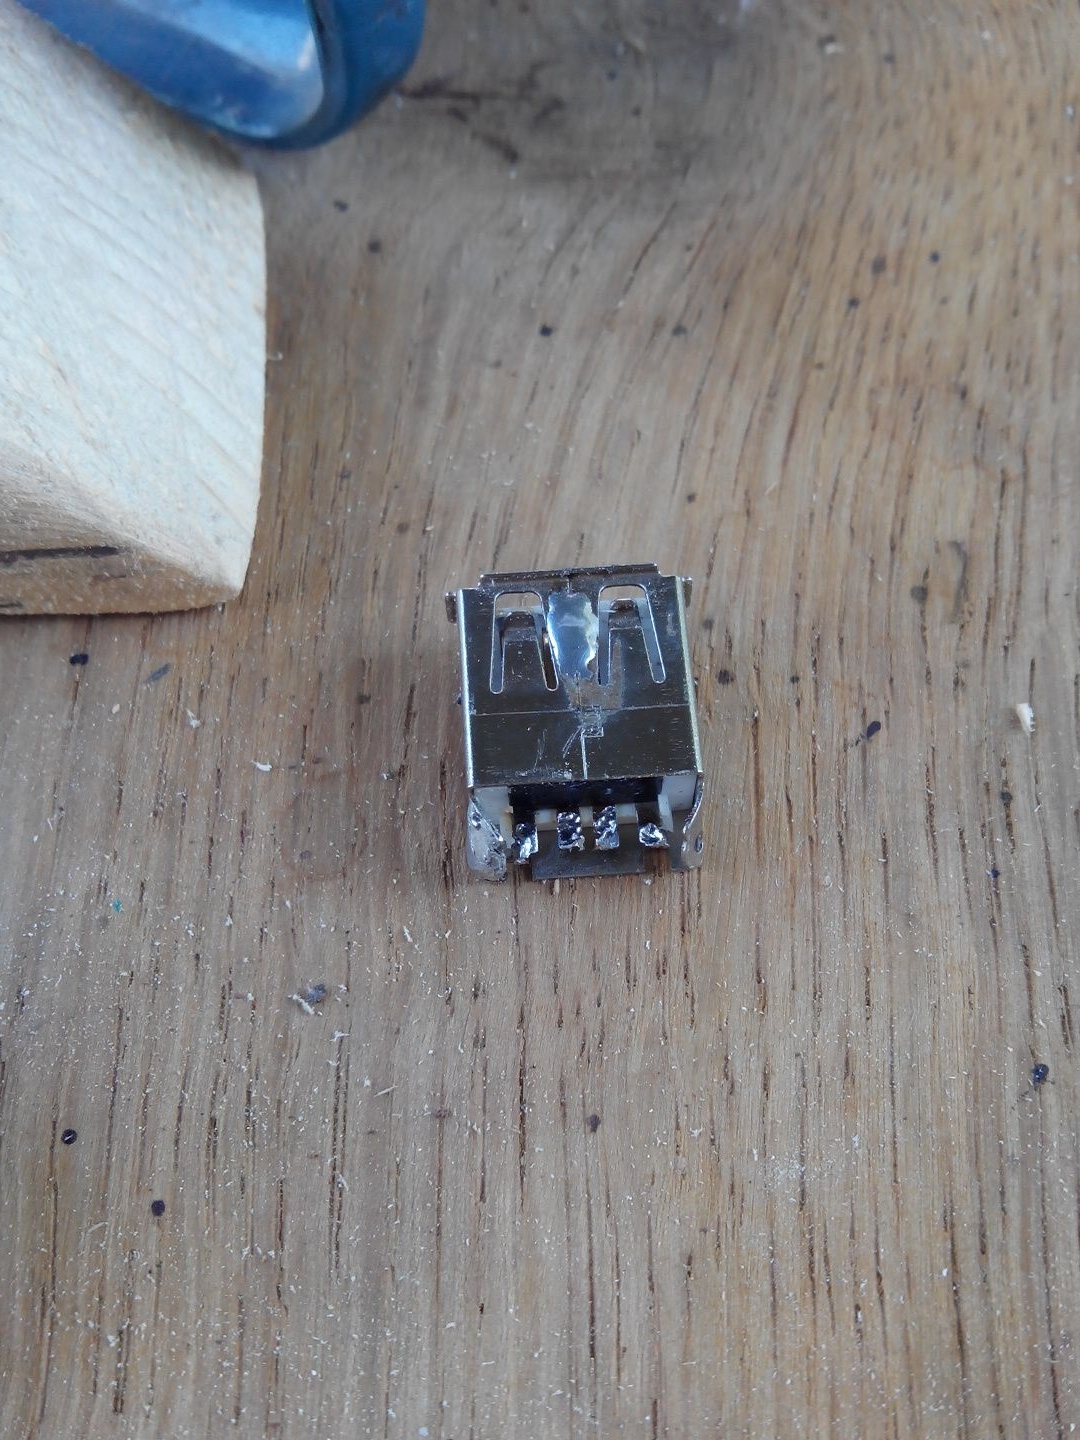
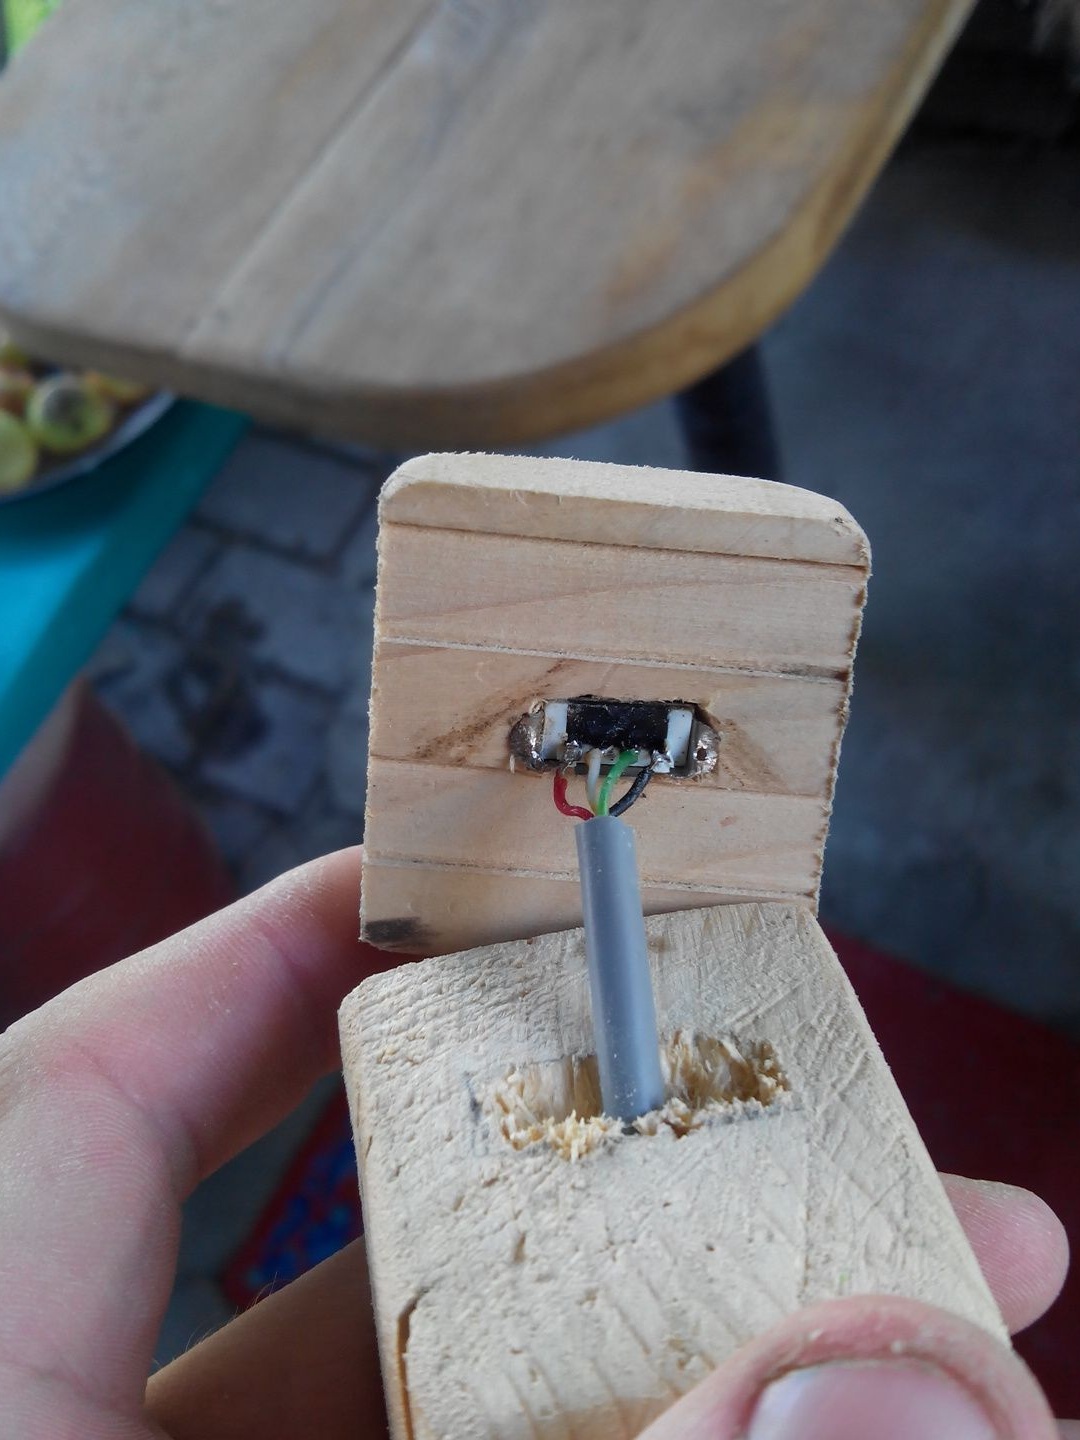
To install USB, you need to unsolder it from the wire, and in order not to forget and not mix up the wires, you can use my method, before I unsolder the wires, I photographed them.
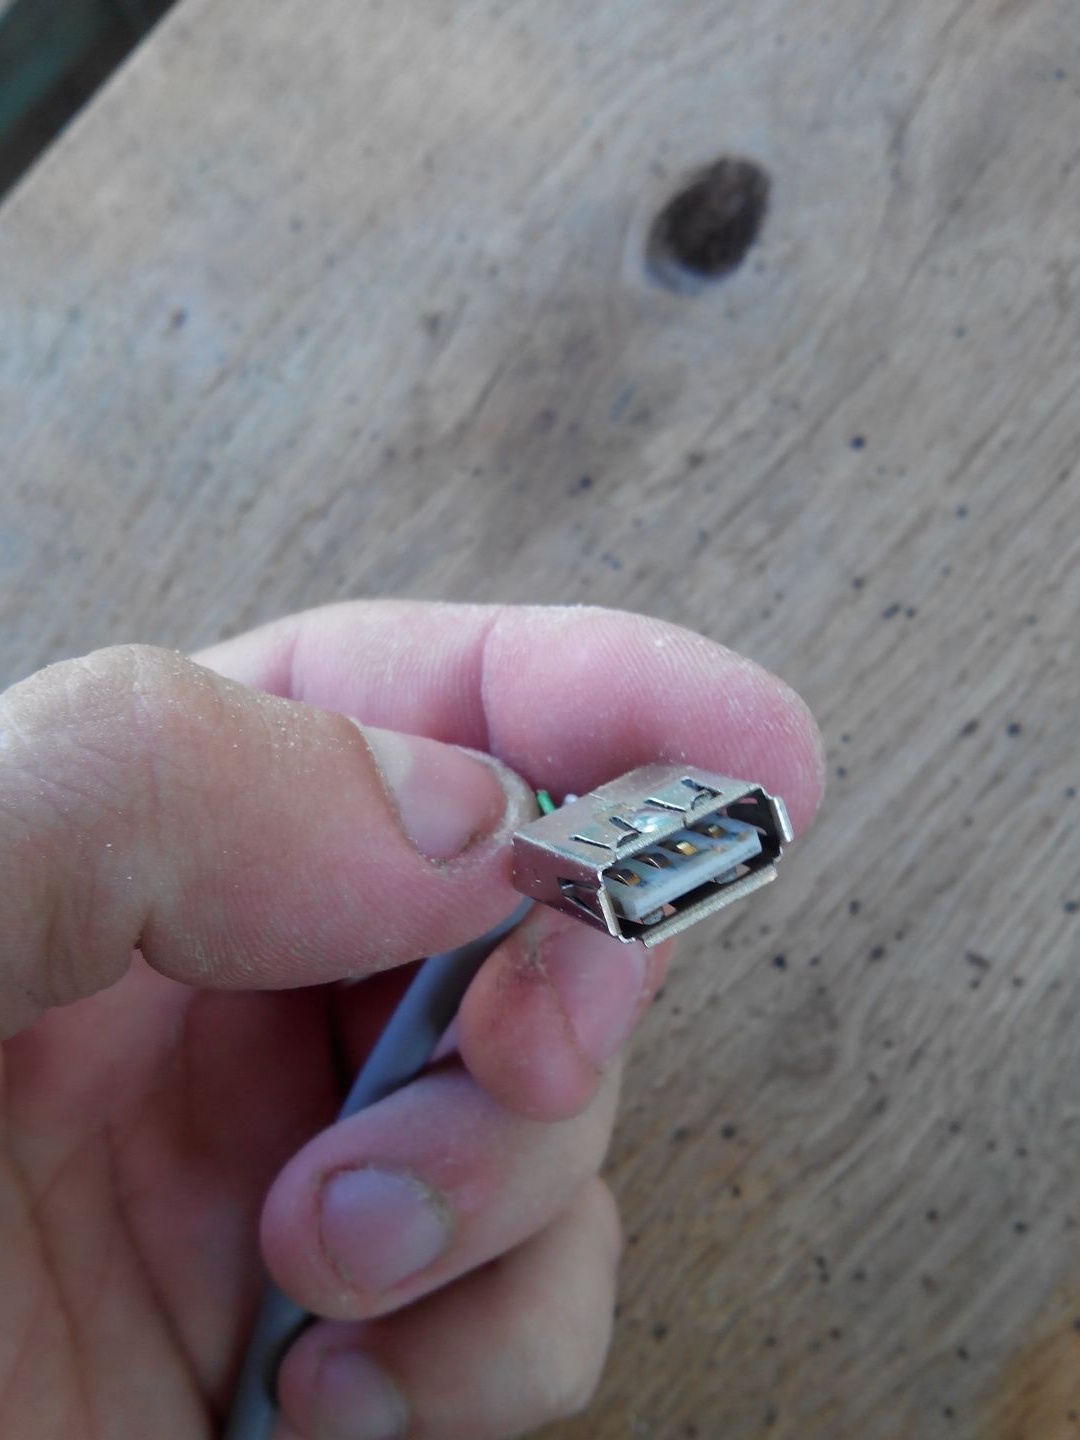
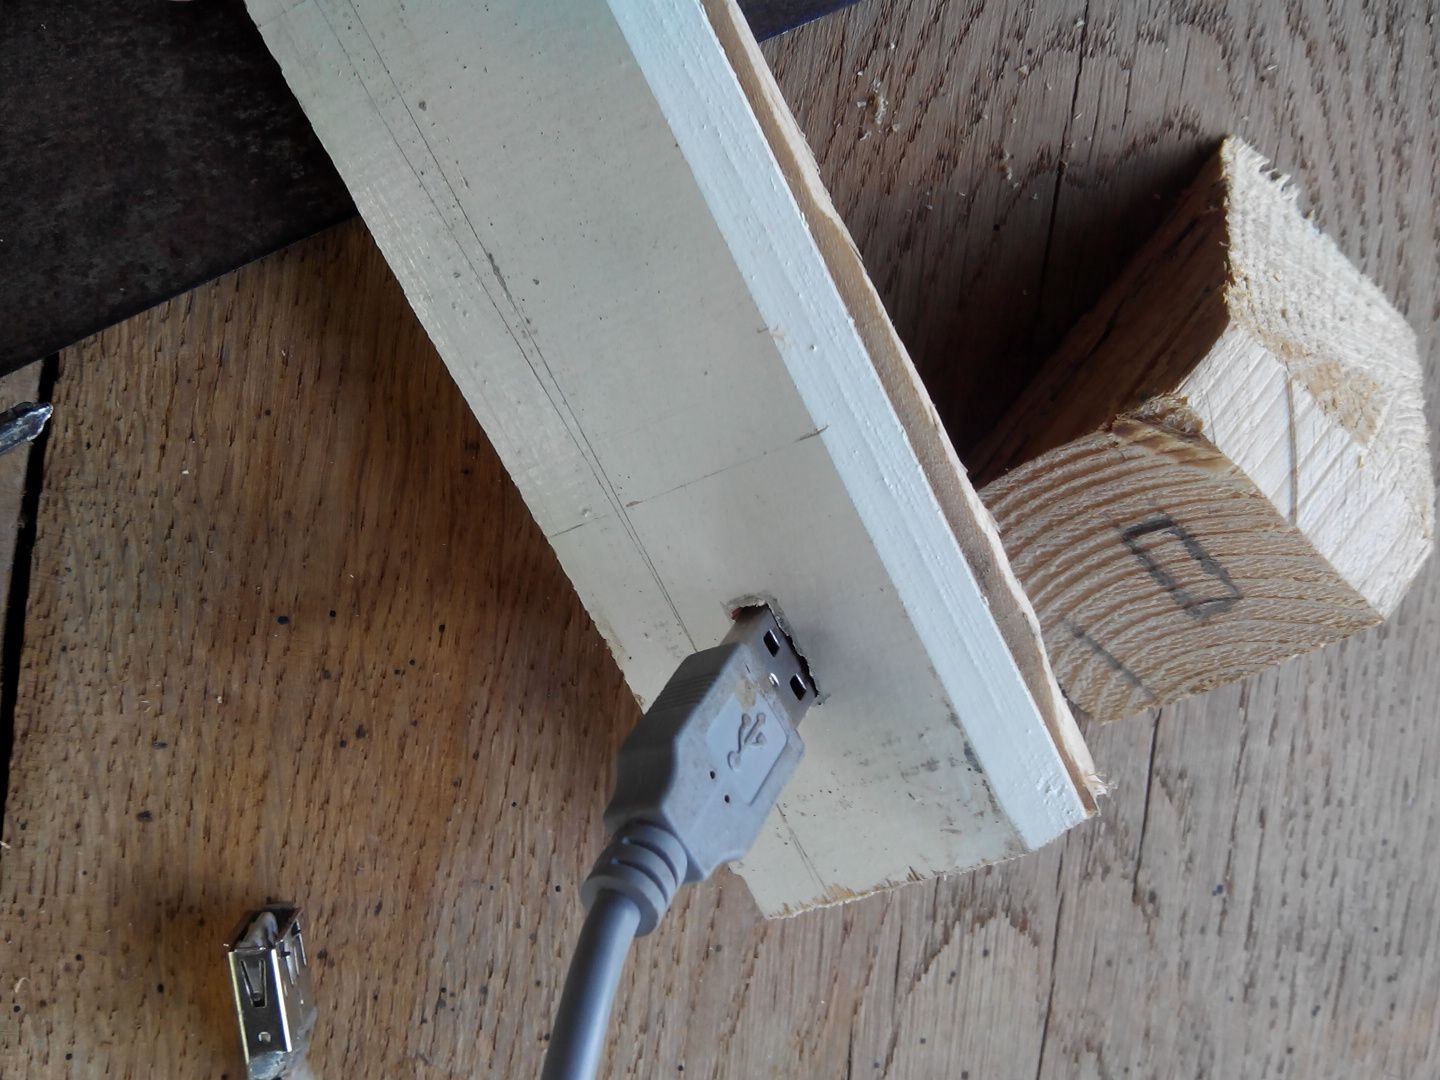
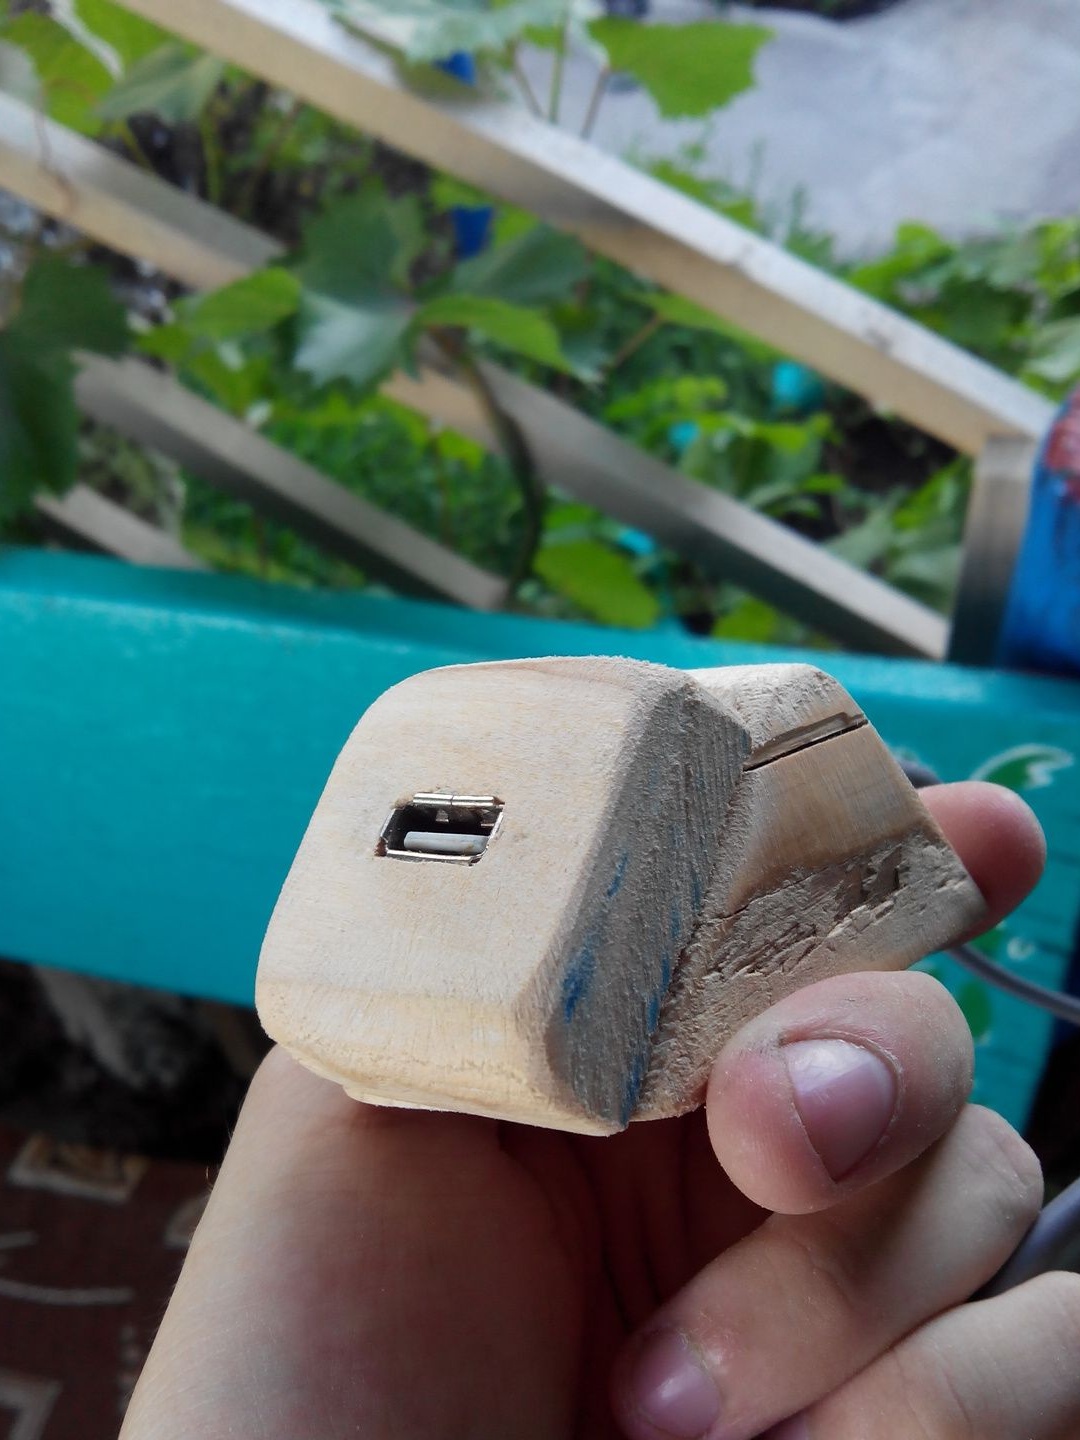
We place our entrance to the installation site.
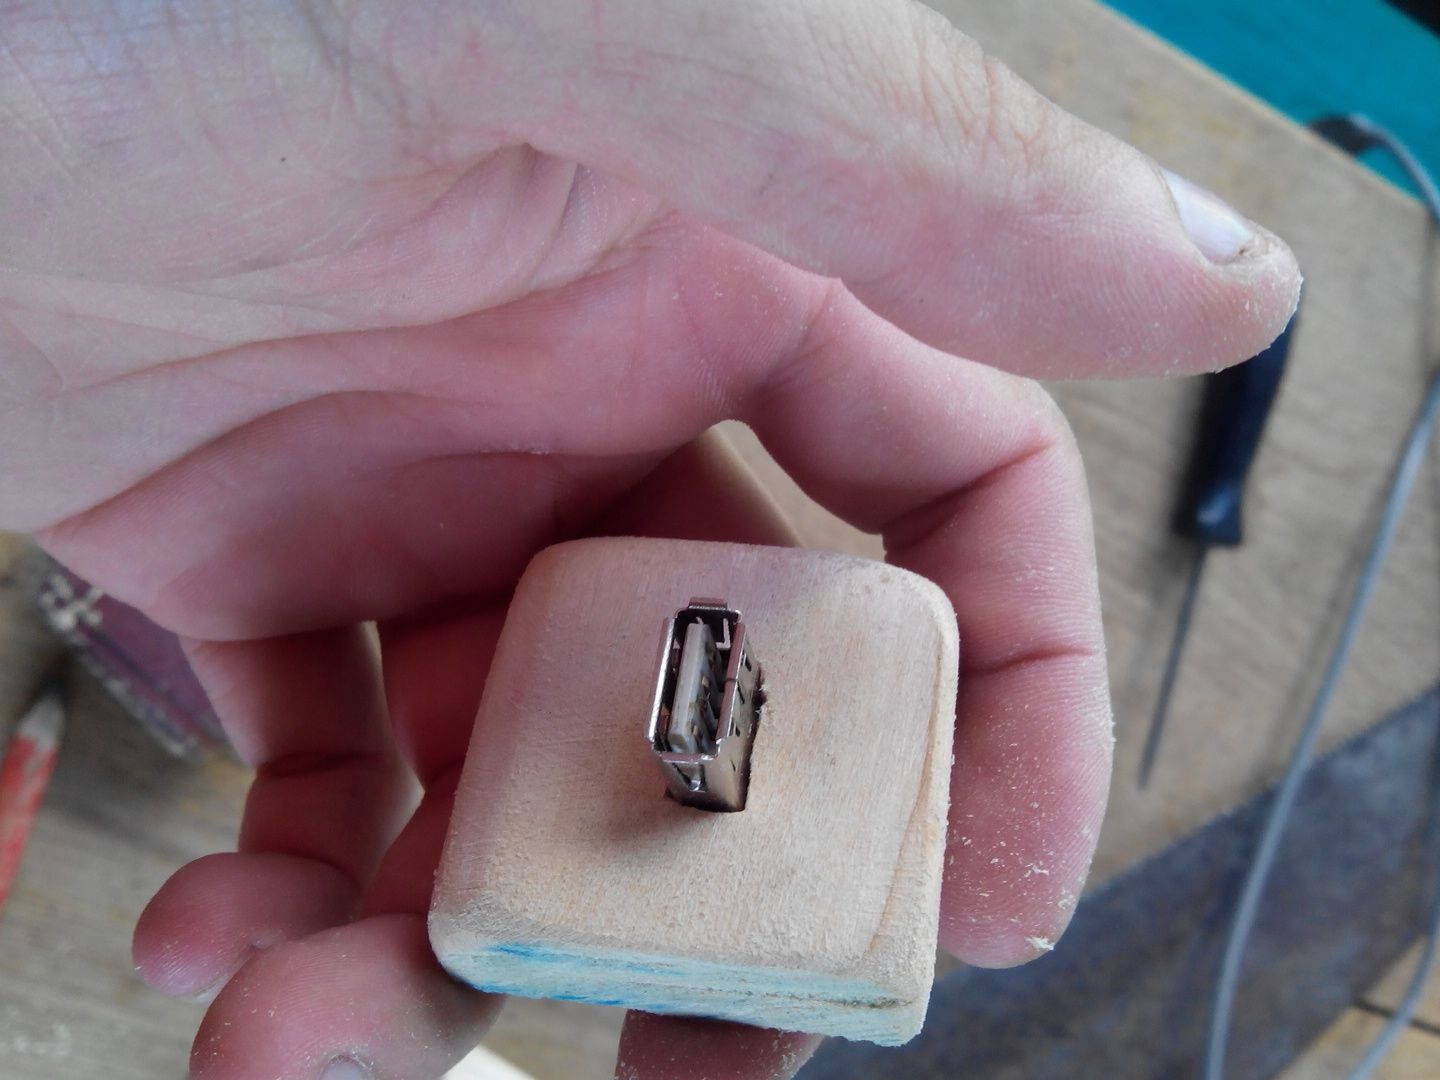
We tap a little, everything, the village is tight.
We bend the edges behind so that when pulling out flash drives and any other devices, our port does not get pulled out of a piece of wood.

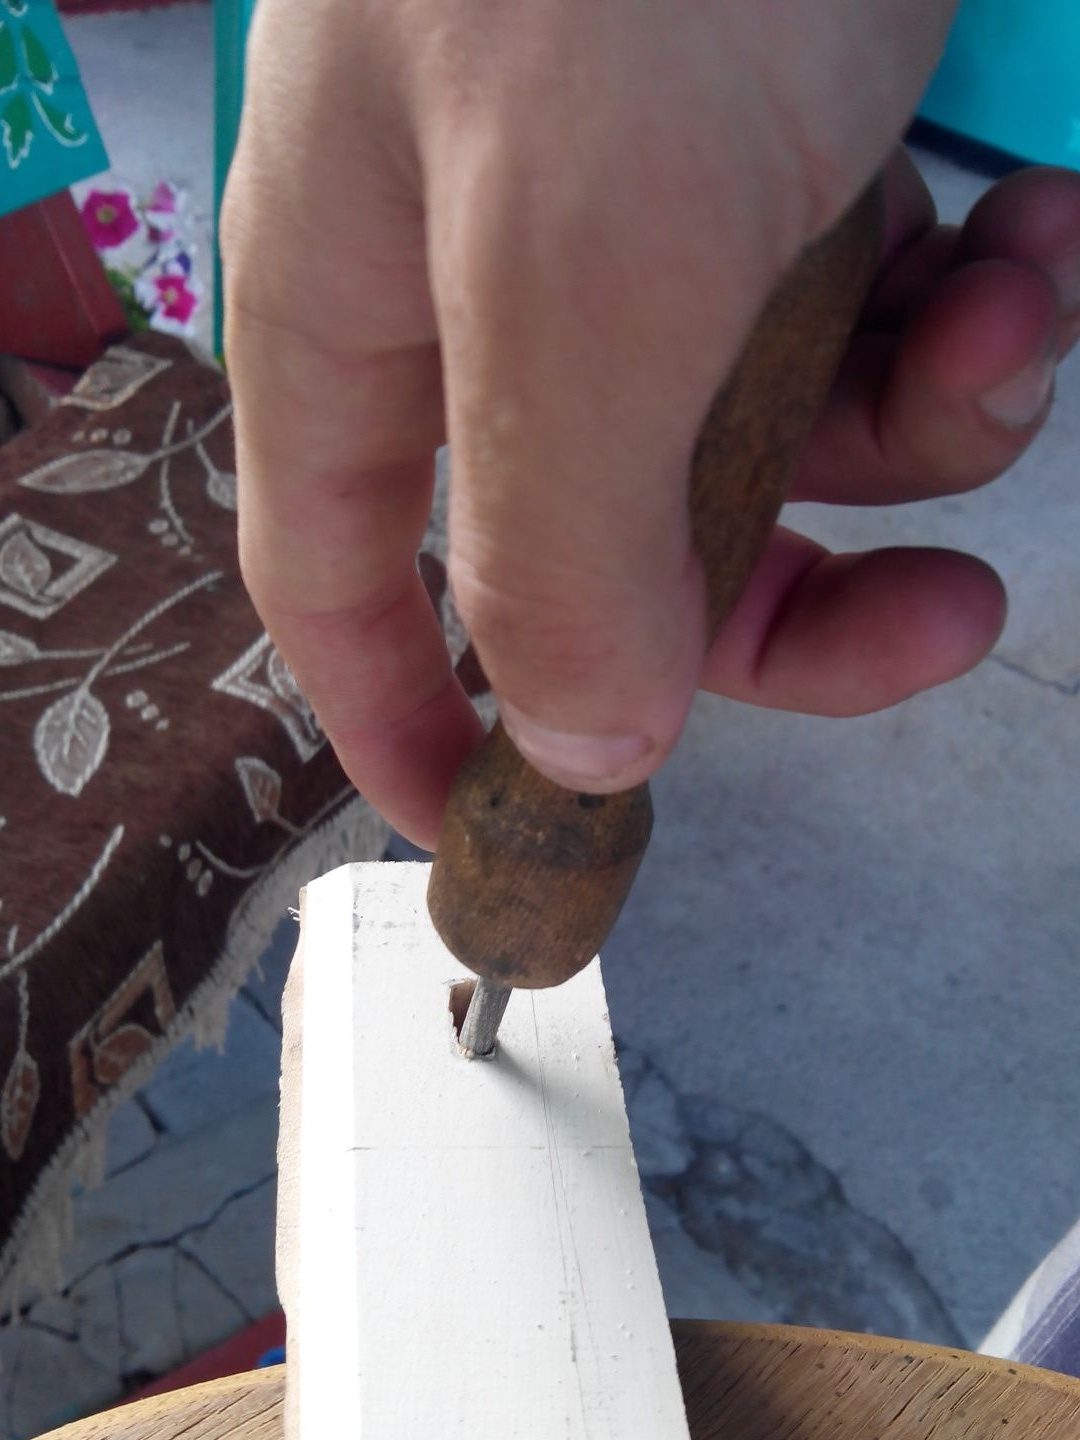
Under the wire, drill a hole in the second part of the stand.
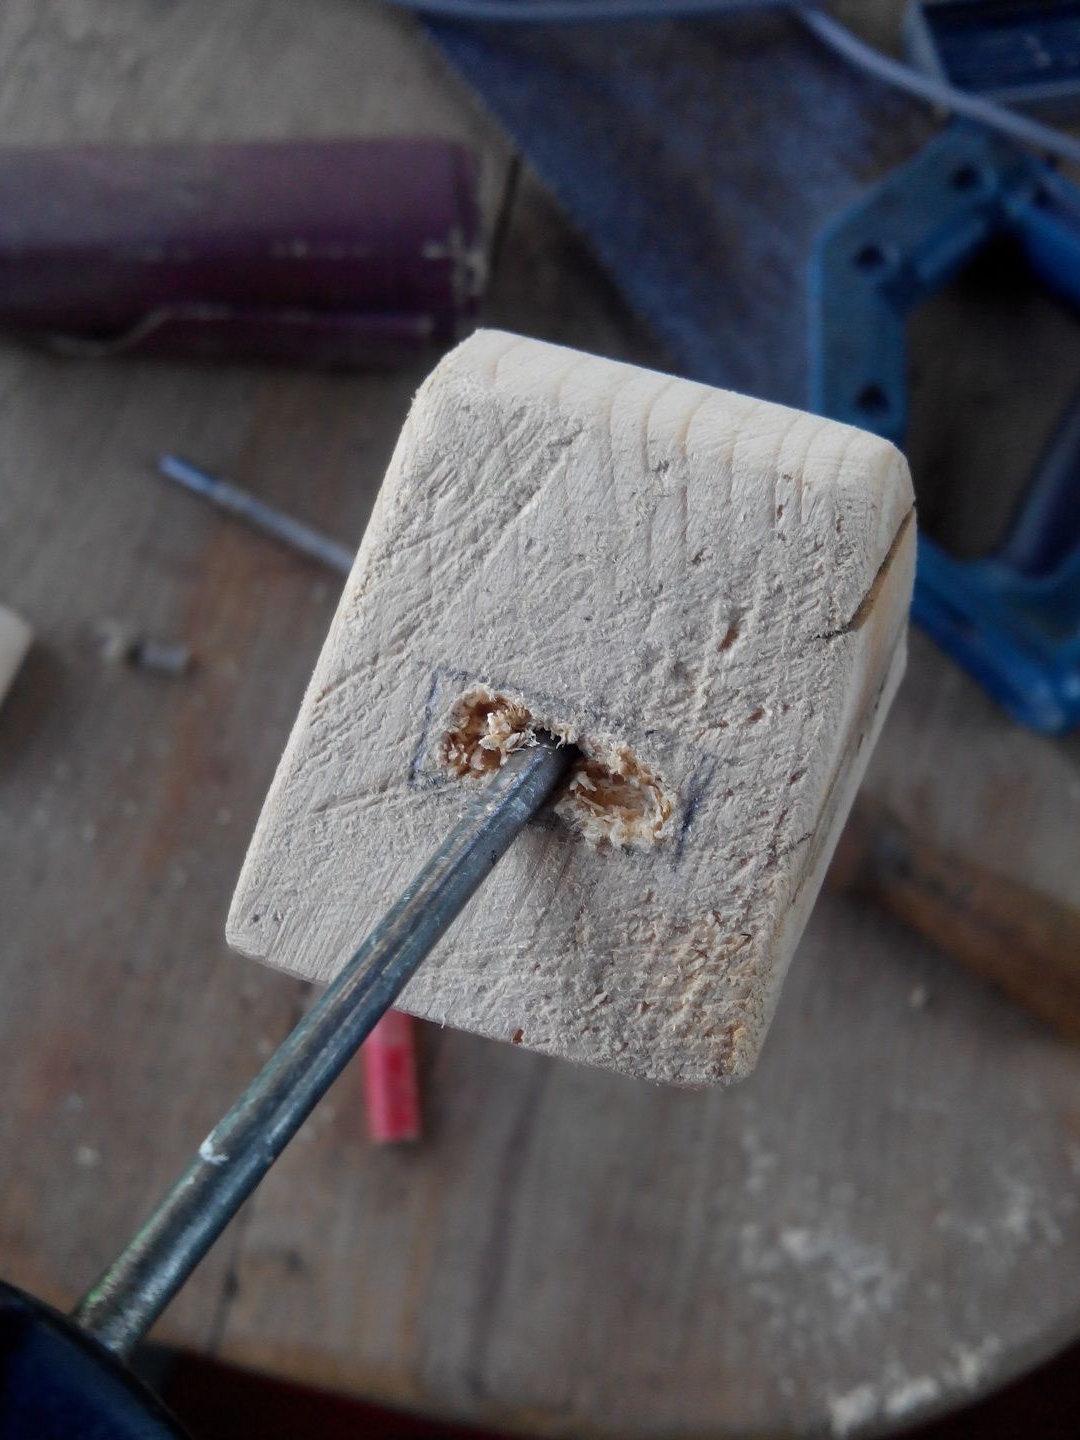
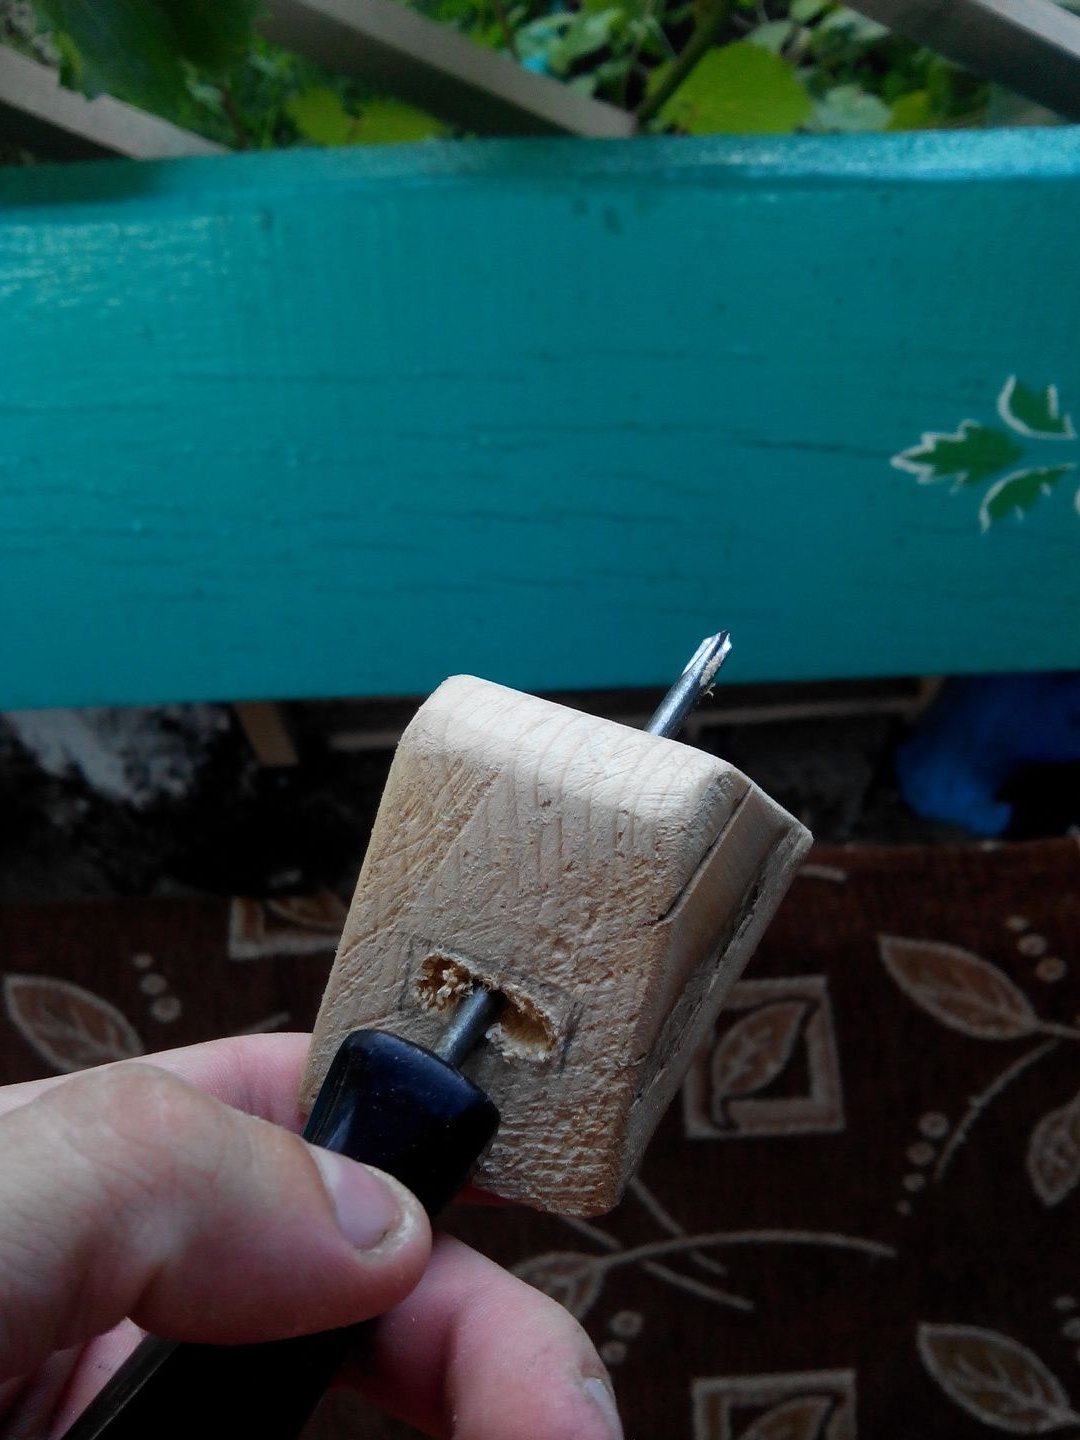
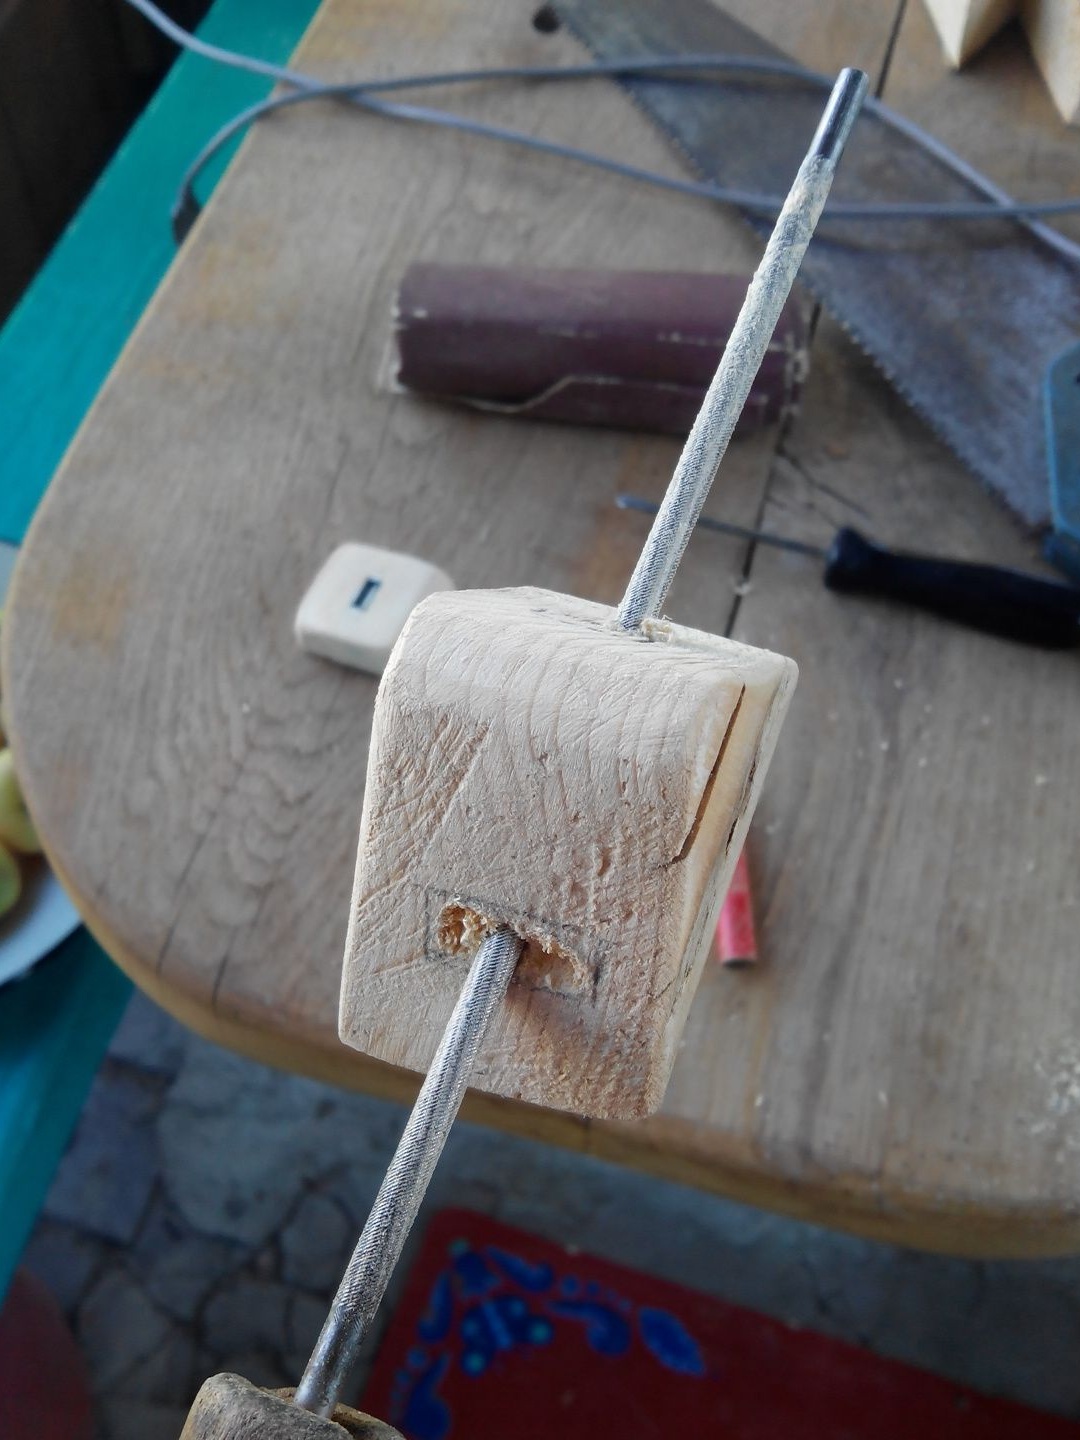
Since I did not find a drill, drilling was carried out with a curly screwdriver.
Since I already have the skill of drilling with a screwdriver and other objects, I managed to drill 4 cm very quickly.
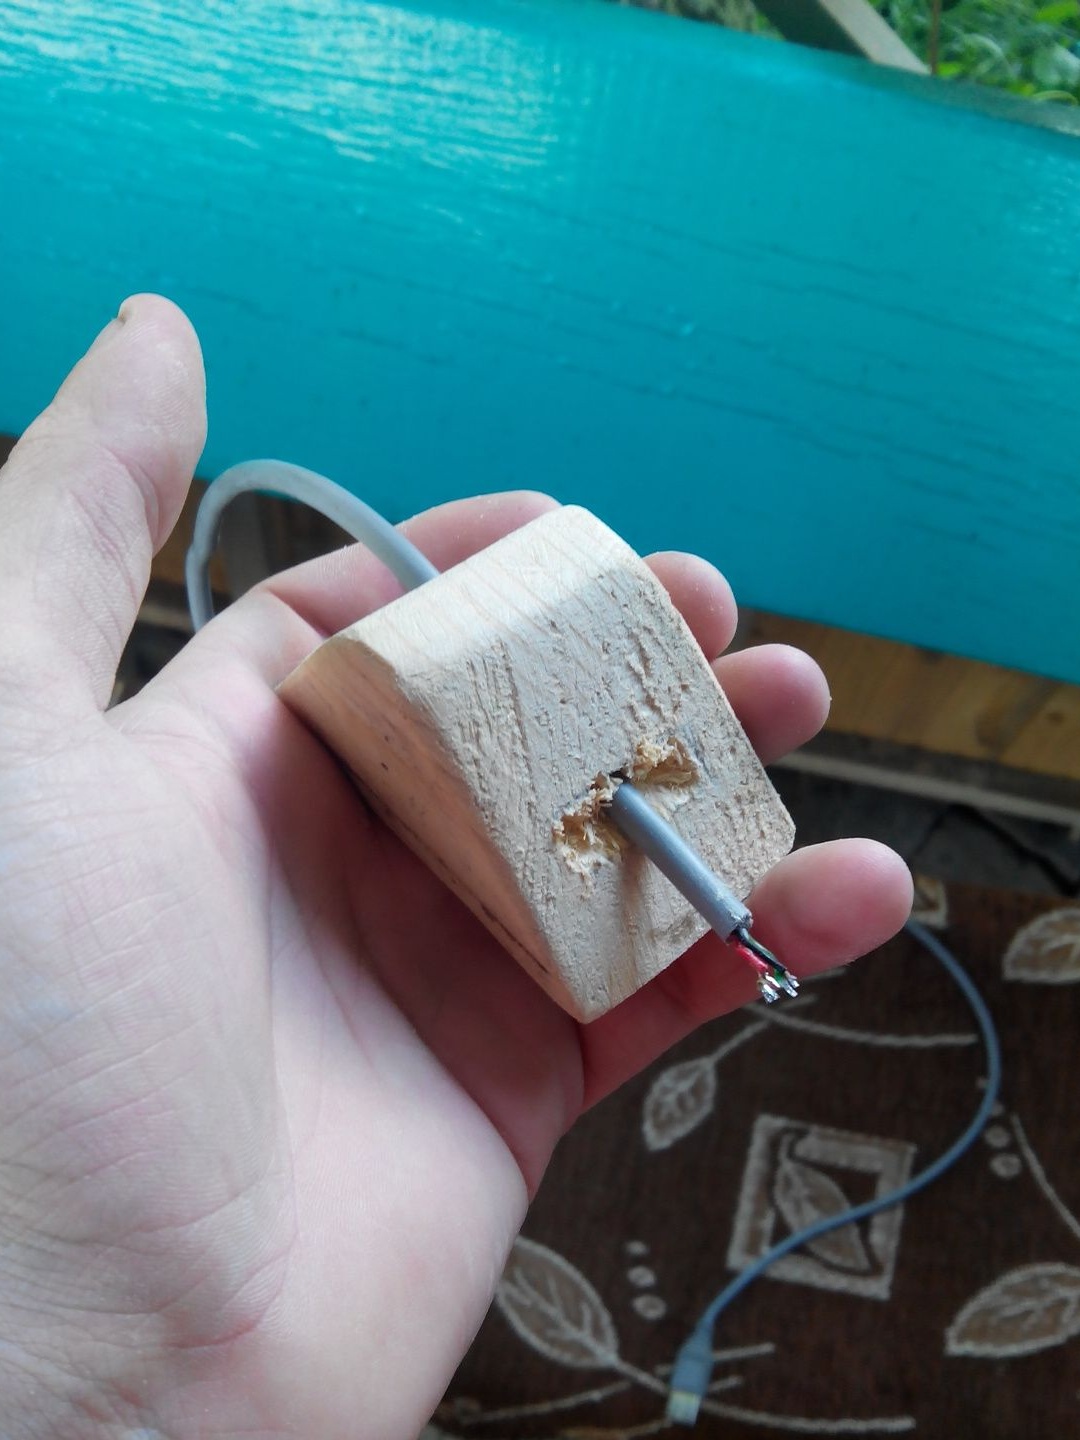
The diameter of the screwdriver did not fit a bit, and the extension cord did not fit, I had to drive it all away with the help of a file, after these manipulations the cable climbed like clockwork.
After threading the cable into the workpiece, you need to solder its wiring to USB.
After that, we slowly pull up the extension cord and when the part where the port is located does not touch the other, we stop pulling the wire.
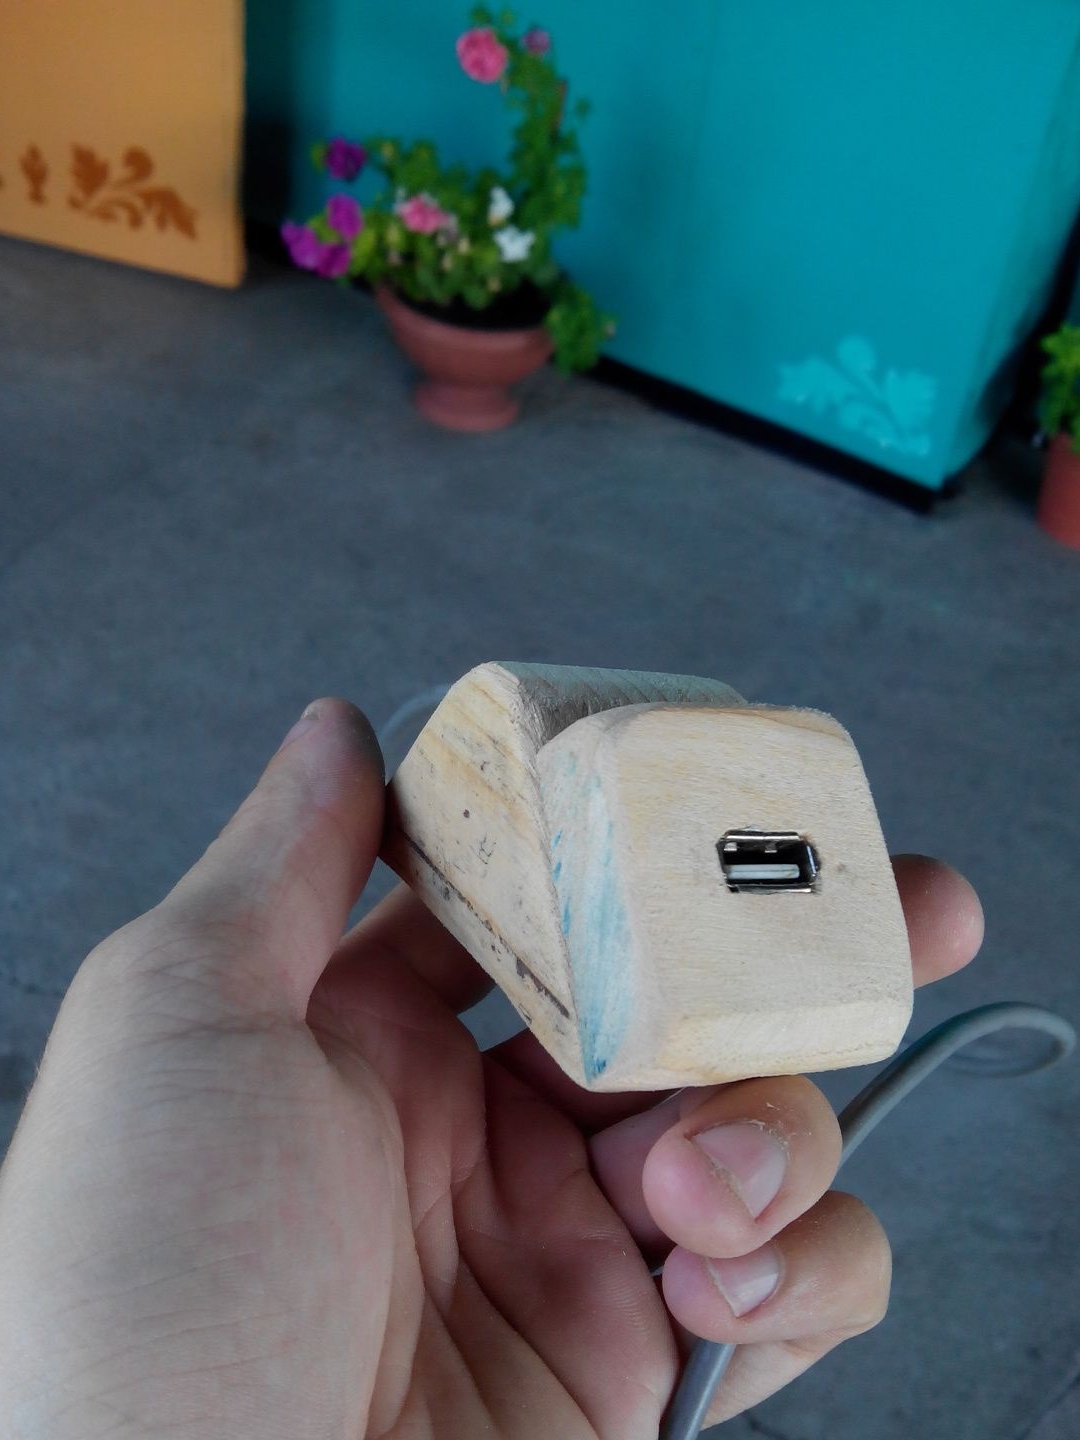
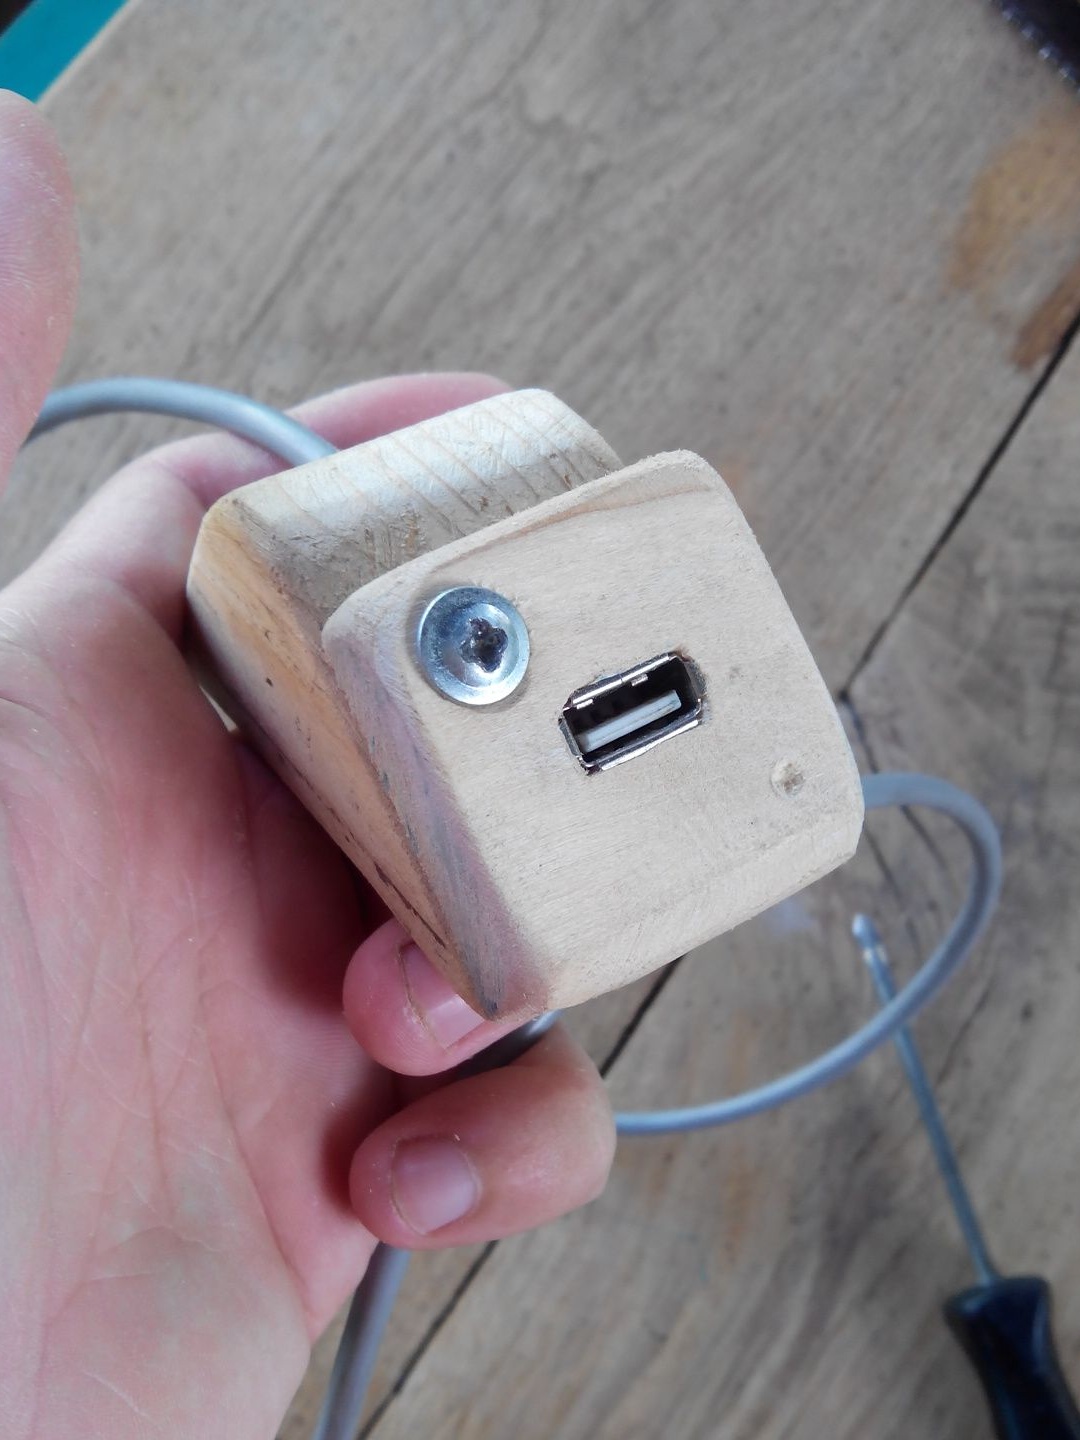
Yes, it seems that the view already exists, but everything needs to be fixed. I did not resort to a large number of screws and decided to get by with two. I arranged them diagonally, so it seemed to me it would look prettier.
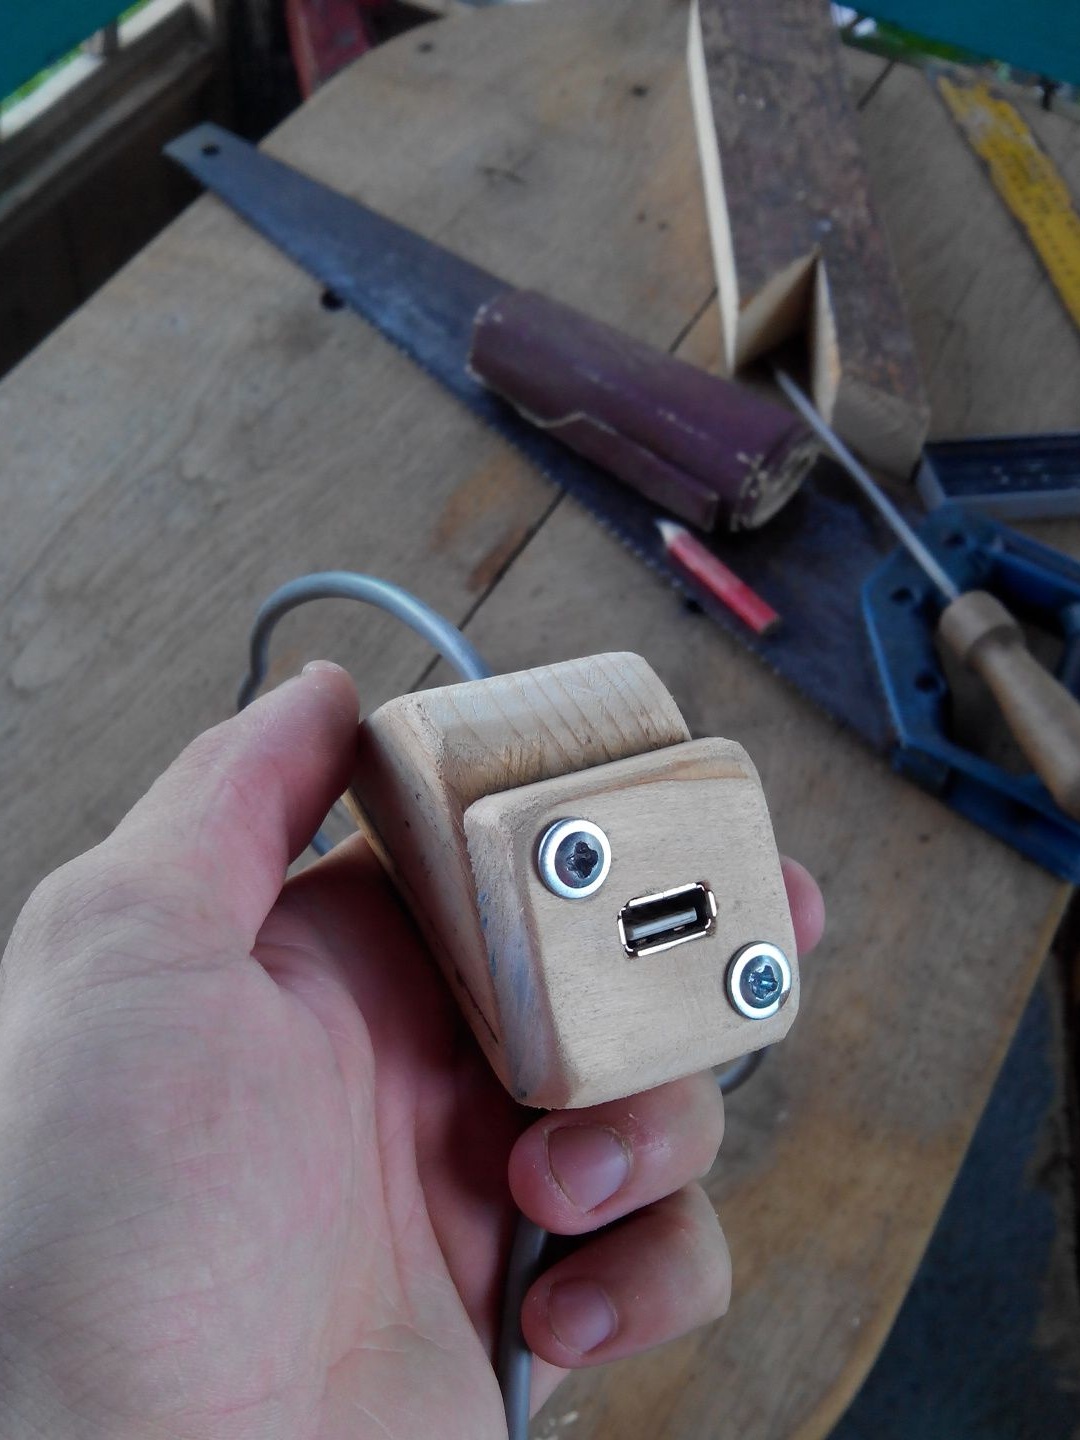
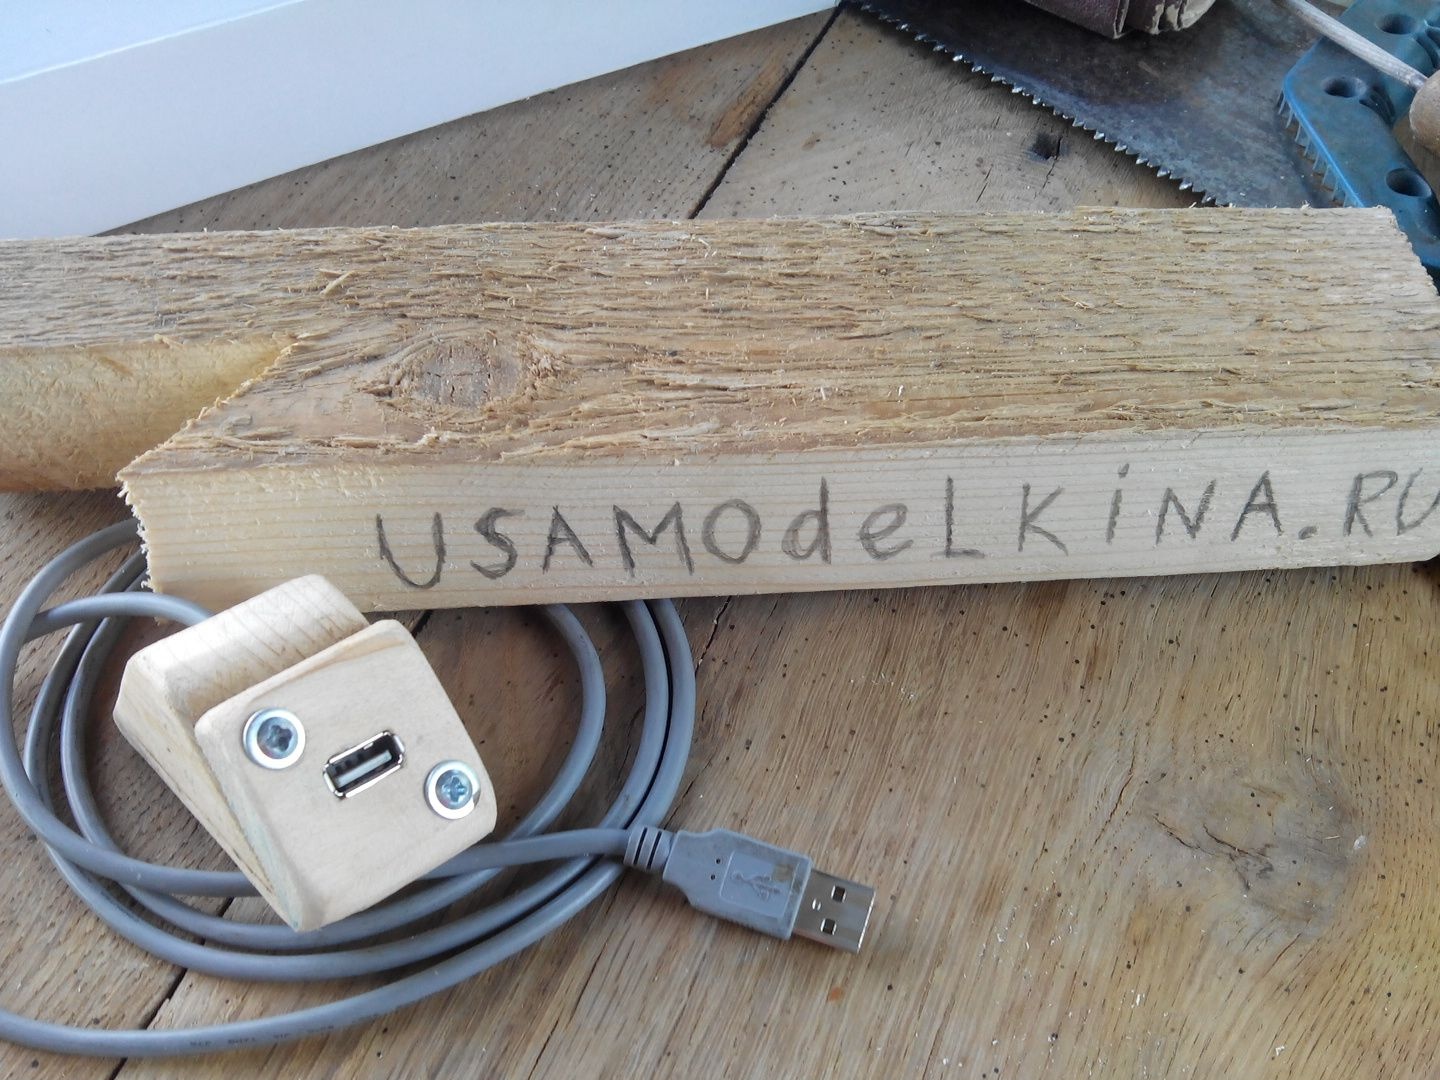
On this, the whole process of assembling the USB extension cable on the stand is ready, now there will be no need to stretch to the ports of your PC or fuss with the system case in overcoming the path to the back of the PC, as in my case.
With an extension cord on the stand, it will be more convenient to work with all devices, and you can place it on a computer table.
All successful homemade and more adaptations and ideas to make life easier).