
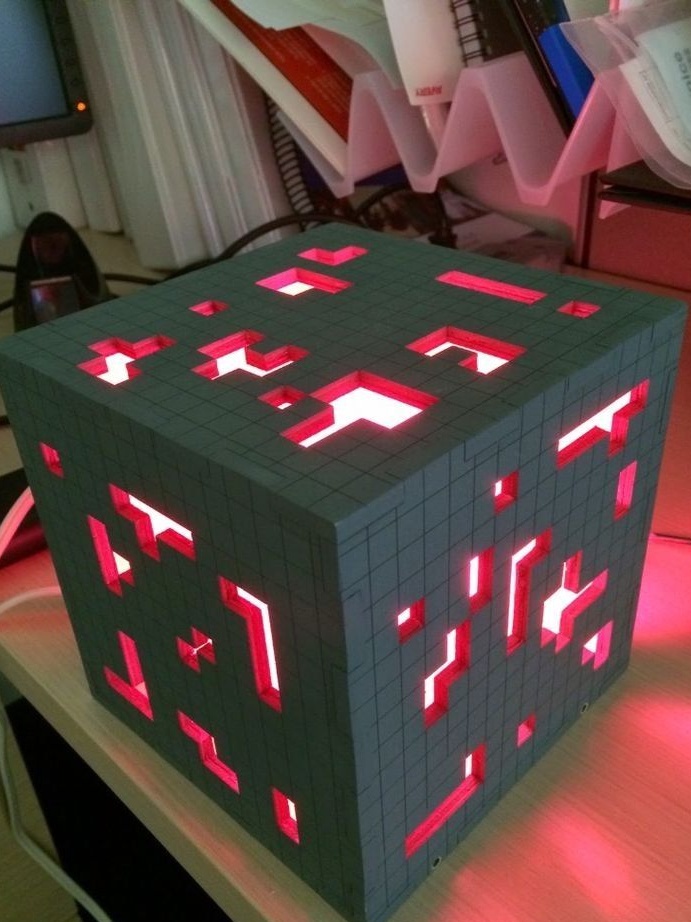
Such a fake can be presented to people who are fond of computer games, children, or to make for themselves. It is a little complicated to manufacture, but it has a very aesthetic appearance and will serve as a decoration for most interiors.
Materials and tools:
- sheet of plywood;
- Layout;
- CNC laser machine;
- Hammer;
- Glue on wood;
- aerosol glue;
- Electrical part (cartridge, wire, switch, plug and bulb);
- Self-tapping screws, screws;
- Transparent plastic sheet, red;
- Rubber feet.
Step 1. Layout.
First you need a layout, the author presented one of the possible materials. Ideally, it would be nice to cut the box using a laser CNC machine (there are companies that provide such services). To do this, the layout is redrawn into one of the programs adapted for the machine, for example, “Compass”. The parts cut on the machine come out of excellent quality and have a texture, in this case in the form of pixels.
If it is not possible to cut with a laser, you can cut it manually or order a model from a master for working with wood.
Here is the layout itself:
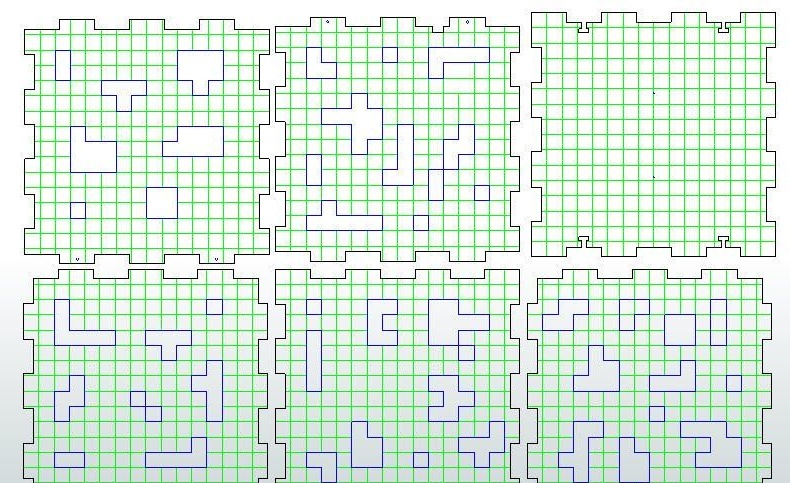
Each of the six parts has a size of 16x16 centimeters.
After the layout is ready, you need to carefully grind all the parts.

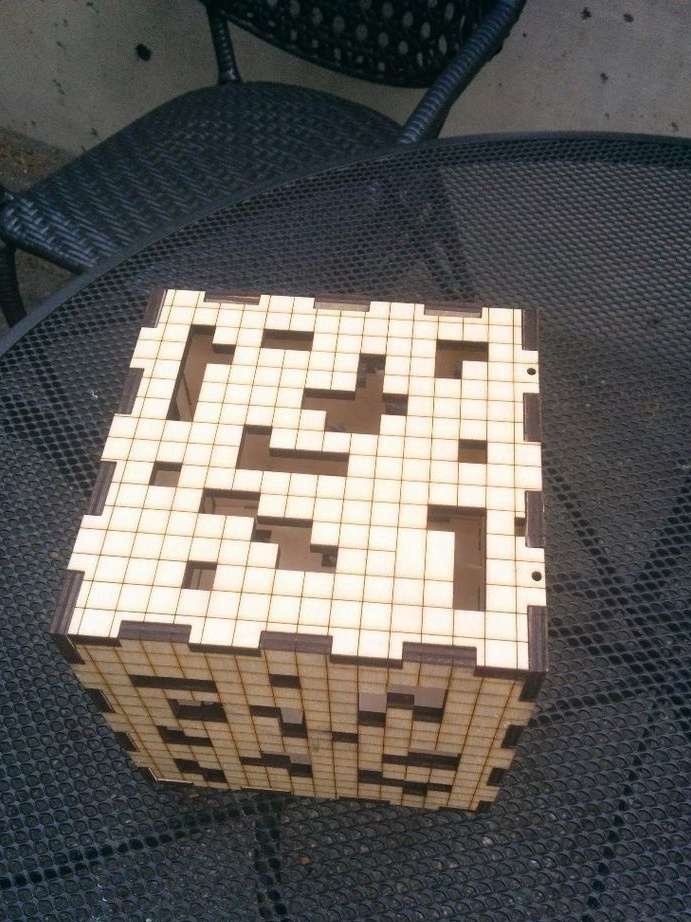
Step 2. Assembly.
Next, you need to collect all the parts in place and glue the joints with glue on the wood. Before gluing, do a test assembly and make sure that all parts fit well together.
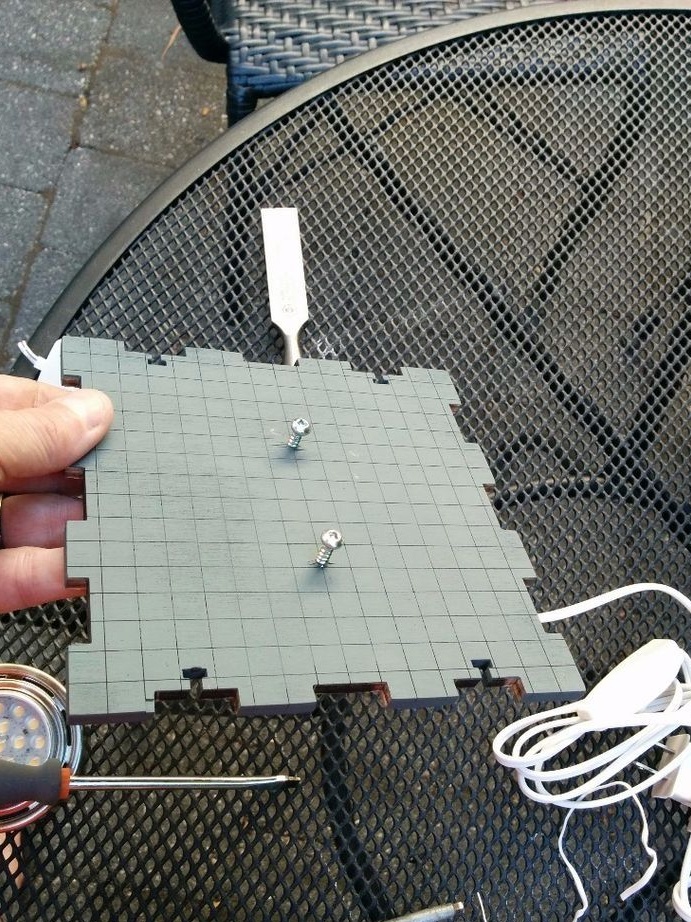
Only the side and the upper part will be glued to each other, the lower one will be attached to the body on self-tapping screws. This is done so that subsequently it is possible to replace a burned out bulb.
After the glue has dried, wipe the strength of the joints with light loads. If it sticks poorly, it is better to identify this at this stage.
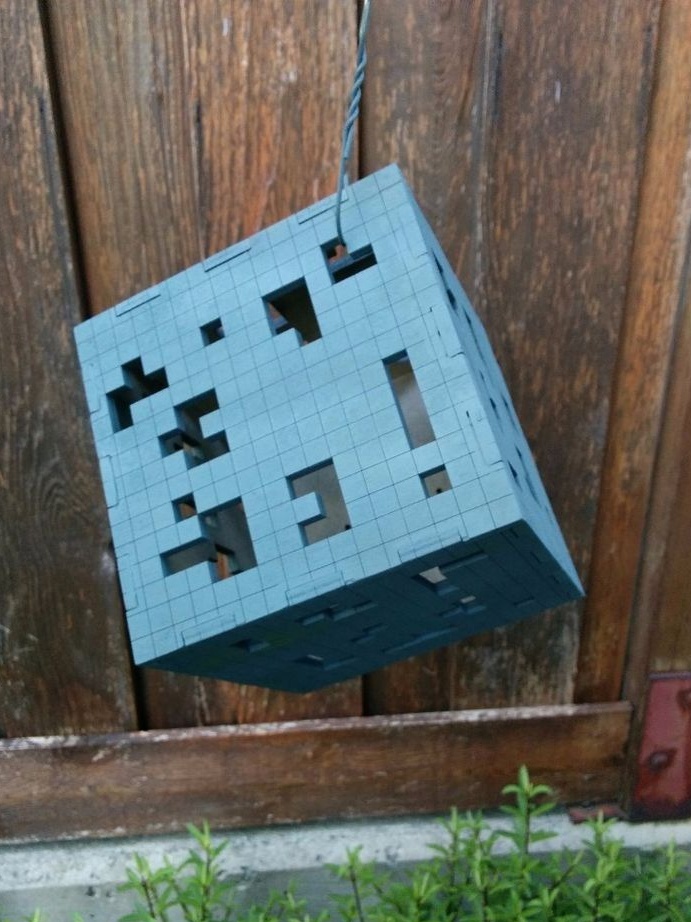
Step 3. Painting.
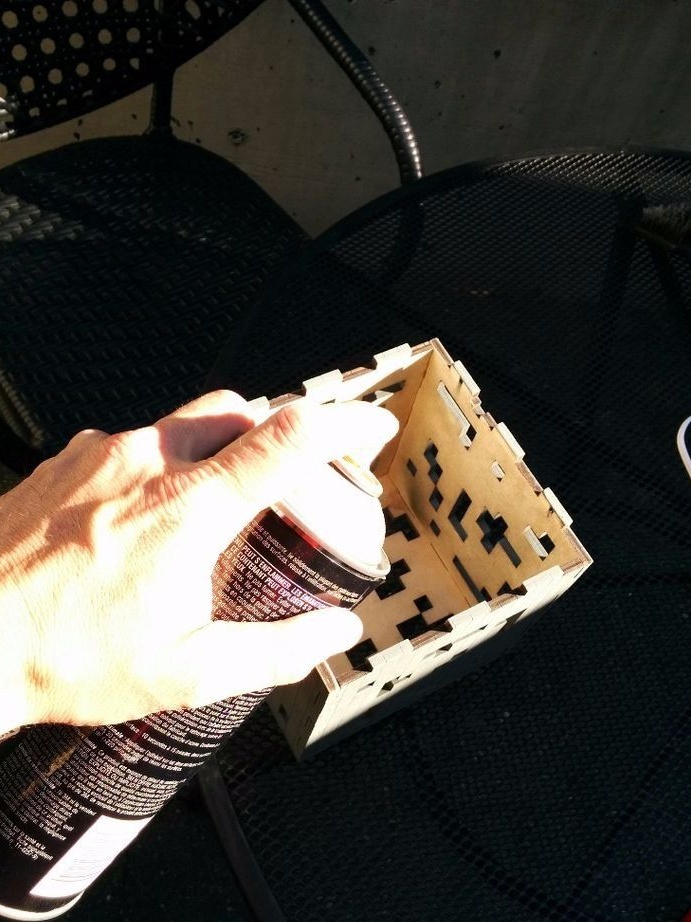
Before painting, you need to hang out the future night lamp on a thin wire. You can do this on the street (if there is no wind) or in a ventilated room. Painting is done from a spray can, gray-green color. Individual pixels can be grayed out.
Step 4. The electrical part.
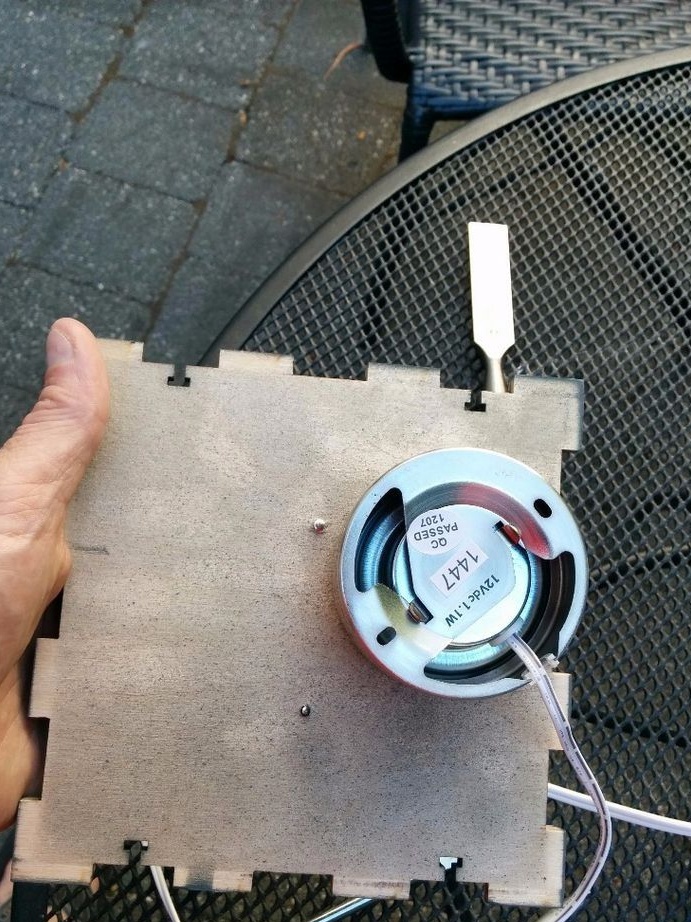
The bulb holder will be attached to the bottom of the lamp. The wire to the cartridge is passed through a hole specially prepared for it.
Since the lamp does not come out ventilated, it is NOT RECOMMENDED to use incandescent lamps, due to their large heat dissipation. It is better to use a housekeeper or a 220 volt LED lamp.
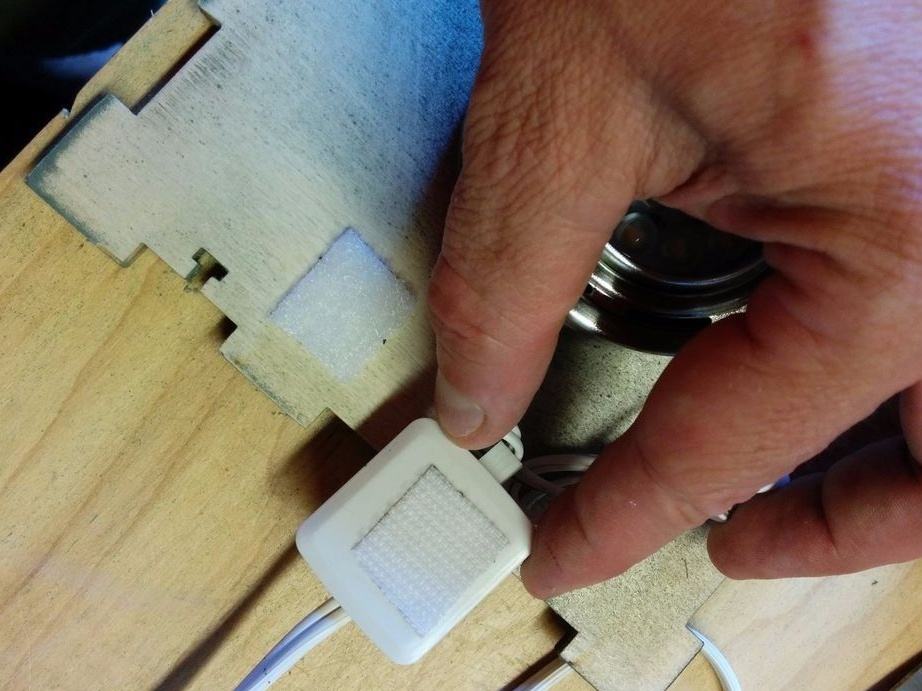
So that the wire does not accidentally break loose or does not tear off the cartridge from the mounts (if it is accidentally hooked) it can be additionally fixed with plastic and double adhesive tape. Now he is not going anywhere.
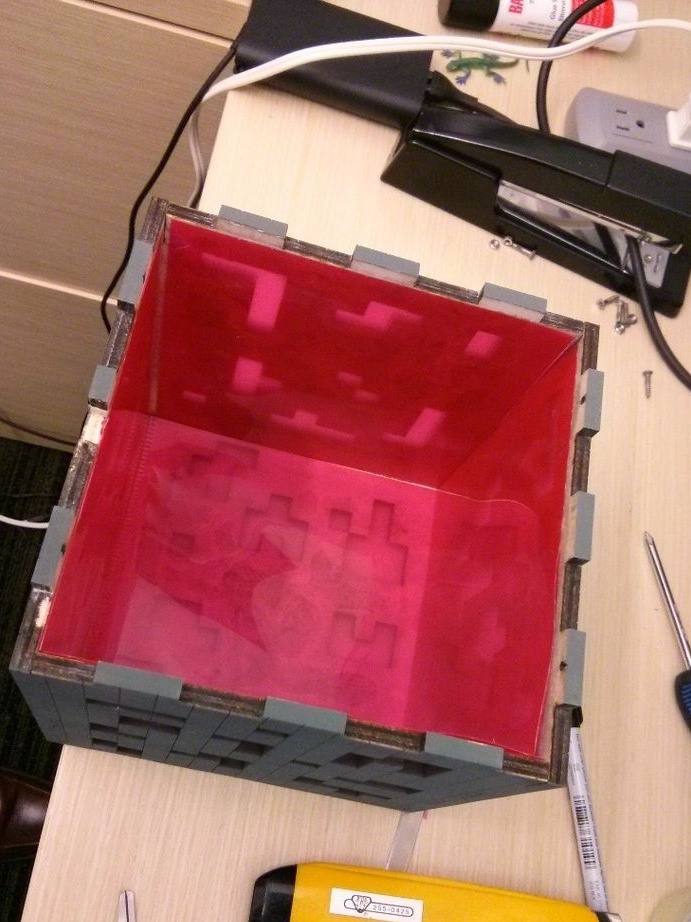
Step 5. Sizing the inside.
It is necessary to measure the dimensions of the inner walls and cut 5 square pieces from them from red plastic. In this case, their sizes turned out to be 14x14 centimeters. They will be glued inside on the side and top walls. To do this, you can use glue in the form of a spray. It is advisable to glue all parts evenly the first time, otherwise when gluing, you can stain plastic.
Step 6. The final touches.
It remains to screw in the bulb bulb and secure the bottom cover into place with screws.
On it, you also need to glue 4 rubber legs so that the nightlight is more stable and not scratched.

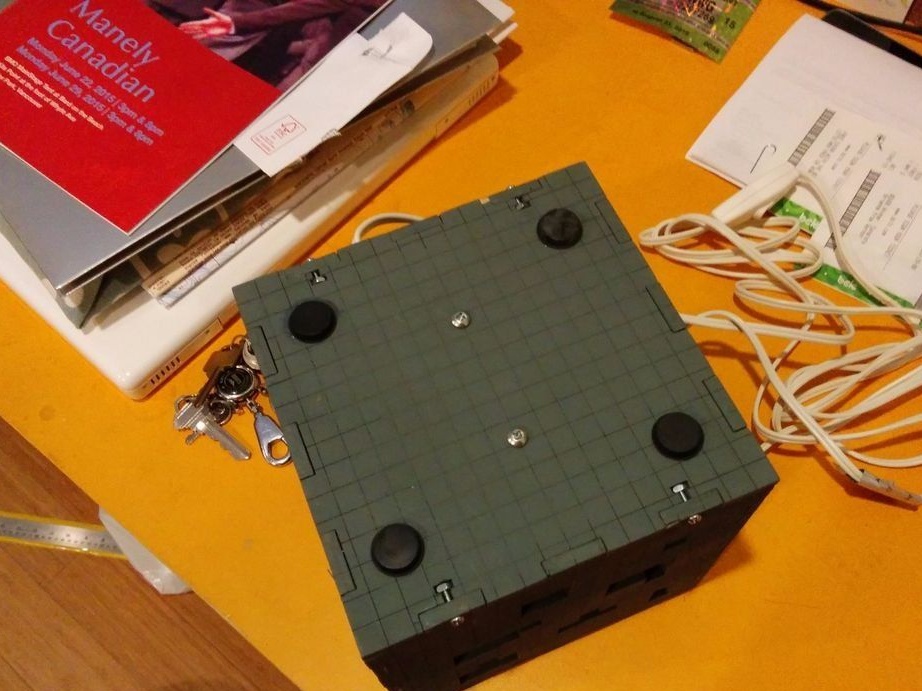
Plug in, and voila, the night light is ready!