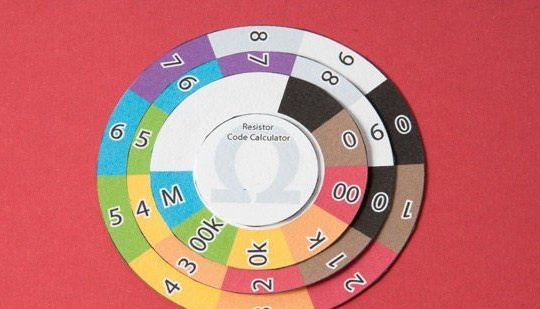
Most resistors are color coded to indicate its resistance. The first two strips are the value of the resistor, the third is the prefix to the value, the fourth shows the exact tolerance of the resistance. To facilitate the interpretation of these values, the author proposes a tricky device that can be manufactured in half an hour.
To build you will need:
- Template (it is presented in the article);
- paper;
- Color printer;
- scissors;
- Glue.
Step 1.
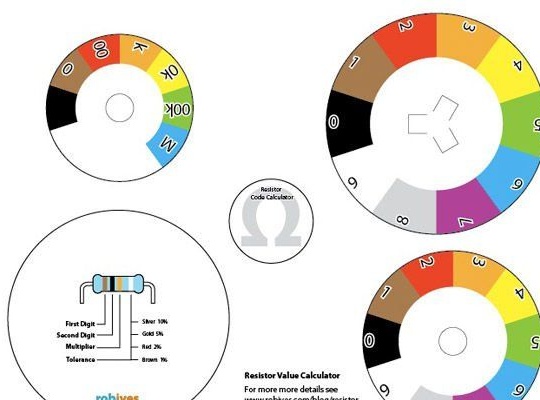
First you need to print a template. Then cut out all the circles with scissors along the contour, and then cut the inner holes.
Step 2
In a large circle, cuts are made along the marking lines. Then these cuts are bent, and two smaller circles are put on them, and the cuts are bent in the opposite direction.

Step 3
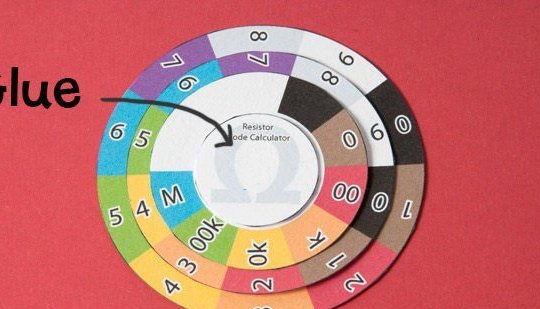
The smallest disk is glued to the bends. Here you need to check that the discs rotate freely.
Step 4
A leaflet with instructions is glued to the back of the largest circle. To give more rigidity to the product, you can also cut a circle of thin cardboard and stick it to the bottom.
Here is the device and you're done:
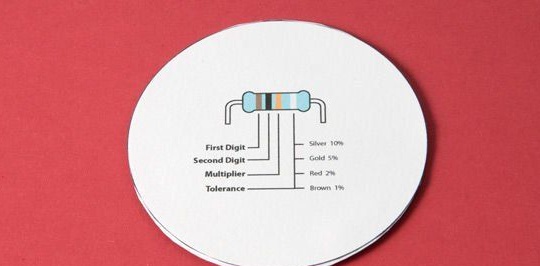
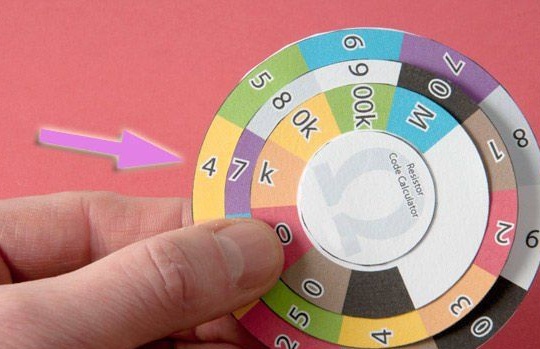
To find out the parameters of the resistor you need, you need to add a color scheme repeating the resistor on the circles.
