The article will be primarily useful to those people who often work with a tree as a hobby, without making money. The author presented a fairly budget project of a tabletop jigsaw, which can be assembled in one day, with minimal material costs.
To create a machine you will need such materials:
- Working manual jigsaw;
- Plywood;
- Self-tapping screws and bolts with nuts;
- Guides of furniture drawers;
- Two bearings;
- The tightening spring;
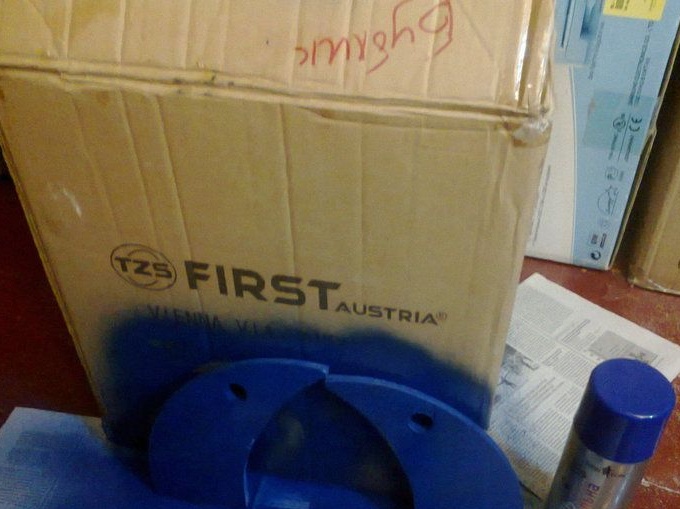
- Spray can with paint;
- Self-adhesive paper.
Materials and tools are standard, available in every workshop.
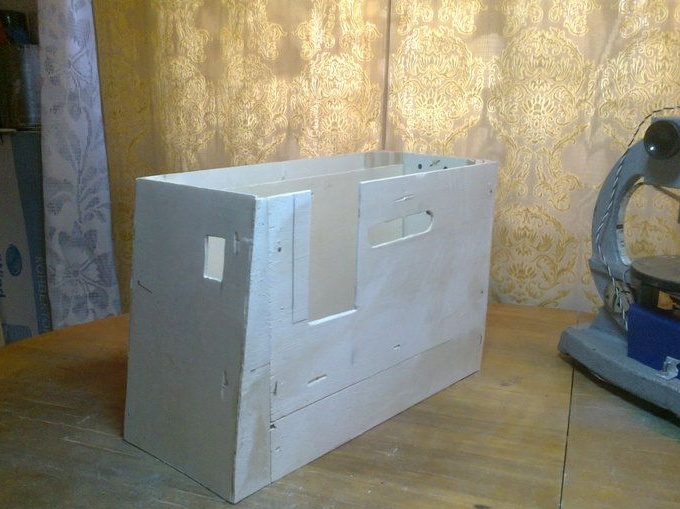
Step 1. Case.
The first step is to create a plywood case for a manual jigsaw. Here it is necessary to think in advance where the holes for the switch and speed controller will be located.
It should go something like this:
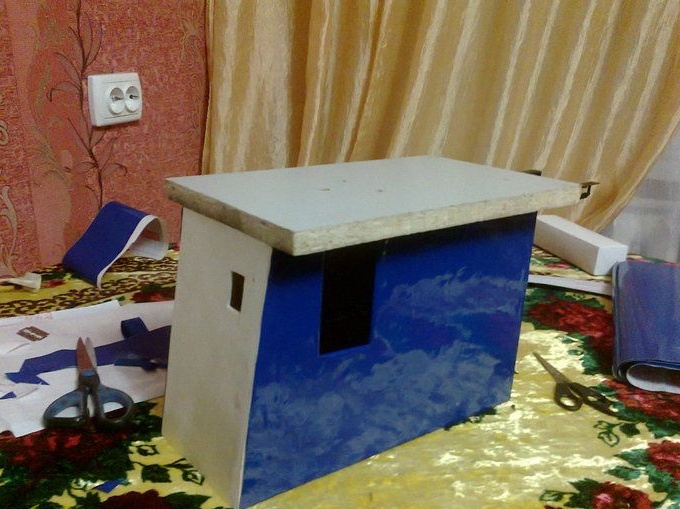
Step 2. Countertop.
It is better to take a thick piece of chipboard with a good coating as the basis for the tabletop, since the processed workpieces will rub on it during the operation of the machine.
A hole for a file is drilled in a chipboard. The jigsaw itself will be attached to the back of the countertop.
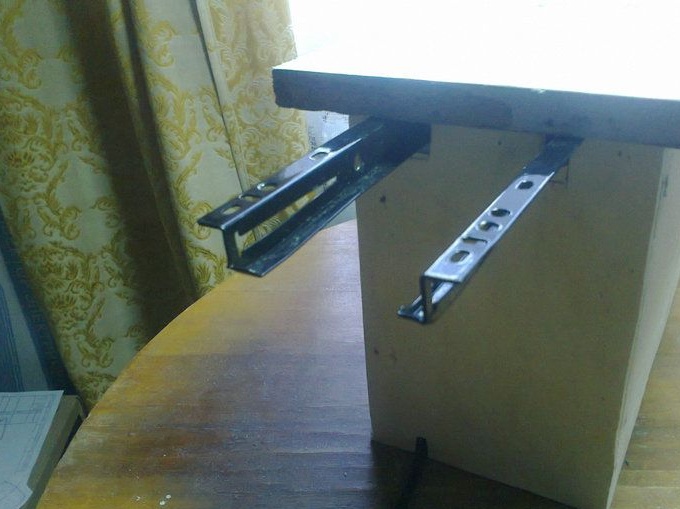
Also, a takeaway for attaching the boom is made of furniture guides:
Here's what it looks like in assembly:

And the countertop is attached to the body:
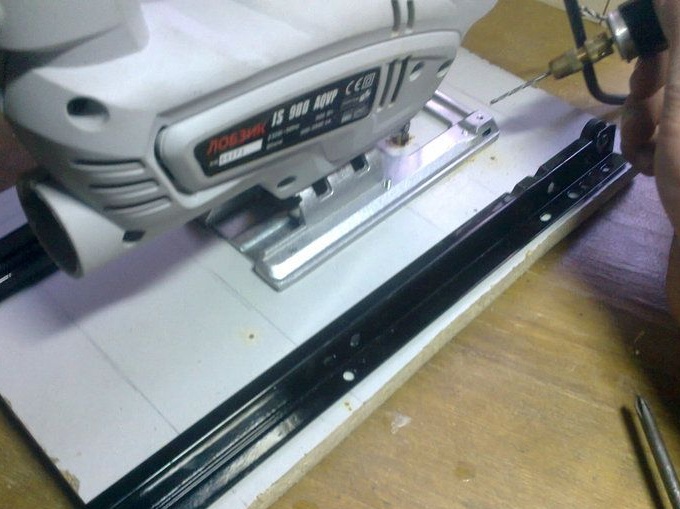
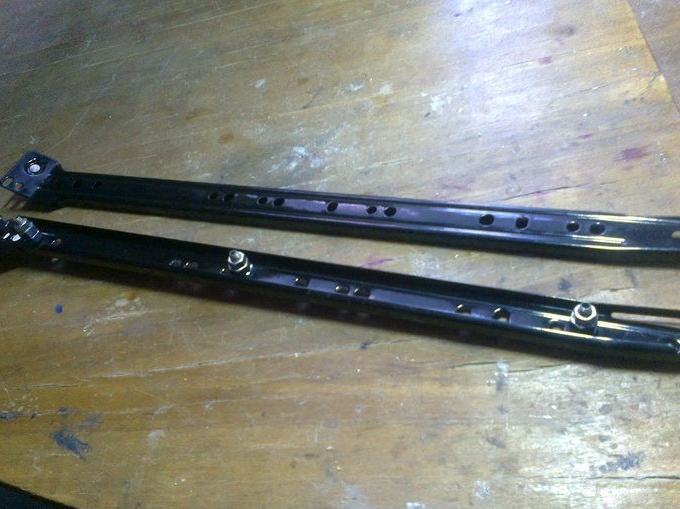
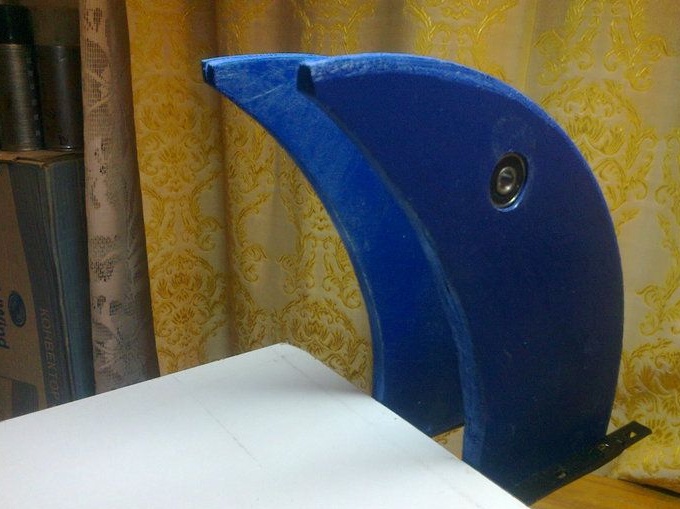
Step 3. Arrow.
The arrow itself will be made of two furniture rails. They are twisted together by bolts to increase rigidity.
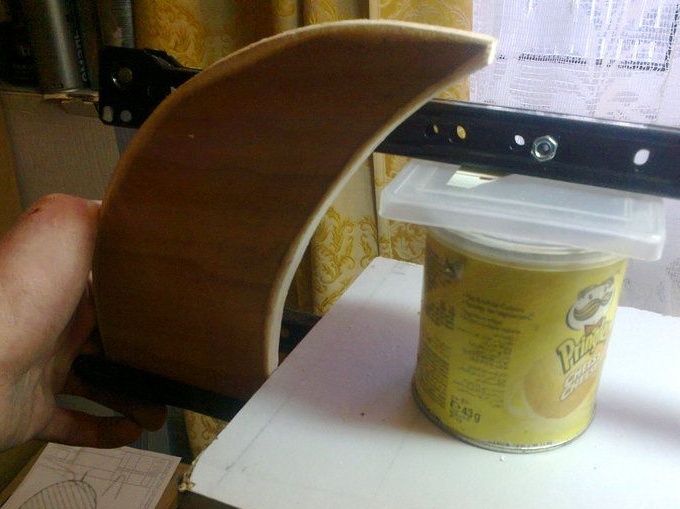
Boom supports are made of chipboard. Before painting and installing, the point of attachment of the boom to the support is measured. Before this, they must be installed in their place:
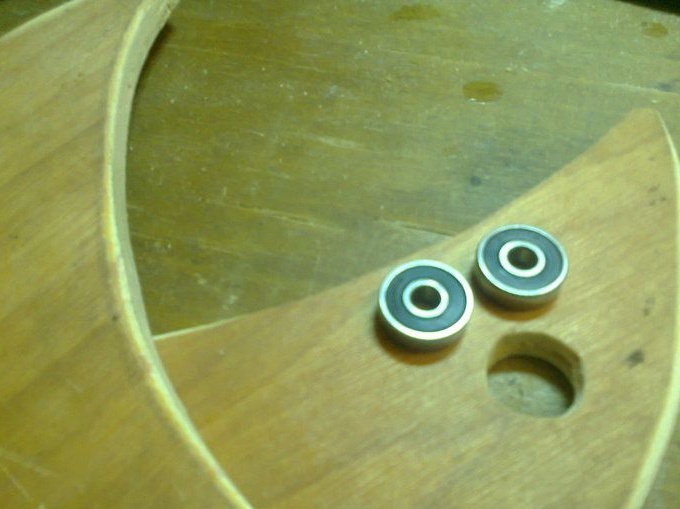
After that, in the support, it is necessary to drill holes for the bearing seats.
Step 4. Painting.
Prepared supports are painted from a spray can.
While they are drying, the machine itself is glued with self-adhesive.
Step 5. Assembly.
Bearings are inserted into the bearings, and they are screwed into place.
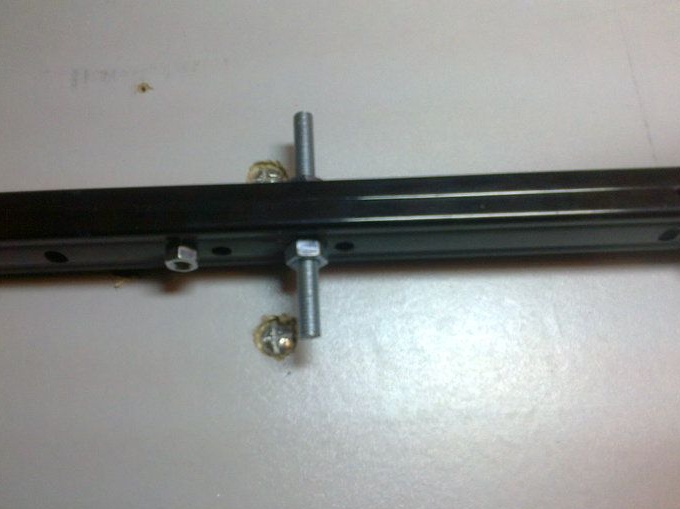
The axis of attachment of the boom will be made of two bolts screwed into the guides as shown in the photo. The diameter of the bolts is selected in accordance with the diameter of the inner race of the bearing.
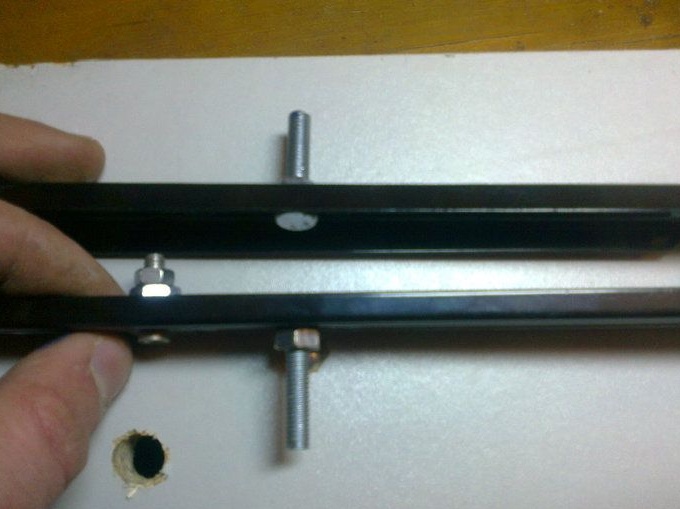
The bolts are tightened securely, after which the two halves are screwed to each other.
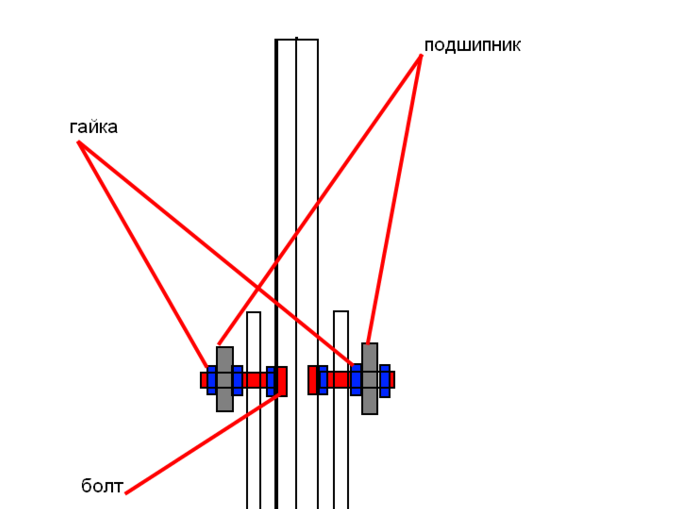
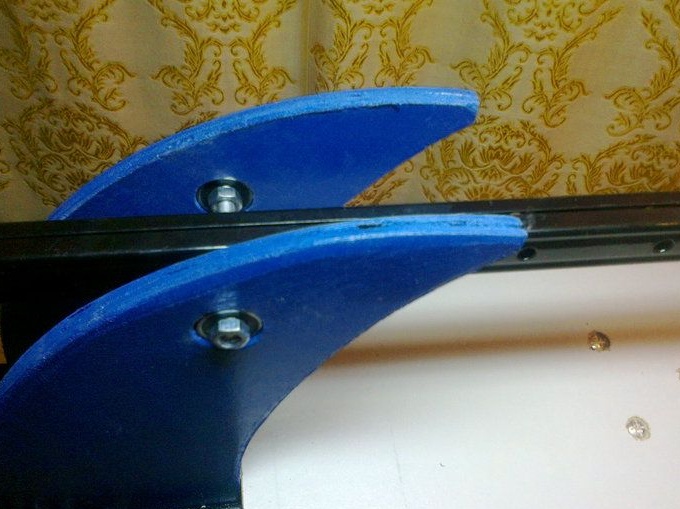
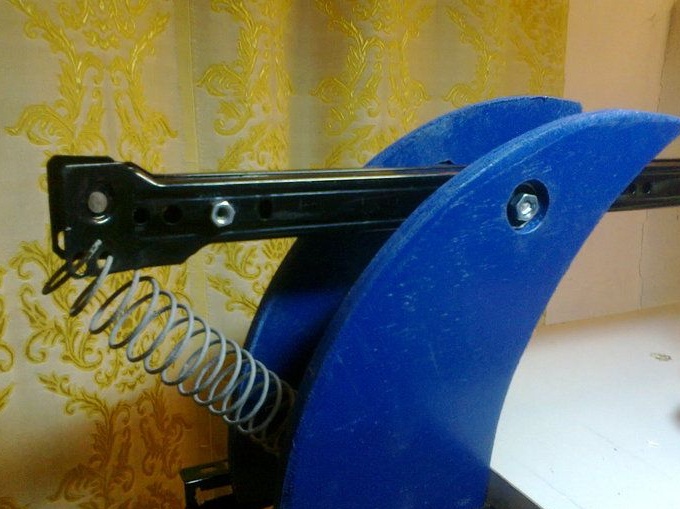
Here is how the arrow will be fixed in the supports:
The boom is installed in its place and fixed with nuts.
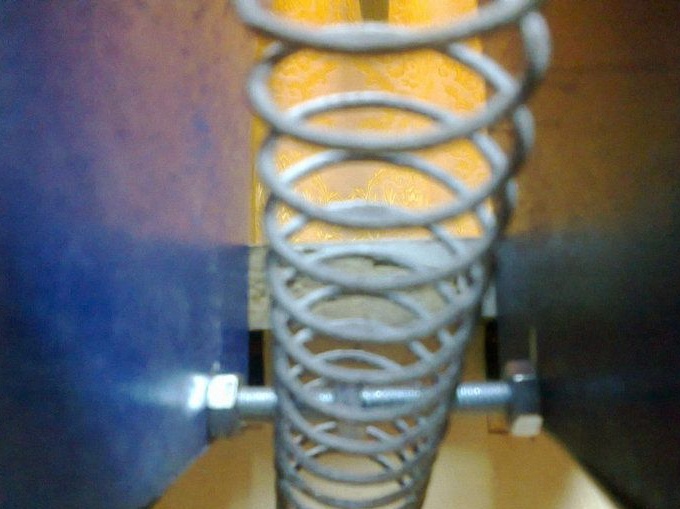
Next, install the tightening spring. It is necessary in order to return the arrow to its original position after the jigsaw pulls it down. Thus, the reciprocating movement of the file will be performed. It must be adjusted so that it is not too soft (this will complicate the process of the machine) and too rigid (this can lead to overheating of the jigsaw motor).
How to fix it is shown in the photo:
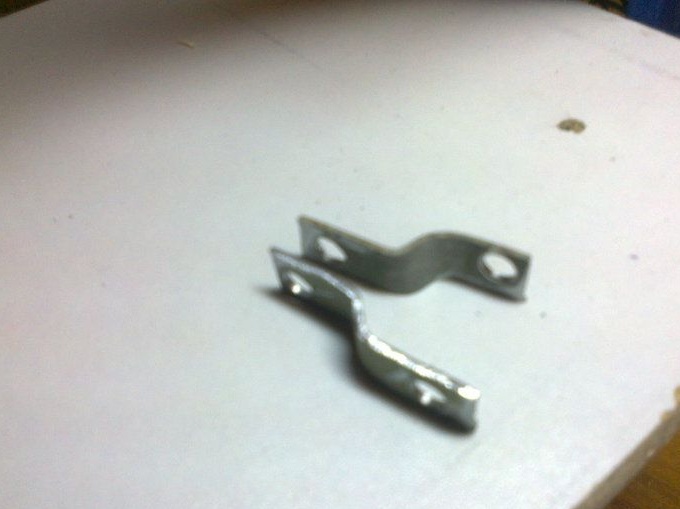
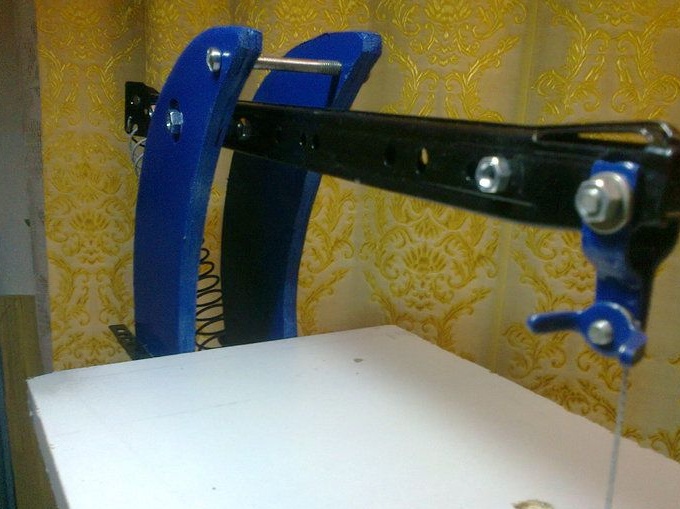
Then, from a thin strip of metal (1 mm), it is necessary to make fastenings of the file to the arrow. They should rotate freely on the axis, since during operation the arrow changes the angle of inclination to the jigsaw, and if they are static, this can lead to breakage of the file.
Here's what the mounts should look like:
The boom supports are additionally reinforced with a long bolt, it can be seen in the photo:
Step 6 Electronic part.
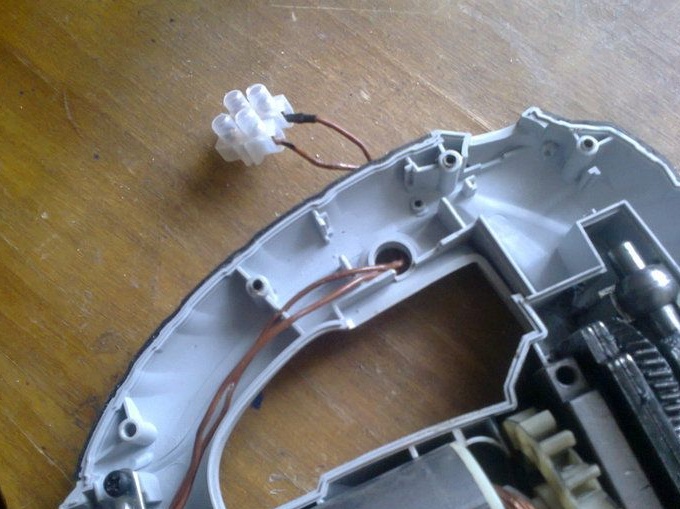
Since access to the manual jigsaw is limited, it is necessary to bring out the controls on the outside of the case.
To adjust the rotational speed of the jigsaw electric motor, the author used a phase power regulator. Here is his electrical diagram:
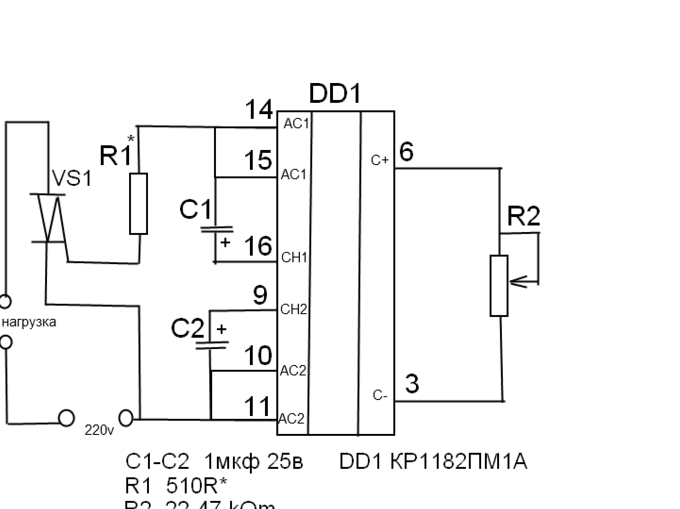
Here's what it looks like:
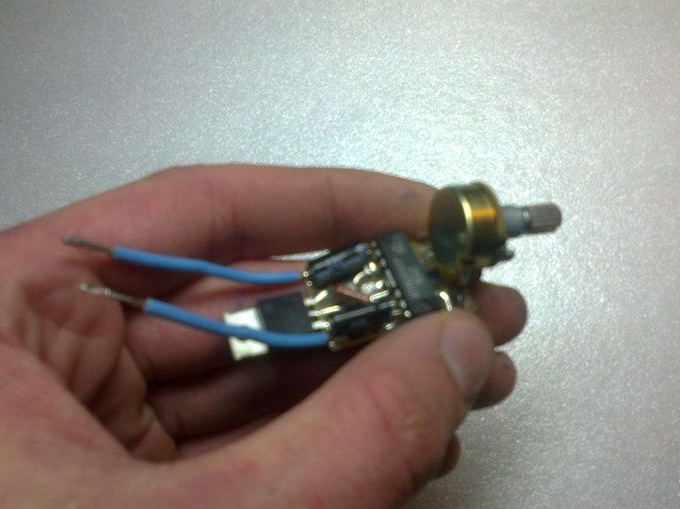
When installing the board to the heistor, it is necessary to screw the radiator, if this is not done, it may overheat and fail.
The jigsaw is disassembled and the power regulator is connected to the electrical circuit.
It is also necessary to install the power button of the machine.
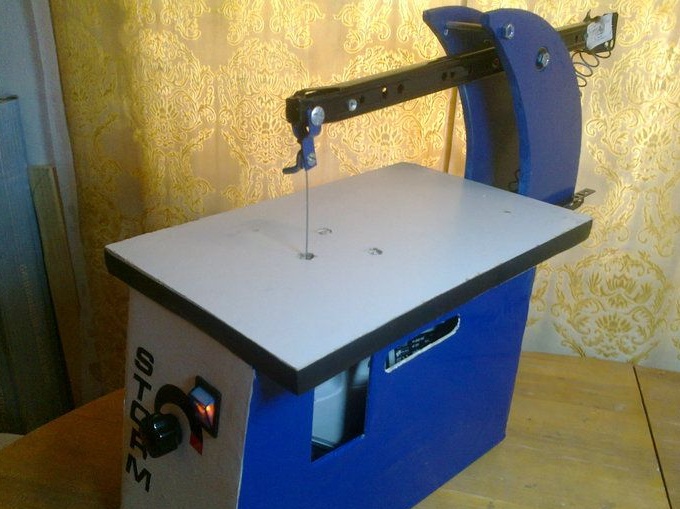
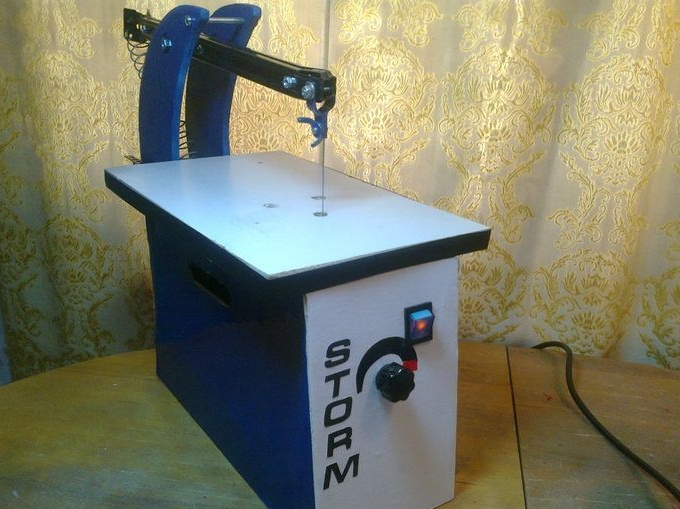
Total.
Here is the machine and ready! According to the author, he showed himself well in work.