
Good afternoon, dear guests! Today in this article, the author will tell us how you can yourself in home conditions to make a real solar battery, which will help you save energy and thereby reduce your waste.
Electricity is very expensive at the present time. And in order not to overpay, people came up with alternative energy sources. Today it’s about one of them, namely, solar panels.
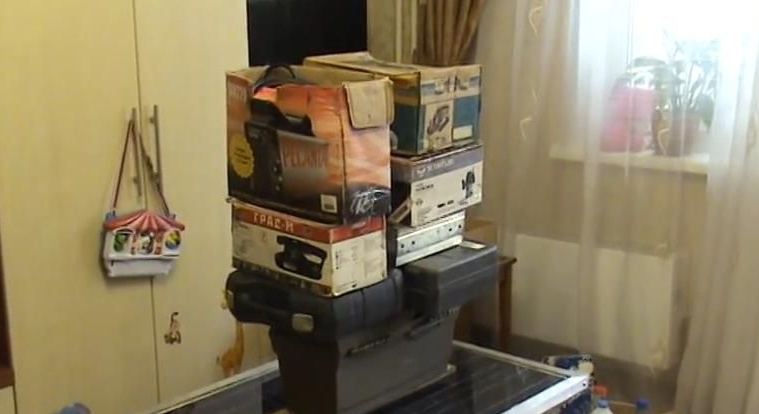
To start, I suggest watching the video of the author of this homemadeposted on the link below:
So let's get started.
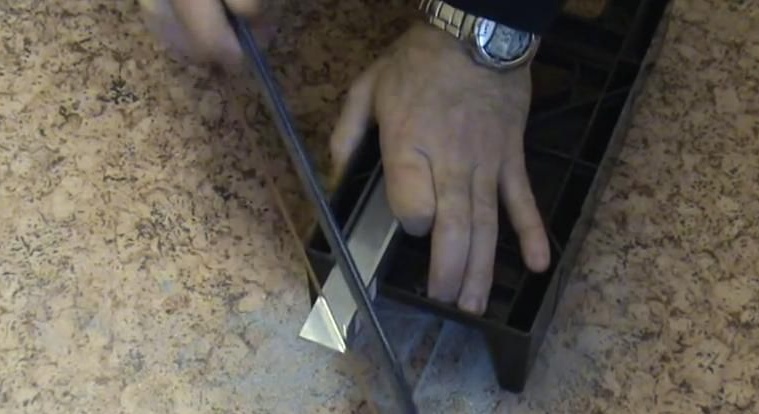
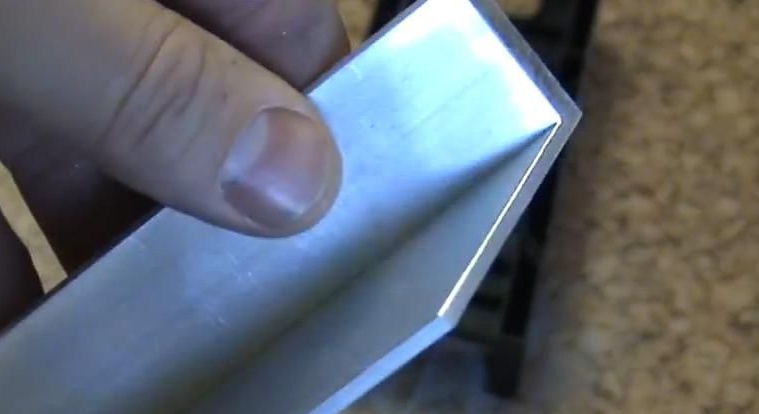
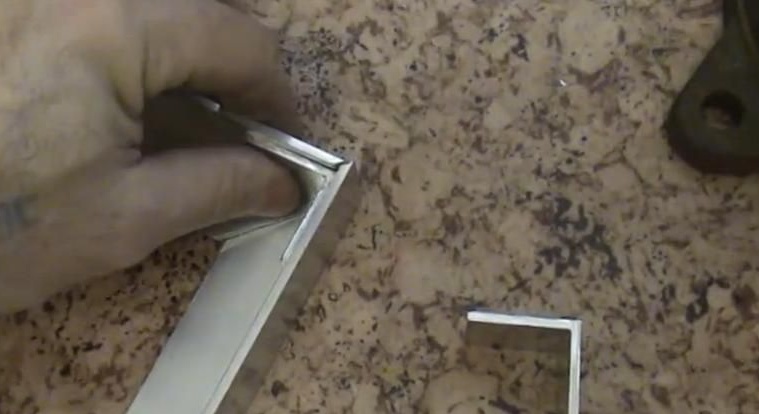
To start, we will make a frame. We will make it from metal corners. To start with a file, grind the angle at 45 degrees:
We make such seams on both sides of the four metal corners. It turns out this:
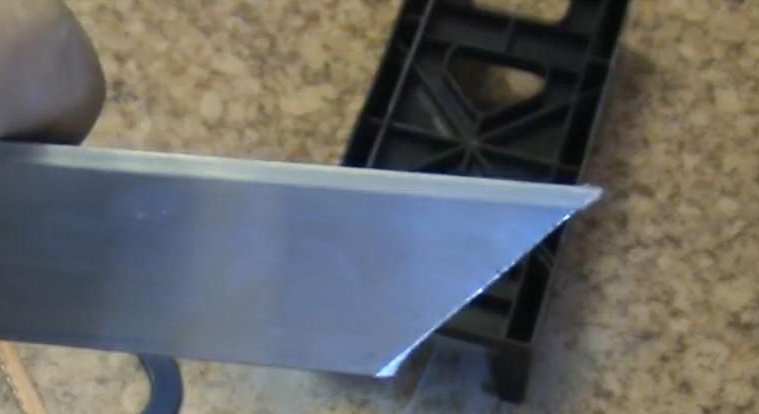
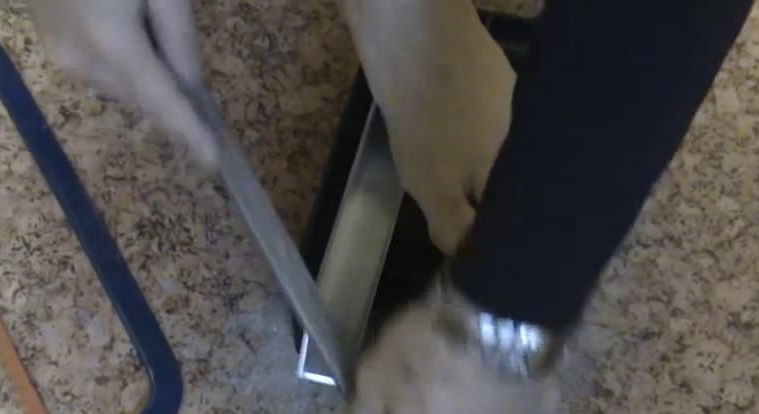
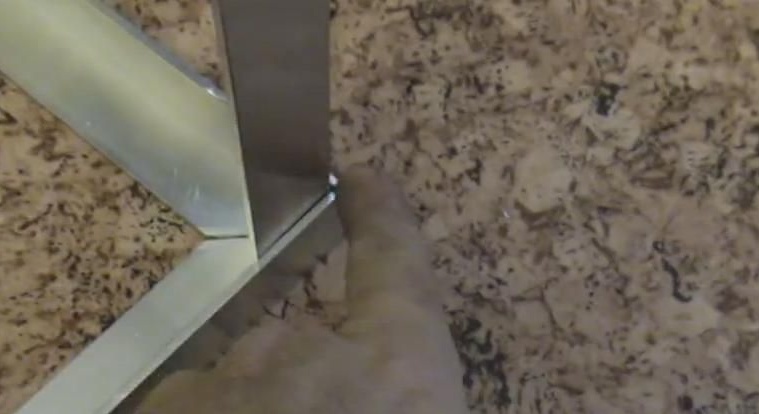
Now you need to accurately outline straight lines at the corners, at an angle of 45 degrees, and with the help of a hacksaw for metal with large cloves cut off the unnecessary parts of the corners on all four profiles on both sides:
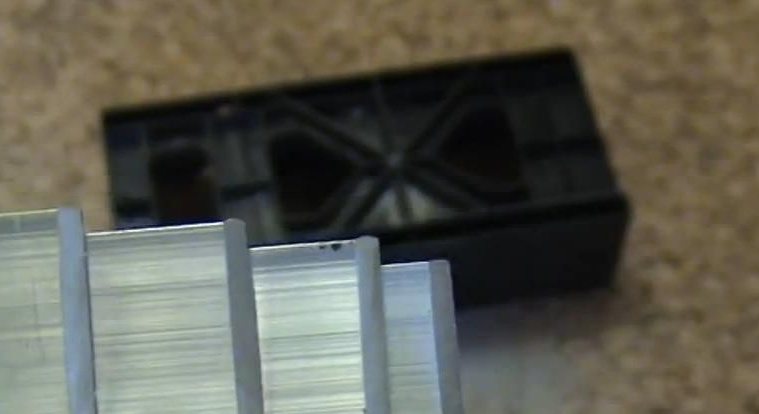
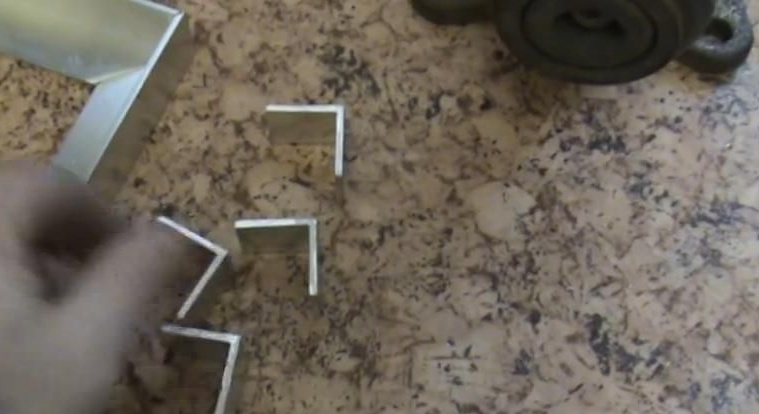
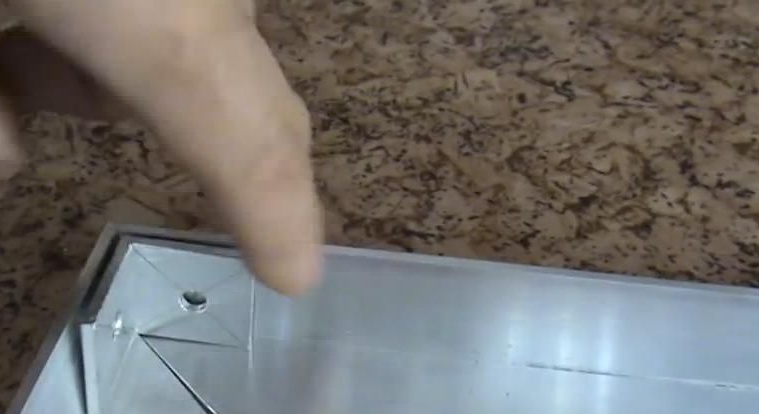
It turns out here is such a design, which we additionally grind with a file to a perfectly even state:
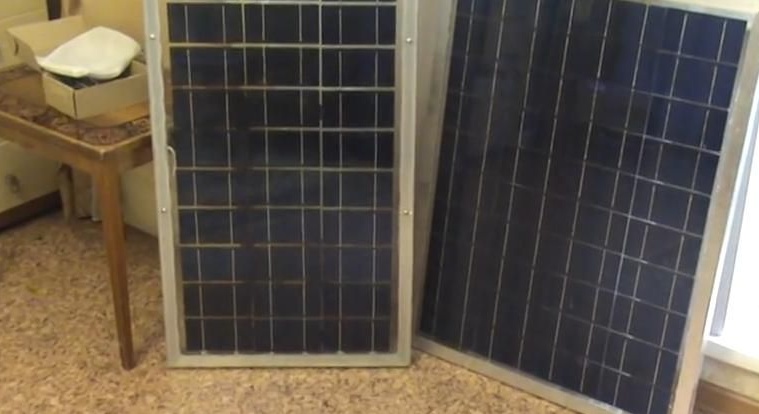
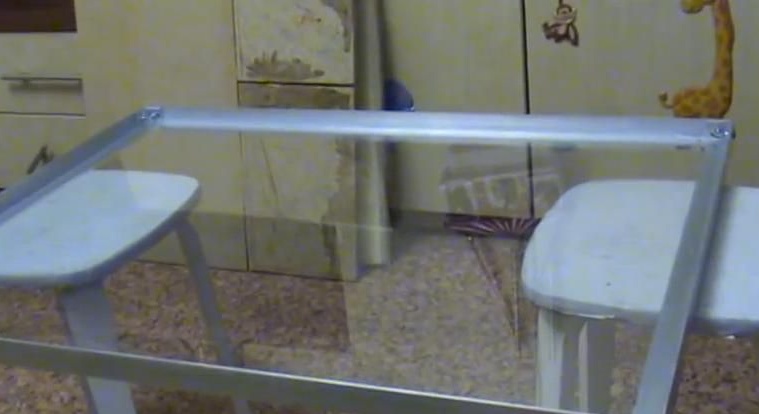
As a result, you should get such a design here:
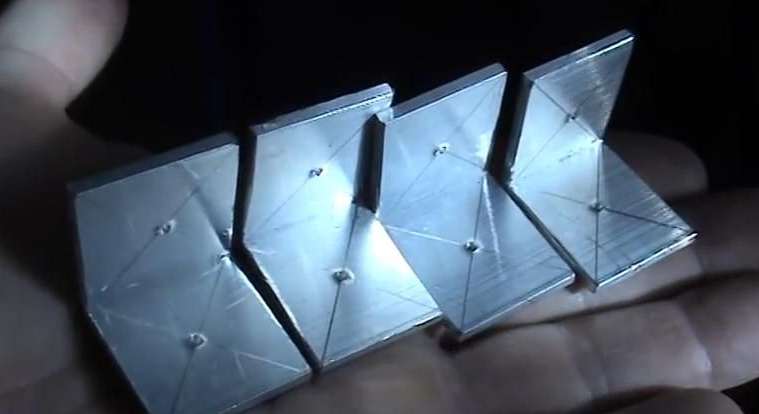
The next step is the manufacture of fastening corners for our future framework.
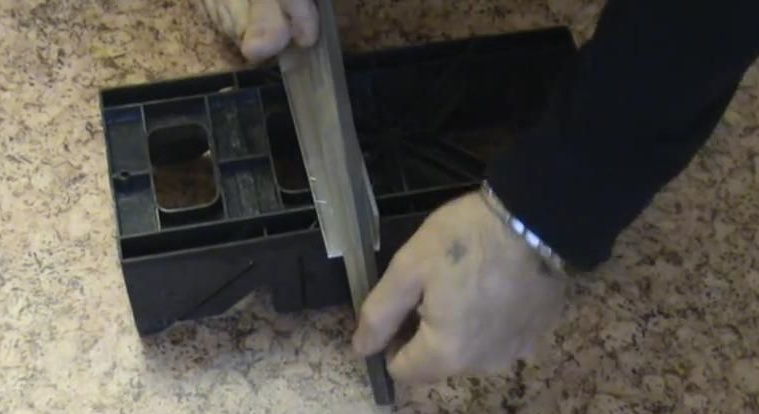
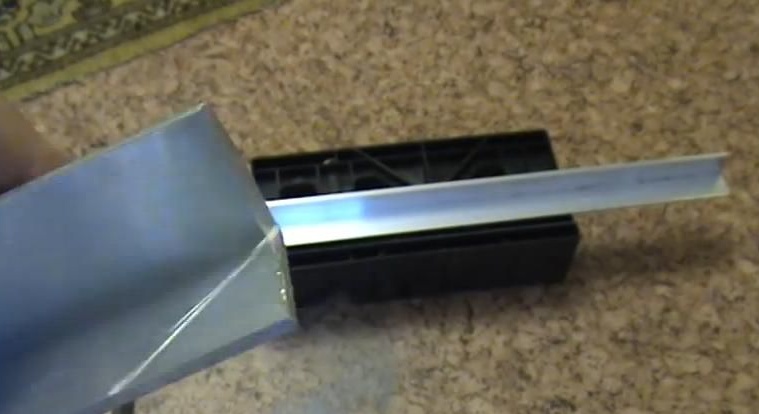
So, we try on the frame and apply it, and then mark out the places where we will need to cut the profile for fasteners:
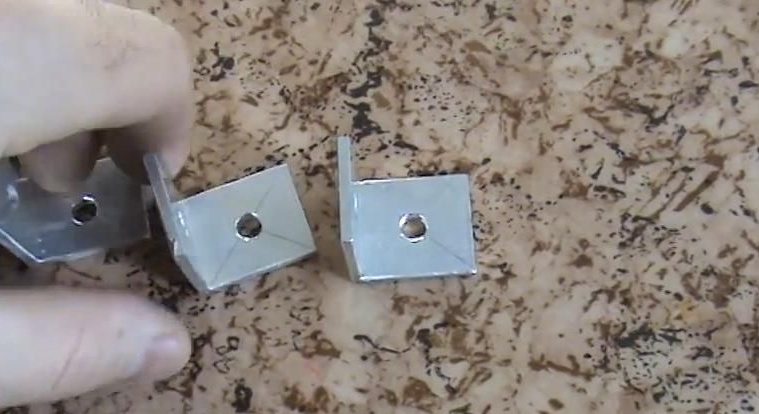
After you have marked everything, you can cut out four mounts:
So that they have a neat appearance, you must grind them with a file.
Next, in the center of each mount, we make holes for the bolts, which will hold the frame together. Do not forget to pre-wrap the surface of the metal so that the drill does not come off:
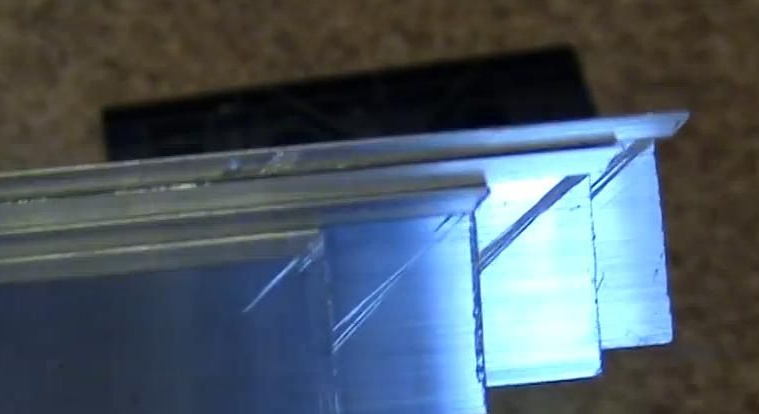
We try on our fastenings to the frame and make holes already in the frame for fastenings. In order to avoid visible joints, we drill a hole in the frame by 5 mm, and a hole in the mount by 6 mm. We tighten the bolts and nuts and get a very neat design:


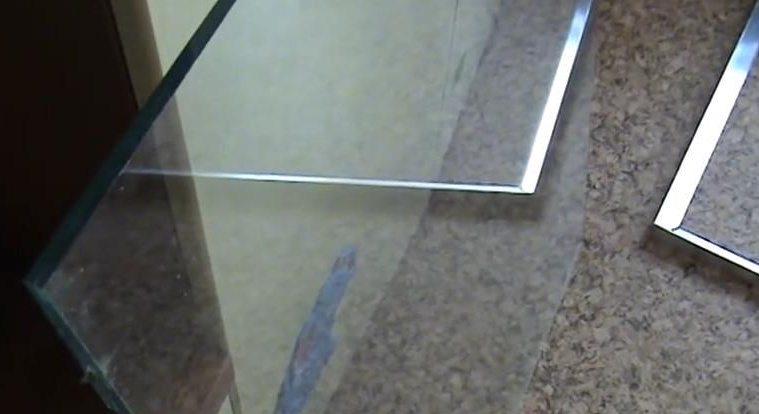
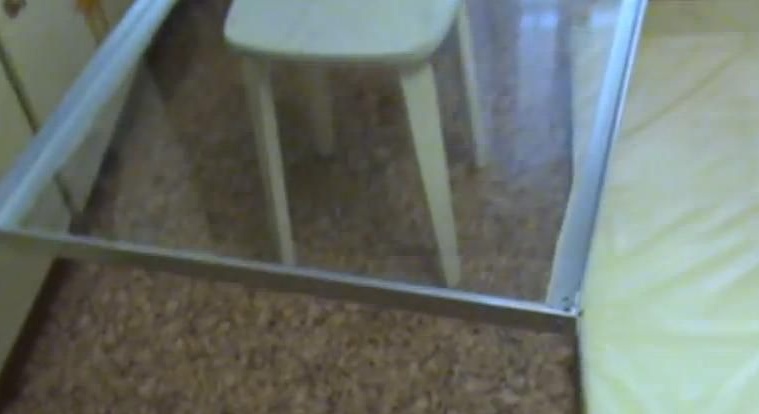
Now you need to purchase glass matching the size of our frame and gently glue the glass into the frame using silicone sealant:
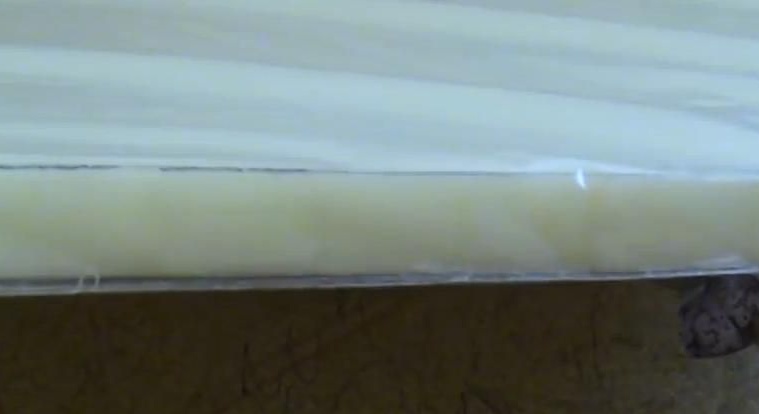
Next, we need foam, which we need to wrap with a film and tightly fasten. You can “stick up” the film with tape, but in our video the author used a small gas soldering iron, which did everything very carefully:
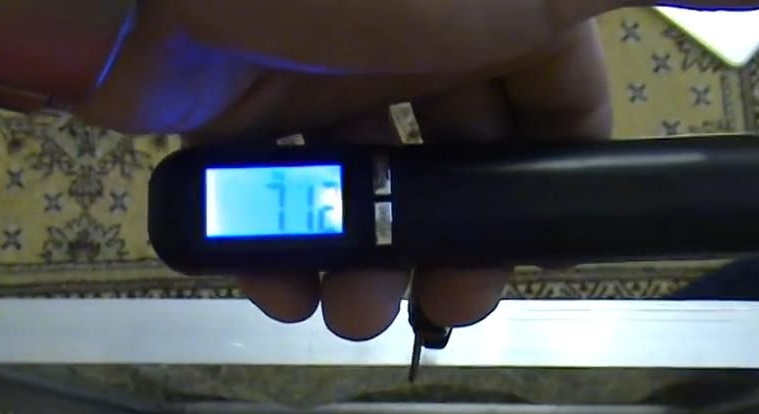
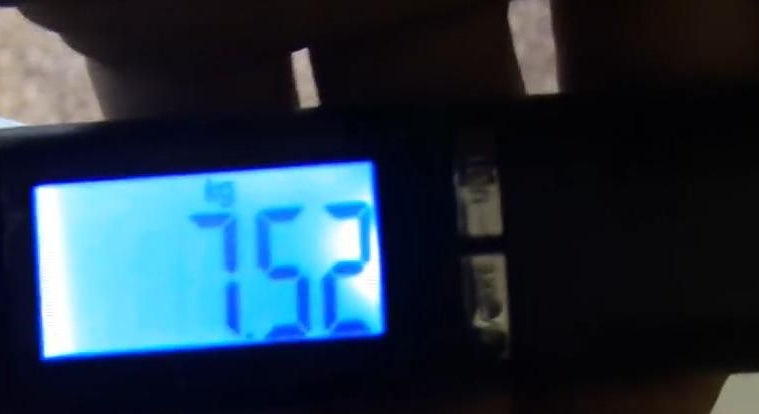
We measure the mass of the structure (frame with glass) with an electronic scale:
The next step in the manufacture of a solar battery is degreasing.We do it with acetone and a wiper.
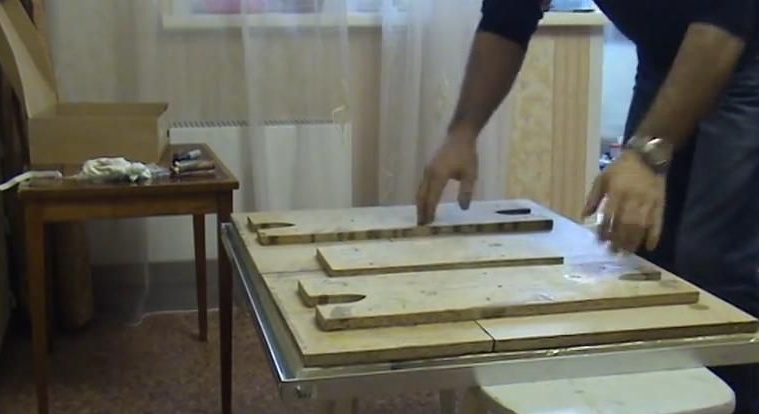
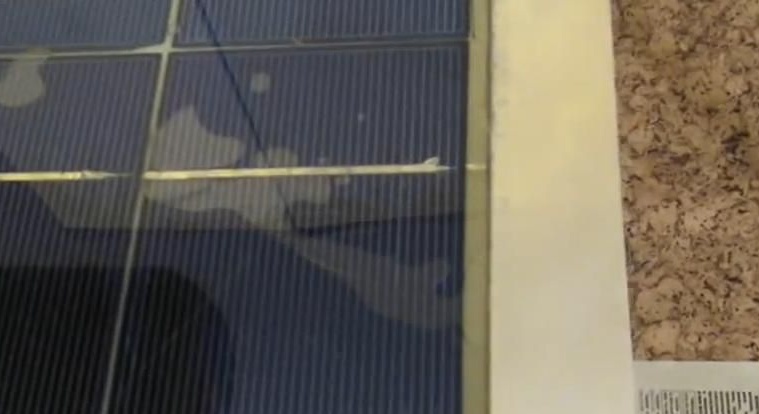
Next, carefully lay out the elements and fasten them together:
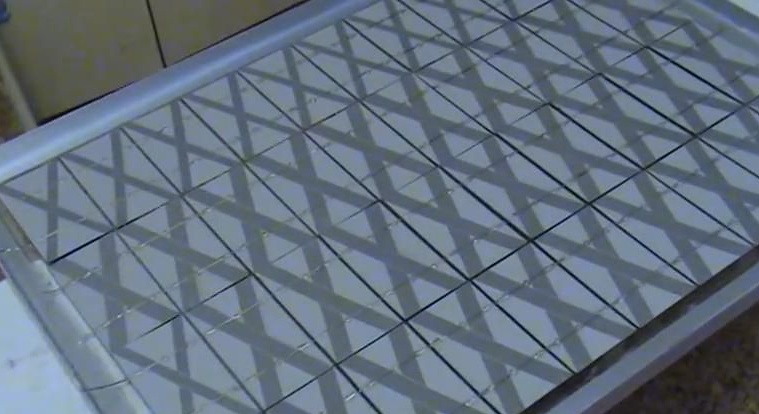
We make a "wiring" with a thick shred on both sides and proceed to sealing.
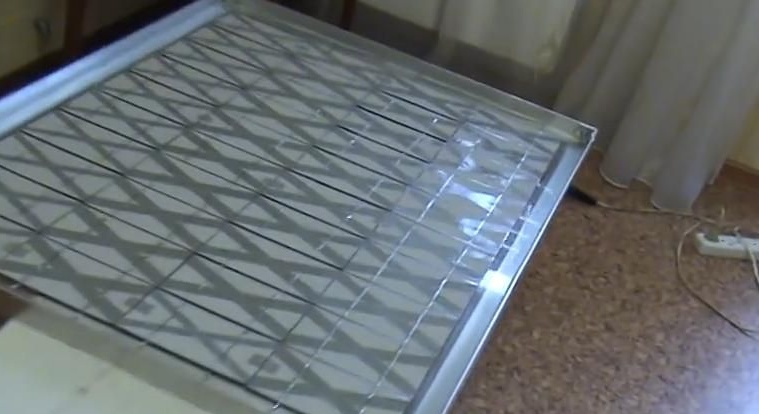
To do this, put the paralon, and then the wooden structure, which is shown in the photo below and carefully turn it over like this:
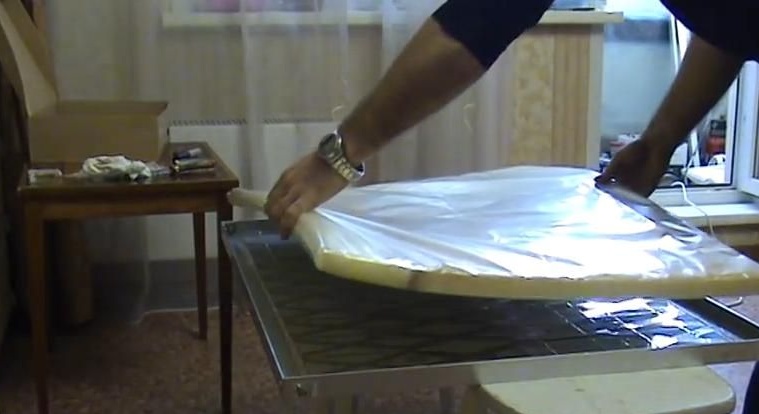
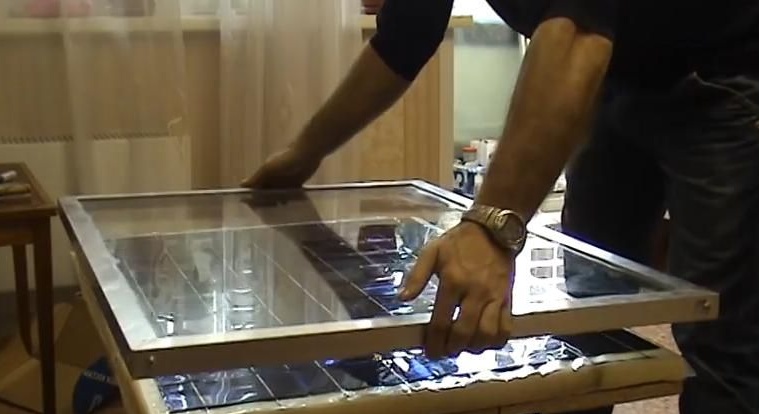
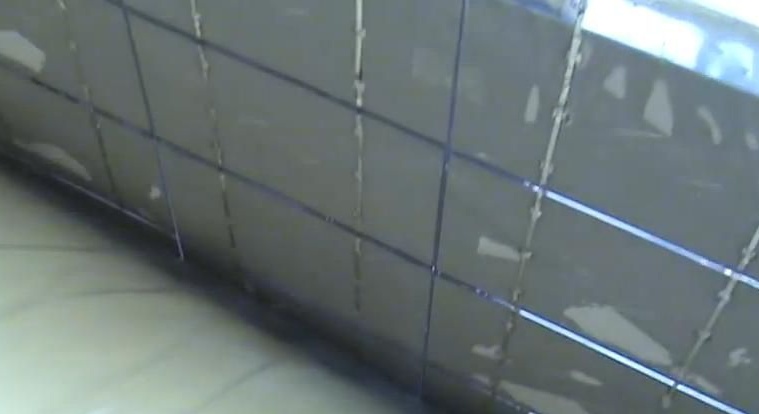
Carefully remove the frame with glass and coat the entire surface of the elements with sealant:

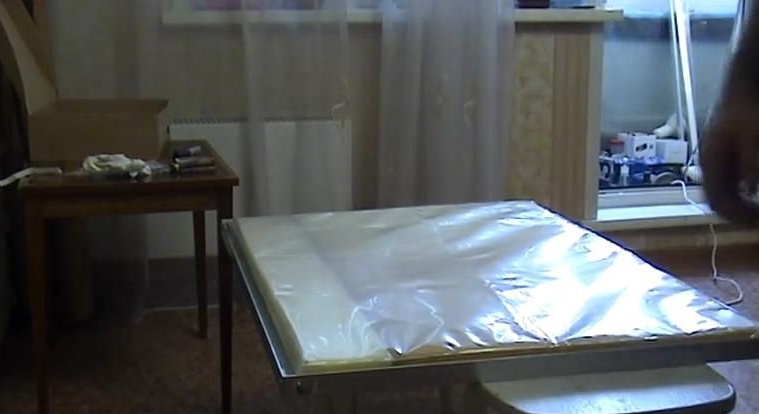
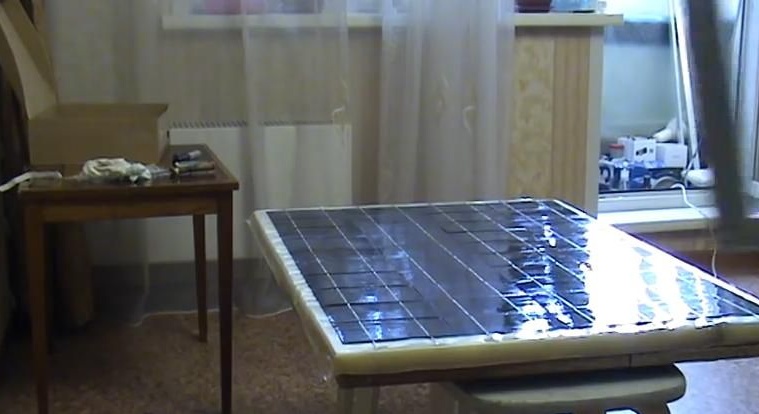
After that, we put on a frame with glass and press down the structure with some kind of load:
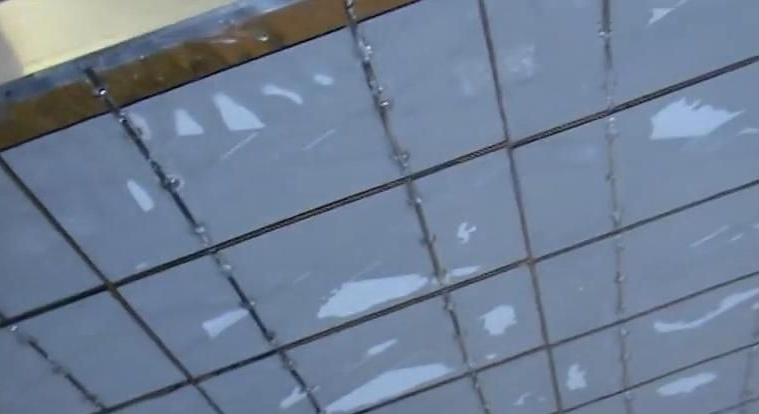
We wait until all the air comes out:
After about 12 hours, we remove the load and very carefully remove the foam from the structure:

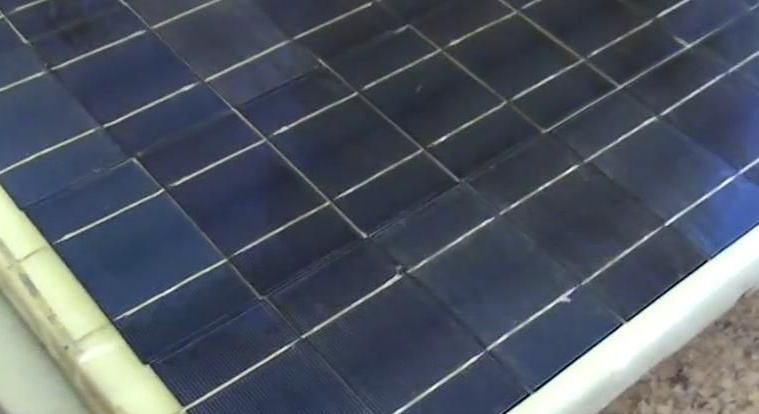
Well, that's all!!! The solar panel is ready! It turned out pretty nicely, and most importantly, it’s effective, which we’ll check now. We connect the battery to the network and see the result on the voltmeter and ammeter:

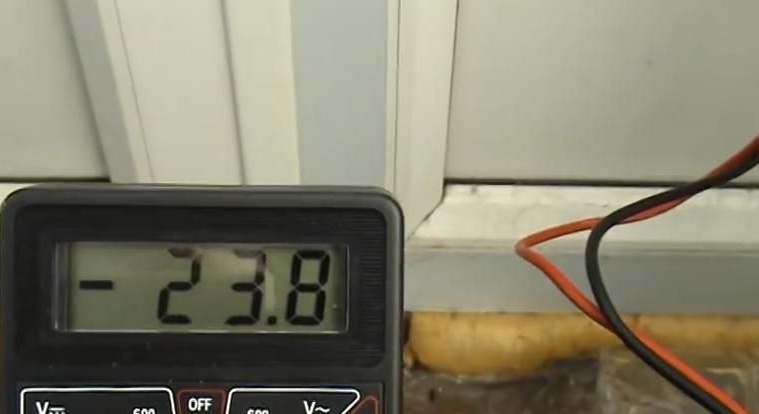
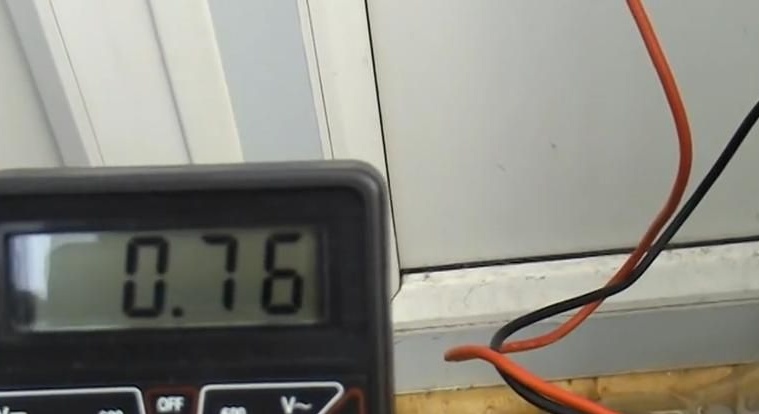
The result is very good and this despite the fact that there is almost no sun!
We also weigh our solar battery and see that its mass is not so big:
So, today in this article I described the process of manufacturing a solar battery, which will help you save energy!
Good luck and thank you for your attention!